If you are looking for that specific programming tool then you should consider installing Node-Red on the Raspberry Pi device. It is an open-source tool built for the Internet of Things that allows users to connect different hardware devices. It provides a web-browser which is being utilized to build JavaScript functions. It also gives you the environment where you can directly interact with the Raspberry Pi GPIO pins and read data from these pins.
Installing Node-Red on Raspberry Pi
This guide will assist you by providing all the necessary steps that will lead towards the successful installation of Node-Red on the device.
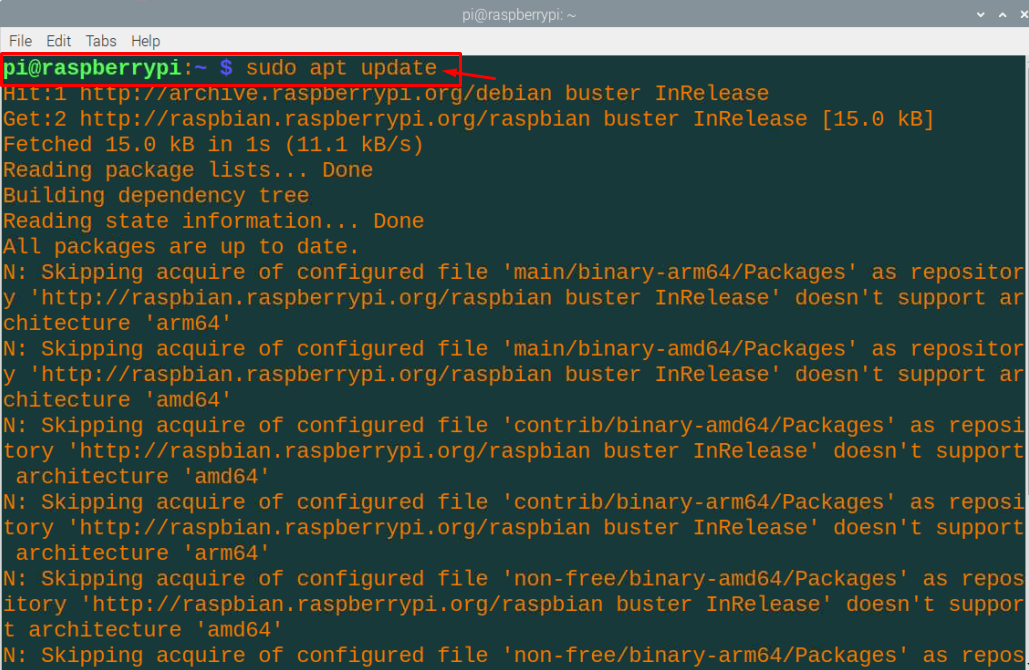
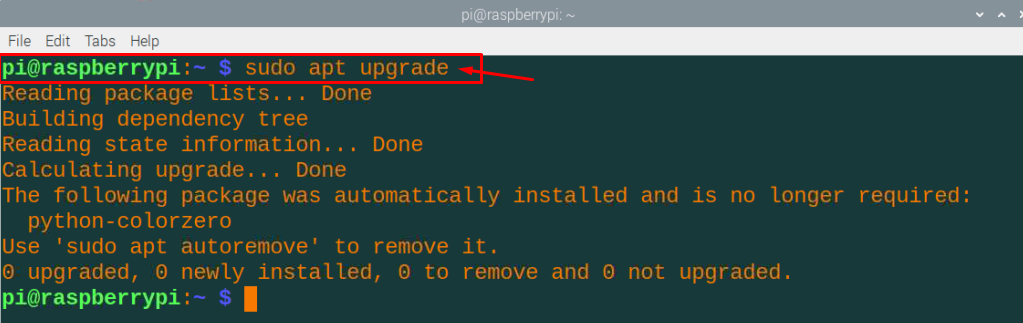
Step 1: In the initial step, it is mandatory to find out whether your Raspberry Pi is up to date and for that purpose you will need to run the commands in the terminal as given below:
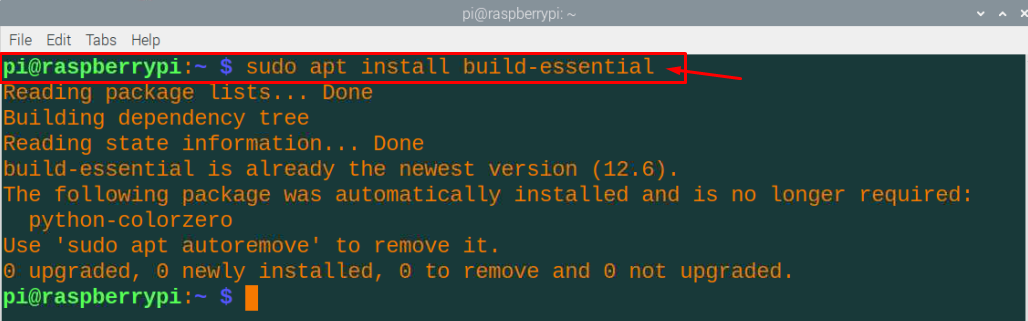
Step 2: Once you have updated your Raspberry Pi device, you are now good to execute the following command in the terminal that will let you generate essential packages required to install the node package manager. The node package manager will help you install multiple modules on Node-Red hence it is a critical part of the installation process:
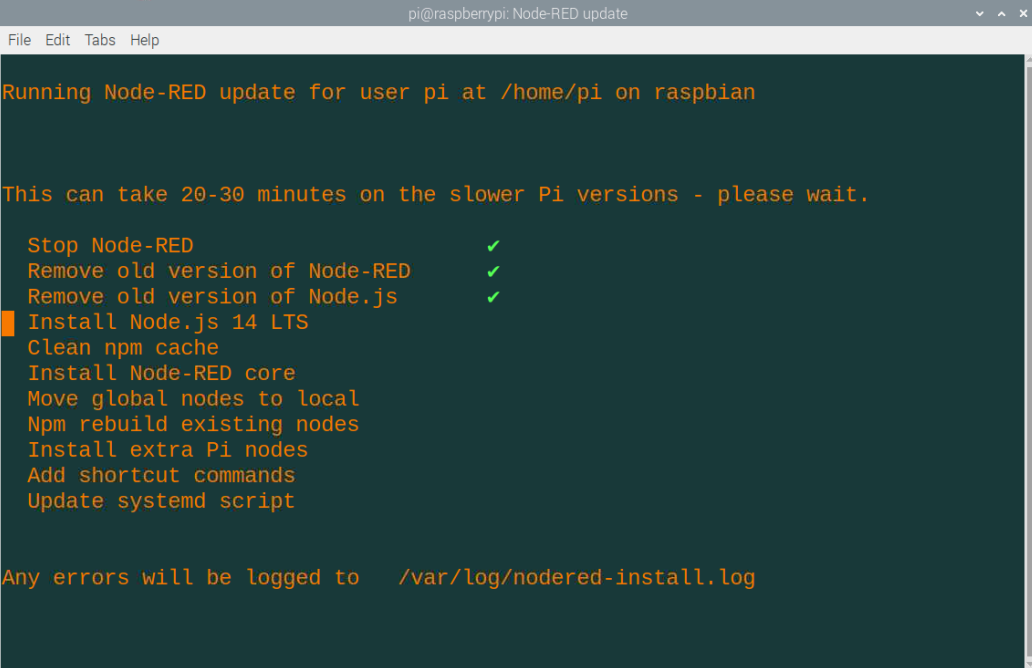
Step 3: After successfully executing the above command, it’s now time to install Node-Red on Raspberry Pi using the following command which needs to be executed in the terminal.
The above command will install all the packages including the node package manager, Node.js and Node-Red.
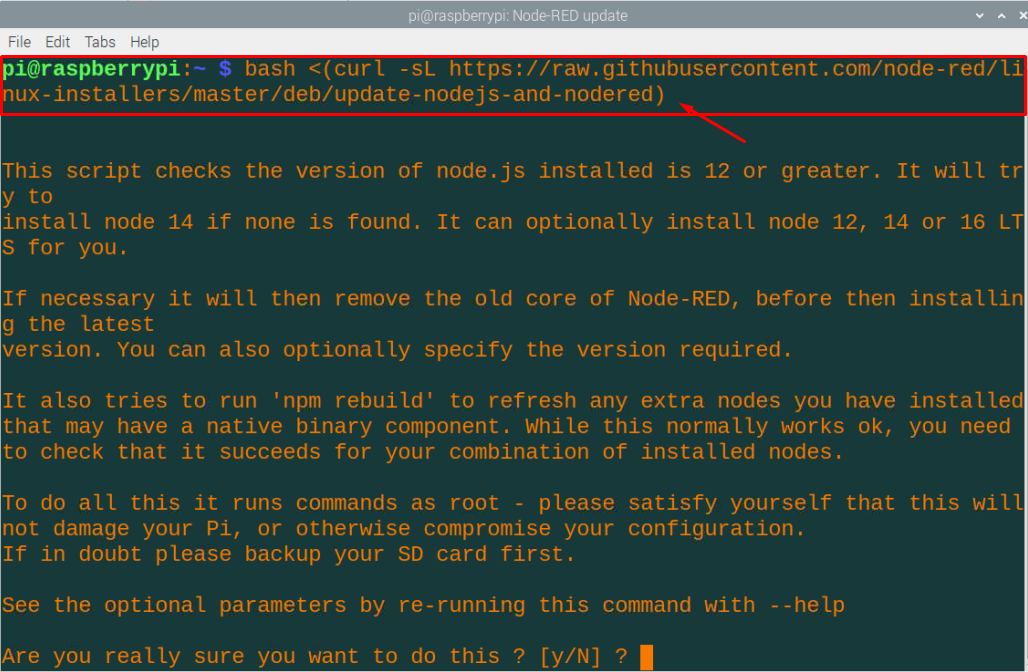
When you run the script, you will need to enter “y” when it asks for your permission to do the operation and once you do it, the installation will begin.
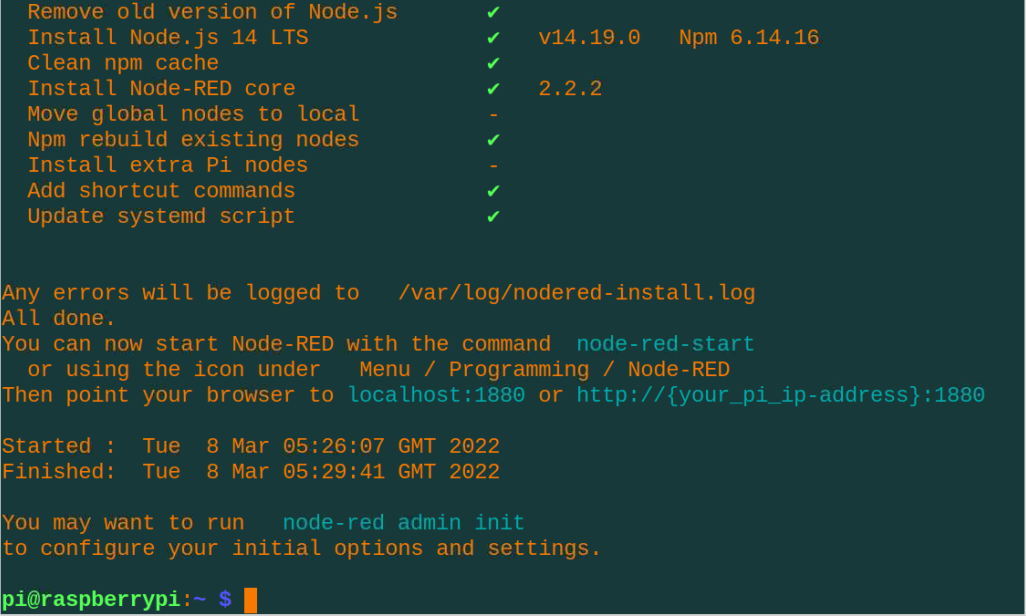
That’s it, now you can run the Node-Red using the below-given command and once it executes, you will see that your Node-Red service will start on the terminal.
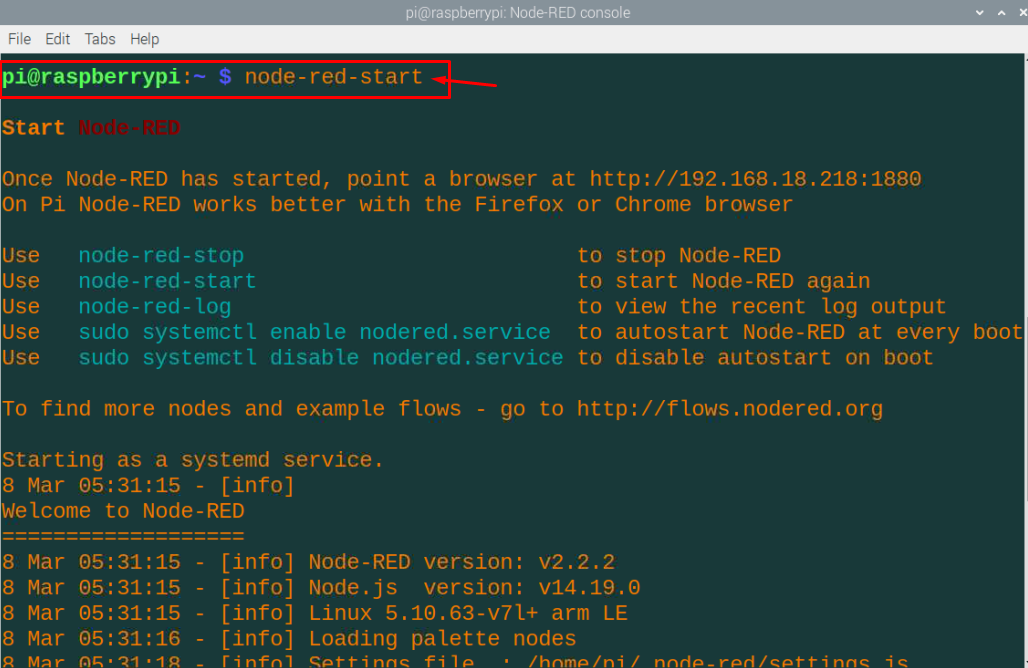
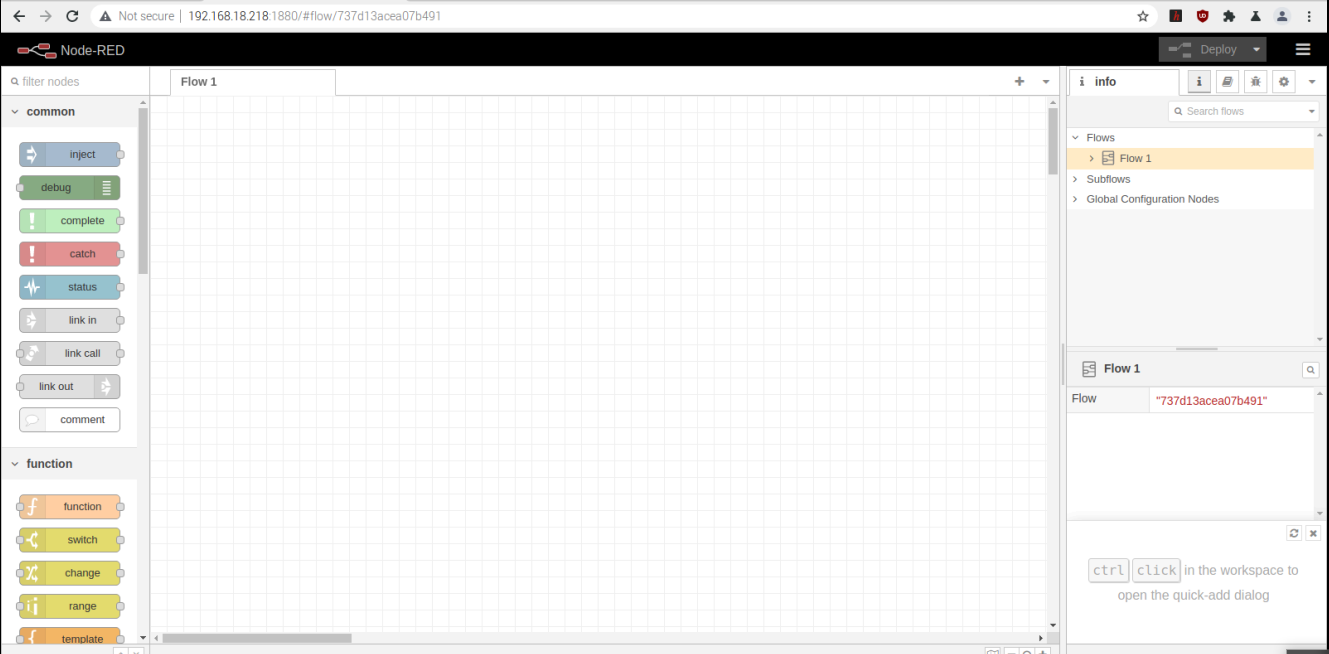
Go to your browser and enter “http://hostIP:1880” in the address bar and there you will see the Node-Red screen appear on your browser tab.
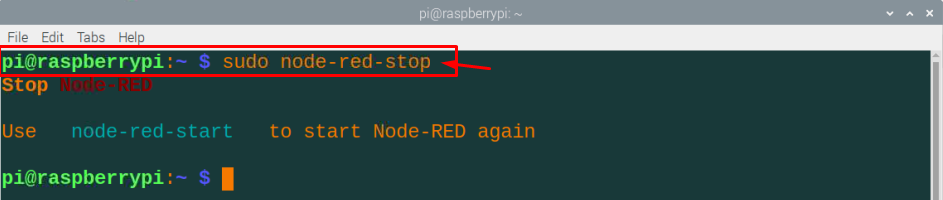
If you want to stop the Node-Red service, you can do that by executing the following command.
Conclusion
The Raspberry Pi device’s worth increases when you manage to install Node-Red on it and if you want to create multiple IoT projects, it will definitely help you. The above steps will be simple enough for an individual who chooses to install Node-Red on a Raspberry Pi device. Once the installation is successful, you can create projects by accessing the GPIO Pins of the Raspberry Pi device from the Node-Red interface from the browser.