Installing Mono on Raspberry Pi
The Mono installation on Raspberry Pi is quite simple thanks to its addition to the official Raspberry Pi repository as you are now able to download it without installing any extra dependencies and packages.
For guidance, you will need to follow the below-mentioned steps to complete the Mono installation on Raspberry Pi:
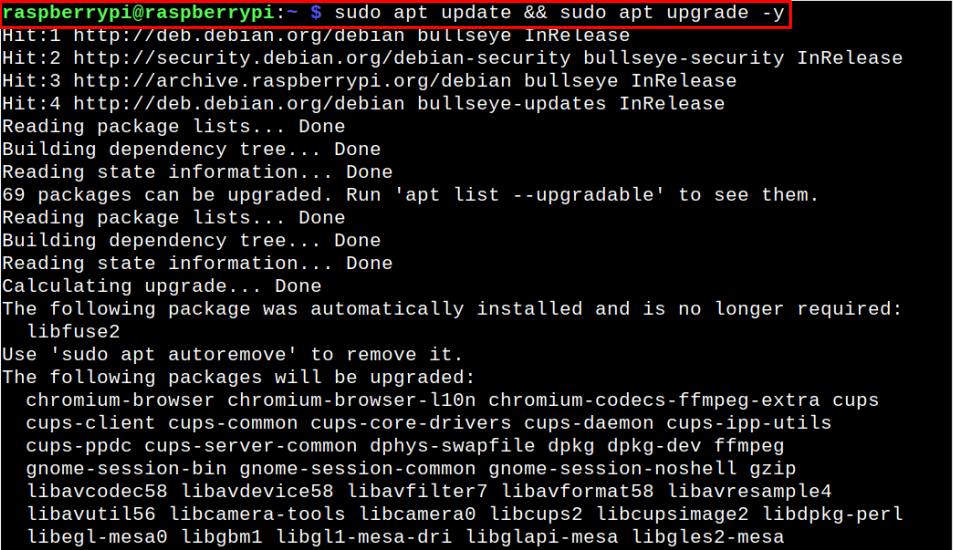
Step 1: Update Packages
The first step you must take is to update all the packages on your Raspberry Pi device using the following command:
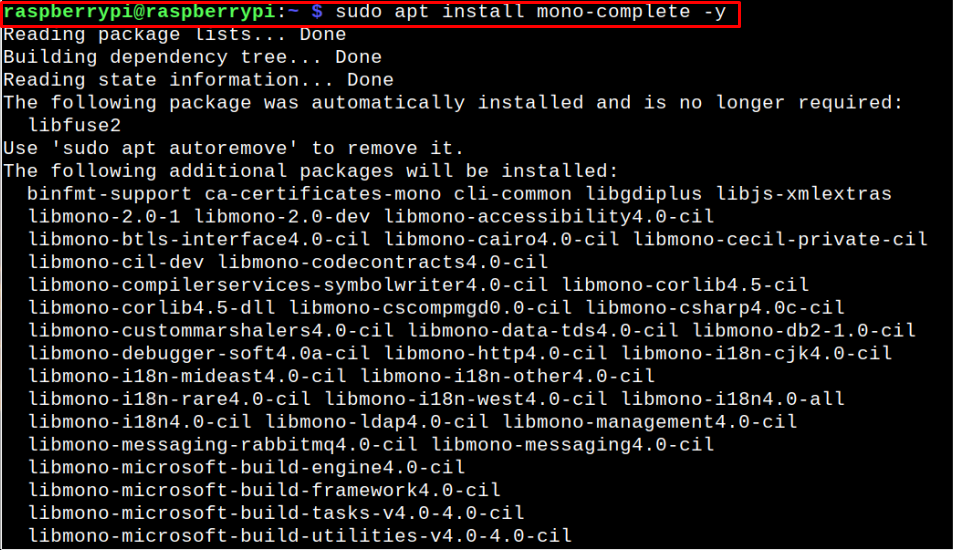
Step 2: Install Mono
After successfully updating the Raspberry Pi packages, you can install Mono on Raspberry Pi through following command:
The process may take some time as it installs different packages on your Raspberry Pi device.
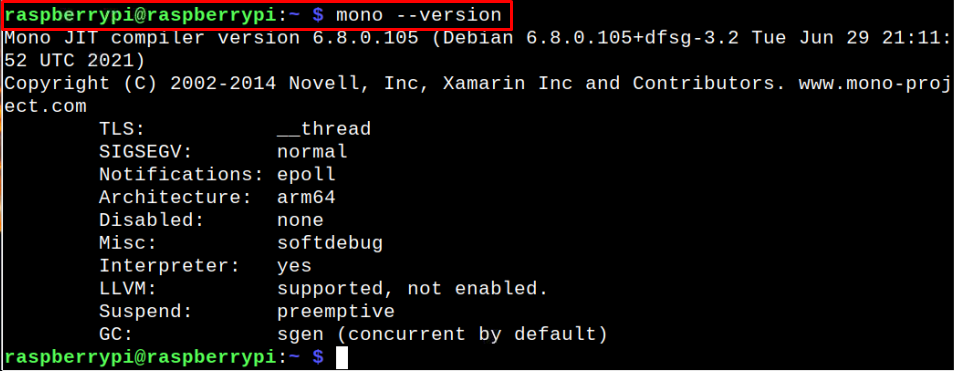
Step 3: Check Mono Version
After the successful installation of Mono on Raspberry Pi, you can check its version through the following command:
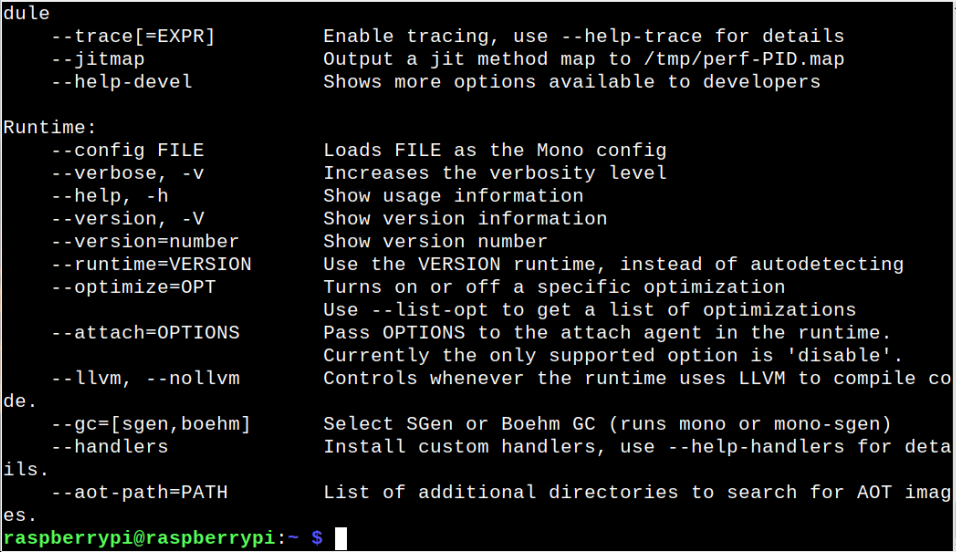
Step 4: Running Mono on Raspberry Pi
You can run Mono on Raspberry Pi using the following command:
From the above output, you will see a different number of arguments that you will use with “mono”. At this point, it’s confirmed that Mono is successfully running on your Raspberry Pi device. In case, if you need further help, go to the documentation section.
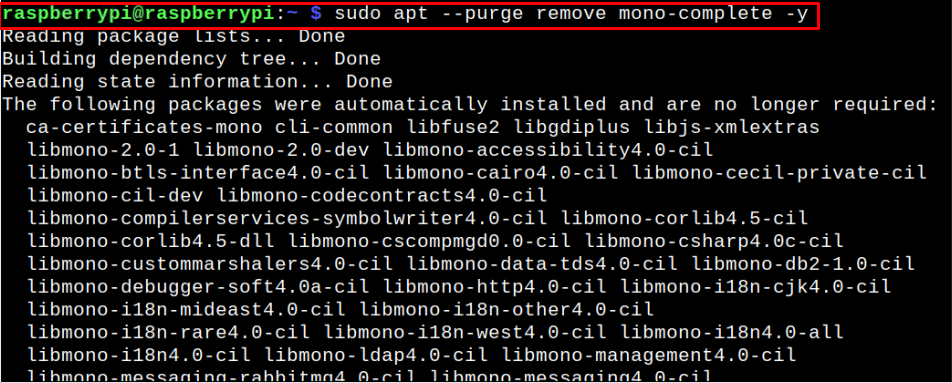
Removing Mono from Raspberry Pi
If you don’t want to use Mono on Raspberry Pi anymore, you can remove it using the following command:
Conclusion
Mono is an open-source .Net framework implementation, allowing developers to create cross-platform applications. The above installation guide will help you install Mono on Raspberry Pi using the simple installation command, which only takes a few minutes to complete. After you complete the installation, you can use the Mono framework on your device to develop several cross-platform applications.

