Installation and managing the Firewall on Raspberry Pi steps can be seen through the following article guidelines.
Install and Manage the Firewall on Raspberry Pi
Before installing Firewall on Raspberry Pi, let’s first update the packages installed on your system through the following command:
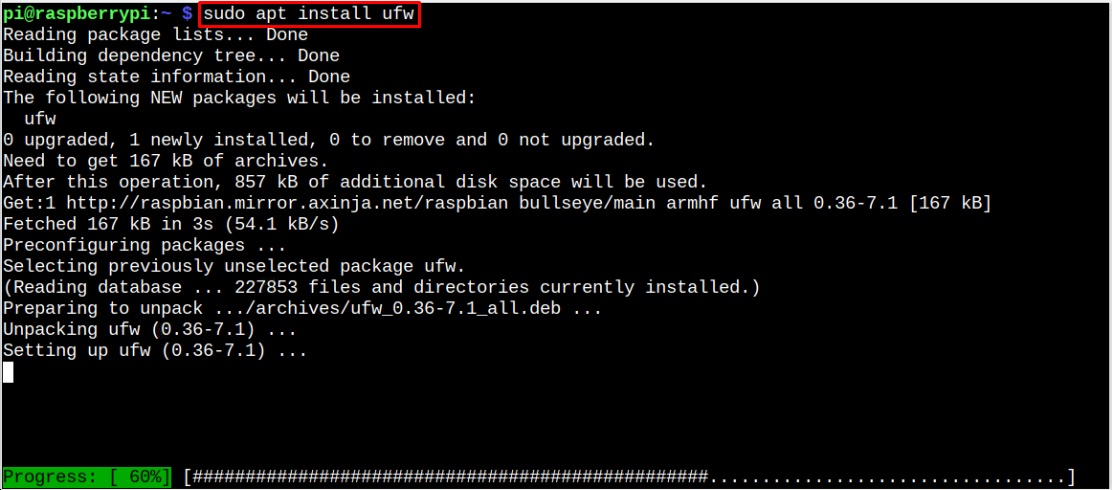
Once the upgrade gets completed, you are free to install Firewall on Raspberry Pi by the given below command:
Manage Firewall on Raspberry Pi
You can use Firewall on your Raspberry Pi system to allow or block ports in order to improve the security of your system. Like if default SSH port is blocked on your Raspberry Pi system for some reason, you can enable it through the following command:
You can also improve the security of SSH connection by limiting the number of connected users for SSH. To do this, use the below command:
You can also view or display the number of connections that are attached with the current Firewall setting. To do this, run the below-given command:
If for some reason, Firewall is disabled on your system, you can run the below-given command to enable it on your system:
To check Firewall service is active on your system, you can use the following command:
Conclusion
Firewall is an effect security tool that enable users to easily allow or block the network traffic on the system. It can be installed on Raspberry Pi system via “apt” command. Once the installation is completed, the users can use it to allow or block a specific port using the “ufw allow” command with the port number they want to block as this will add extra security measures to the system.


