Jupyter notebook is a web application that is mainly used to share equations, documents, live outputs and computational outputs with fellow researchers or teachers. JupyterLab can be used for machine learning, data analysis and other sorts of data science projects.
Since Raspberry Pi 4B is normally used for low end tasks when it comes to neural networks as it is a cost effective and comparatively easy to work on so normally students and researchers tend to install it on Raspberry Pi. The installation of JupyterLab can be quite difficult so I have described the whole process stepwise in an easy way.
Installing JupyterLab on Raspberry Pi 4B
JupyterLab was first launched in 2018 which has number of tools that are of great help for the researchers in computing results for different equations, follow the steps below to install JupyterLab on raspberry Pi 4B:
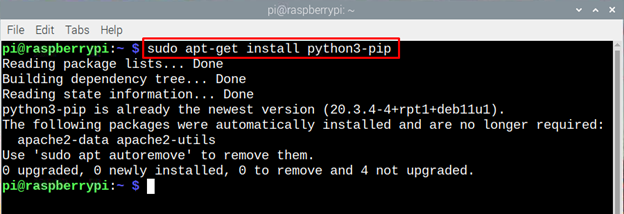
Step 1: Before getting started with installing any application it is imperative to execute the following command:

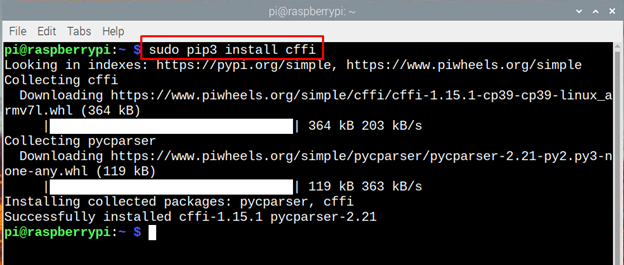
Step 2: To install the JupyterLab one must install the pip dependencies by using the below given command:
Step 3: Next install the tools using the pip 3 package installer by executing the command given below:

Step 4: After that install the library used for developing programs by using the command given below:

Step 5: Next install the packages and dependencies of python packages by executing the command given below:
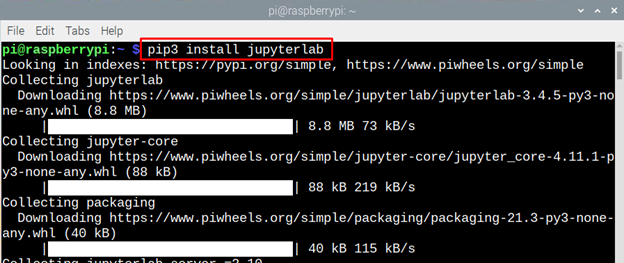
Step 6: Finally, after installing all the prerequisites for JupyterLab now install it using the pip3 package installer using the following command:
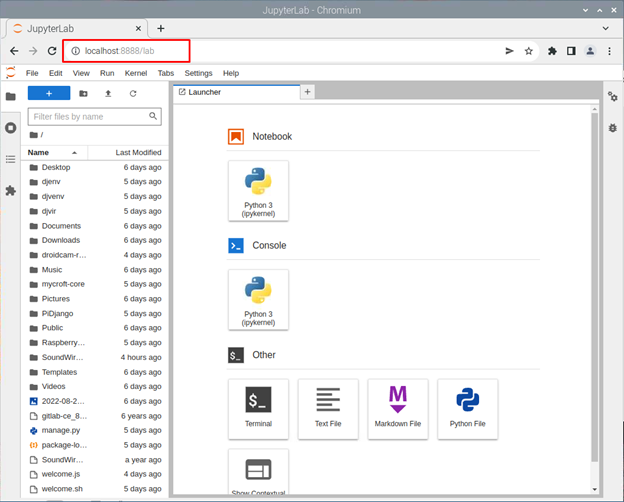
Now run the JupyterLab using the following command:
If it doesn’t run the execute the command below to run the application and a web page will open:
/home/pi/.local/bin/jupyter-lab

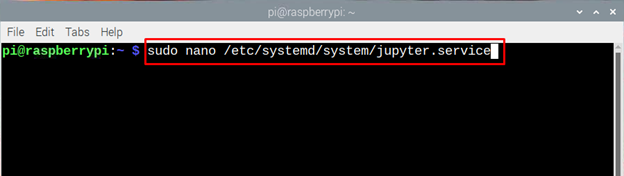
Step 7: If the application runs using the second command, then you need to create a “. service” file by using the following command:
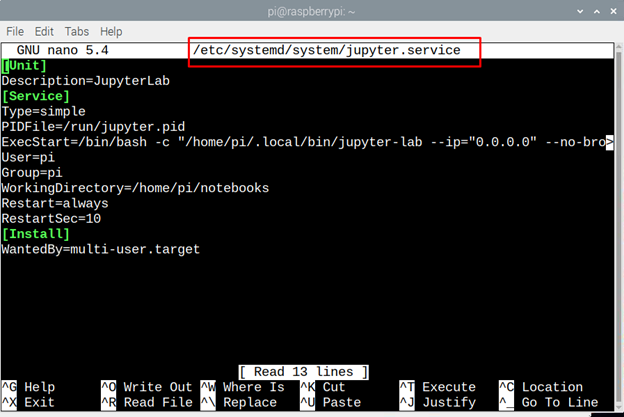
Next paste the following test in the file and close it:
Description=JupyterLab
[Service]
Type=simple
PIDFile=/run/jupyter.pid
ExecStart=/bin/bash -c "/home/pi/.local/bin/jupyter-lab --ip="0.0.0.0" --no-browser --notebook-dir=/home/pi/notebooks"
User=pi
Group=pi
WorkingDirectory=/home/pi/notebooks
Restart=always
RestartSec=10
[Install]
WantedBy=multi-user.target
Step 8: To enable JupyterLab automatically always when Raspberry Pi 4B starts then execute the given command:

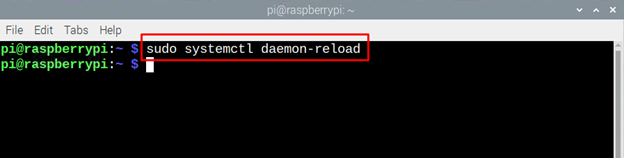
Next reload the JupyterLab by executing the following command to apply the changes to the application:
Step 9: Now reboot the Raspberry Pi and use the following command to see if JupyterLab is running or not:

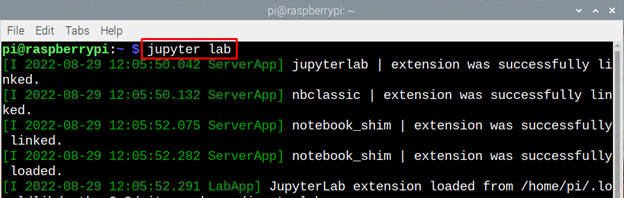
Now execute the given command to run the JupyterLab application:

So, this is how you can install a JupyterLab on a Raspberry Pi 4B and use it for various research projects and take live guidance from peers.
Conclusion
Jupyterlab is one of the best helping tool for the data scientist and the researchers who are working on neural networks, machine learning and using the python programming language.To install JupyterLab you need to install pip package installer along with the packages of python and its dependencies, after that use pip package to install the JupyterLab on Raspberry Pi.