If you are a Raspberry Pi user, you can easily install Jenkins on your device by following this article’s guidelines. This enables you to handle lightweight tasks like uploading PHP scripts or compiling small ARM applications.
Installing Jenkins on Raspberry Pi
You won’t be able to install Jenkins directly on your Raspberry Pi device because its repository isn’t included in the official Raspberry Pi repository list. However, you can successfully install it on your Raspberry Pi device using the following steps:
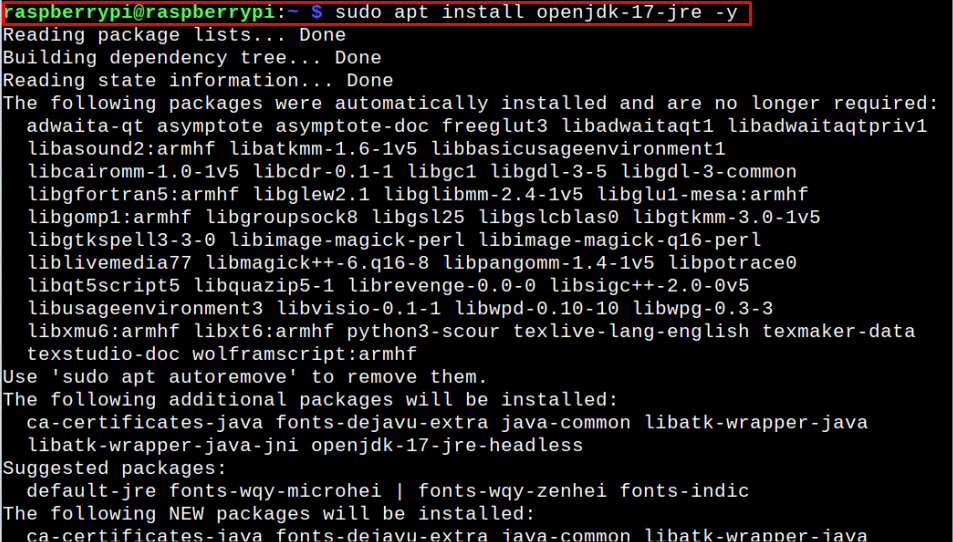
Step 1: Installing JDK on Raspberry Pi
First, you will need to install the latest version of Java Development Kit (JDK) on your Raspberry Pi device using the following command:
Step 2: Add Repository Key
Next, add the Jenkins repository key to Raspberry Pi using the following command:

If the above command outputs with an “OK” message it means the key is successfully added.
Step 3: Add Jenkins Repository to Raspberry Pi list
With the repository key successfully added, execute the below-mentioned command to add the Jenkins repository to the source list of Raspberry Pi:

The above command adds the Jenkins repository to the Raspberry Pi source list.
Step 4: Update Raspberry Pi packages list
After successfully adding the Jenkins repository, use the below-given command to update the Raspberry Pi packages list:
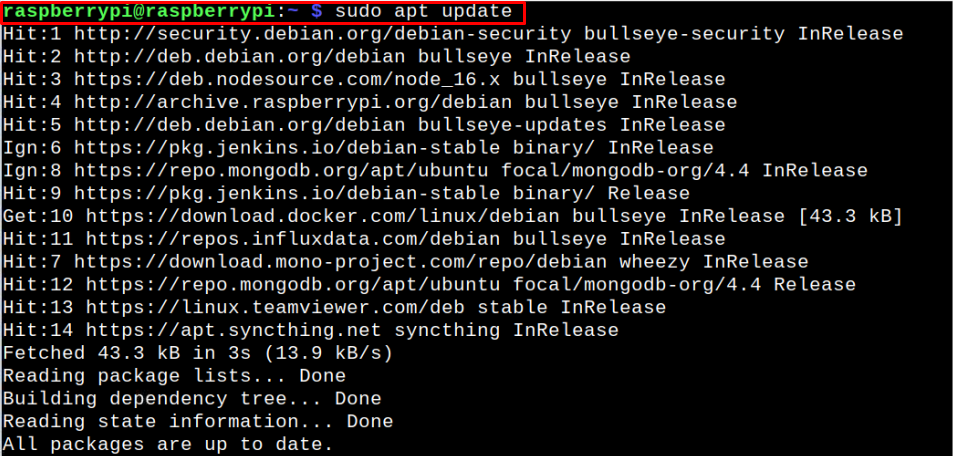
In the above output, you can see that the Jenkins repository has included in the Raspberry Pi source list.
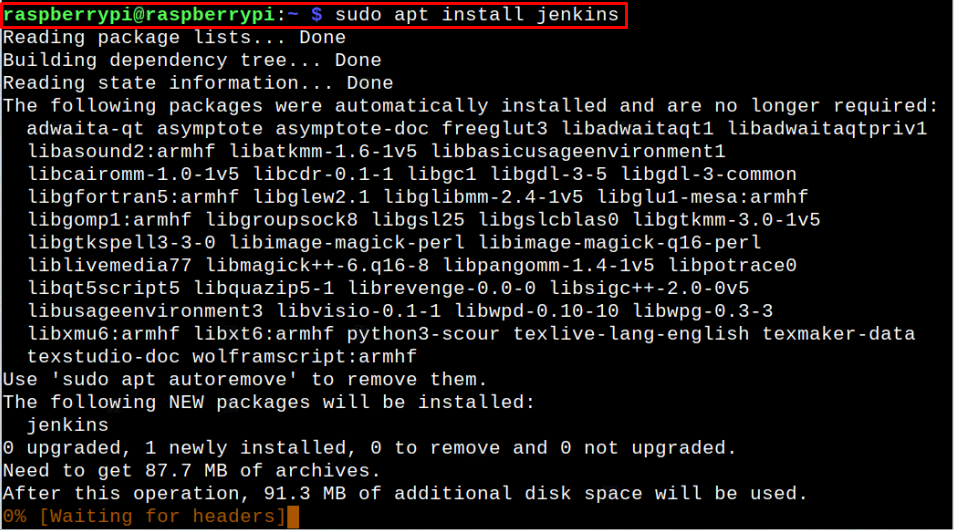
Step 5: Install Jenkins on Raspberry Pi
Once the update is successful, you can run the following command to install Jenkins on your Raspberry Pi device:
Step 6: Use Systemctl commands
Now, in this step, you will need to enable the Jenkins service on your Raspberry Pi device and you can do this using the following two commands:
$ sudo systemctl enable jenkins

The “unmask” command ensures the Jenkins server identity on your device while the “enable” command enables the Jenkins server service on your Raspberry Pi device.
You can apply the below-mentioned command to start the Jenkins server service on your device:

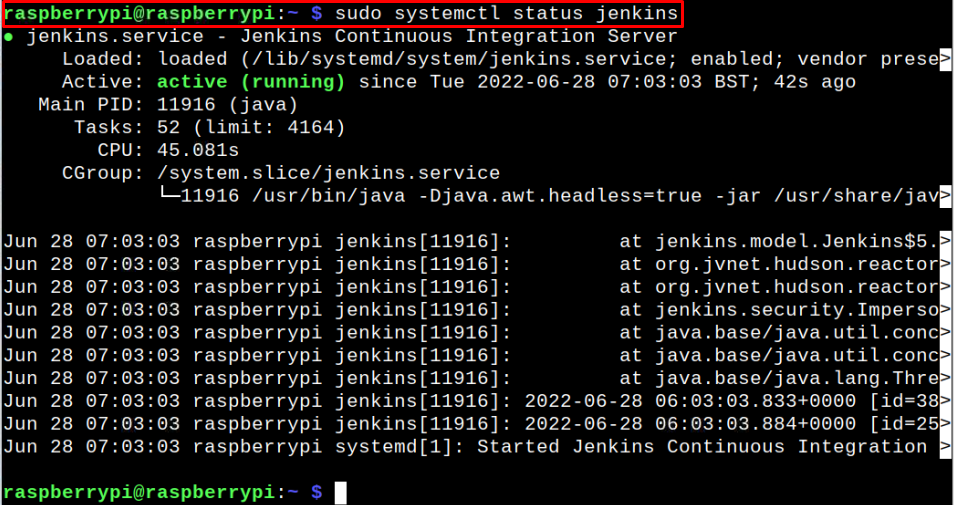
To check the Jenkins server status on your device, issue the below-mentioned command:
Step 7: Access Web Interface of Jenkins
Now, to access the Jenkins server web interface, you will first need to figure out your device IP address, which you can do by applying the following command:

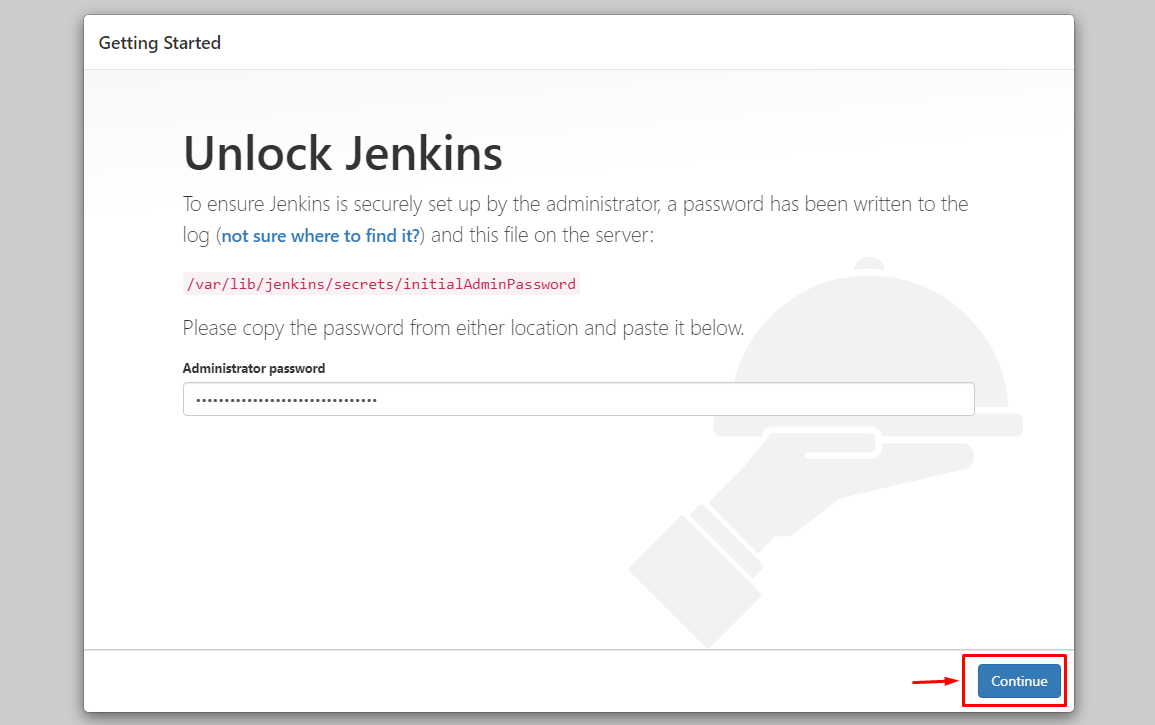
After finding the address, use the following command to get a password which you can use later on to unlock the Jenkins web interface.

Copy the password and then go to your browser tab and use the address http://<Pi_IPaddress> to access the web interface. Use the password you copied and click on the “Continue” button.
Click on the “Install suggested plugins” option.
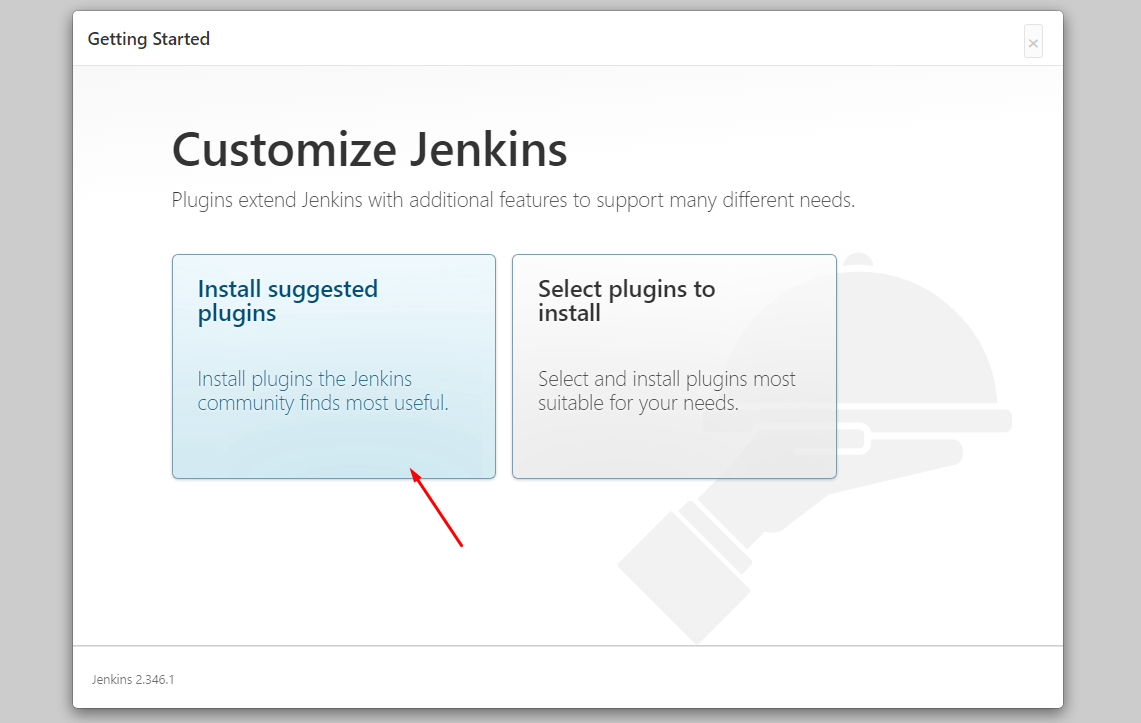
This will begin installing the required plugins which are recommended by the Jenkins community.

Once the above process completes after a few minutes, you will be directed toward the user account page where you will need to fill in the required information to create a user account for Jenkins.
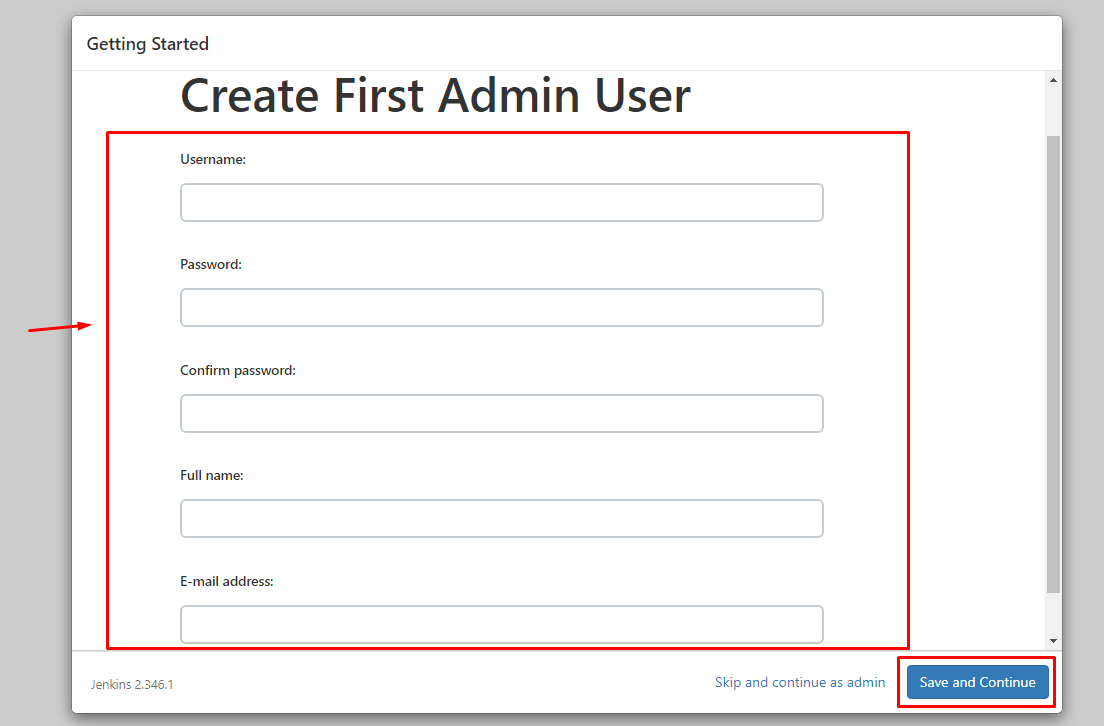
Move towards the next step by choosing the “Save and Finish” option.
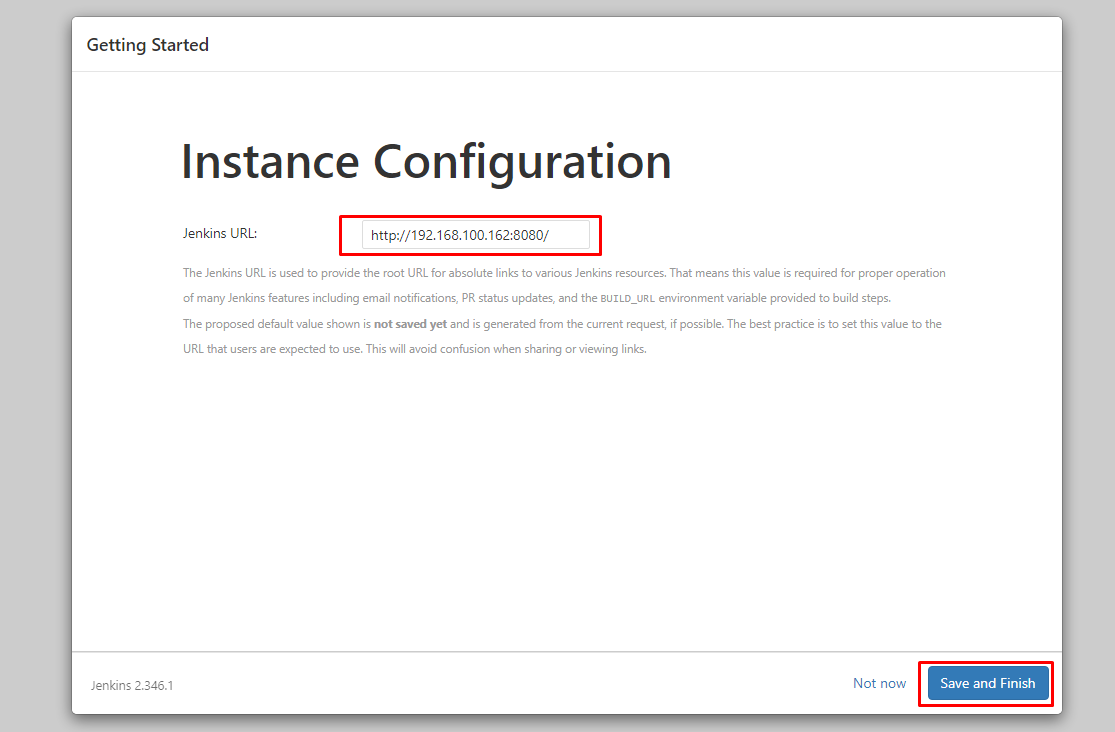
Click on the “Start using Jenkins” option.
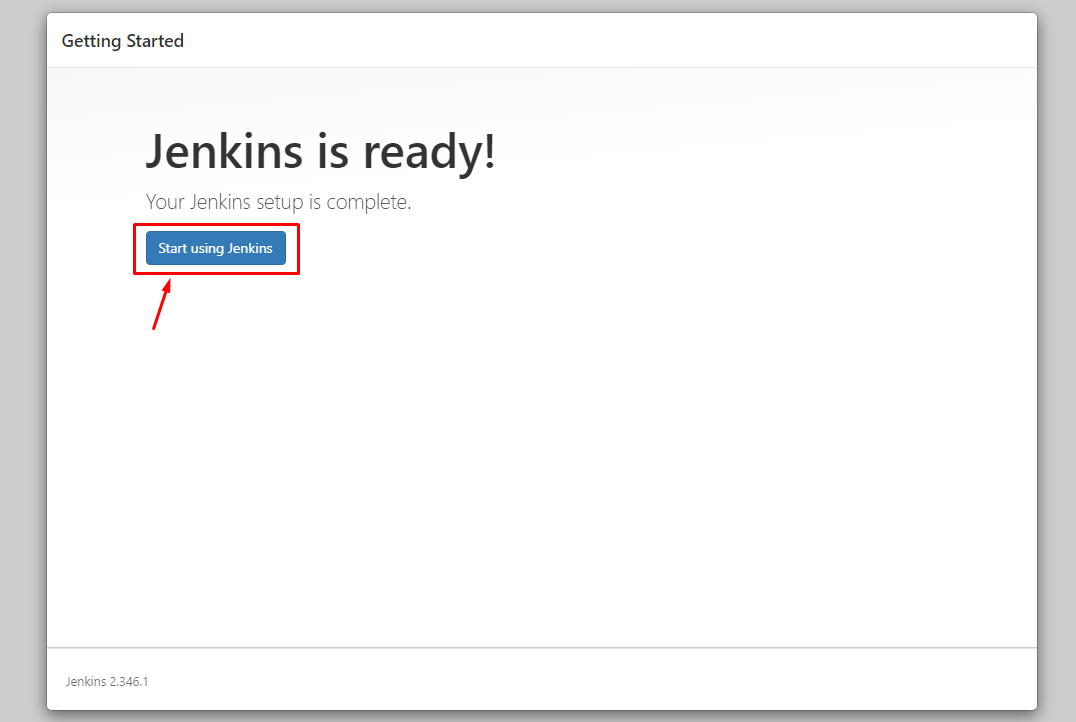
This brings you to the Jenkins dashboard where you will be able to perform your automation tasks with ease.
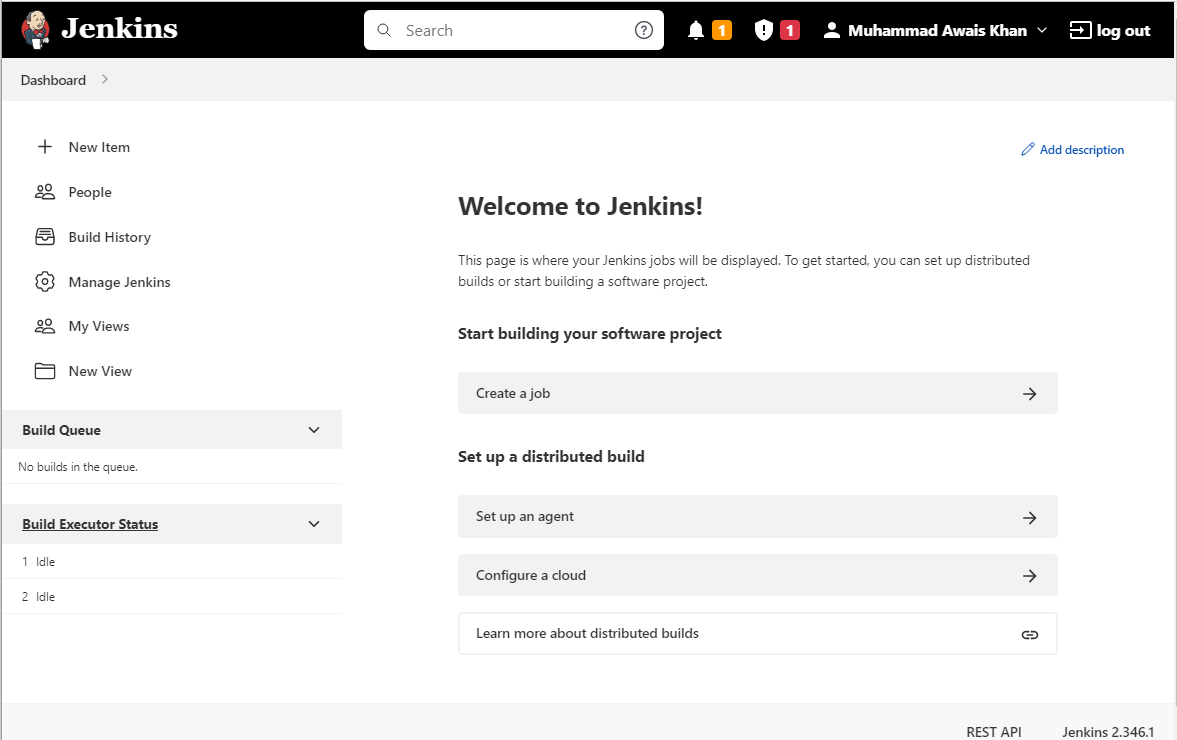
After successfully accessing the Jenkins dashboard, you are ready to set up your projects.
Conclusion
Jenkins server is an excellent platform for software developers as it helps them to build, test and deploy the software. The server uses the Java environment to handle the operations and you can easily install the server on your Raspberry Pi device using the guidelines mentioned above. These guidelines also include adding key and repository to the Raspberry Pi list and then using the simple installation command for installing Jenkins. Afterward, you can access the web interface and install the required plugins to start using the Jenkins dashboard on your browser.