Java is a powerful programming language that you can use to create a wide range of applications, such as creating web apps, games and designing embedded systems. Raspberry Pi is a useful device that you can use in different ways to unleash its full potential. This can also be done with a little help from Java that provides you the freedom to develop powerful web applications, and helps create intelligent devices to ease people’s lives. Together with Raspberry Pi and Java, you can bring innovation and creativity in your work and develop applications that ease people’s lives. For this thing to happen, you must install Java on your Raspberry Pi system.
In this guide, you will learn:
How to Install Java on Raspberry Pi
- How to Install Java on Raspberry Pi from Source Repository
- How to Install Java on Raspberry Pi from tar.gz File
- How to Install Java on Raspberry Pi from SDKMAN
How to Update Java on Raspberry Pi
How to Remove Java from Raspberry Pi
How to Install Java on Raspberry Pi
You can install Java on Raspberry Pi from:
- Source Repository
- tar.gz File
- SDKMAN
How to Install Java on Raspberry Pi from Source Repository
Installing Java on Raspberry Pi from the source repository is pretty simple and can be done in a few simple steps. However, the Java version varies with the Raspberry Pi operating system you are using. On older Raspberry Pi versions, you will be able to install Java 11, however, on the newer Raspberry Pi Bookworm operating system, you can now install Java 17 through apt command.
If you are interested in installing Java 17 on Raspberry Pi from apt repository, you can use the following steps:
Step 1: Update Raspberry Pi Repository
Before installing Java from Raspberry Pi source repository, you have to update repository from the following command:
Step 2: Install Java on Raspberry Pi
To install Java on Raspberry Pi from the source repository, you can either use the following command:
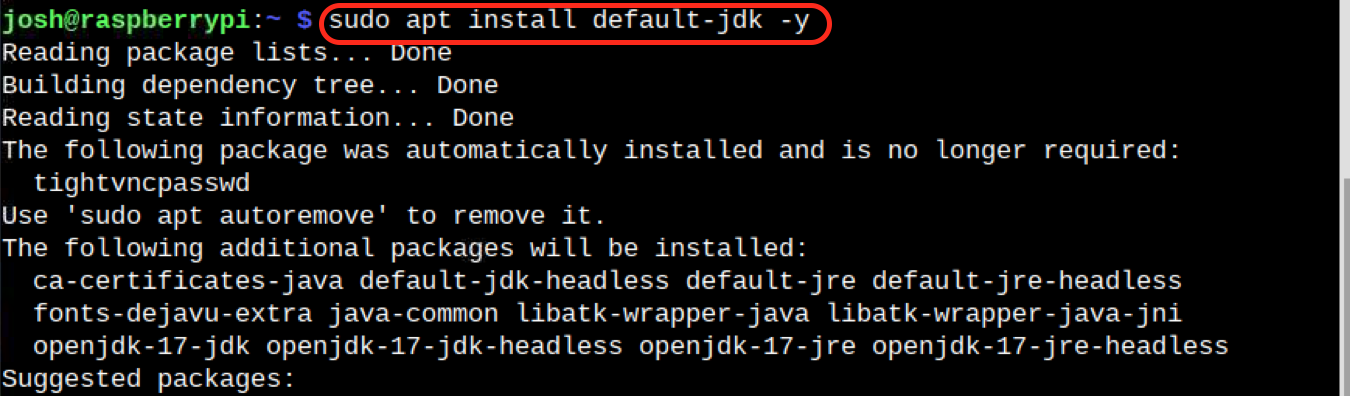
Or you can use the following command to install Java on Raspberry Pi:
Step 3: Check Java Version on Raspberry Pi
To check Java is successfully installed on Raspberry Pi, you can use the following command:

Or you can use the below-given command to retrieve only the Java version information on Raspberry Pi:

How to Install Java on Raspberry Pi from tar.gz File
If you want to install the latest Java version on Raspberry Pi then you have to download the tar.gz compress file from the official website. The downloaded file should be of aarch64 architecture which requires a 64-Bit Raspberry Pi OS. Thus, if you are using this method, you must ensure Raspberry Pi 64-Bit OS is installed on your device. After that, you can use the following steps to complete the Java installation on Raspberry Pi:
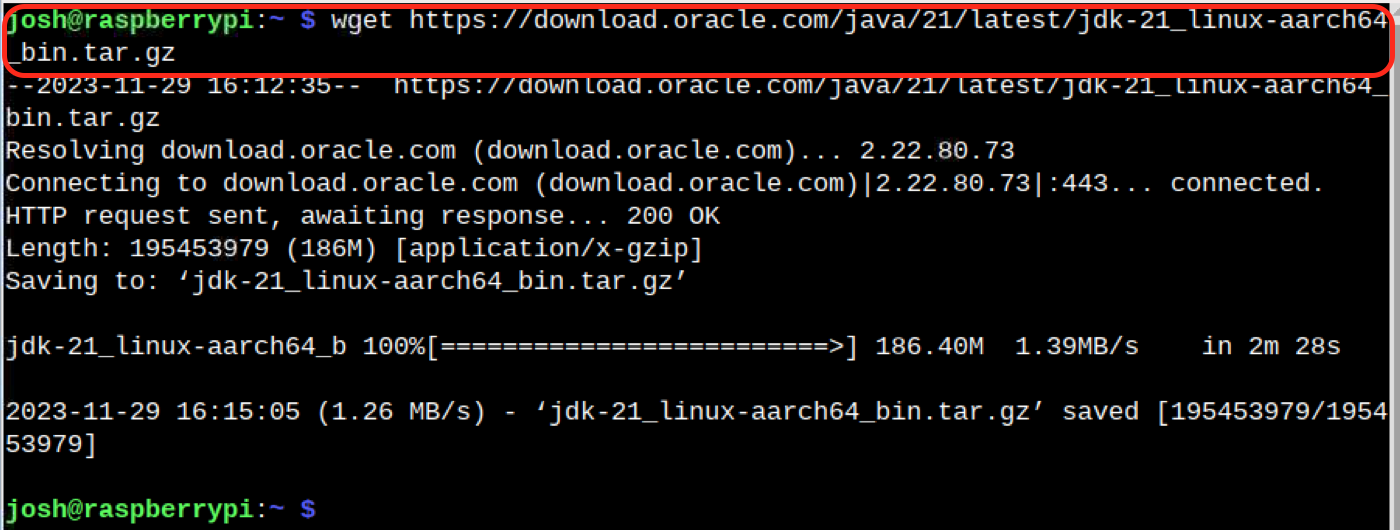
Step 1: Download tar.gz File for Java
Open your terminal and use the wget command to download the latest version Java tar.gz file on Raspberry Pi. At the time of writing this article, the latest version of Java is 21, which you can download from the following command:
Step 2: Create a Directory at /opt Location
You must create directory on Raspberry Pi with the name jdk at the /opt location using the following command:
Step 3: Extract the tar.gz Content
Now, extract the content of Java tar.gz file on Raspberry Pi to /opt/jdk location by running the command given below:
Step 4: Update Java Alternatives
You must update the Java alternative on Raspberry Pi from the update-alternatives command so that java must point to the new jdk.
The following command will need to be executed for this process as it creates a symbolic link from /usr/bin/java to /opt/jdk/jdk-21.0.1/bin/java with a priority of 100:
The same case applies for javac as well:
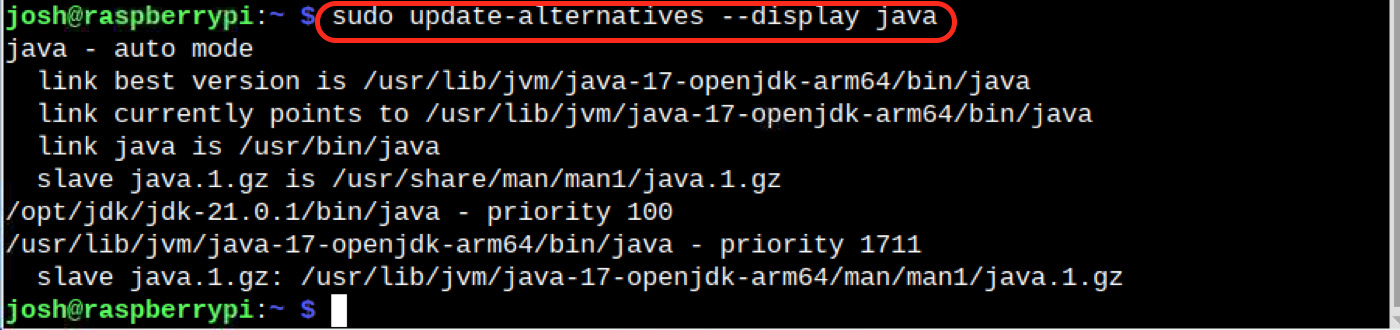
Step 5: Confirm Changes
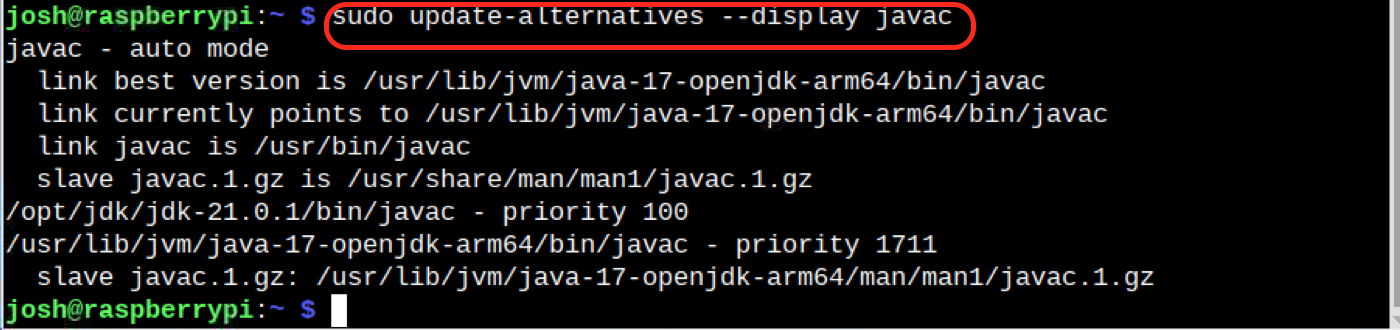
To ensure the changes you made are correctly applied on Raspberry Pi to the current Java alternatives, you can use the following command:
The same applies for javac as well:
Step 6: Select Default Java Executable on Raspberry Pi
Now, you have to select the default Java executable on your Raspberry Pi from the list of currently installed Java versions on the system. You can do this by running the command given below:
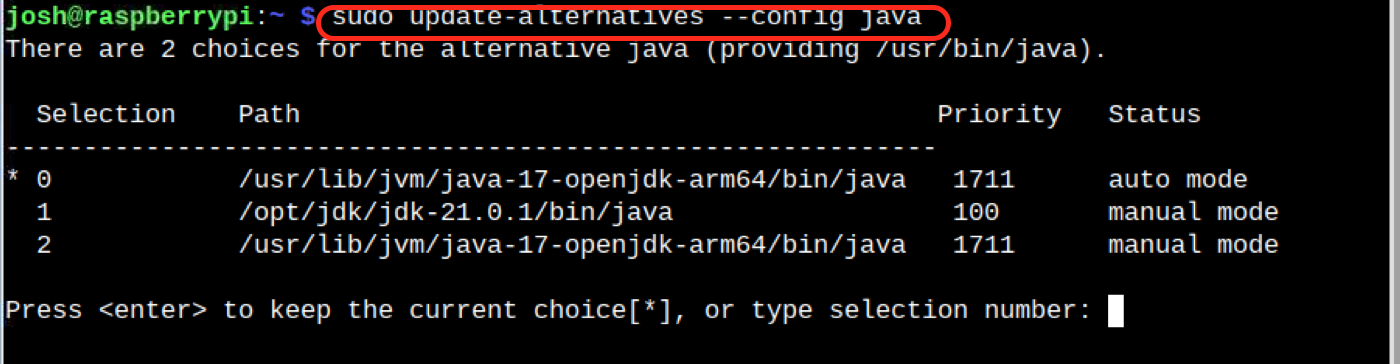
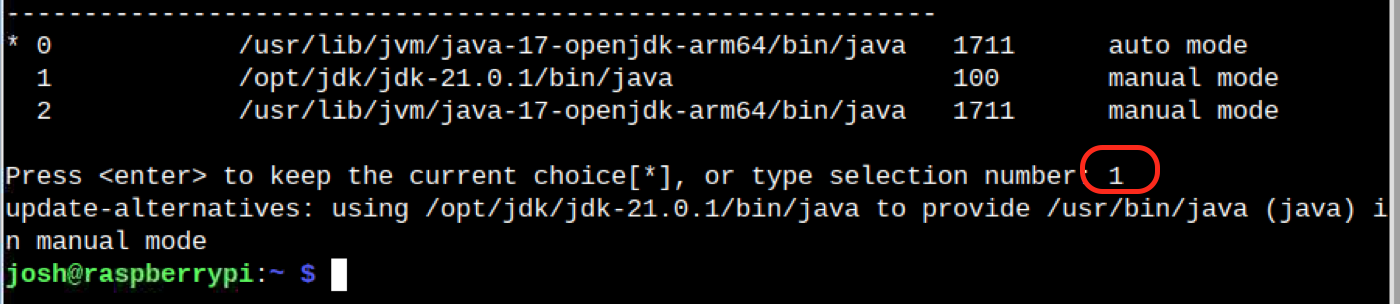
Then select the Java version that you have installed from this method, which is 21.0.1 in this, so you must select 1 to set it as a default Java version on Raspberry Pi:
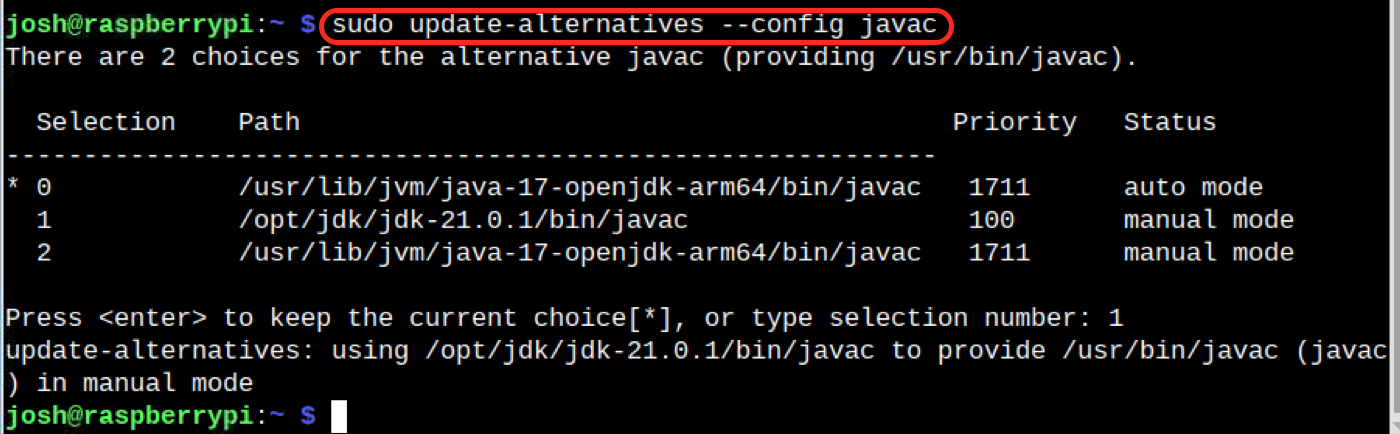
The same goes for javac as well:
Step 7: Check Java Version on Raspberry Pi
After making changes to Java alternatives, you can confirm the current Java version installed from this method using the following command:

Or get only the information of current Java version using the below-given command:

How to Install Java on Raspberry Pi from SDKMAN
SDKMAN is an open-source tool introduced by the developers to allow users to install any Java version on their system. If you are interested in installing multiple Java versions on your Raspberry Pi system, you can use the SDKMAN tool to install any Java version, this can be done from the following steps:
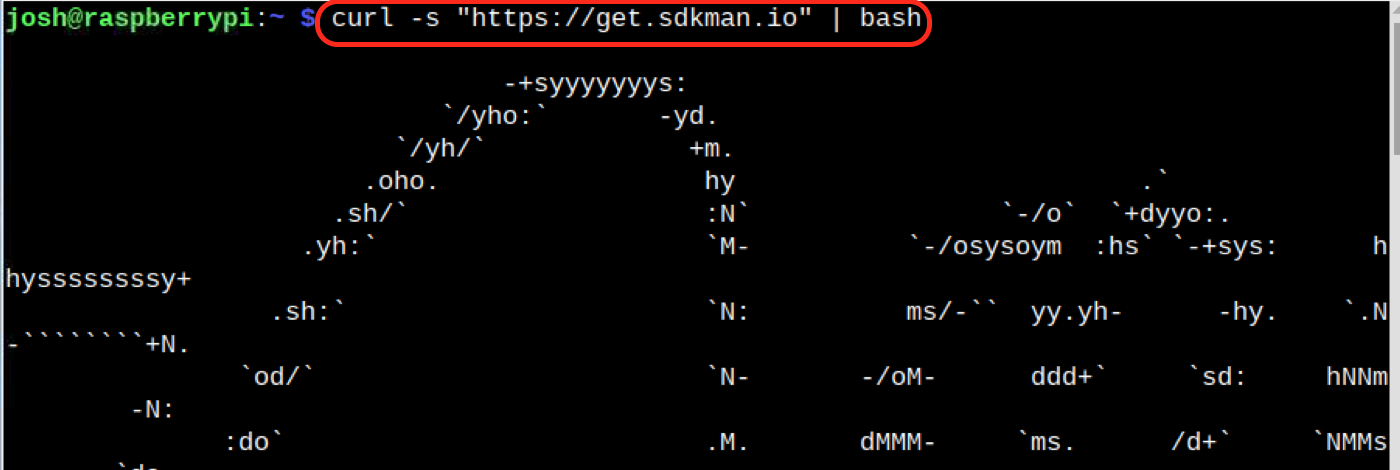
Step 1: Download and Install SDKMAN on Raspberry Pi
First, execute the following command on the terminal to download and install SDKMAN tool on Raspberry Pi:
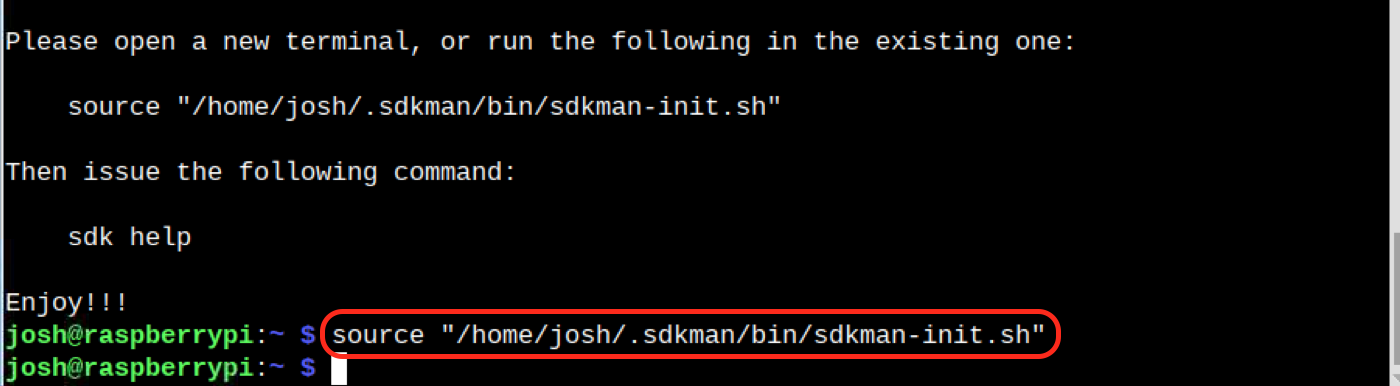
Step 2: Initialize SDKMAN on Raspberry Pi
You have to run the command that is provided to you after the completion of the above step. It will finalize the installation and initializes the SDKMAN on Raspberry Pi:
Step 3: Check SDKMAN Version
To ensure SDKMAN is correctly installed, you can run the following command that outputs the currently installed SDKMAN version on Raspberry Pi:

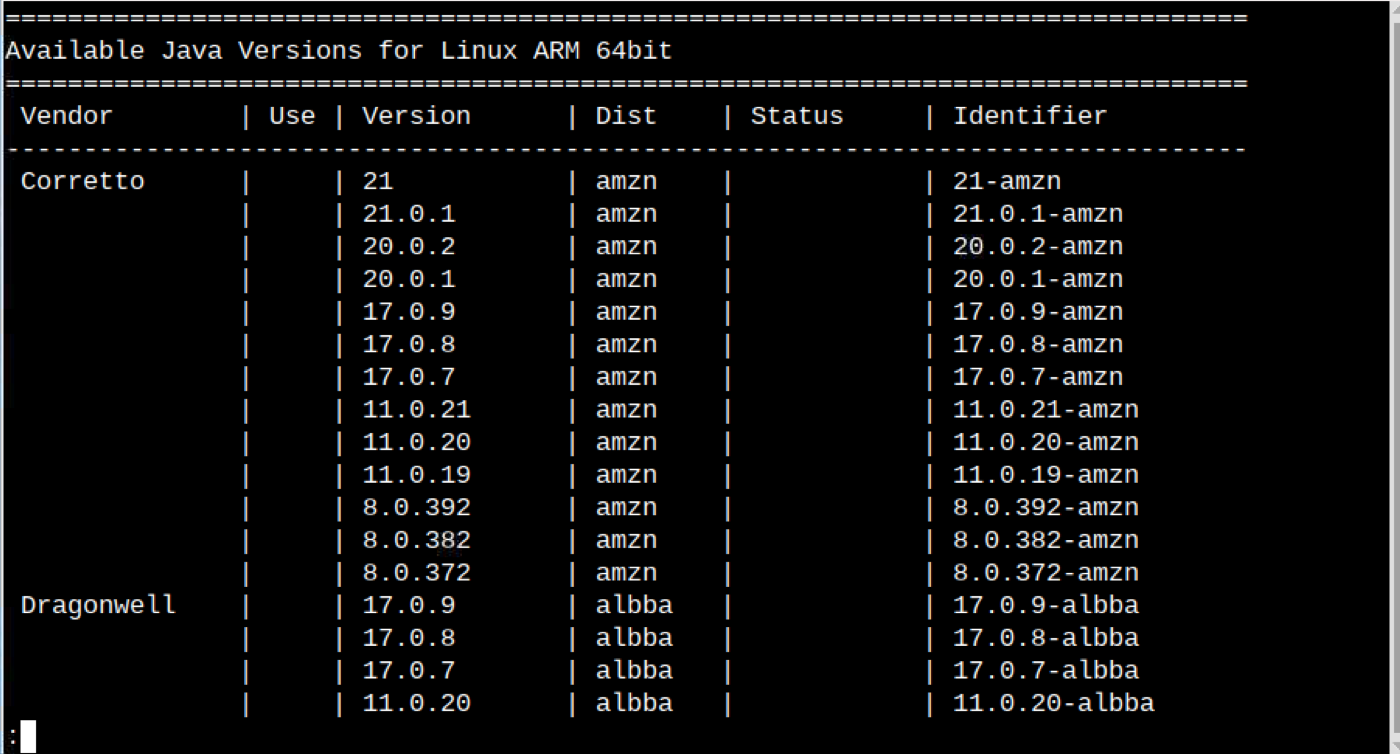
Step 4: Check List of Java Versions on SDKMAN
To check the list of Java versions that can be installed from SDKMAN on Raspberry Pi, you can simply run the following command:
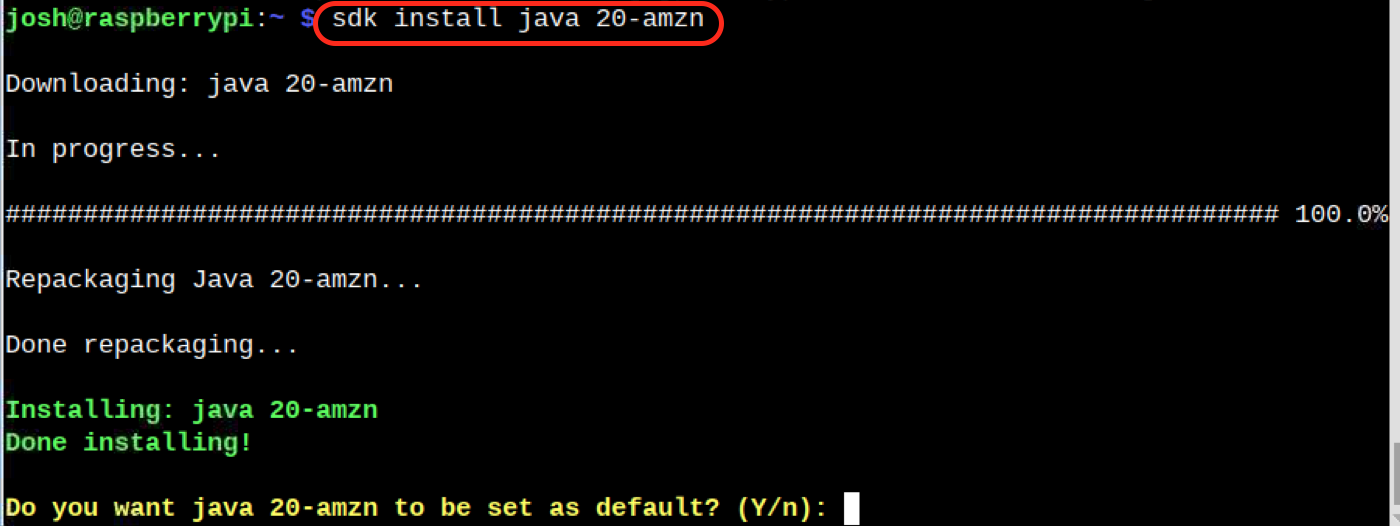
Step 5: Install Java on Raspberry Pi from SDKMAN
You have to choose the Java version according to your choice and then use the following syntax to install Java on Raspberry Pi from SDKMAN:
Here, replace Identifier with the Java version Identifier provided in the SDKMAN list. I am going with installing Java 20 on Raspberry Pi from the following command:
Reply with Y incase if it asks to set the current Java version as the default one:
Step 6: Check Java Version on Raspberry Pi
You can now check the Java version installed through this method by using the following command:

Or use this:

How to Update Java on Raspberry Pi
If there is a new version of Java available for the Raspberry Pi system, you can download and install that version on Java without removing the previous one. It means you can switch to that version by updating it on your Raspberry Pi system. If you want to learn how to update Java on Raspberry Pi, read our guide for step-by-step guidelines.
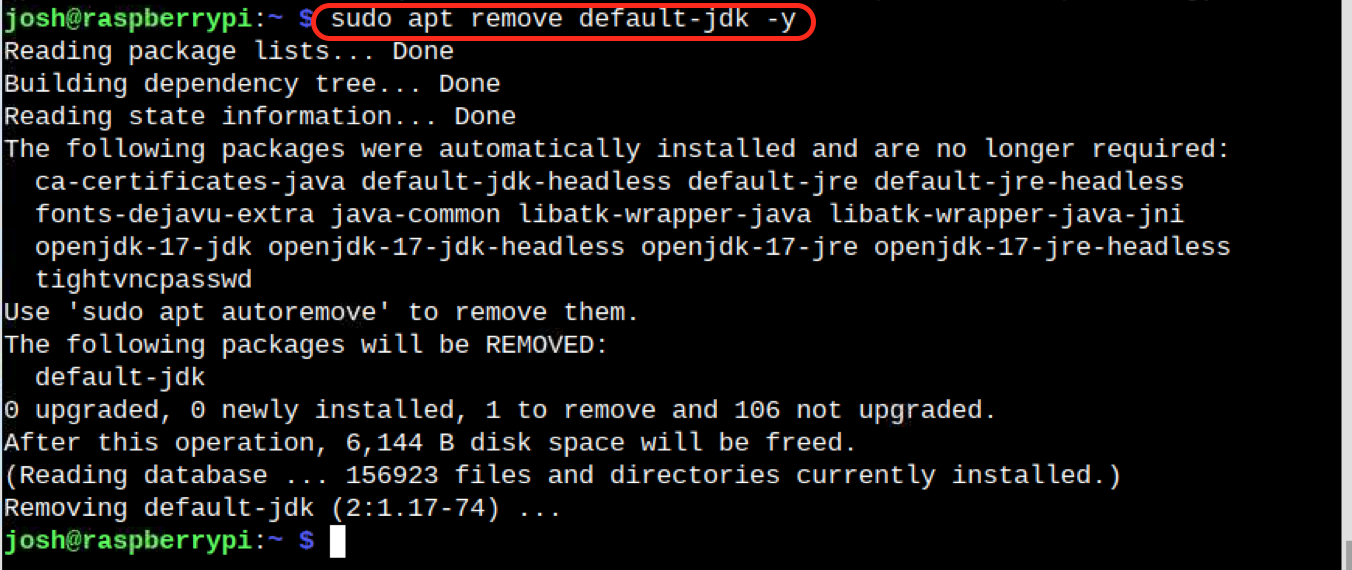
How to Remove Java from Raspberry Pi
If you want to remove Java from the Raspberry Pi system, you must switch to another Java version before removing that version from the system. The reason is removing the currently installed Java version will remove it from your PATH environment variable file. This will cause Java-based applications to stop working on your system because they will not find Java on the system. Thus, it is better to switch to another Java version no matter which method you are using for removal. For a complete guide, read here.
Conclusion
Installing Java on Raspberry Pi is a useful task that allows you to create web applications, games and design embedded systems. You can install Java on Raspberry directly from apt package manager. However, it only installs the Java 17 version on your system. If you want to install the latest version of Java on Raspberry Pi, you can use the tar.gz method or use SDKMAN tool. The SDKMAN tool provides you the freedom to install multiple Java versions on Raspberry Pi systems that can help you switch to any Java version according to the application need.