The HomeBridge uses the web interface to manage all your device activities, so you will require to set it up by installing a few dependencies to make it accessible on your browser. This article guides you with the set-up process to install HomeBridge on your Raspberry Pi device.
Installing HomeBridge on Raspberry Pi
You can perform the HomeBridge installation on Raspberry Pi using the following steps:
Step 1: Install Node.JS on Raspberry Pi
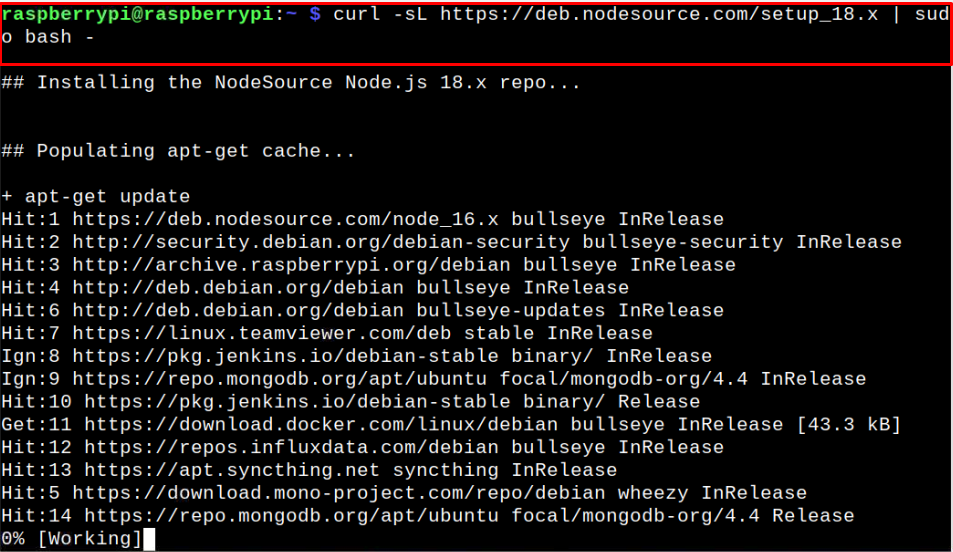
As HomeBridge is a NodeJS server, so you must install node.js on your Raspberry Pi device. However, to install the latest version, you must add the official node.js repository to the Raspberry Pi packages list using the following command:
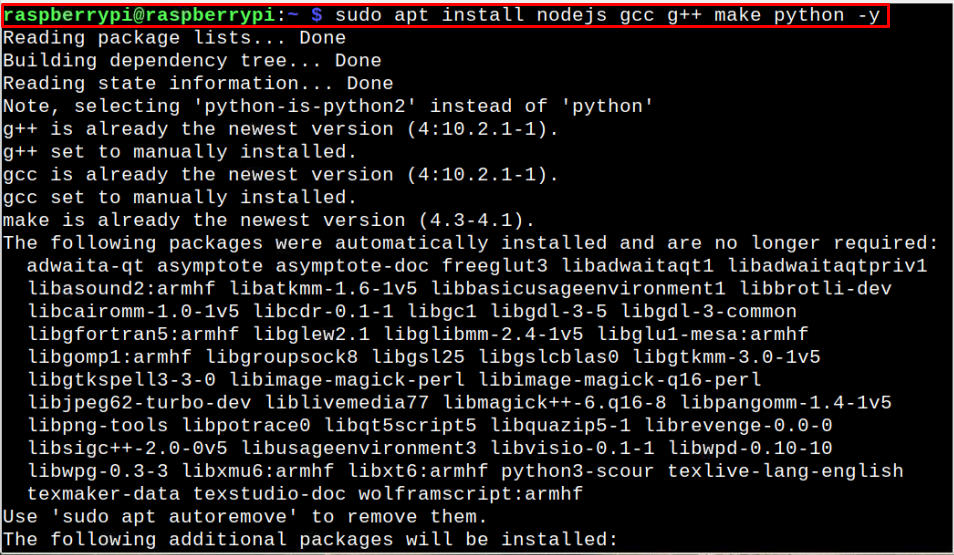
After successfully adding the node.js repository, you can easily install node.js with Python and GCC compiler on your Raspberry Pi device using the following command:
Once the operation is successful, you can run the following command to check for the installed node.js version on your device:

Ensure that NodeJs also install the NPM package manager on your Raspberry Pi device using the following command:

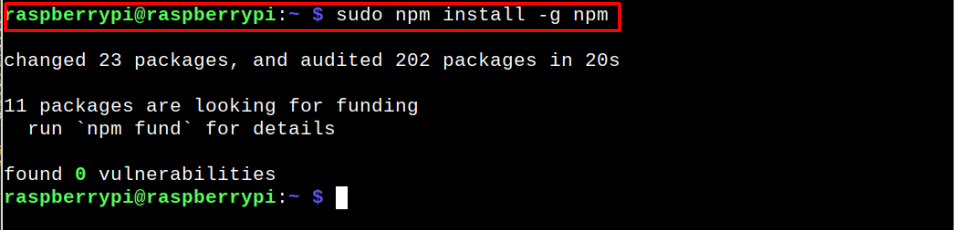
Now update the NPM package manager using:
Step 2: Installing HomeBridge Raspberry Pi
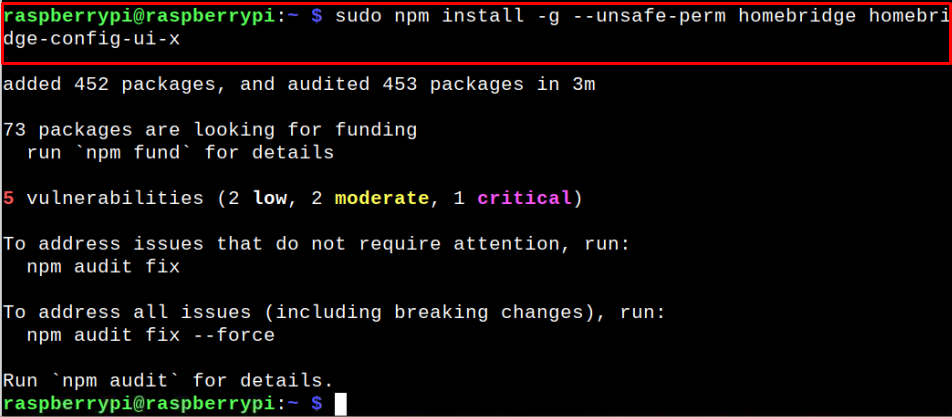
After successfully installing the NPM package manager on your device, execute the following command to install HomeBridge and HomeBridge Config UI X modules on Raspberry Pi.
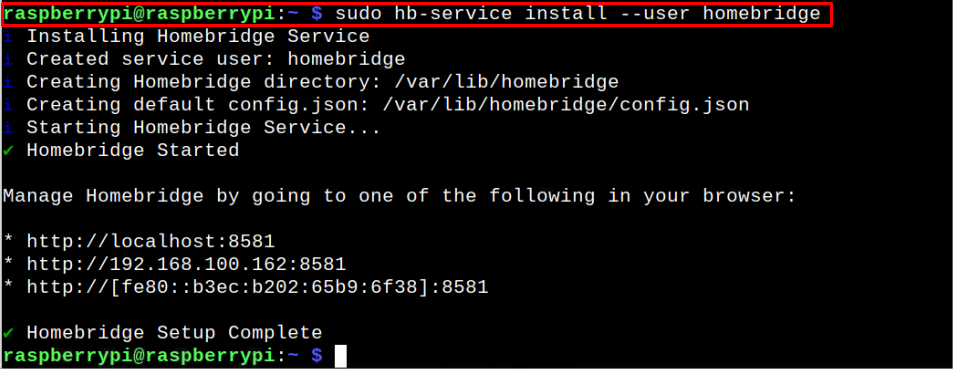
You will also need to run one final command as given below to install the HomeBridge service on your Raspberry Pi device and allow the HomeBridge to startup at boot.
Step 3: Accessing the Web Interface of HomeBridge
After successfully installing HomeBridge on Raspberry Pi, you can access the web interface by using one of the links that appear in the below output.

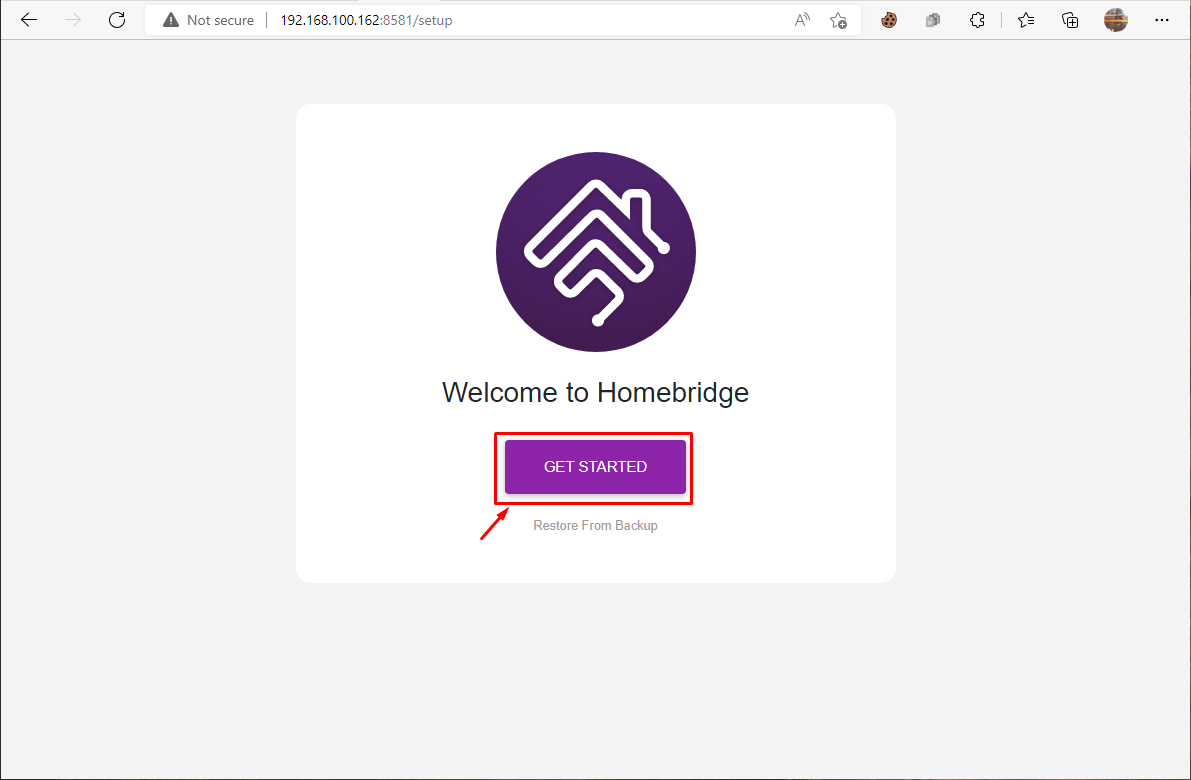
Click on the “GET STARTED” button..
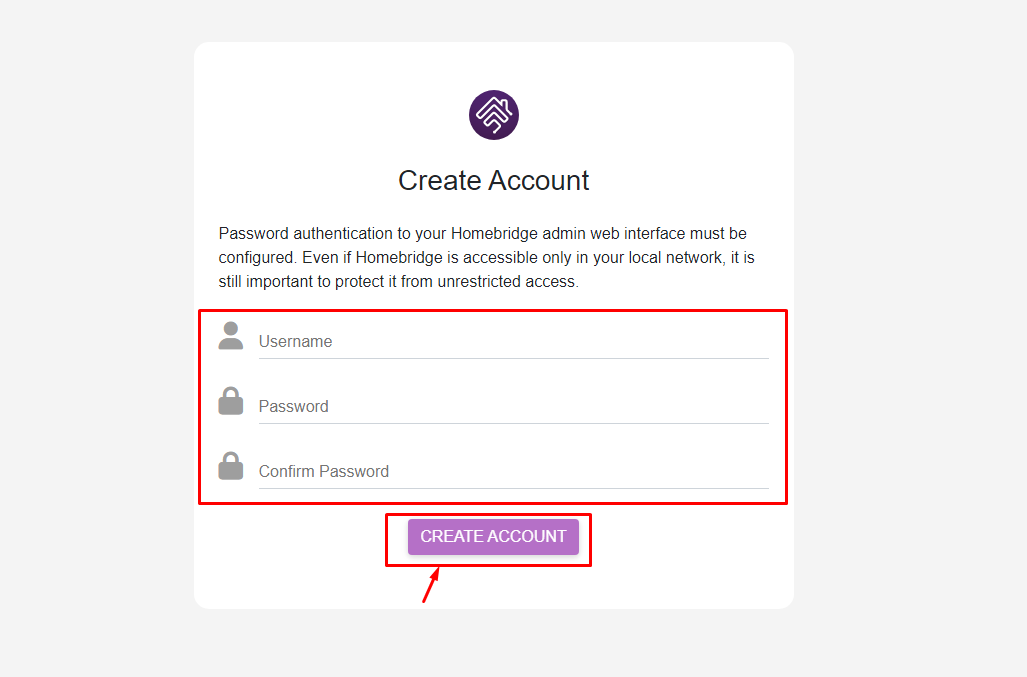
In the following screen, you will need to create your account first after filling in the required information and then click on the “CREATE ACCOUNT” button to complete the process.
Now, click on the “OPEN DASHBOARD” button.

This will open the HomeBridge dashboard on your browser and there you will be able to see the information about your Raspberry Pi device.
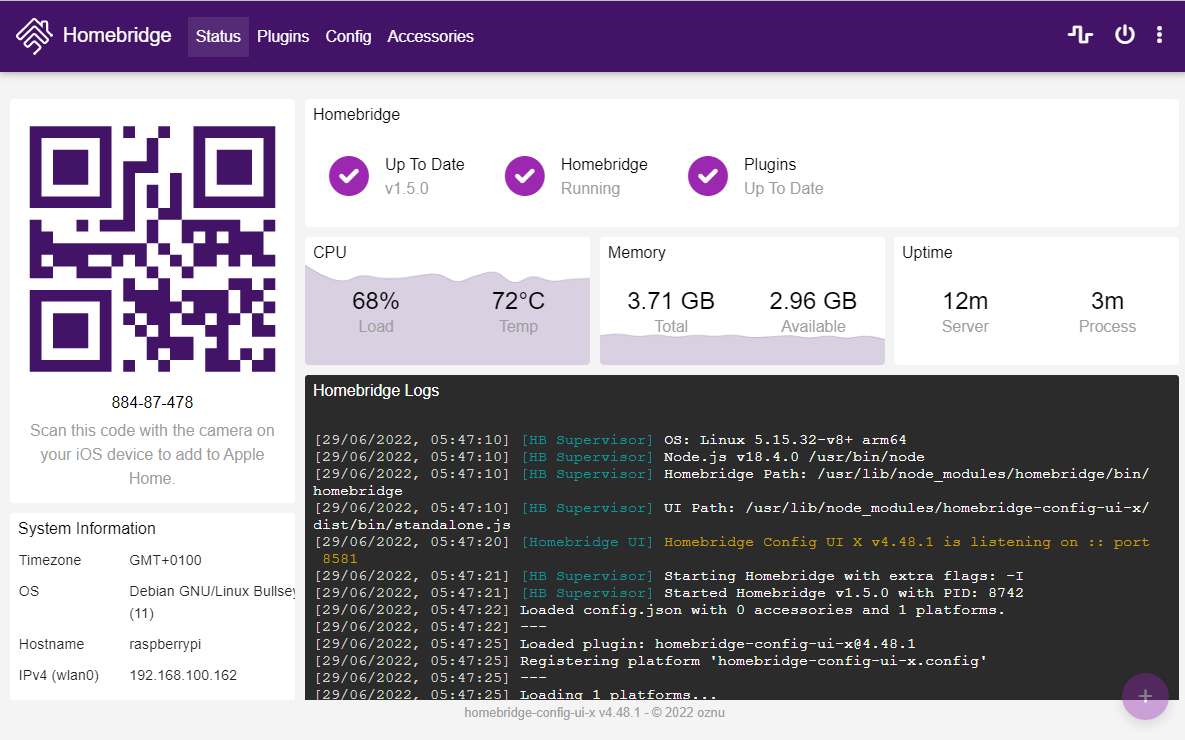
Using this interface, you can easily install different plugins as well as modify your HomeBridge configuration. You can also add this to Apple Home by scanning the QR code.
Conclusion
HomeBridge is a software hub that provides an easy-to-use web interface for Raspberry Pi users to manage and control their smart home devices anywhere. Setting up HomeBridge on Raspberry Pi is pretty simple and you can do it in a few minutes using the above step-by-step instructions. After successfully accessing the web interface using the device’s IP address, you can install and configure various plugins as well as control your HomeBridge accessories onto your browser.