This article is a detailed guide to easily install Hex Editor on Raspberry Pi OS.
How to Install Hex Editor on Raspberry Pi OS?
To install Hex Editor on Raspberry Pi, carefully follow the steps-by-steps instructions below:
Step 1: Before installing any new package the first step is to update the repository so that one gets the latest update about the packages:
Step 2: After updating, now it is time to upgrade the packages by running the below-mentioned command:
Step 3: Now after updating the repository, run the below-mentioned command to install Hex Editor on Raspberry Pi system from the system repository:
Step 4: After installation, the Hex editor can be used to open any file in its hex or ASCII form and it can be edited too. To open the Hexadecimal raw form of any file, run the below-mentioned command along with the name of file:
Syntax
Example
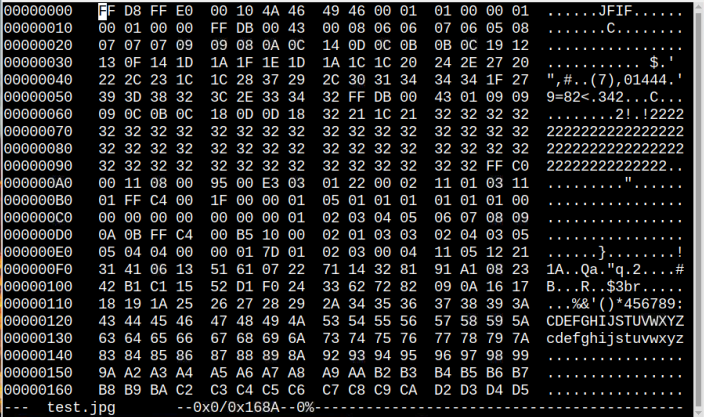
Here, I have opened a test jpg file using Hex Editor.
As soon as you run the above command, the hexadecimal form of the file will appear on the screen which is editable too:
You can now edit the Hex code inside any file and after the changes, you can save it using “CTRL+X”.
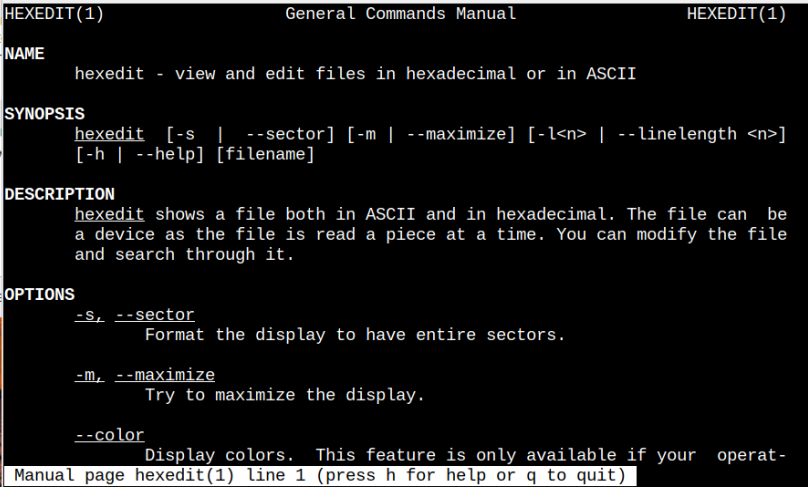
For help, you can open Hex Editor help section using the following command:
There you will see different options to work with the ASCII or hexadecimal code; like you can format the display, maximize the display, or change the colors in the file.
Remove Hex Editor from Raspberry Pi
To remove Hex Editor from Raspberry Pi, use the below-mentioned command:
Conclusion
Hex Editor is an open-source editor for editing the hexadecimal or ASCII code of files and it can be installed on Raspberry Pi from the official repository using the apt command. After successfully installing the editor, you can open the Hexadecimal form of any file by running the hexedit command along with the name of that file. You can also use different options with hexedit command and edit the files according to yourself.


