Follow this article’s guidelines to install the Gnome System Monitor tool on Raspberry Pi.
How to Install Gnome System Monitor on Raspberry Pi
You can install Gnome System Monitor on Raspberry Pi from the following steps:
Step 1: Update the packages list on Raspberry Pi from the following command:
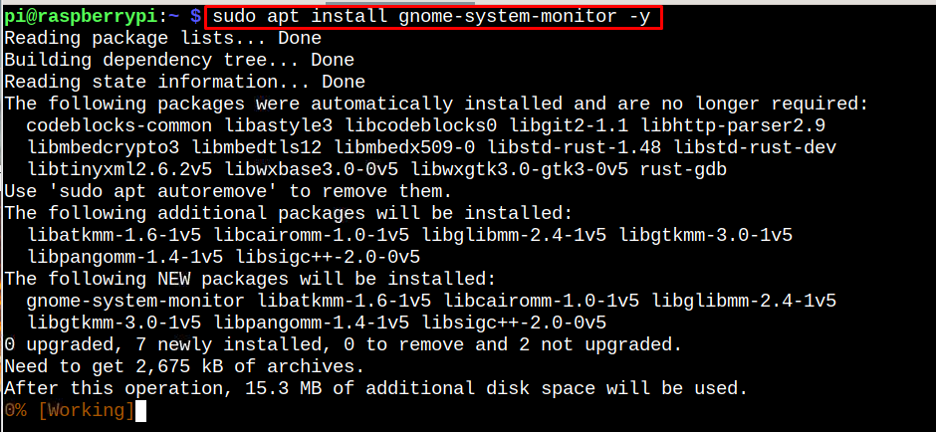
Step 2: Then install Gnome System Monitor from the following command:
Step 3: Confirm Gnome System Monitor Installation
Ensure Gnome System Monitor tool is installed on Raspberry Pi and for that, you have to run the below-given command:
Run Gnome System Monitor on Raspberry Pi
You can run Gnome System Monitor on Raspberry Pi through terminal via “gnome-system-monitor” command:
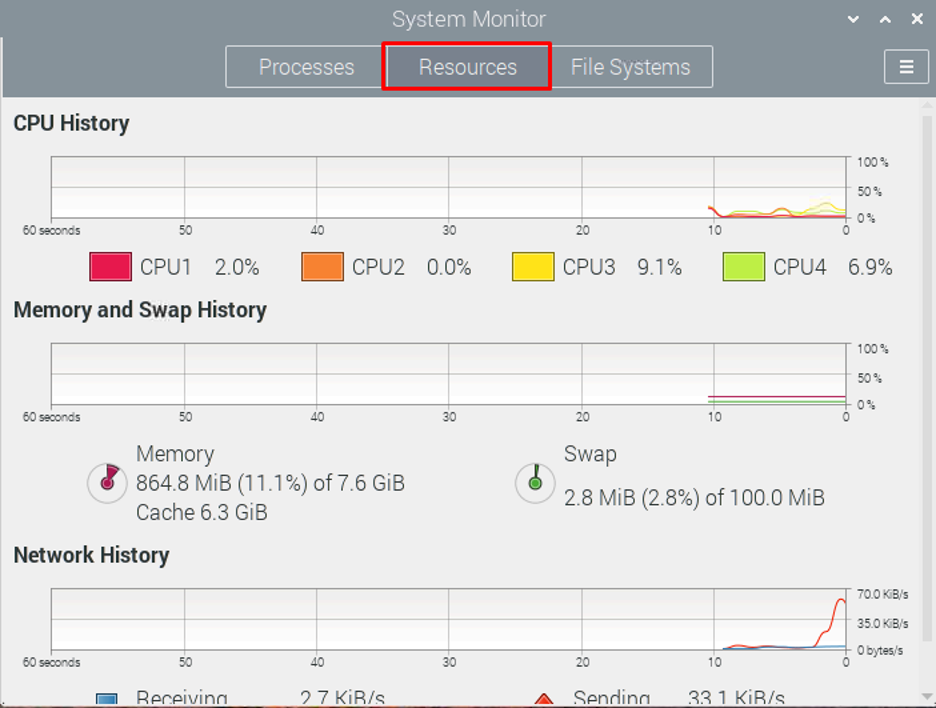
At the Gnome System Monitor dashboard, you will see the three different tabs, including Processes, Resources and File Systems.
You can navigate to the “CPU Resources” tab to view the CPU, memory swap and network history.
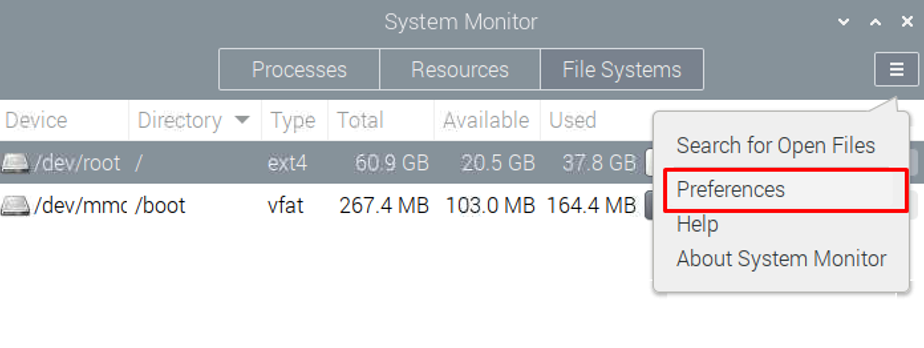
You can navigate to the “File Systems” tab to view the disk information on Raspberry Pi.

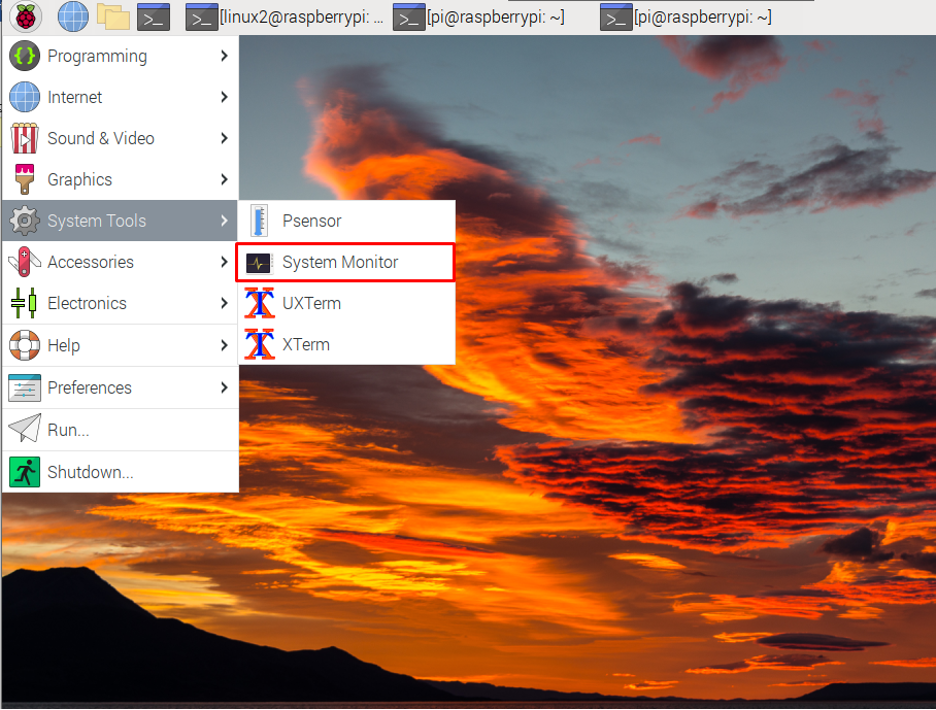
You can also run Gnome System Monitor from GUI in the “System Tools” option.
Remove Gnome System Monitor from Raspberry Pi
To quickly remove Gnome System Monitor from Raspberry Pi, follow the below-given command:
Conclusion
Gnome System Monitor is a lightweight GUI-based monitoring tool that can be installed on Raspberry Pi directly from the “apt” install command. The users can then open this monitoring utility from the terminal using the “gnome-system-monitor” command or through GUI from the “System Tools” section. They can also remove this utility anytime from the system through the “apt remove” command.


