In this article, you will learn how to install Git on Raspberry Pi through different methods to pick a suitable one for yourself. So, let’s dive into the guidelines.
Install Git on Raspberry Pi
On a Raspberry Pi system, you can install Git from the following two methods:
Method 1: Install Git from Raspberry Pi Repository
The Raspberry Pi official repository includes the Git repository, making it a straightforward task to install it on your Raspberry Pi system through the “apt” command. However, before starting the installation process, you should first update the Raspberry Pi repository from the following command:

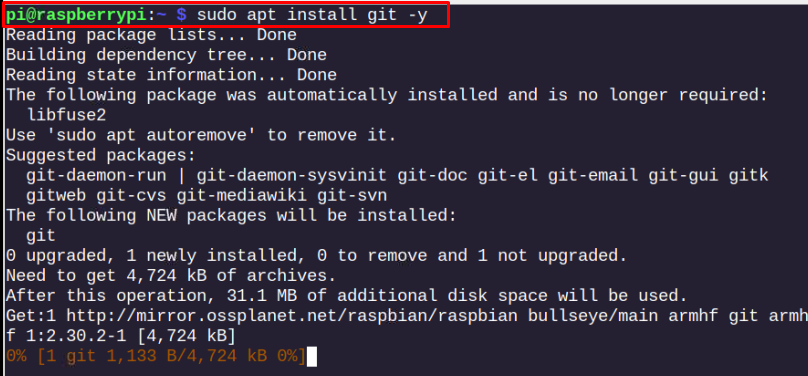
After updating the repository list of Raspberry Pi, you can then install Git from the below-given command:
After the installation, you can check the Git version on Raspberry Pi via the following command:

Through the above method, you won’t be able to install the latest version of Git, but the version you get won’t be the older one either.
Method 2: Install Git on Raspberry Pi from GitHub Source
In case you want to install the latest version of Git on your Raspberry Pi system, you can follow this method, which might be tricky and time-consuming, but it will install the latest version of Git.
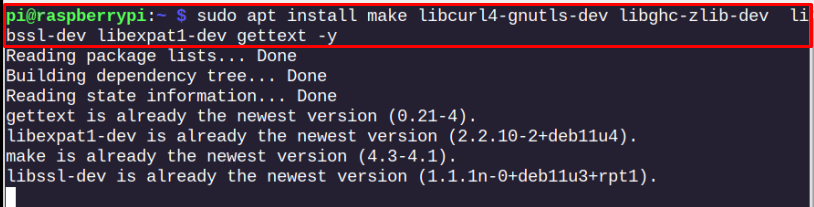
Before downloading the main installation file, you should install some prerequisites needed to install Git on the Raspberry Pi system successfully. Follow the below-mentioned command to install these prerequisites on Raspberry Pi.
After installing the prerequisites, follow the below-mentioned steps to install the latest version of Git on the Raspberry Pi system.
Step 1: Download tar.gz File for Git on Raspberry Pi
First, you must download the latest version of Git tar.gz file on Raspberry Pi through the following command:
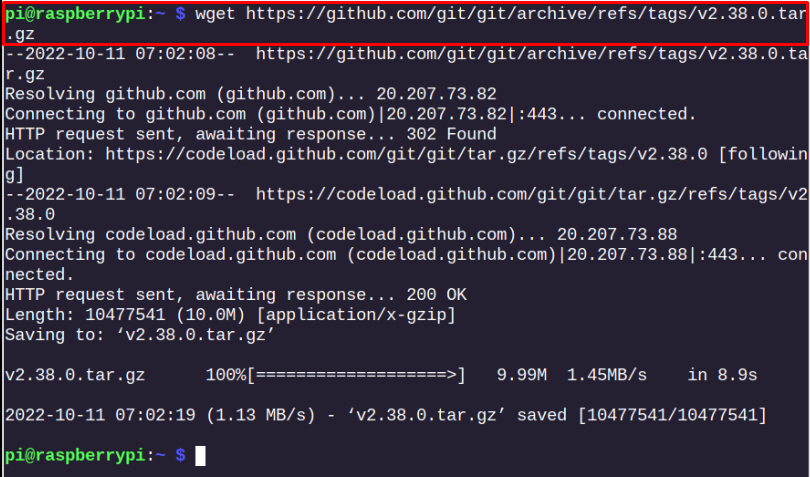
You can check for the latest version update from here and then download it accordingly.
Step 2: Extract Git tar.gz File on Raspberry Pi
To extract the contents of Git, execute the below-mentioned command:

Make sure to check the name of the tar.gz file and then replace it accordingly in the above command. The above command puts the contents of Git inside a directory “git-2.38.0”.
Step 3: Setting up Git for Raspberry Pi
To perform the Git installation, you should open the directory first through the following command:

Compile the installation files for Git through the following command:
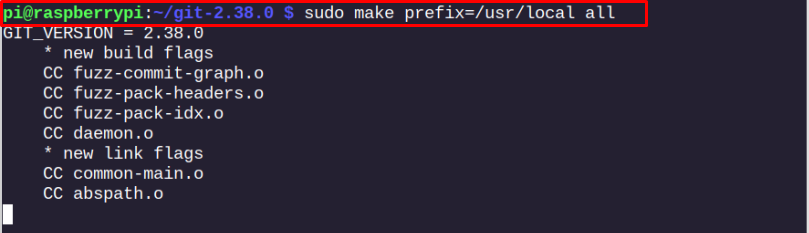
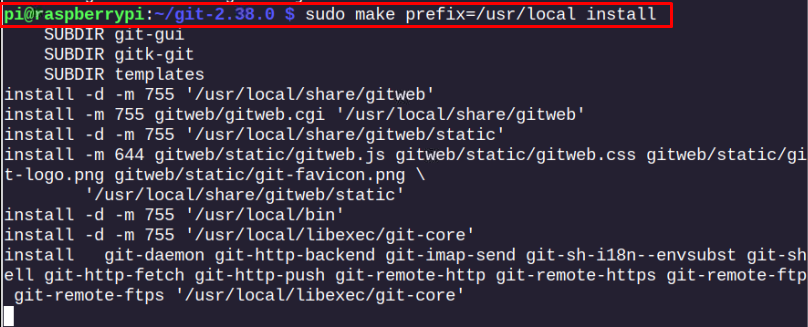
The compilation takes some time and once it’s finished, you can then apply the following command to install Git on your Raspberry Pi system.
Step 3: Check Git Version on Raspberry Pi
After successfully installing Git on Raspberry Pi, you can confirm the installation of the latest version of Git on your system through the following command:

The above output ensures that the method successfully installed the latest version of Git on your Raspberry Pi system.
Conclusion
Installing Git on Raspberry Pi is a matter of a single command in case you are okay with installing the older version of it on your system. However, to install the latest version, you should download the tar.gz file from the GitHub source and extract its contents. To begin the installation of the latest version of Git, you must install some perquisites first before moving towards the main setup process provided in the above guidelines that use the “make” command to install Git on your Raspberry Pi system successfully.