Fonts are computer writing styles that can be used for multiple purposes in our everyday life like for designing presentations, documents, posters, graphics and many more. There are a variety of cool fonts available online like 3D fonts, handwriting fonts, fancy fonts, and so many other categories. While using a Raspberry Pi system, you might not find your favorite font but you don’t need to worry you can easily install your favorite font with the help of the below-given guide.
How to Install Fonts on Raspberry Pi
There are two methods to install fonts on Raspberry Pi, those are:
- Through GUI
- Through the Terminal
Let’s start exploring both methods.
Method 1: Install Fonts on Raspberry Pi Through GUI
To install numerous stylish fonts for your Raspberry Pi from GUI, follow the guidelines below:
Step 1: Firstly, you need to download the free fonts’ .ttf file in your system from this website. There are so many categories of fonts available on this website you can choose any of them.
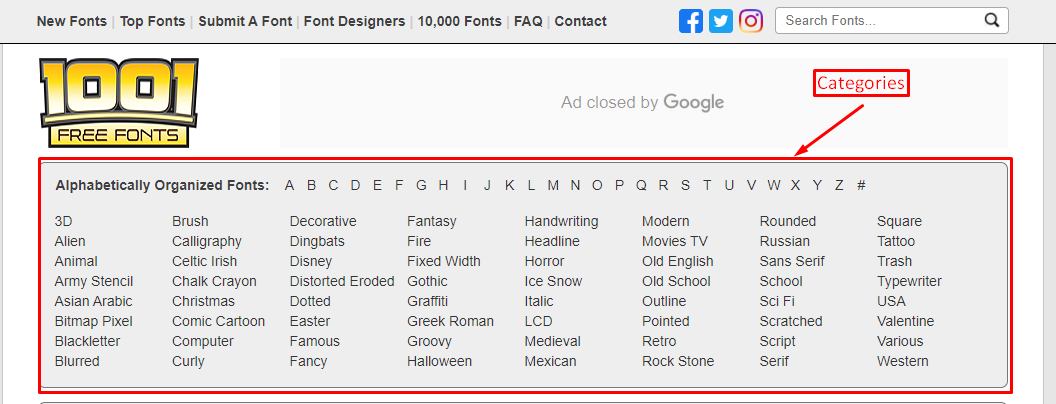
After selecting the category, click on the Download button present at the right of each font style.
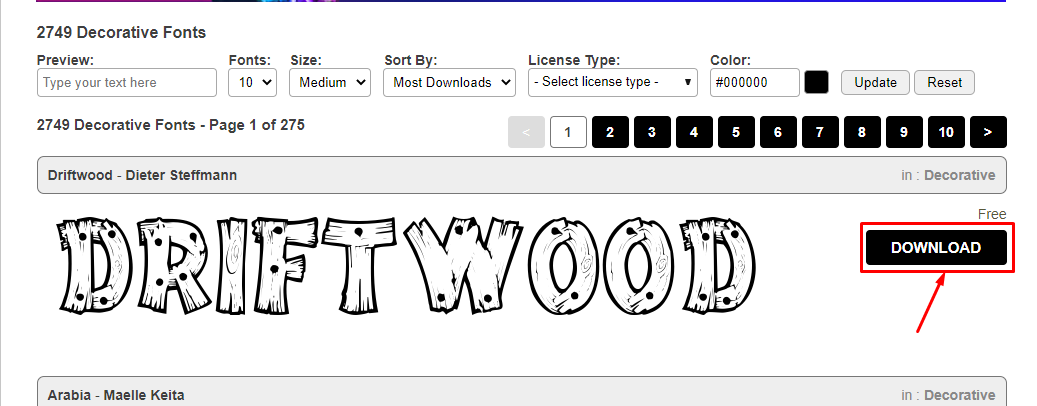
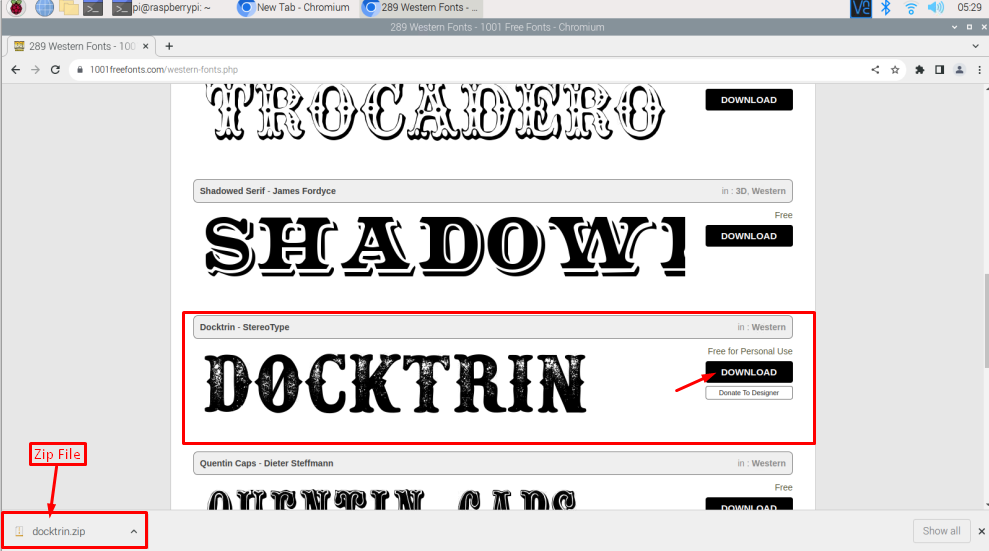
Step 2: For example, I will download the Docktrin font from Western category; the downloading of the zip file will start as soon as the download button is clicked and then wait for a few minutes.
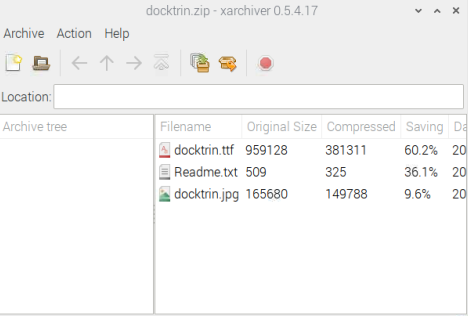
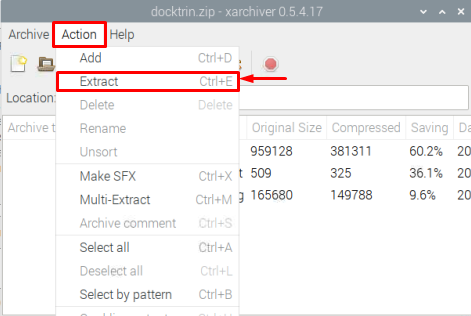
Step 3: Once the downloading process is completed, click on the zip file to open it. This will open the docktrin.zip – xarchiver dialogue box on the screen.
Step 4: Click on “Action” option and then click the “Extract” to extract the file. You can also use the shortcut key “Ctrl+E” to do the same process.
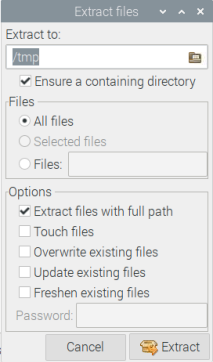
Step 5: In the “Extract files” dialogue box, you have to choose the directory to extract the fonts in Raspberry Pi.
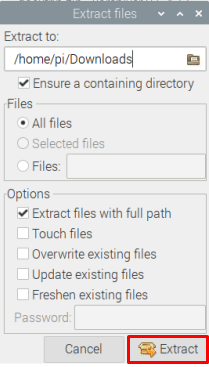
Step 6: Choose the directory of your choice and once it’s selected, click on the Extract button.
Step 7: All the files will be extracted and you will see them Downloads in the directory.

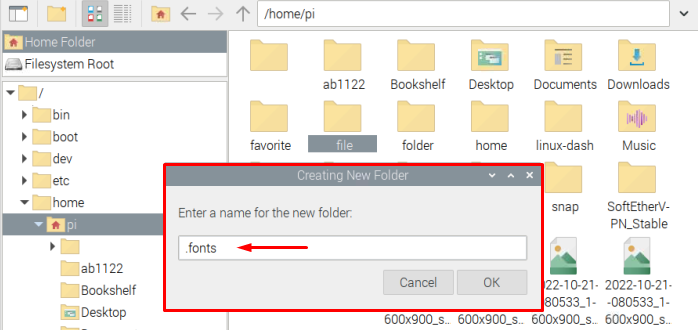
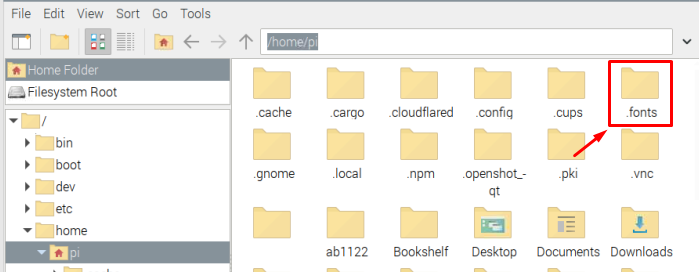
Step 8: Now go to “Home” folder or “Home” directory and click on the create new folder icon from the menu bar.

Step 9: Name your new folder as “.fonts” and then click “OK”.
Step 10: Your new .fonts directory is created inside the Home directory.
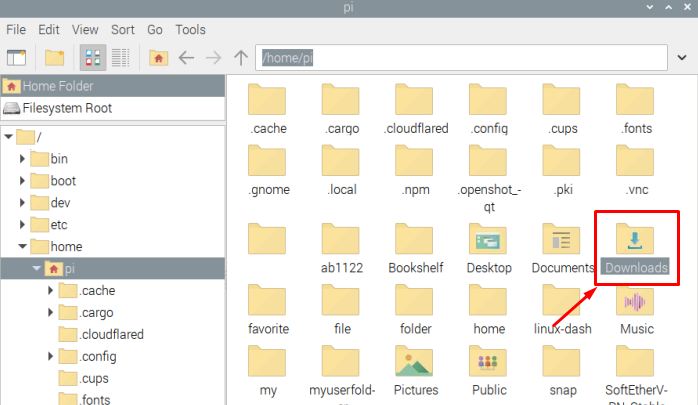
Step 11: Now go back to the “Downloads” directory present inside the “Home” directory.
Step 12: Copy all the extracted files which includes “.ttf”, “.jpg” and “Readme.txt” files.

Step 13: Then go back to the .fonts directory and paste those files.
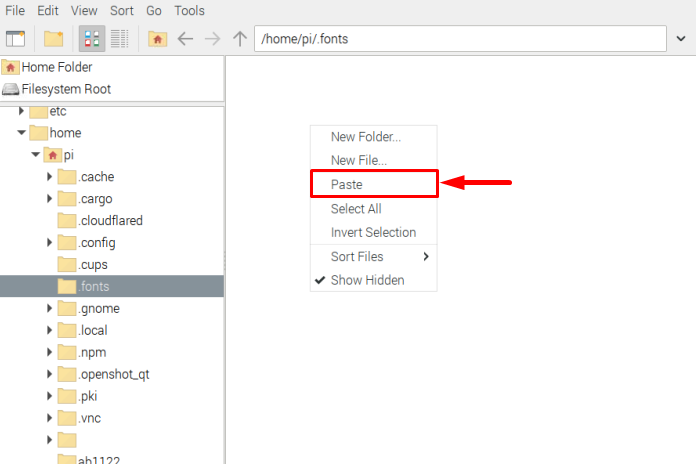
Step 14: That’s it once the files are pasted into the .fonts directory, they are ready to be used in any of the software that require fonts.
How to Verify Fonts Installation
To verify if our installed fonts are working, follow the below-mentioned steps.
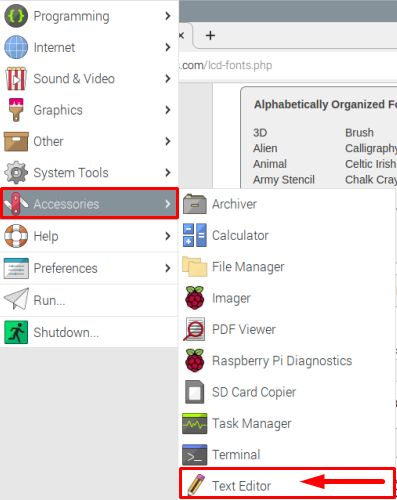
Step 1: Open any of the writing tools, for instance, I am using the “Text Editor” app from the “Accessories” option that is present in the application menu.
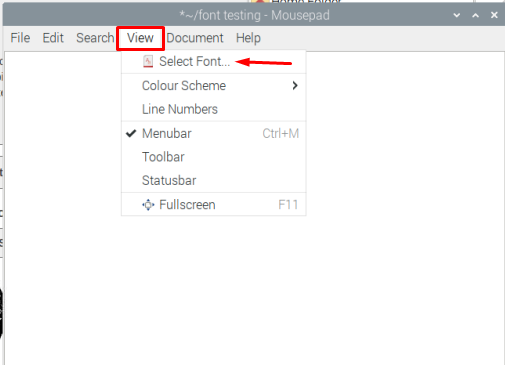
Step 2: Once the file is opened, go to the “View” icon from the menu bar and click the “Select font” option from the dropdown list.
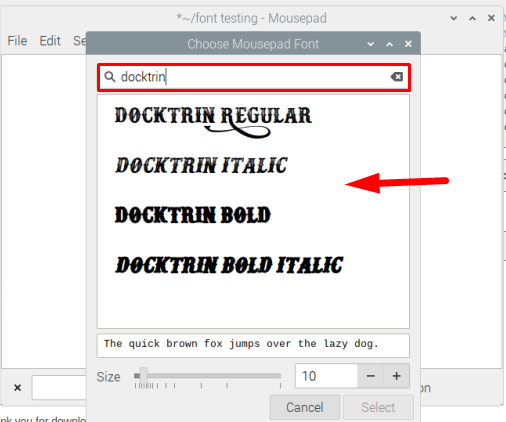
Step 3: Now type the name of your font, like I have typed “Docktrin” in the font search bar and the required font is there!
Method 2: Install Fonts on Raspberry Pi Through Terminal
You can also use the command-line terminal to install fonts on Raspberry Pi. For this purpose, first, download the required font zip file from the website, then type the below-mentioned command line in the terminal to access the directory where fonts are downloaded. In my case, it’s in the Downloads directory and to visit this directory, use the following command:

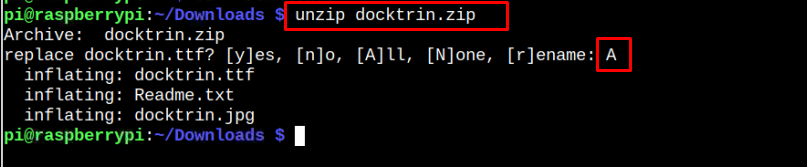
The fonts are downloaded in a zip file and to unzip the file follow the below-mentioned command:
Now it is time to go to the home directory, and for that purpose run the below command:

Now we are in the home directory, here we will create a folder by name “.fonts” by using “mkdir” command as shown below:

Once the folder is created inside the home directory, go back to the “Downloads” directory again using the following command.

Then execute the below-mentioned commands one by one to copy all the files inside that zip folder including “.ttf”, “.txt” and “.jpg” files.
$ cp *.txt ~/.fonts/
$ cp *.jpg ~/.fonts/

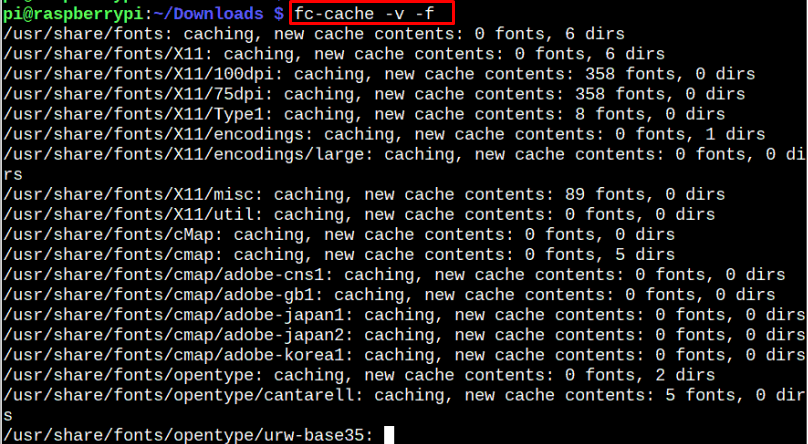
Now finally for scanning the font directory fc-cache command is used along with the -v and -f flags:
After scanning, you can then apply the same method for verification of fonts installed on your Raspberry Pi system as mentioned for GUI method.
Conclusion
To install fonts on Raspberry Pi, you can download the “.ttf” file of your required font from the online font websites and then extract it on your system. You must need to place the fonts within the directory “.font”, which you have to create by yourself using any of the two methods; GUI and command-line terminal. Both these method follows the same procedure to install fonts on your Raspberry Pi system.