This article is a detailed guide to install Fish Shell on Raspberry Pi.
How to Install Fish Shell on Raspberry Pi
To install Fish Shell on Raspberry Pi, follow the below-given steps:
Step 1: Download Fish Shell Source File
First, go to the website here and check the latest Fish shell release file and download it on Raspberry Pi using the “wget” command.
Step 2: Extract Fish Shell Contents
To extract the Fish Shell contents from the source file, use the following command:
Step 3: Navigate to Fish Shell Directory
Navigate to Fish Shell directory using the following command:
Step 4: Prepare Installation Files
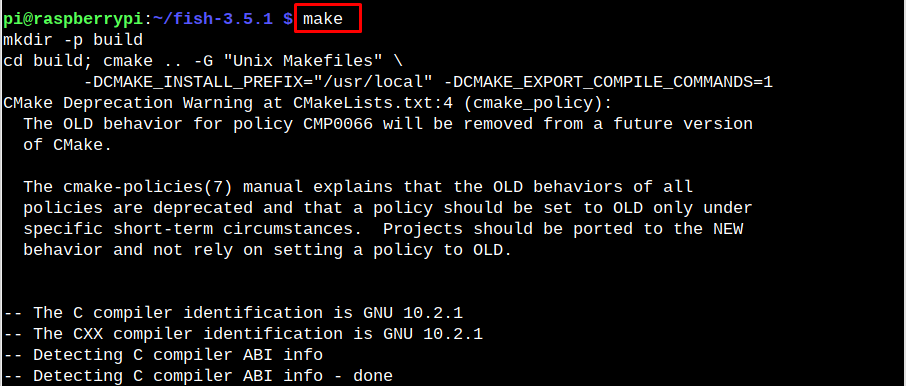
To begin installing Fish Shell on Raspberry Pi, use the following command as this will prepare the installation files on the system:
Step 5: Build Shell Script Files
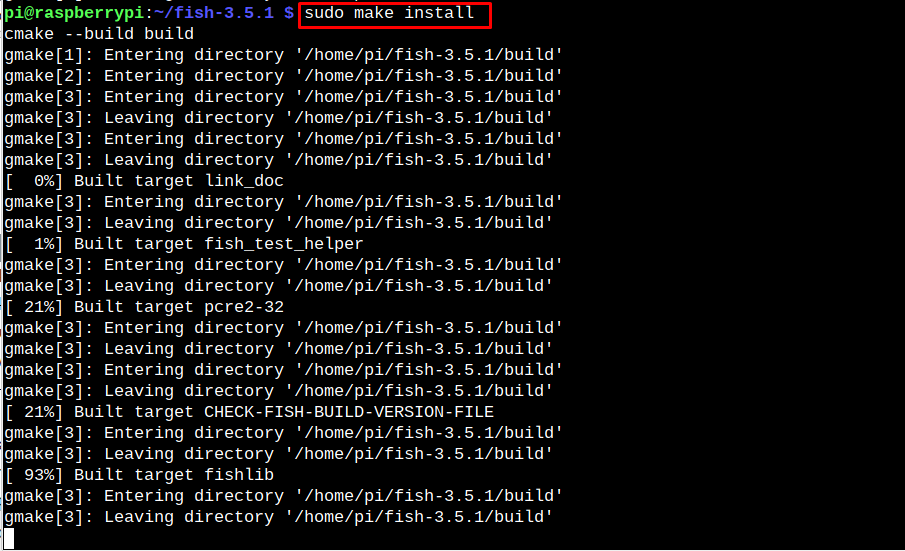
Now, build the files using the following command to successfully install Shell Script on Raspberry Pi.
Step 6: Add Fish Shell to Shells
You must add Fish Shell to Shells using the following command:
Step 7: Set Fish Shell as User’s Shell
To add Fish Shell to default user’s shell, you have to run the following command:
Enter the Raspberry Pi password and reboot the system to apply the changes.
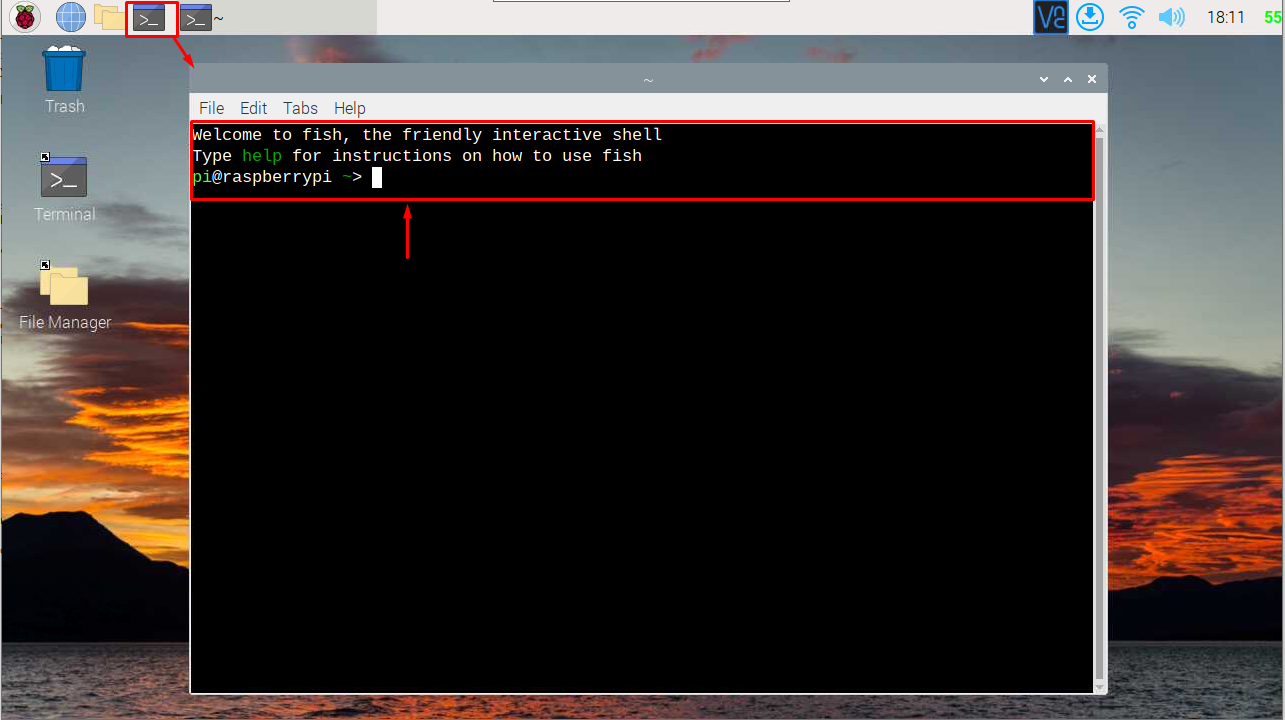
After the reboot, you can run the Raspberry Pi terminal to see a friendly interactive Fish Shell command-line display.
To switch to default settings, you can use the following command:
Conclusion
Fish Shell is a command-line shell that can replace your default Raspberry Pi command-line display. Following the above guide, you can install Fish Shell on Raspberry Pi from the GitHub source file. After the installation, you must add the Shell to the shells directory and make it the default Shell using the “chsh” command. The changes can be seen once you reboot your Raspberry Pi system.


