In this article, we will provide you with an easy setup guide to install an Email Server on your Raspberry Pi device.
How to install Email Server on Raspberry Pi
To install an email server on Raspberry Pi, you will need the services of a software package called Citadel, which is an open-source, lightweight and powerful email server that runs on your Raspberry Pi device. The set-up process isn’t pretty straightforward and you will need to configure it properly using the following steps.
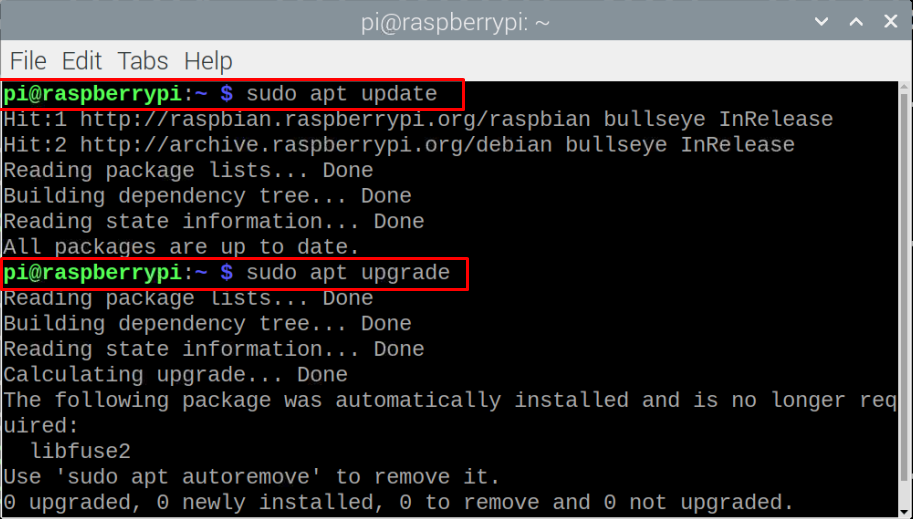
Step 1: Before installing an email server, upgrade the packages to the latest version on your Raspberry Pi device using the following command.
$ sudo apt upgrade
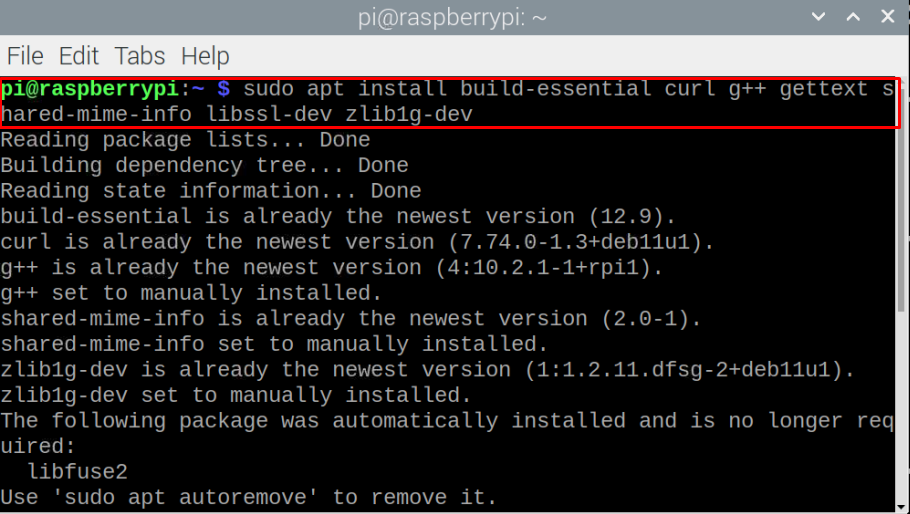
Step 2: To install the Citadel package on your Raspberry Pi, you will first need to build the package from the Raspberry Pi repositories using the following command.
Step 3: After installing the required dependencies, start the Citadel installation using the below mentioned command.
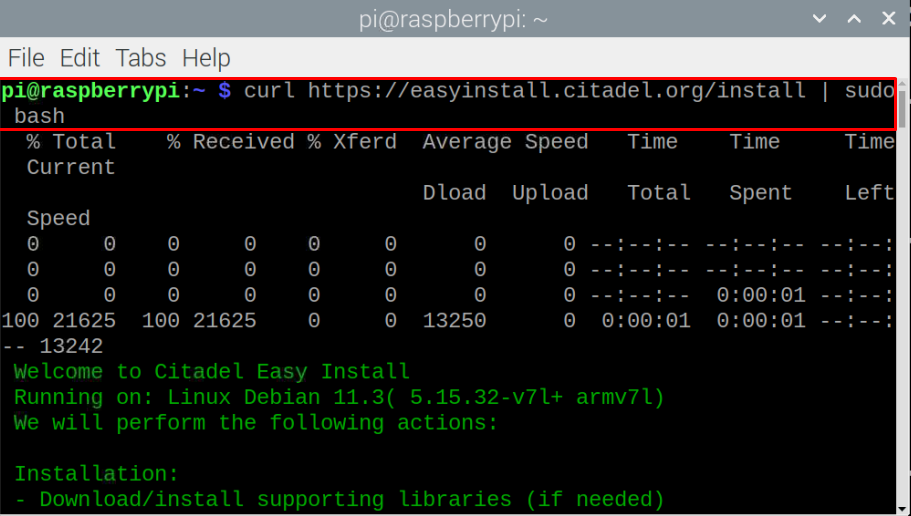
Several terms and conditions will appear on your terminal, which requires you to accept them by entering “yes” or “y”.
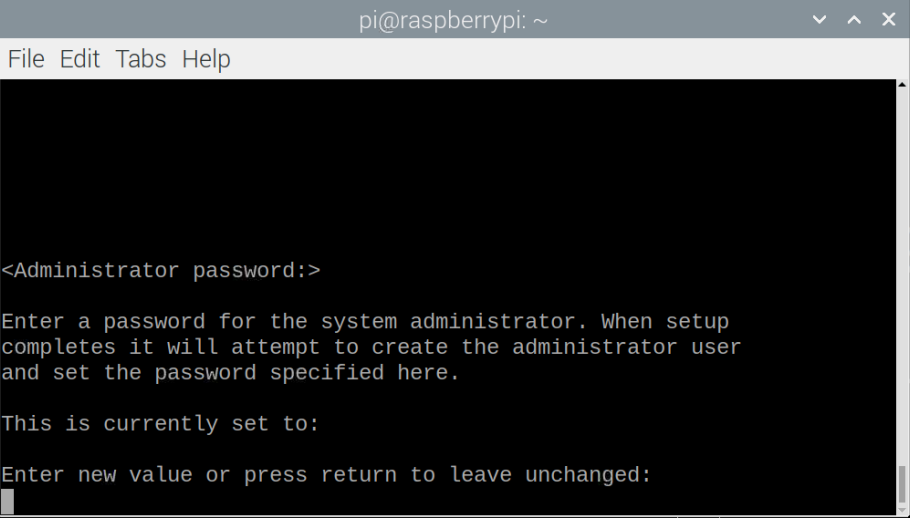
Step 4: After the process completes the Citadel installation,it’s now time to configure it. For this, you have to provide your username or leave it unchanged in this step. It’s better to provide your username.

Provide the default username as “admin” or set your own according to your choice. Also, provide a password. The default password is Citadel, but you are highly recommended to change the password.
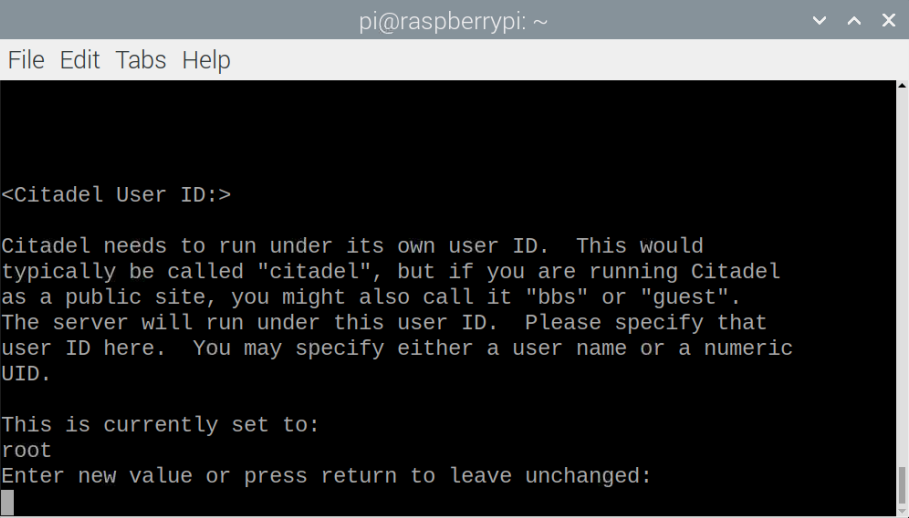
Step 5: Next, provide your user ID. You can write your own or go with the default one which is “root”..
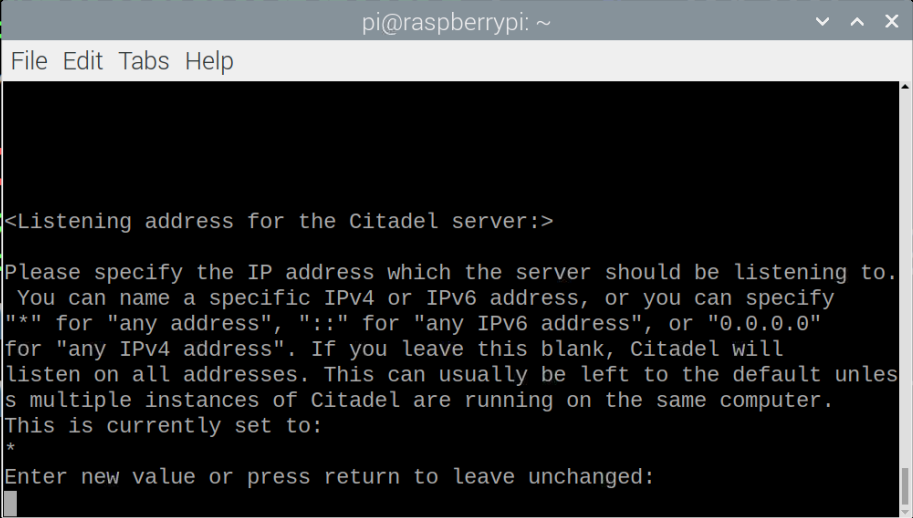
Step 6: In the next step, enter your IP address.You can leave this option unchanged by pressing the Enter button.
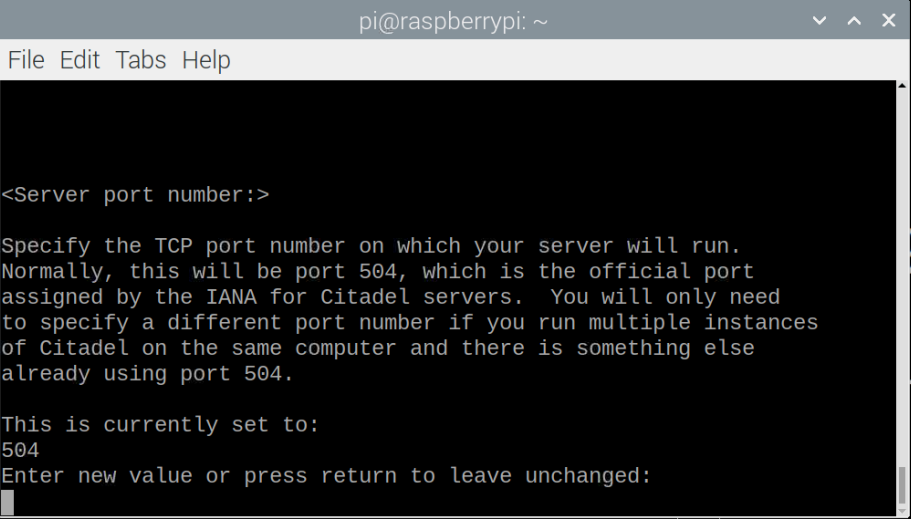
Step 7: Use the default port number “504” by leaving it unchanged by pressing the enter button.
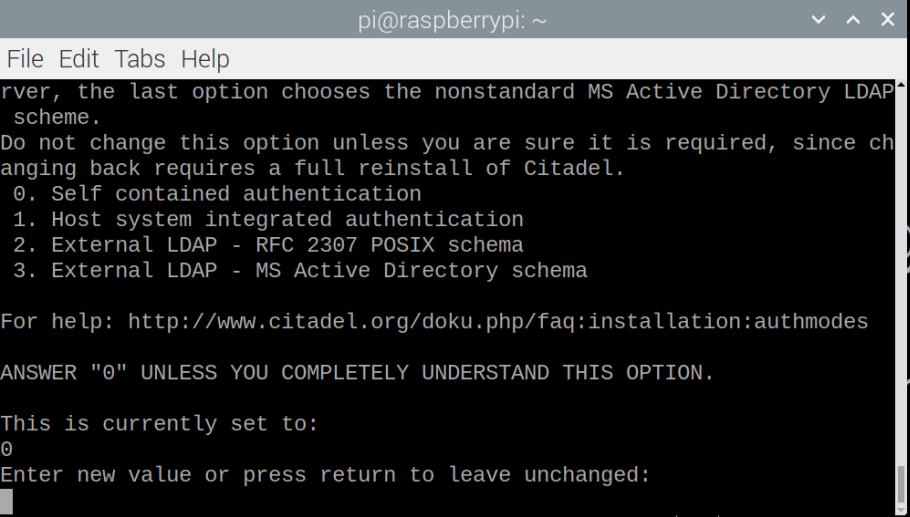
Step 8: Next, you will need to choose the authentication method and it’s better to go with the default one “0”.
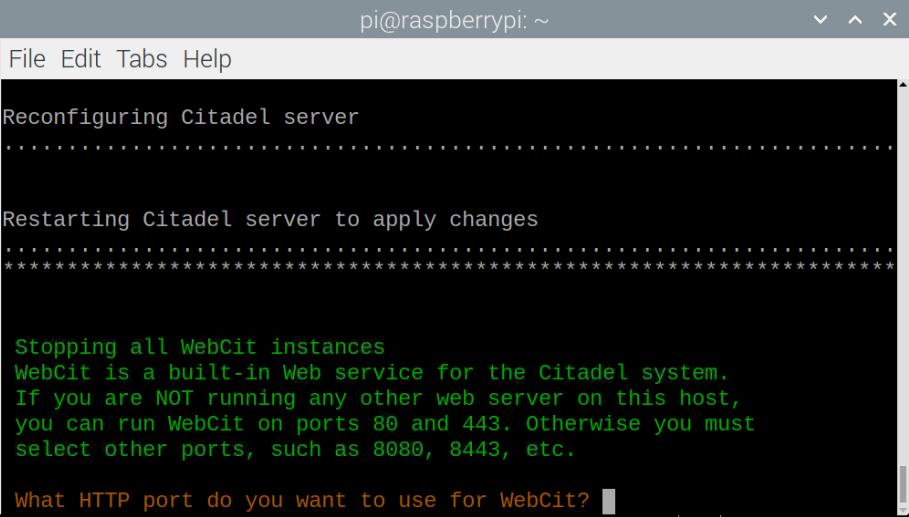
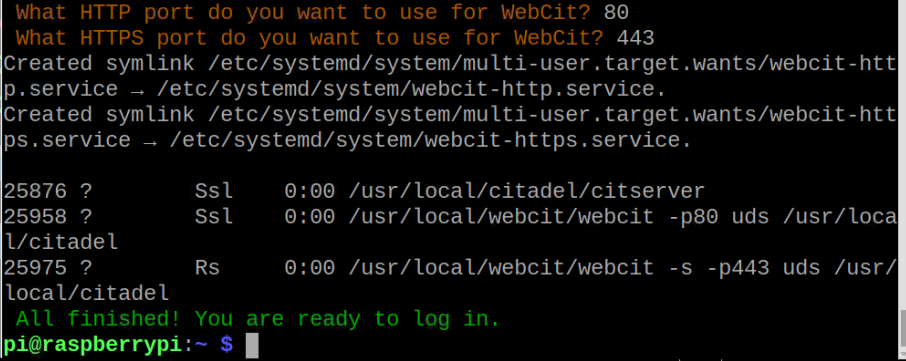
Step 9: Once the above steps are completed, you must provide HTTP and HTTPS ports for WebCit. Choose the ports 80 and 443 for HTTP and HTTPS, respectively.
This will complete the Citadel setup.
Step 10: Now, open your browser tab, use the IP address of your Raspberry Pi and enter it to open the Citadel server login page.
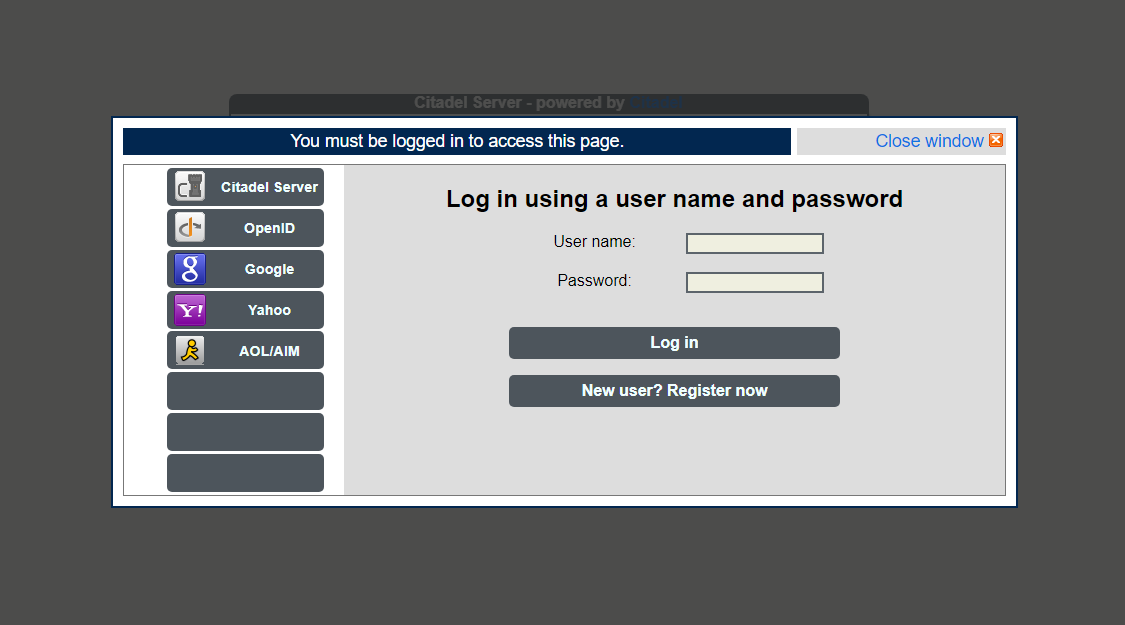
Step 11: Provide your username and password and click on the “login” option to open up the mail server on your browser.
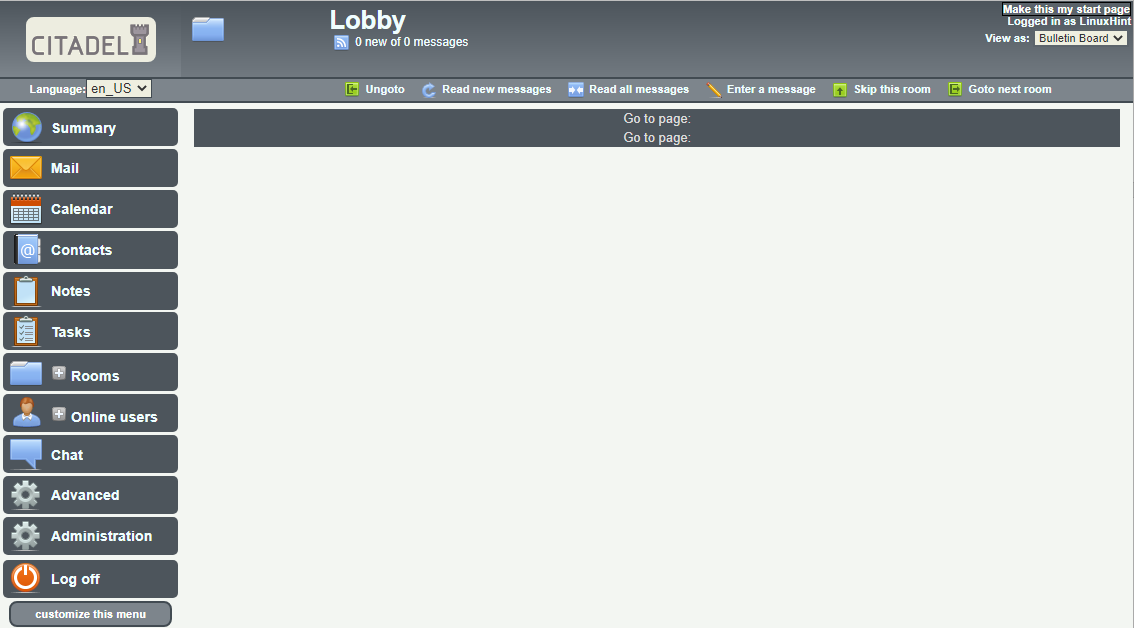
That’s it; your email server is up and running on your Raspberry Pi device.
Conclusion
The Raspberry Pi device is a handy tool that can be valuable in setting up a perfect email server. If you want to install an email server on your Raspberry Pi device, the Citadel email server will be an ideal pick. The above installation steps will guide you in installing the email server on your Raspberry Pi device within a few minutes. You can then set up the server according to your choice and start exchanging emails with a relatively fast delivery rate as compared to other email servers.