This article shows you the easiest way to install Eclipse on Raspberry Pi so that you can begin performing your coding-related task with ease.
How To Install Eclipse on Raspberry Pi
To install Eclipse on Raspberry Pi, follow the steps mentioned below:
Step 1: Update Raspberry Pi System Packages
To begin installing Eclipse on your Raspberry Pi device, you must update the system’s packages via the below-mentioned command:

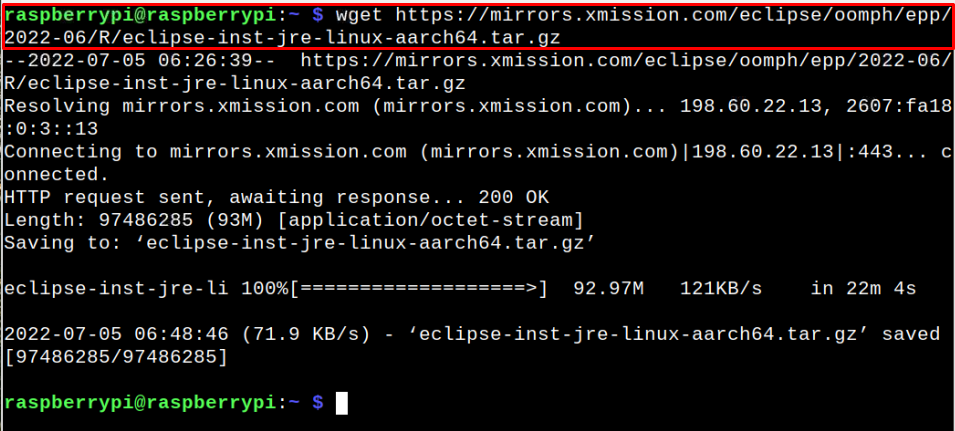
Step 2: Download Eclipse tar.gz package
The Eclipse can only available to be downloaded on Raspberry Pi 64-Bit OS and if you wish to install this application on your device, you must first confirm the operating system you are using through the following command:

The output “aarch64” confirms that you are using 64-Bit OS on your Raspberry Pi device. After ensuring the aarch64 OS, you are good to execute the following command to install Eclipse tar.gz package on your device:
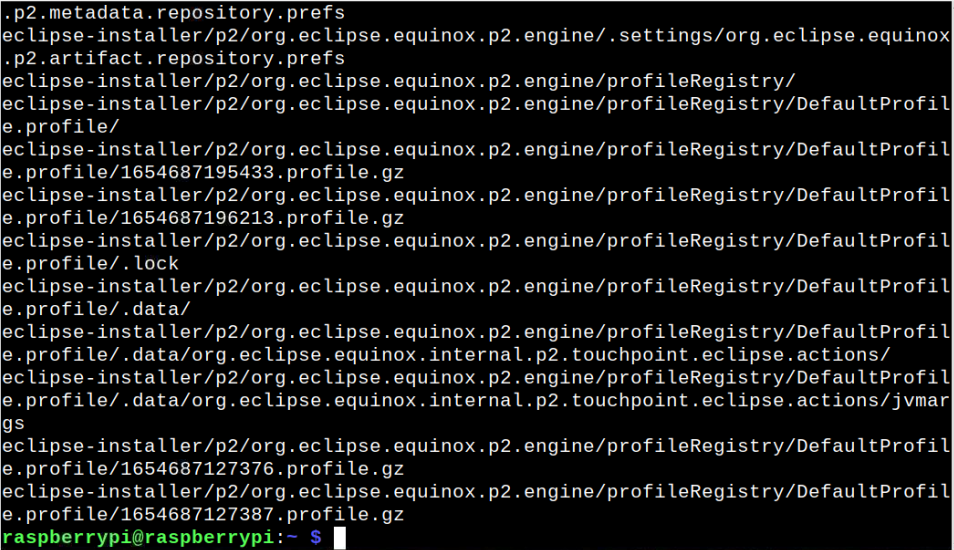
Step 3: Extract tar.gz package
After downloading the Eclipse tar.gz package, you can extract the content of the file using the following command:
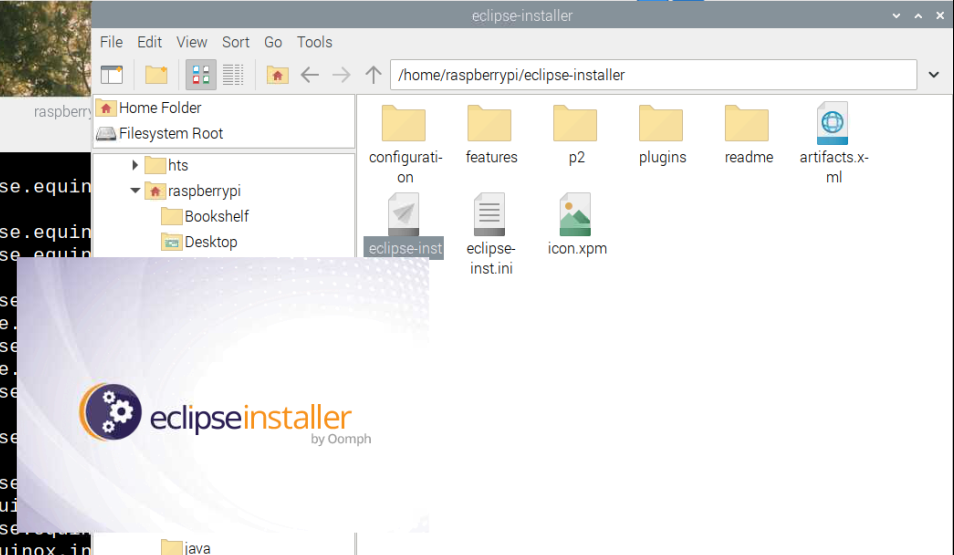
Step 4: Execute Eclipse on Raspberry Pi
After successfully extracting the contents, navigate to “eclipse-installer” directory and double click on the “eclipse-inst” file to execute it.

This opens up the Eclipse installer on your Raspberry Pi device.
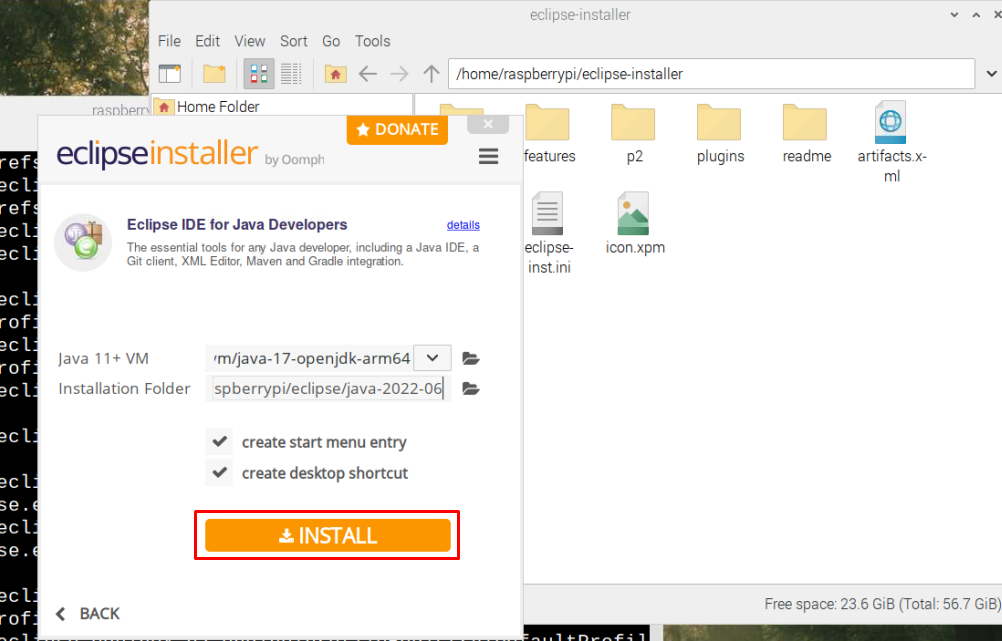
Now, choose the Eclipse environment of your choice and in our case, we pick “Eclipse IDE for Java Developers”.
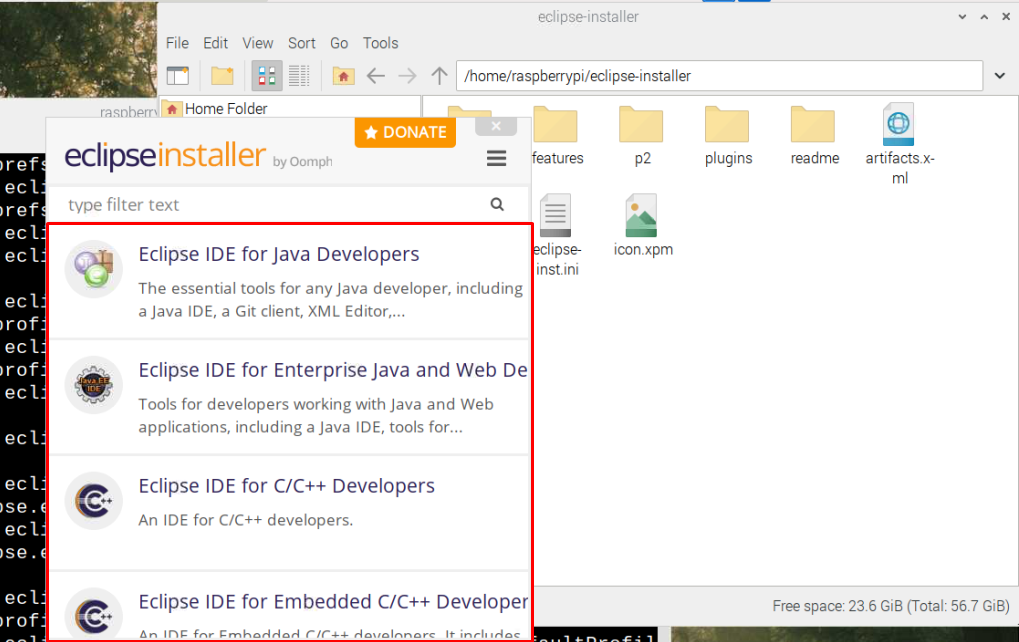
Choose the “Install” button to begin installing Eclipse IDE on your Raspberry Pi device.
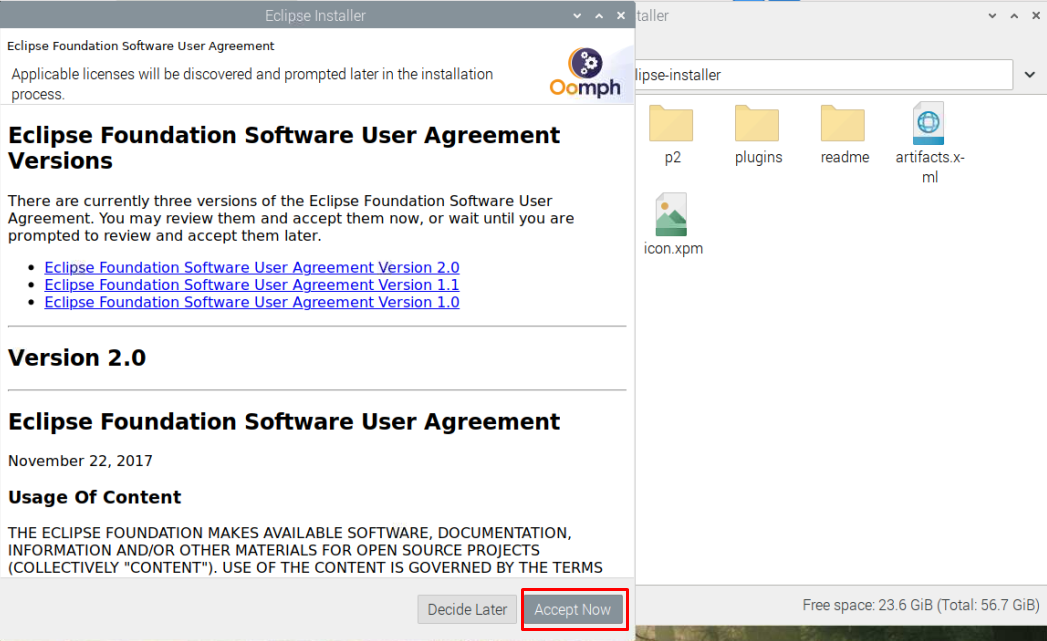
During the installation, an onscreen window will appear where you will need to choose the “Accept Now” button to accept the user agreement.

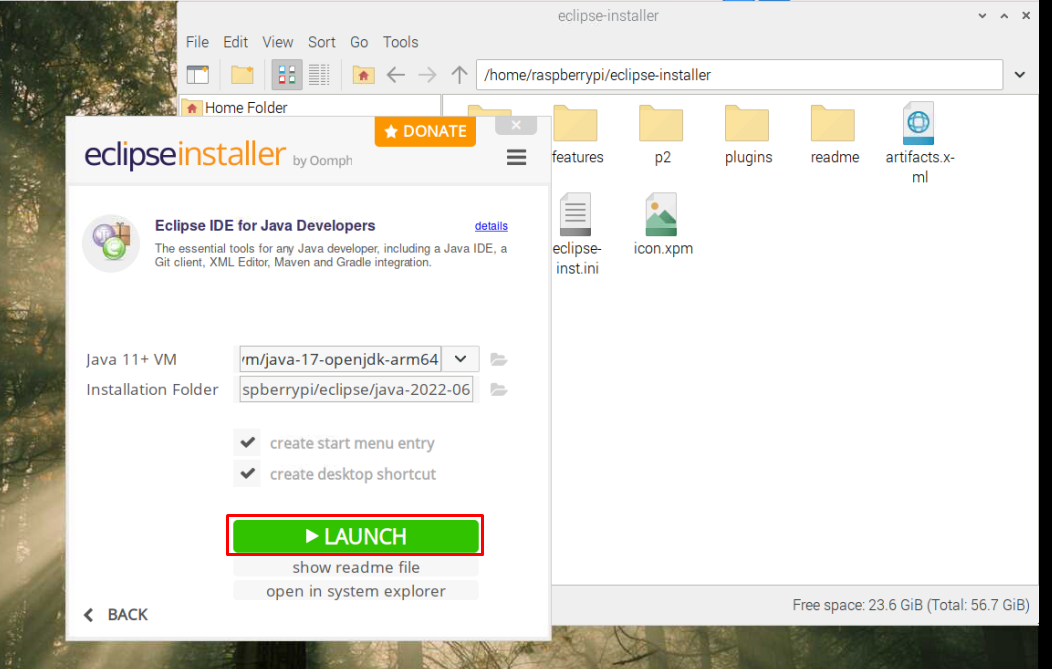
Once the installation of Eclipse is completed, click on the “Launch” button to run the IDE on your Raspberry Pi desktop.
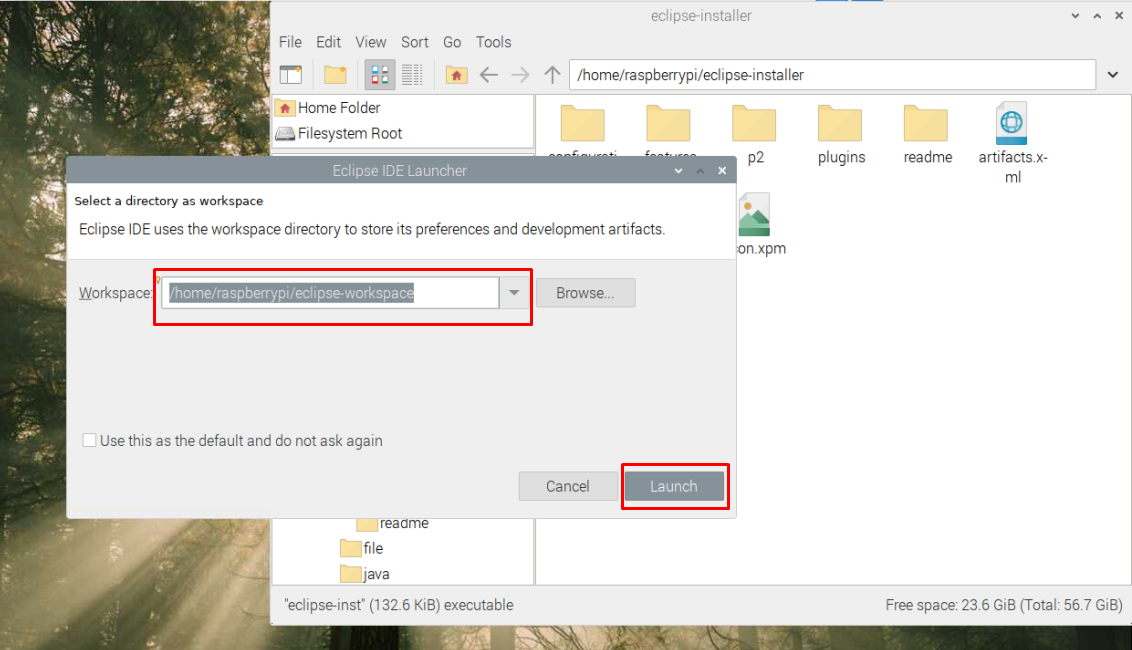
You will need to select a directory as a workspace where all your projects’ files will be stored. It’s entirely up to you to choose the location for your files and once it is done, click on the “Launch” button.
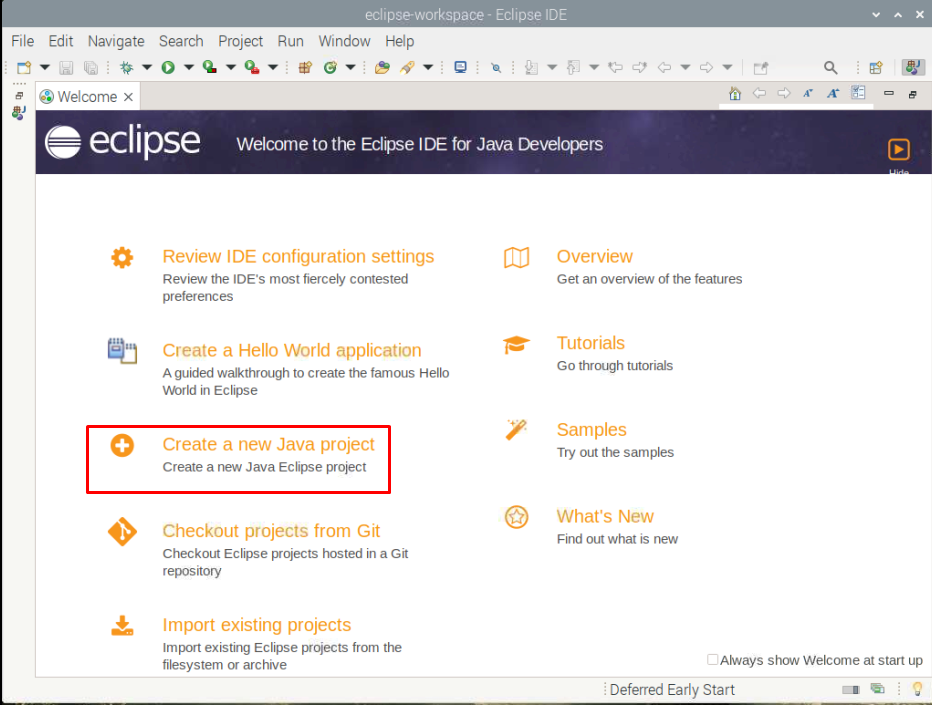
This opens up the Eclipse IDE on your system and to begin writing your codes, you can simply click on the “Create a new Java project” option to start your Java codes on it.
Conclusion
Eclipse is a powerful programming IDE that lets you code in different programming languages like Python, Java, C++ and so on. The installation of Eclipse is only possible on 64-Bit Raspberry Pi OS and you can easily do it by downloading the tar.gz package from its official website and then extracting the contents to the Raspberry Pi home directory. After executing the Eclipse installer file within the Eclipse directory, you can successfully choose your IDE environment to install it on your Raspberry Pi device.