You must install the .Net framework through this article’s guidelines to use your Raspberry Pi device for developing different applications. It will provide you the freedom and flexibility to do your job by switching to multiple programming languages.
How to Install .Net on Raspberry Pi
To install .Net on Raspberry Pi, follow the below-mentioned steps:
Step 1: Download .Net Core and SDK
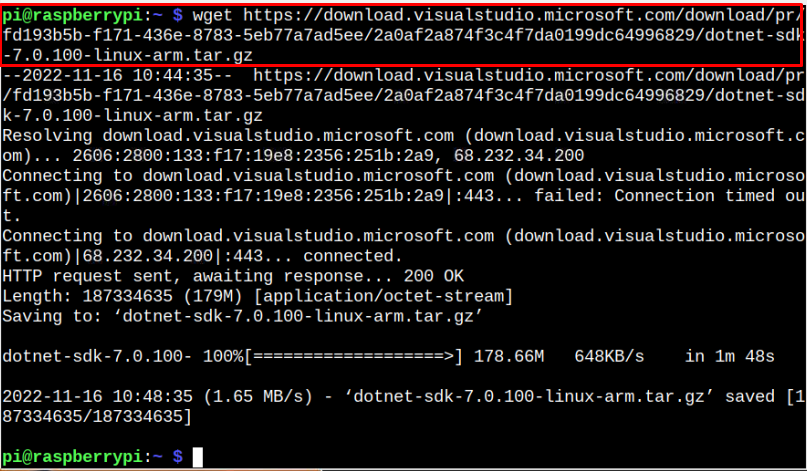
First, go to the official .Net Microsoft website and download the latest version of .Net SDK on Raspberry Pi. The latest version right now, at the time of writing this article, is “7.0.100”.
Since I am using Raspberry Pi 32-Bit OS, the terminal command to download .Net SDK is given below:
Step 2: Create a .Net Directory
Create a .Net directory in the administrator folder through the following command:
Step 3: Extract the .Net SDK Content
To extract the .Net SDK content inside the .Net directory, use the following command:
Step 4: Create a Symbolic Link
You must create a symbolic link through the following command so that you will be able to execute the .Net related command:
Step 5: Confirm .Net Installation
To confirm .Net is successfully installed, follow the below-given command:
At this point, you have successfully installed .Net latest version on your Raspberry Pi system.
Conclusion
.Net is a framework for software developers that allows them to easily switch to multiple programming languages while coding on different tasks related to IoT, AI, and more. To install this framework, you must download the .Net SDK from the official website and extract the files inside the administrator directory. After that, you must create a symbolic link to confirm the installation of .Net on your Raspberry Pi system.

