This article is written to guide you in installing Domoticz on Raspberry Pi so you can use your device as a home automation tool.
Installing Domoticz on Raspberry Pi
On Raspberry Pi device, the installation of Domoticz is pretty straightforward and you can complete it by following the below-given steps:
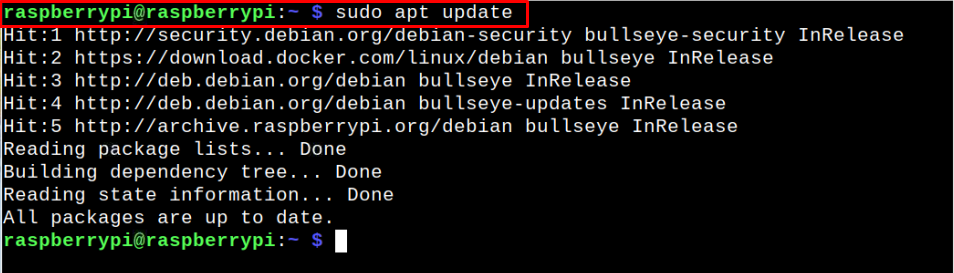
Step 1: Update Raspberry Pi packages
First, ensure that your Raspberry Pi device includes the latest packages which you can do by first issuing the following command:
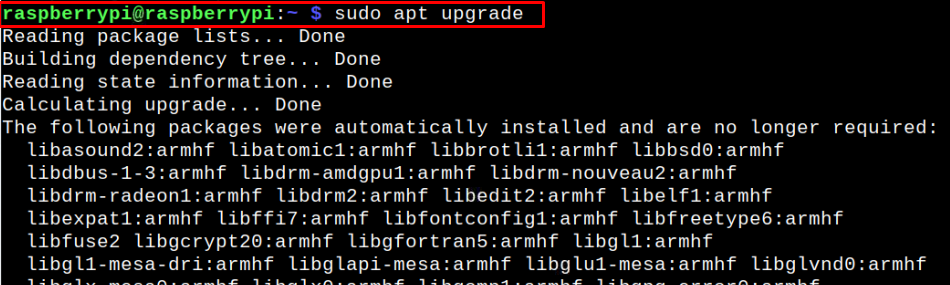
If your packages are not up to date, you will need to run the following command to successfully upgrade them:
Step 2: Run Domoticz Installation Script
Once you upgrade the Raspberry Pi packages, you are good to install Domoticz on Raspberry Pi through following installation script:
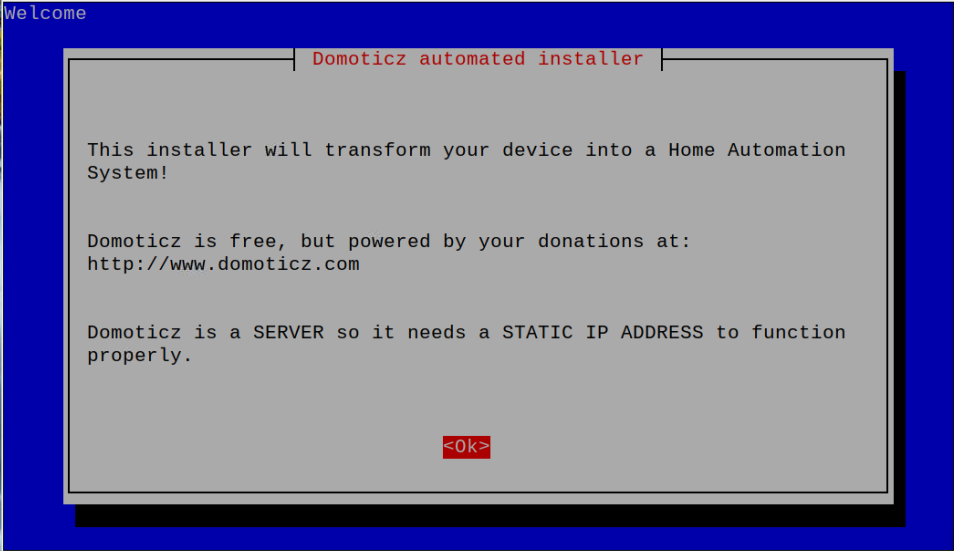
When you execute the above command, it will open up the configuration setting on your terminal window and you will need to do the following steps to configure Domoticz on Raspberry Pi.
Step 1: Press enter to move to the next step.
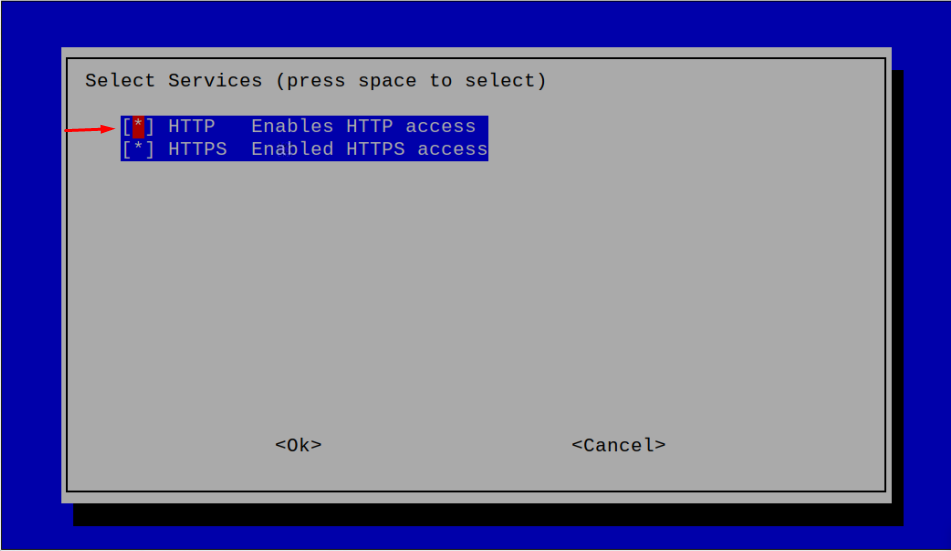
Step 2: Select “HTTP” service.
Step 3: Choose the default port number for “HTTP” service as shown in the image below.

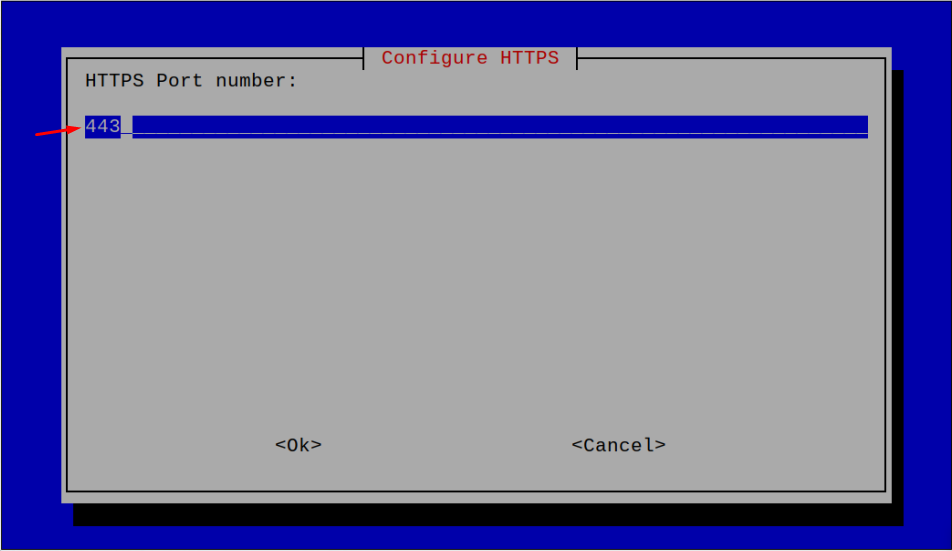
Step 4: In case, if you want to use “HTTPS” service, go with the default port number as shown below.
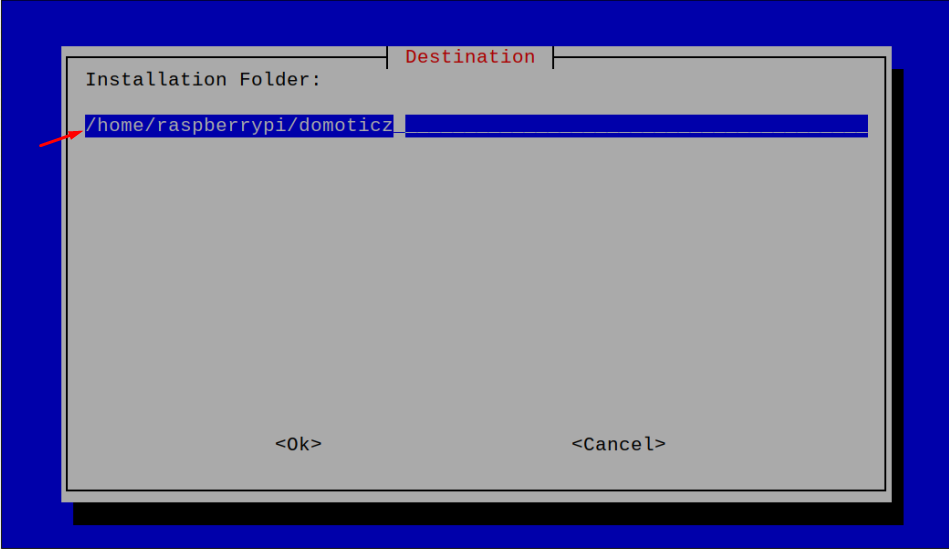
Step 5: Select the destination for installing Domoticz on Raspberry Pi and it’s better to fo with the default directory.
Step 6: Press enter to finalize the installation.
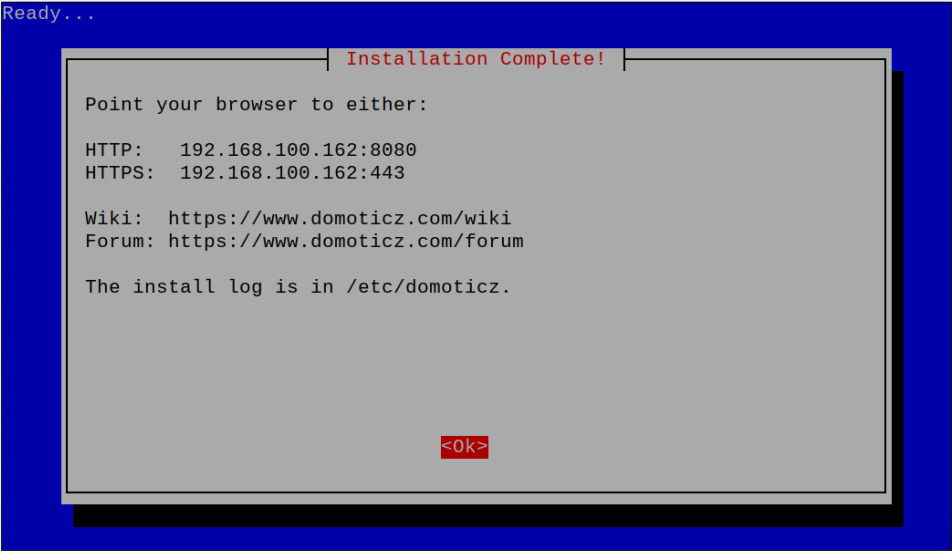
This will get you back to the terminal where you will be able to see the Domoticz web address that allows you to access its dashboard in the browser.
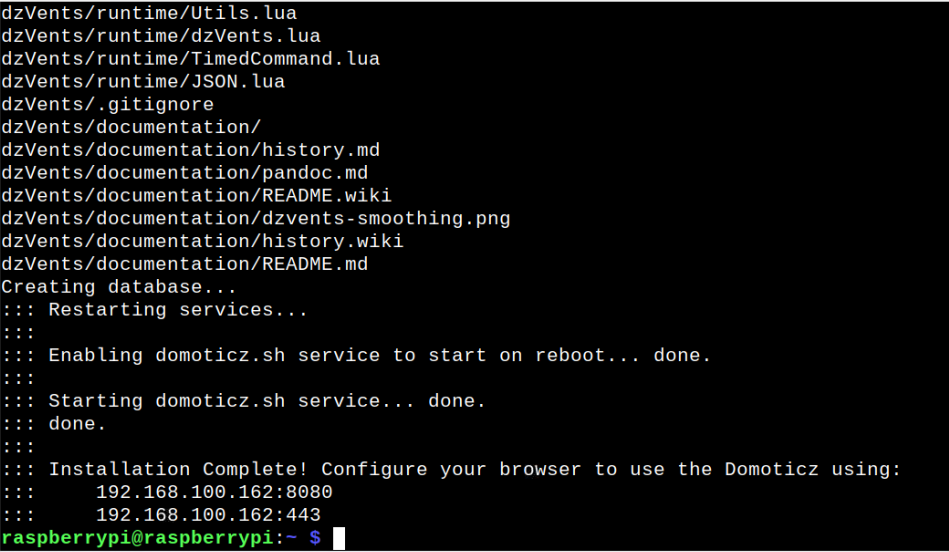
Step 7: Head to your browser tab and enter the address that appears on your terminal window. In our case, it’s http://192.168.100.162:8080 or https://192.168.100.162:443. It’s entirely up to you which address you want to use because both addresses will successfully open the Domoticz web interface on the browser as shown below.

The appearance of the Domoticz dashboard on your browser ensures that it is successfully installed on your Raspberry Pi device. You first have to attach a sensor so that Domoticz will pick it up and allow you to easily control your home switches, monitor temperature, weather and other utilities.
Conclusion
Domoticz is an open-source lightweight home automation system that gives you the freedom to control your smart devices through a web interface. The above step-by-step instructions let you access the Domoticz dashboard on your browser by updating the packages and then executing the installation script to configure the settings on your device. Afterward, you can use your Raspberry Pi IP address with the desired port number to access the Domoticz web interface on your browser.