In this article, you will learn how to install Deluge on Raspberry Pi through proper installation guidelines.
Installing Deluge on Raspberry Pi
Although installing Deluge on Raspberry Pi is damn simple, it’s better to do it through a proper method as this will indeed benefit you in handling your downloaded files. The steps mentioned below are crucial in installing Deluge on Raspberry Pi.
Step 1: Perform Raspberry Pi Packages Update
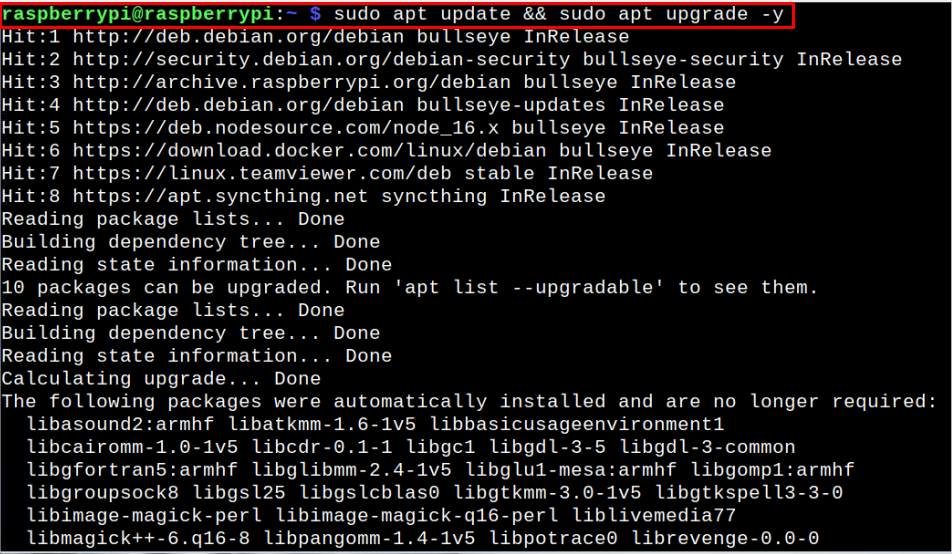
Before we begin moving towards the Deluge installation, it’s better to have an updated Raspberry Pi system. For this, you have to apply the following command for updating the installed packages on your system:
The above command will successfully upgrade your Raspberry Pi system within a few minutes.
Step 2: Install Deluge Client on Raspberry Pi
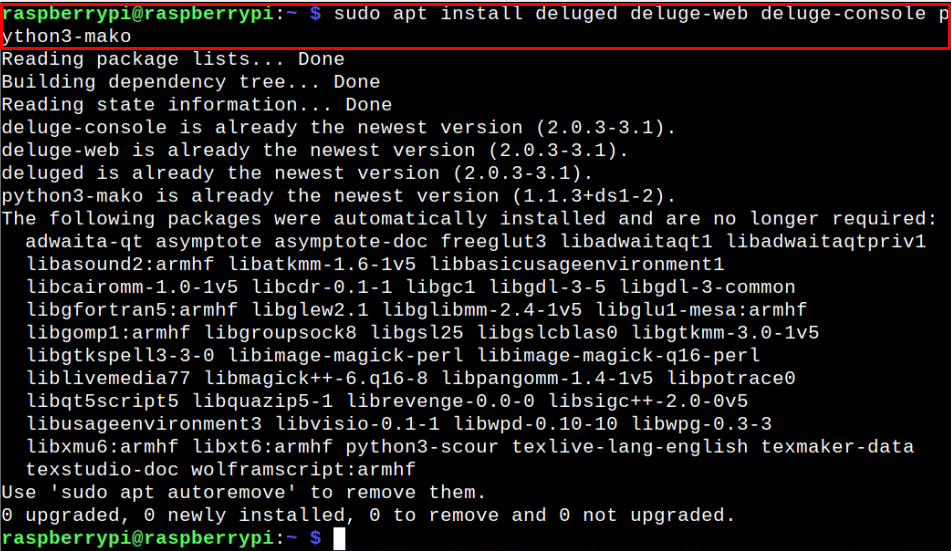
Once you update the packages, you are now good to install the Deluge torrent client with the required web and python module on your Raspberry Pi device through the following command:
Step 3: Creating a Directory for Deluge
This step is optional but it’s better if you create a new directory where all your downloaded files are stored. So, let’s create a folder in the home directory through the following command:
You can make your own directory using a different name.
Step 4: Start and Kill Deluge Daemon on Raspberry Pi
Now start and kill deluge commands by executing the following command as doing this will create the configuration files we need for our Raspberry Pi device:
Step 5: Add a user for Deluge
After successfully completing the above step, you can now add a user into the Deluge auth file for security purposes.
From the above command, you will need to write your own username and password.
Step 6: Run the Deluge Daemon on Raspberry Pi
After performing the changes in the authorization file, you will need to run the Deluge daemon again on Raspberry Pi through the following command:
Step 7: Allow Remote Access
Next, we will need to provide remote access to Deluge using the following command so that the web console can be accessed from anywhere.
Step 8: Launch Web Interface of Deluge
With the above changes successfully made, you can use the following command to launch the Deluge web interface:
Before, heading towards your browser to access the Deluge web interface, you will need to find your device hostname through the following command:
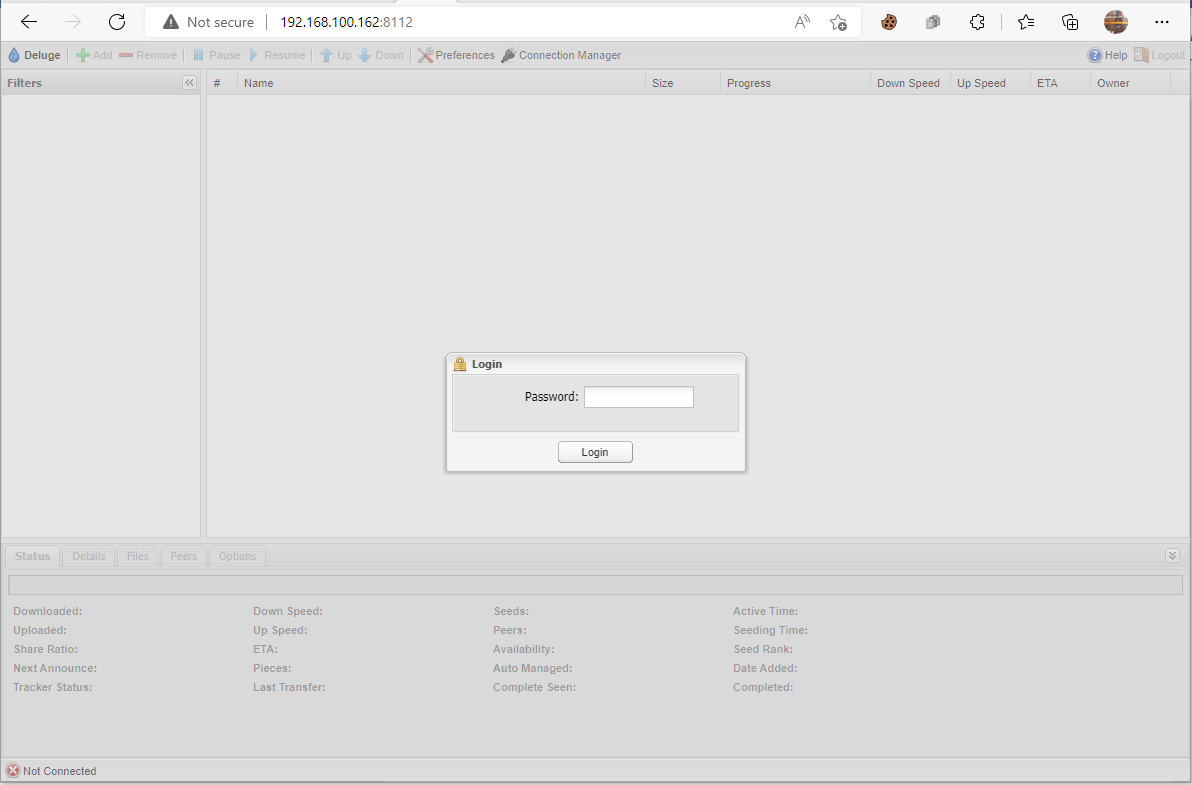
Now, head to your browser and enter the address http://<IP_ADDRESS>:8112 to access the Deluge web interface.
Type in the default password “deluge” to access the Deluge dashboard.
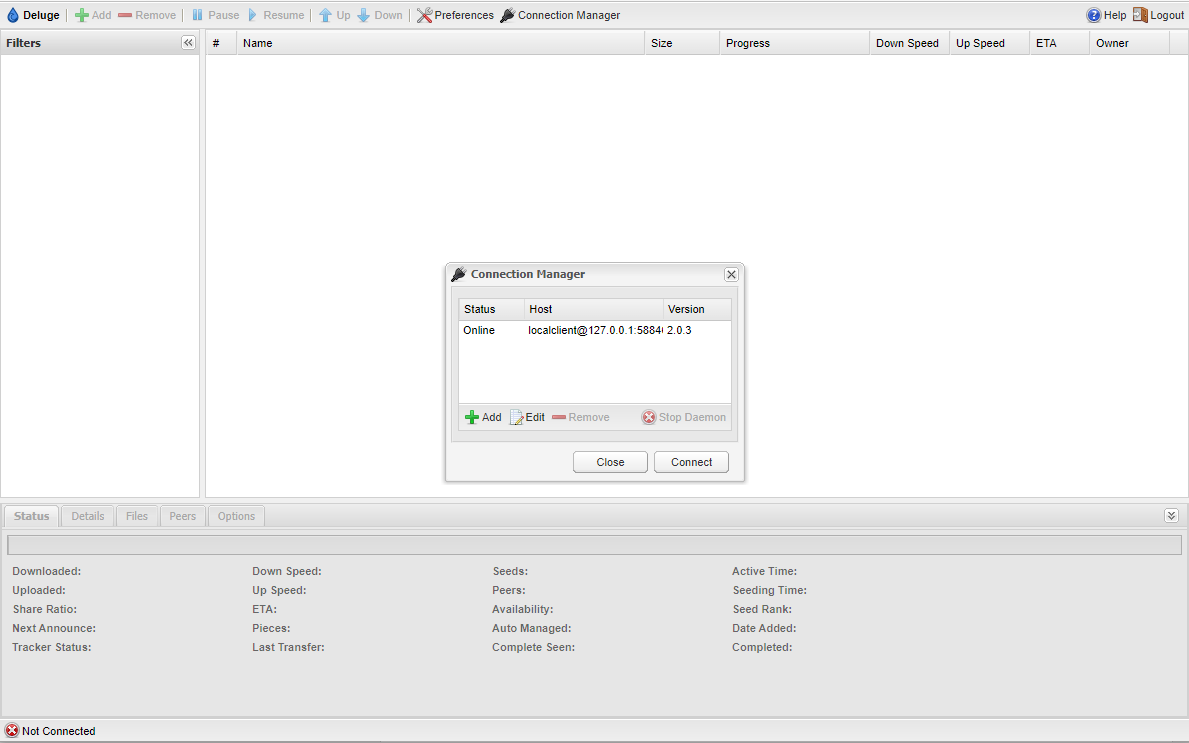
Now, select the available host and choose the “Connect” option.
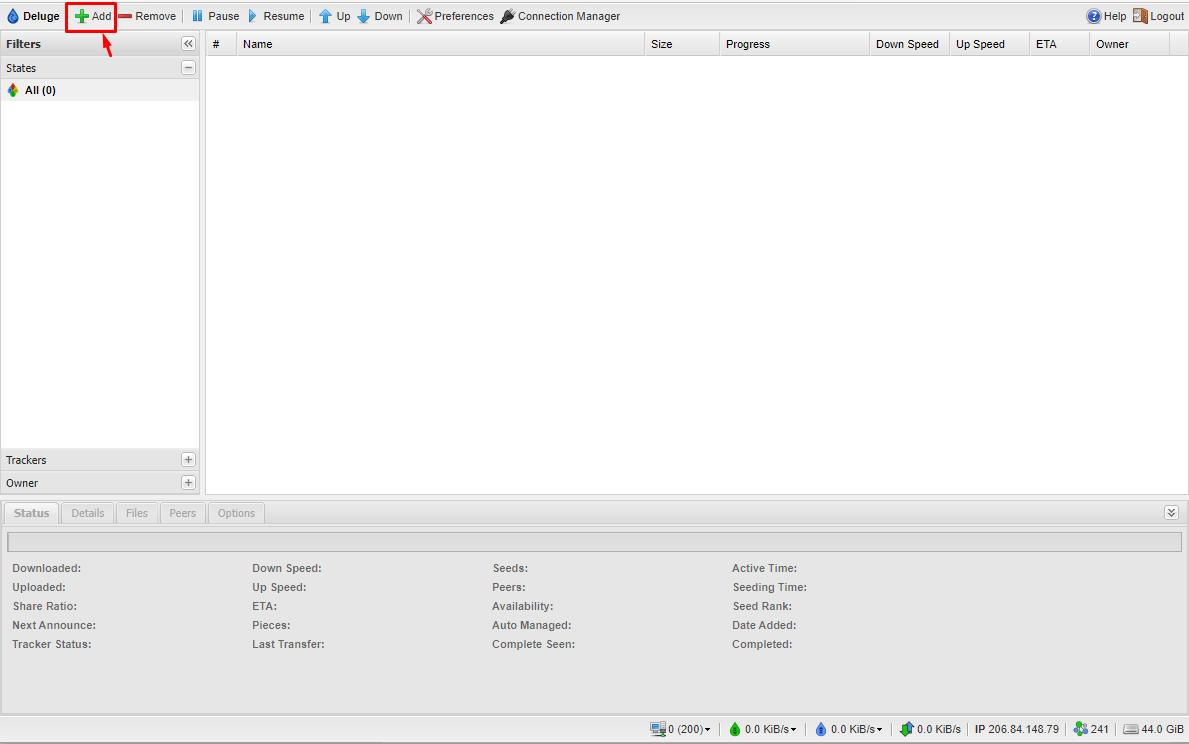
Now, download any torrent file on your system and click on the “Add” button.
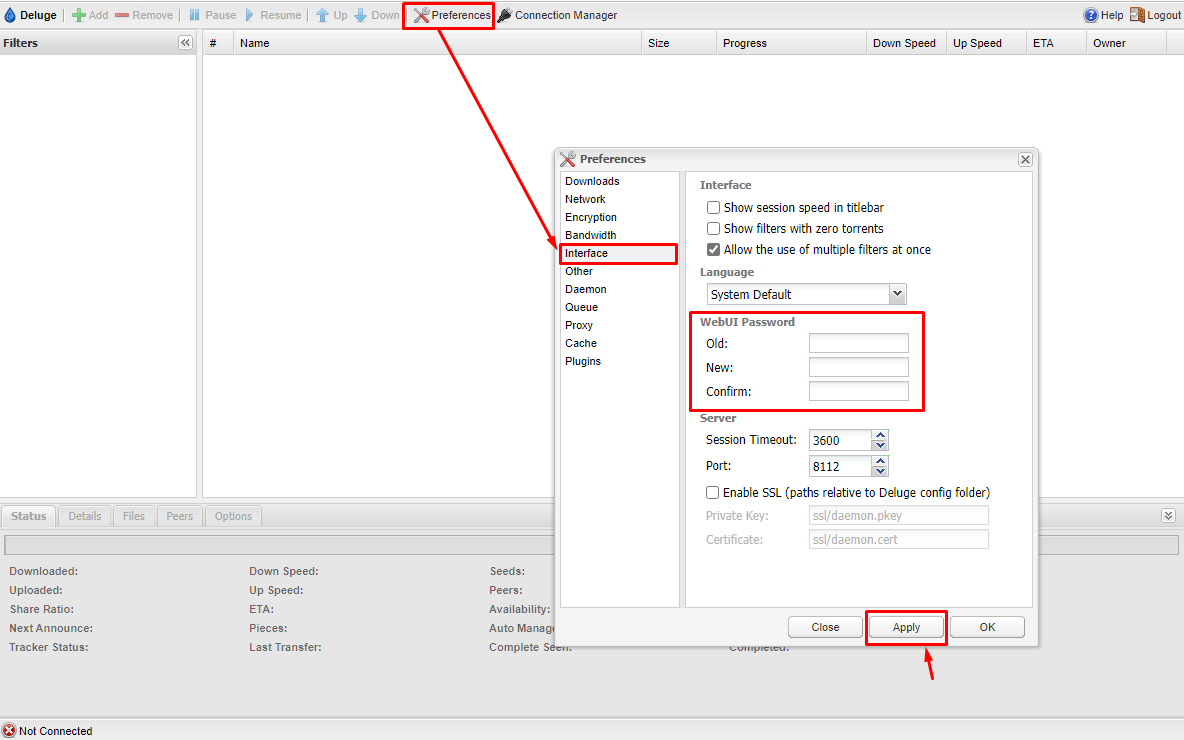
The appearance of the above interface confirms that Deluge is successfully up and running on your Raspberry Pi device and you are good to download any torrent file with ease. To enhance the security of Deluge, you can change the default password (which is deluge) by going into the “Preferences” option and in the “Interfaces” option type in your old and then new passwords as shown below:
Choose the “Apply” option to update the password and click on the “OK” button to confirm the changes. This will successfully change the default password of Deluge. It’s important to note that whenever you restart your Raspberry Pi device, you will need to perform Step 8 to restart the Deluge web interface.
Conclusion
Deluge is an open-source torrent client that uses the web interface for downloading the torrent files on the system. For a low-powered device like Raspberry Pi, it’s a perfect choice that doesn’t require any high computational resources and you can easily set it up on your device using the above-mentioned guidelines. After performing the necessary configuration, you can easily access the Deluge web interface on your browser to download any torrent files.

