How to Install CopyQ on Raspberry Pi
Installation of CopyQ on Raspberry Pi is quite simple, and it requires completing the following steps:
Step 1: Update the Raspberry Pi system through following command to ensure latest version of packages installation later.
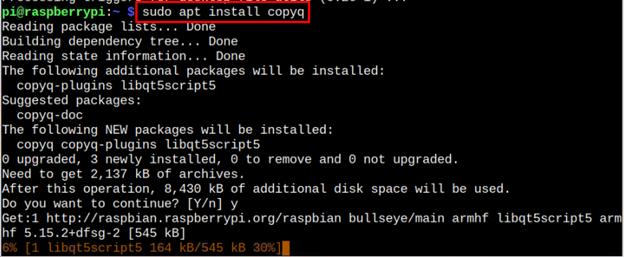
Step 2: Install CopyQ on Raspberry Pi through following command as it will install the package from Raspberry Pi repository.
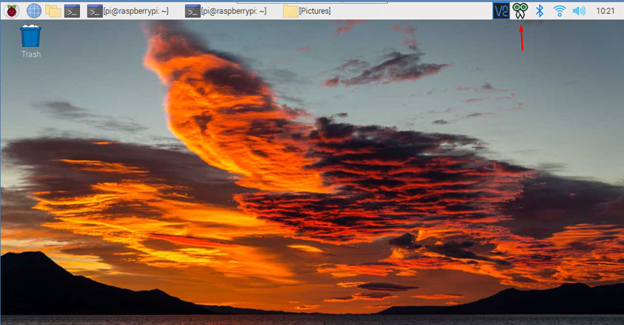
A CopyQ icon will appear on the taskbar as soon as you run the “copyq” command in the terminal. You can open the tool by double click the CopyQ icon on the taskbar.
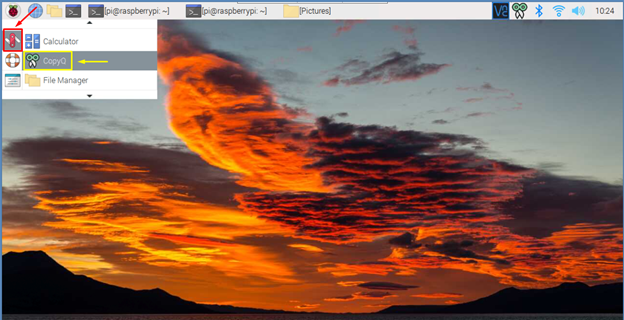
Or you can open CopyQ by going to the Application Menu > Accessories > Copy Q.
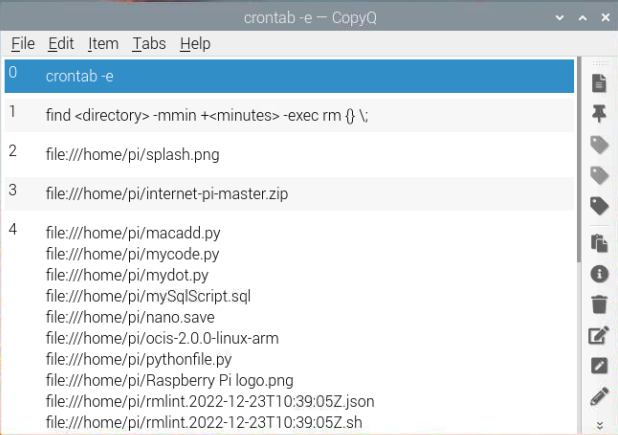
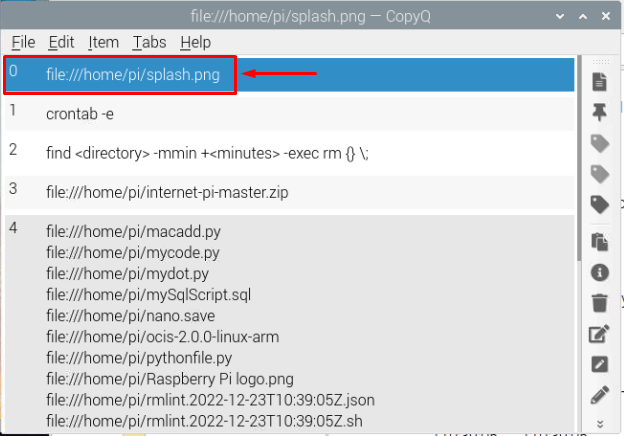
The CopyQ software will look like the image below. This tool accesses your system clipboard manager and extract all information that resides inside the clipboard.
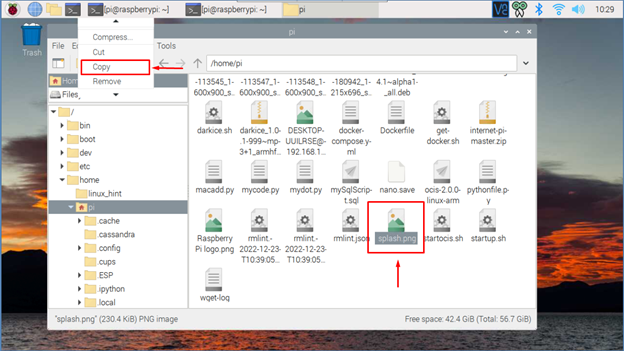
Here is an example of the copying an image named with “Splash.png”, as shown below.
As I copied the image, the CopyQ software abruptly displayed a command that shows the directory and the name of the image. The user can later copy this image from the clipboard and send it somewhere else.
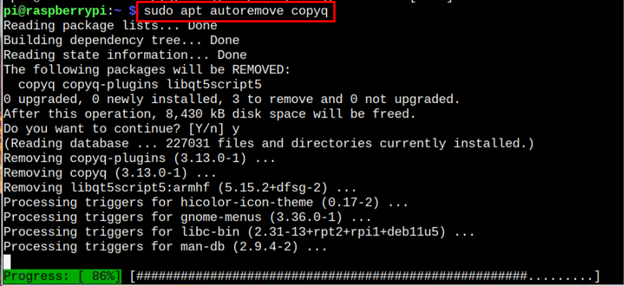
If you are looking to remove the CopyQ software, you can execute the following command:
Conclusion
CopyQ is an advanced tool to access the system clipboard and grab all information from it. It can be installed on Raspberry Pi through apt command and can be opened through the terminal using copyq command. You can also open it from GUI from the application menu from the Accessories section. You can also remove CopyQ from Raspberry Pi through “apt remove” command.


