In this article, the installation and configuration of the DietPi on the Raspberry Pi 4 device are discussed by downloading the image file of the DietPi.
How to download the DietPi and write it on the SD card
For the installation of the DietPi on the Raspberry Pi, we have to download its image file from its official website:

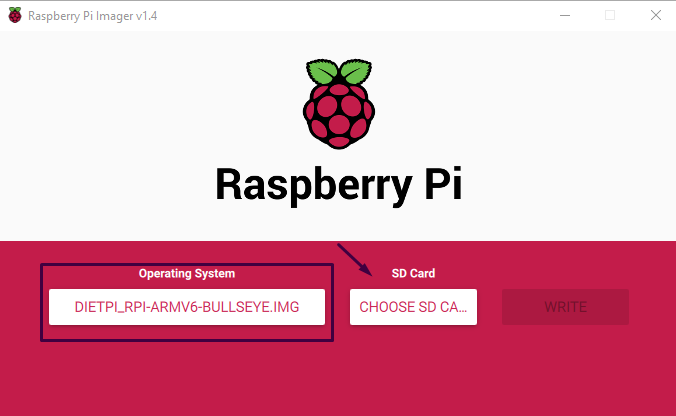
After its downloading, we will use the Raspberry Pi imager(you can use any other imager too like BalenaEcher) to burn the image file on the SD card or USB, for those who do not have the Raspberry Pi imager, can download it from the website of Raspberry Pi foundation. Open the Raspberry Pi imager and choose the location of the downloaded image of DietPi:
Then choose the SD card location on which you want to burn the image of DietPi:
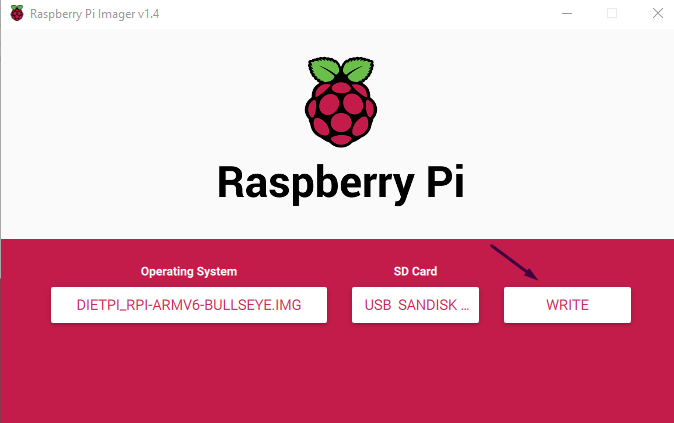
Finally, click on the “WRITE” button to burn the image.
How to install the DietPi on Raspberry Pi
Insert the microSD card in the Raspberry Pi 4 and let the DietPi boot, it will show you the default username and password of the DietPi:
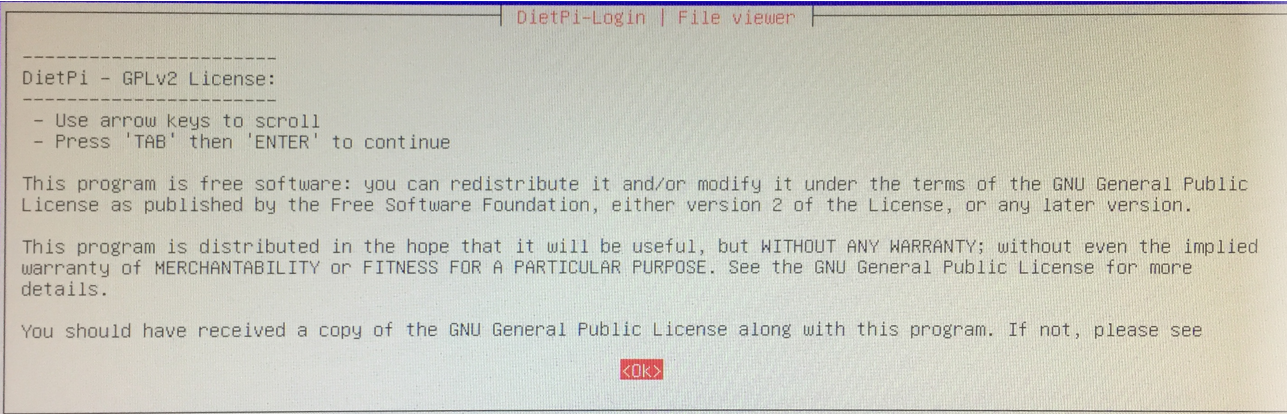
Press the “Enter” key and type the user name of “root” and password “dietpi”, after this a dialogue box will appear displaying the license of using the DietPi, click on “Ok” button:
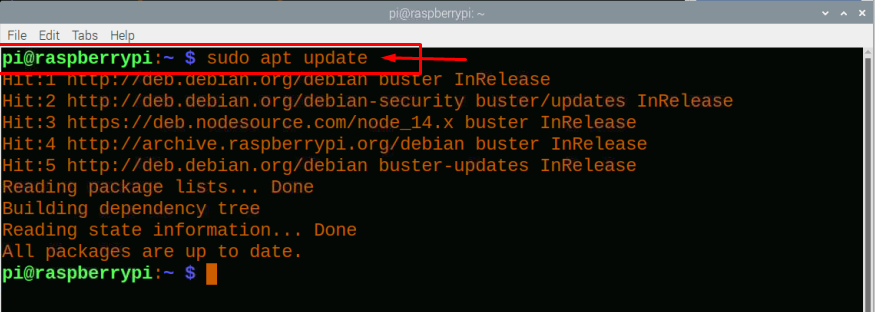
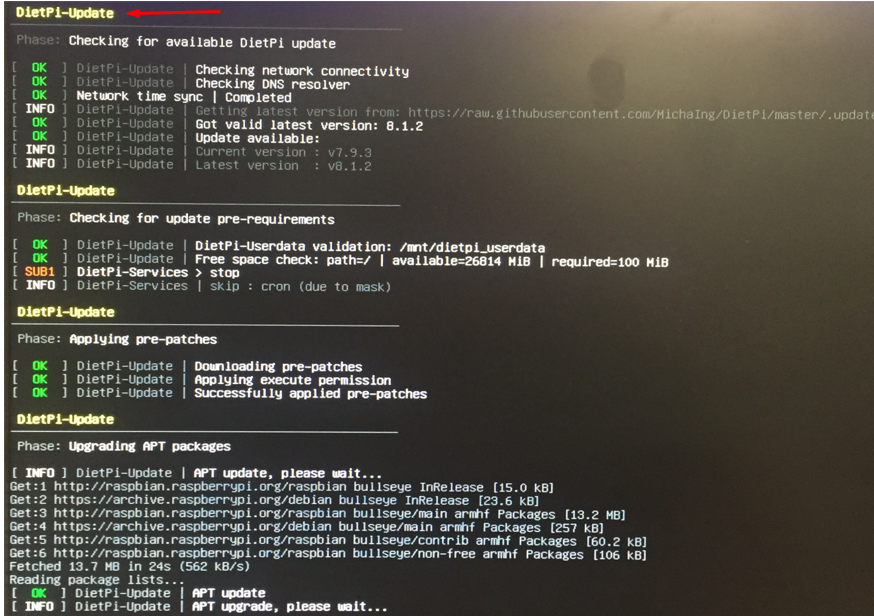
Then it will start updating the repositories and other build-in dependencies of the DietPi, it will take some time, to make sure the internet connect is established either by the Ethernet or WiFi, in our case it is being connected with Ethernet:
It will take some time to update the DietPi, then it will ask to participate in the DietPi survey, it’s up to you whether you join it or not, we are proceeding without joining the Survey so will choose “Opt OUT and purge uploaded data” and then click on the “Ok” button:

Next you have to set the Global software password, so when ever any one will install any package on the DietPi, it ask for this password, so to change it, we will click on the “Ok”:

Type the password which you want to set on the Global software password:

Retype the Global software password to confirm the changes:

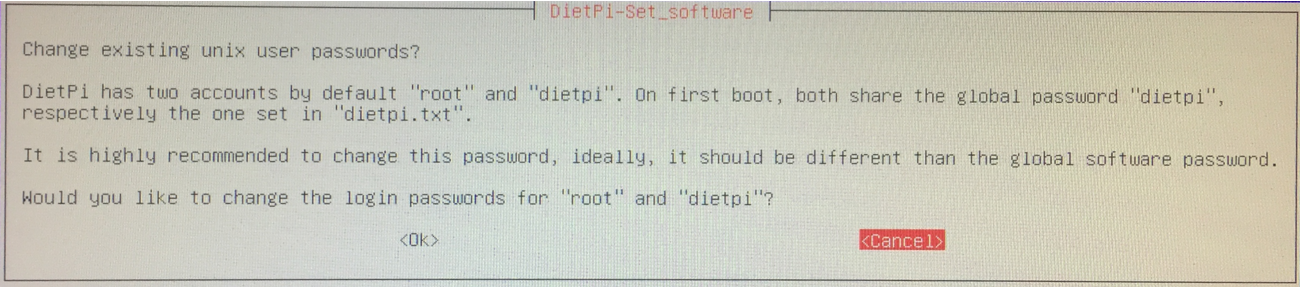
Now it will ask to change the root password which is by default “dietpi”, but if you do not want to change it, simply click on the “Cancel”:
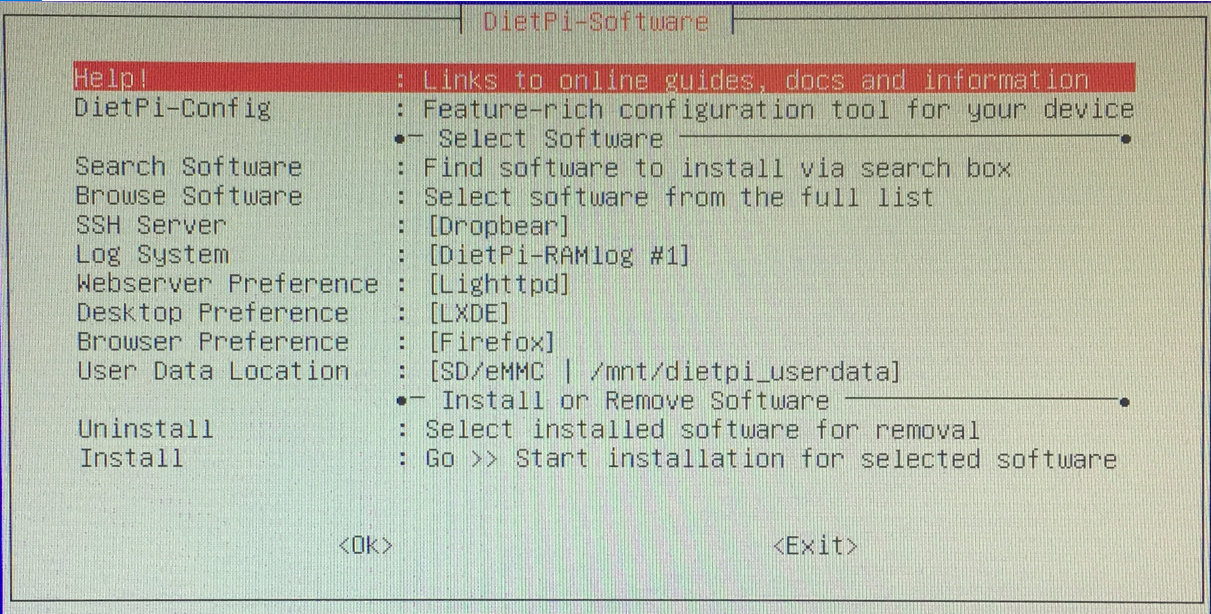
A dialogue box will appear with different options to customize the settings of the DietPi according to your ease:
How to change the Desktop environment on the DietPi
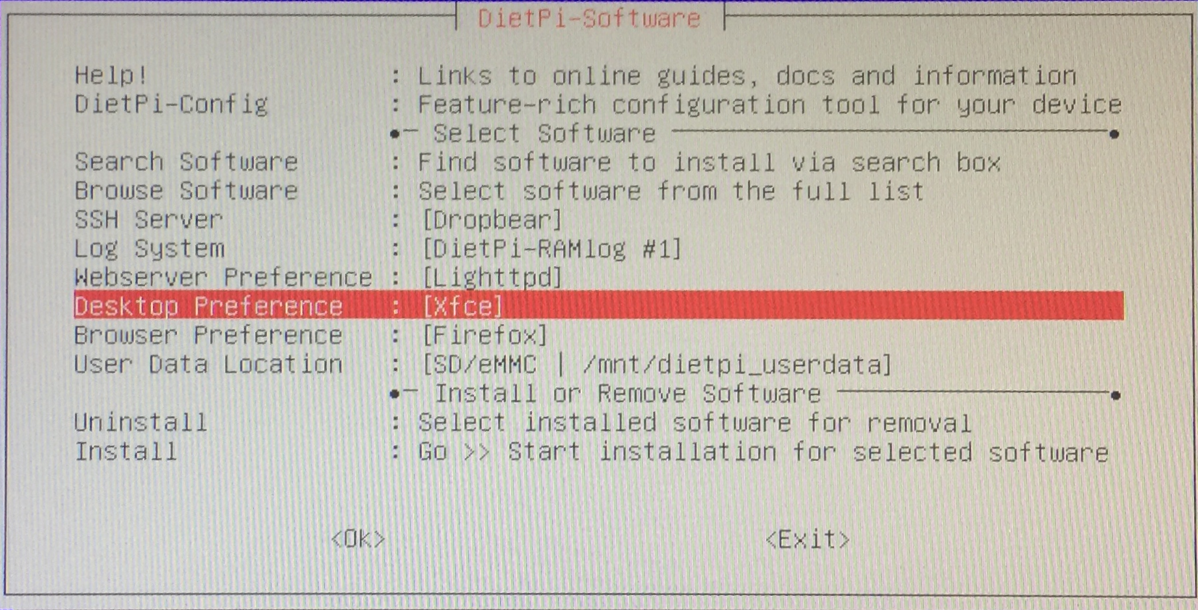
To change the DietPi desktop environment, we will click on the “Desktop Preference”:
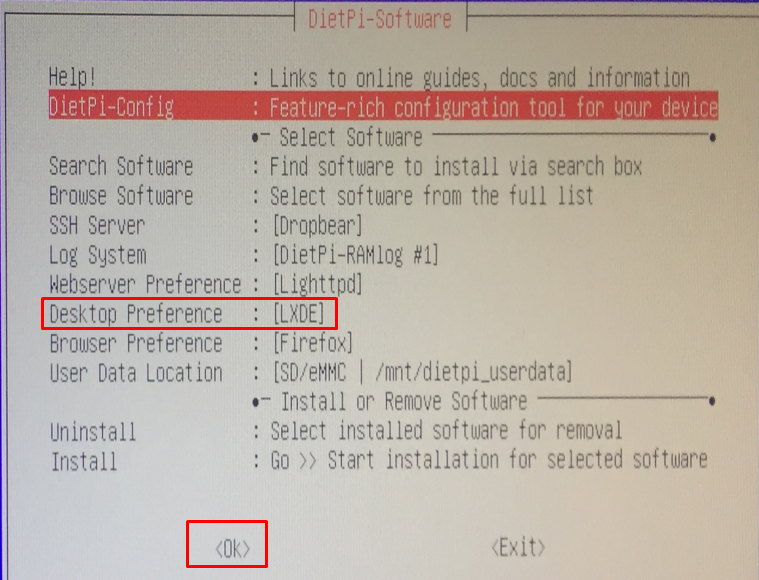
Different desktop Preference will appear:
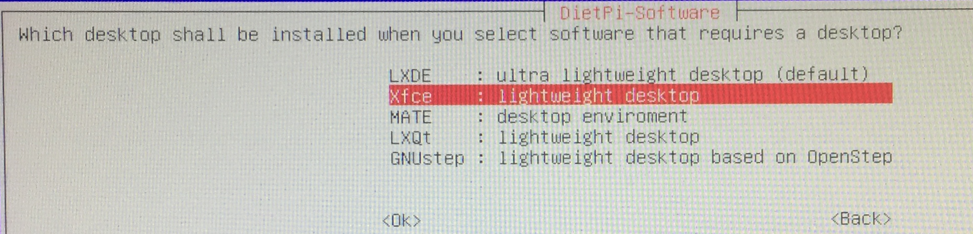
We will choose the “Xfce” desktop environment which is lightweight, but you can choose the others as well and press on the “Ok” button:
How to change the configuration settings of the DietPi
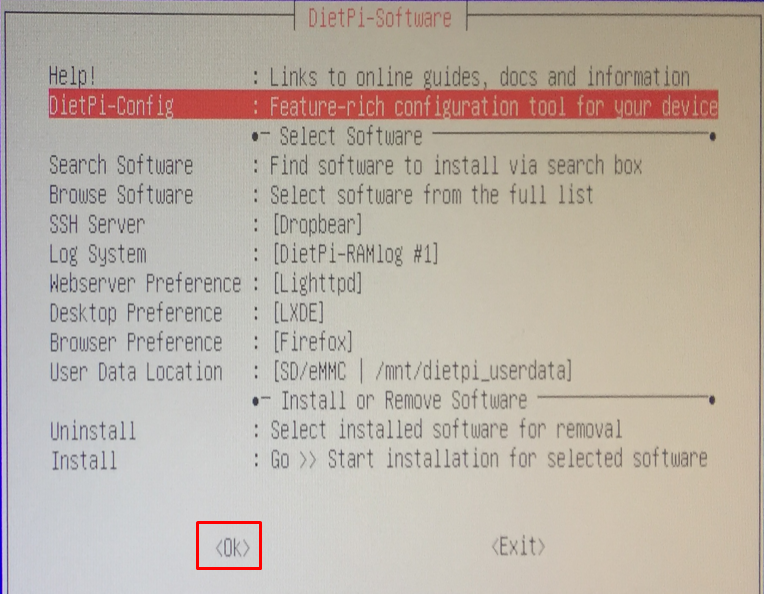
To change the configuration settings, click on the DietPi-Config in the DietPi-Software menu:
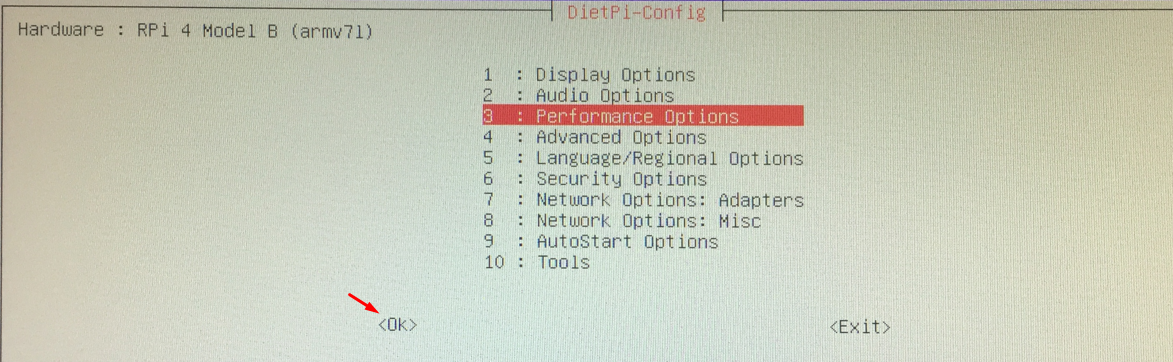
Different options will be displayed, change them according to your choice and click on the “Ok” button:
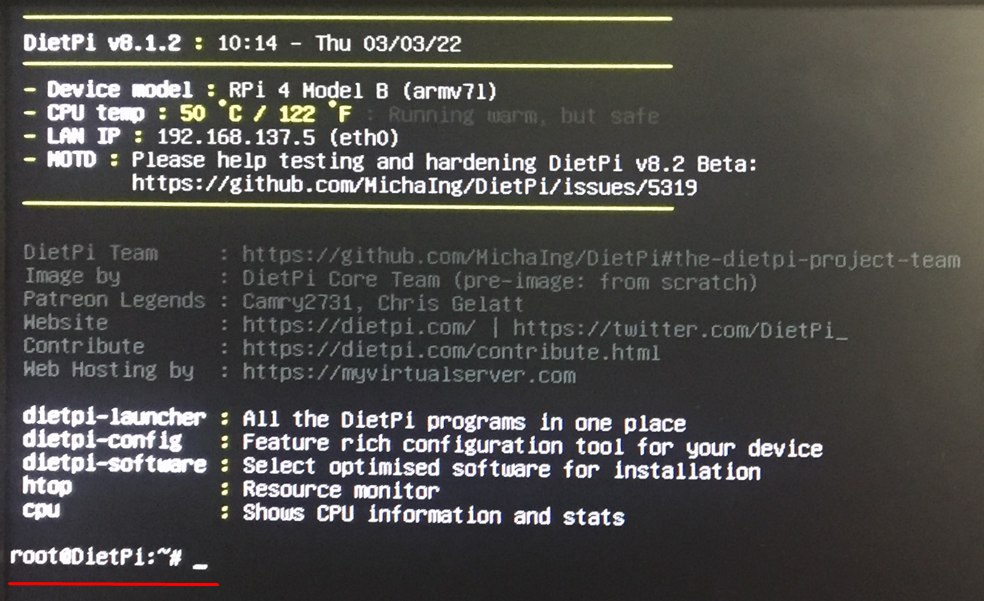
Finally click on the the “Ok” button at the end of the DietPi-Software, and you will be in the terminal of the DietPi:
Conclusion
DietPi is a lightweight Debian-based operating system that is specially designed to use on the Raspberry Pi, Orange Pi, and Odroid devices. In this write-up, we have discussed the installation of the DietPi on the Raspberry Pi and also discussed the method through which you can configure your DietPi using the Raspberry Pi.