In this article, we will let you towards installing Chromium OS on Raspberry Pi for a fast-speed desktop experience.
How to install Chromium OS on Raspberry Pi
Installing Chromium OS on Raspberry Pi is quite easy once you follow the steps as mentioned below as these will lead you towards successful installation of the operating system.
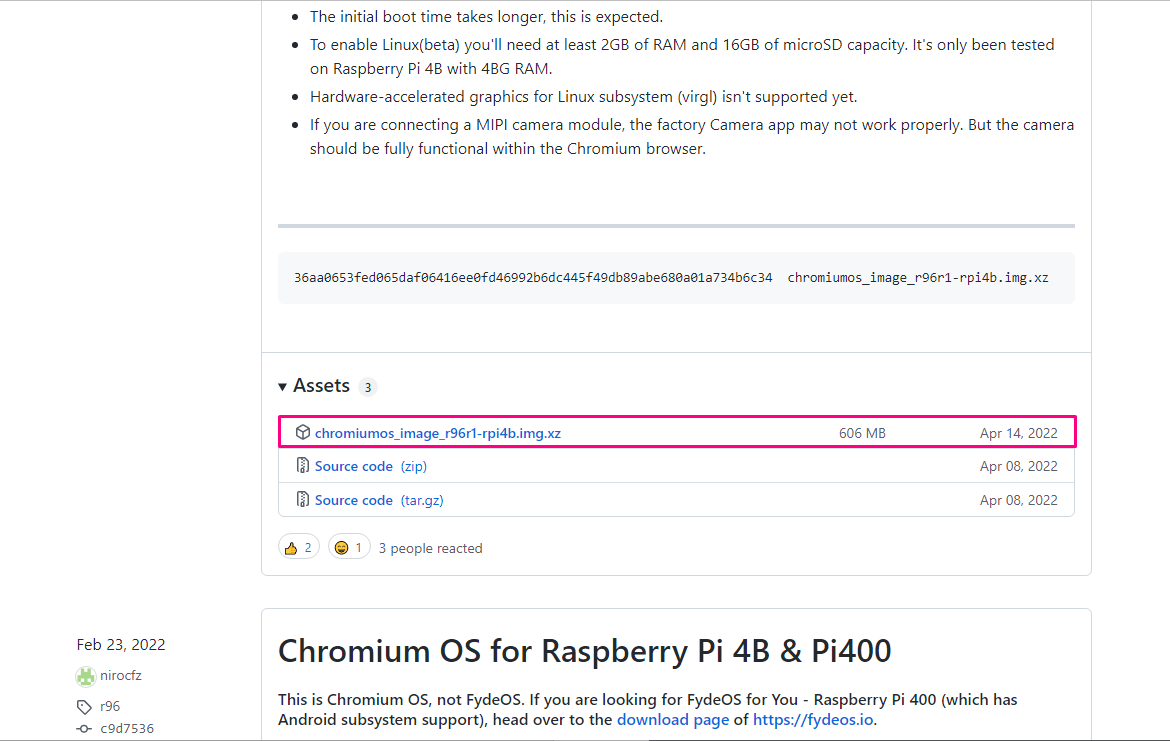
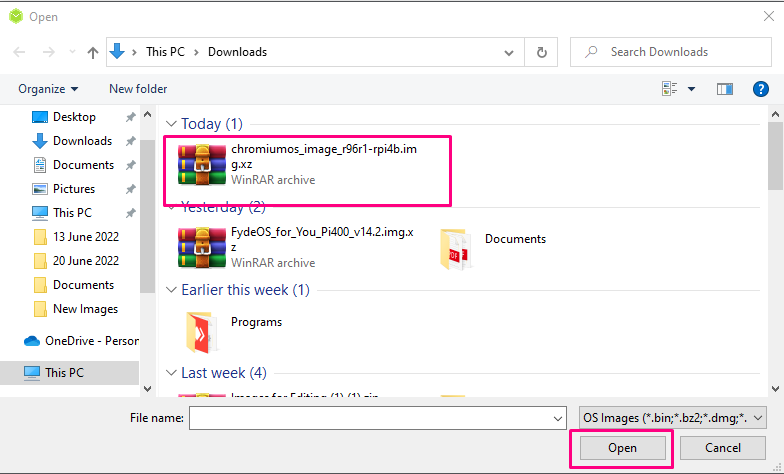
Step 1: First, you will need to download the Chromium OS image file by visiting the website.
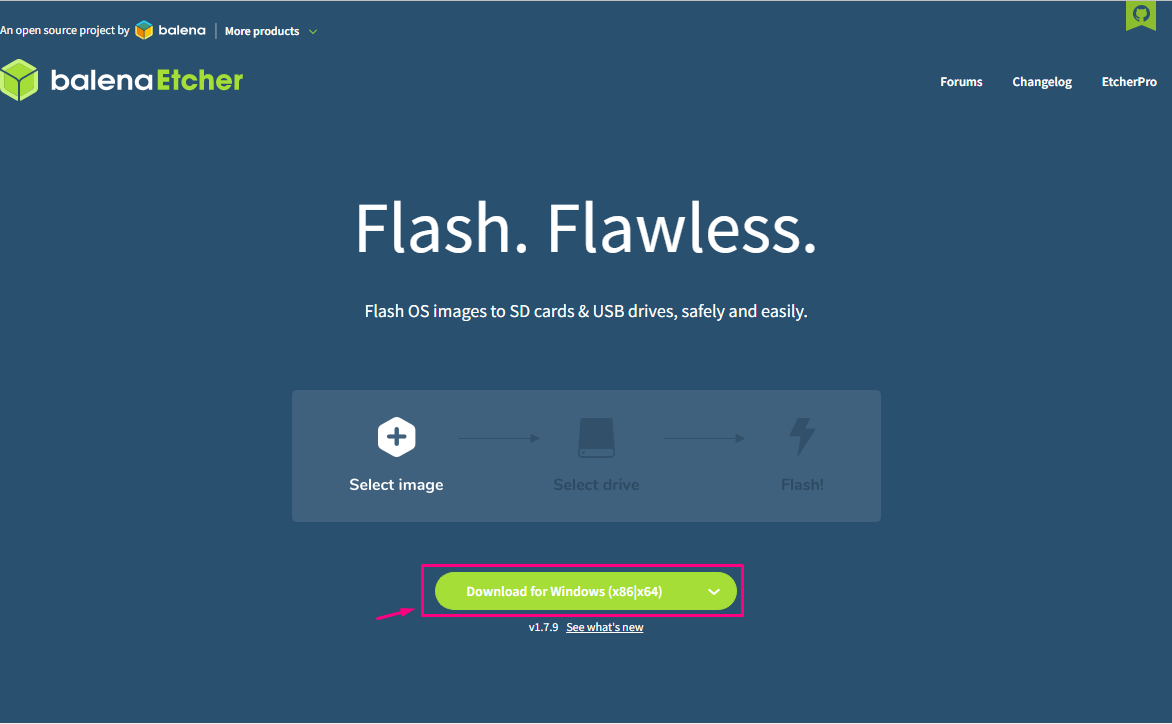
Step 2: Download and install BalenaEtcher application from the official website as this is necessary for creating Chromium OS image on your SD card.
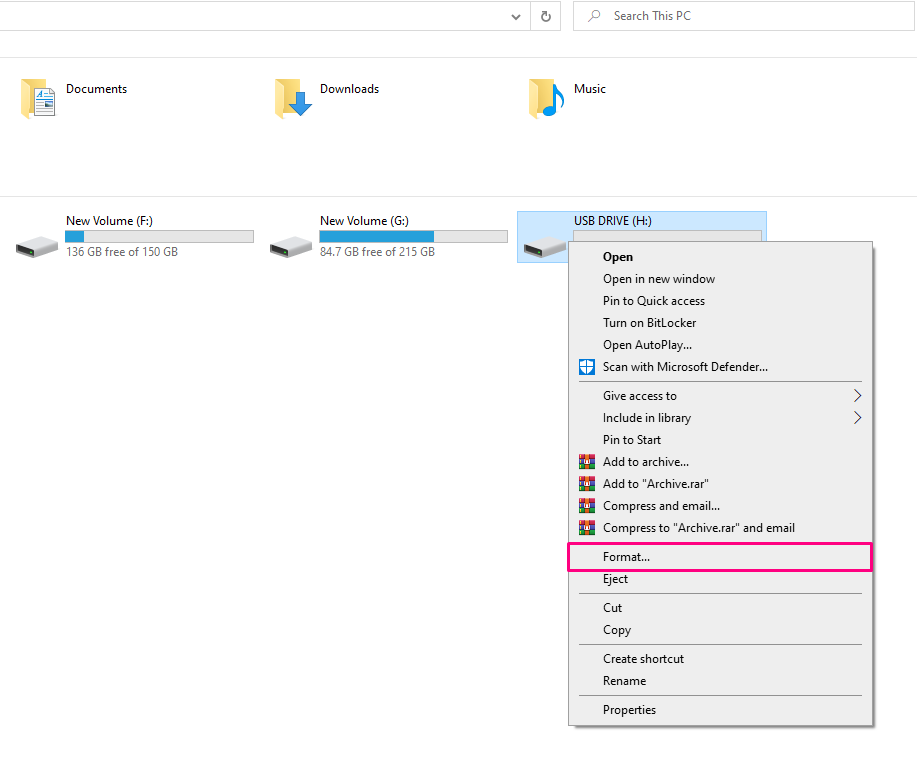
Step 3: Insert an SD card into your laptop using the SD card reader and once it’s loaded up on your system format it using the NTFS or FAT32 file system.
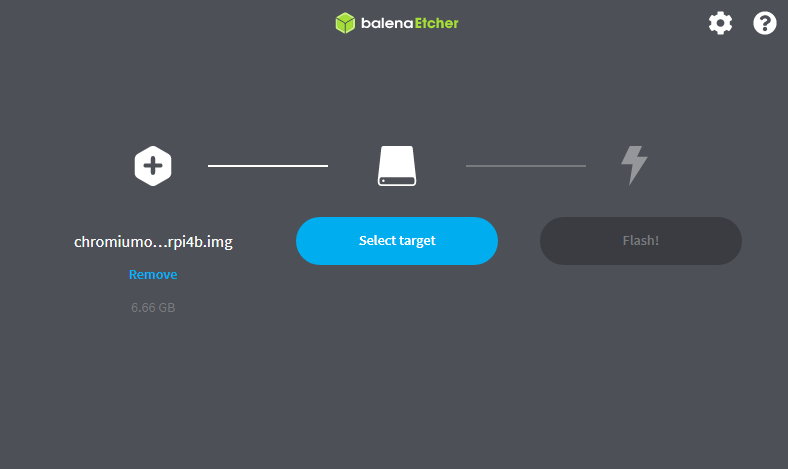
Step 4: Open the BalenaEtcher application on your system’s desktop and then choose the “Flash from file” option.
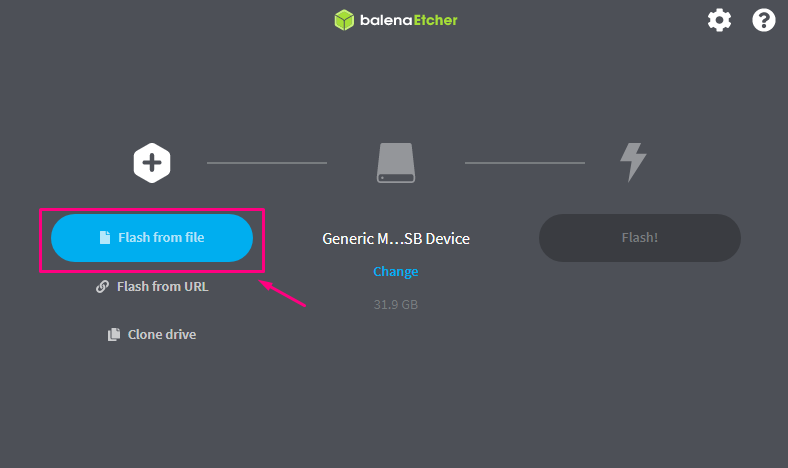
Step 5: Load the Chromium OS image file into the BalenaEtcher.
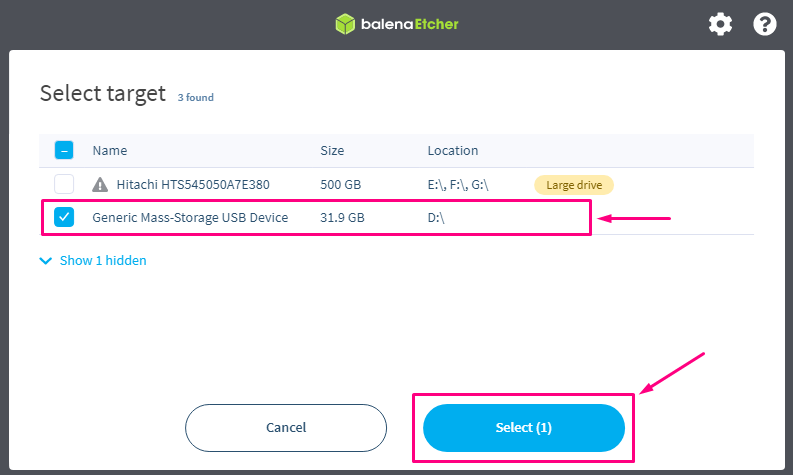
Step 6: Select SD card as your storage for installing Chromium OS.
Step 7: Once the storage selection is done, you can click on the “Flash!” option to start the image creation process.
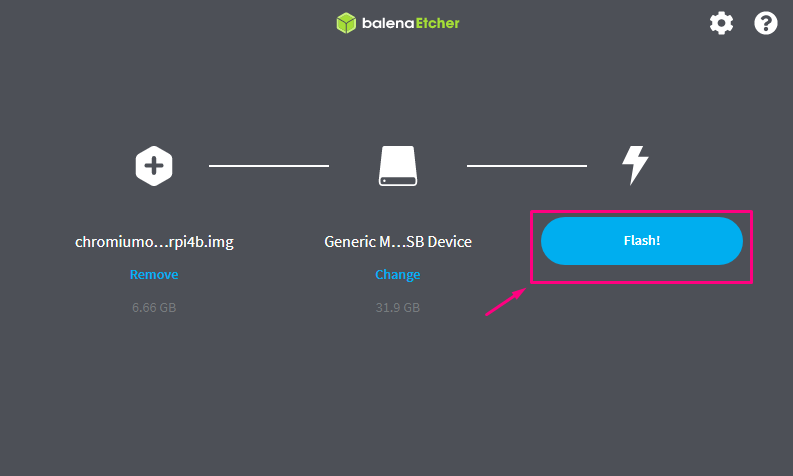
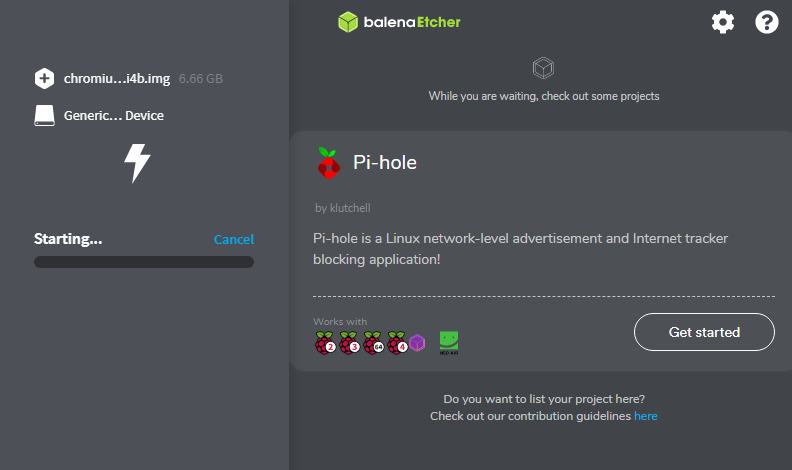
The imager may take some time creating and installing Chromium OS image on your SD card and you have to wait till it finishes.

Step 8: After completing the process, power on your Raspberry Pi and insert the Chromium OS loaded SD card into the device.
Wait for a few seconds and you will be greeted with a Welcome message as shown in the image below.

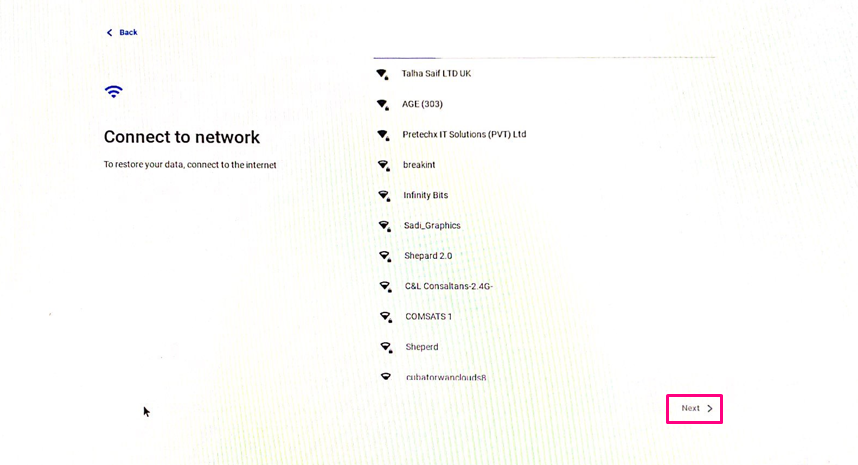
Step 9: Before moving towards the Chromium OS main screen, you will need to connect the system to your WIFI network.
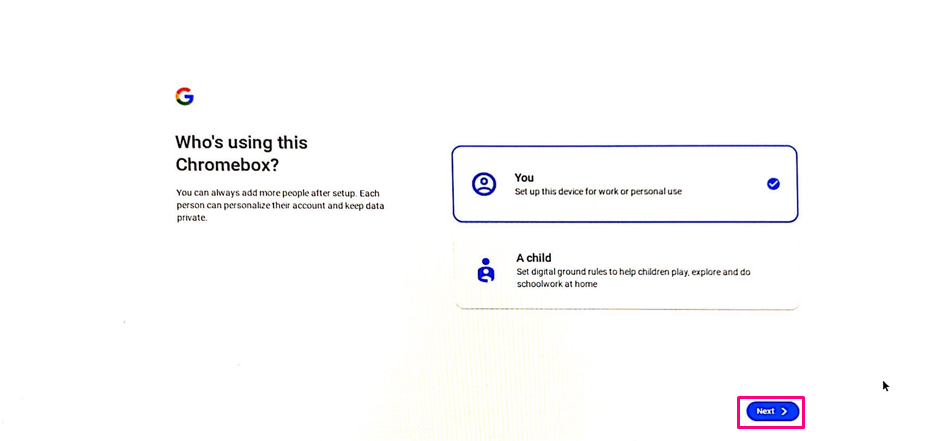
Step 10: You will also need to ensure the safety of your operating system and for this reason you will need to add only the trusted user. In our case, we are selecting the first option for personal use.
Step 11: Sign-in to your Gmail account so that you can access using the Google services on your desktop.

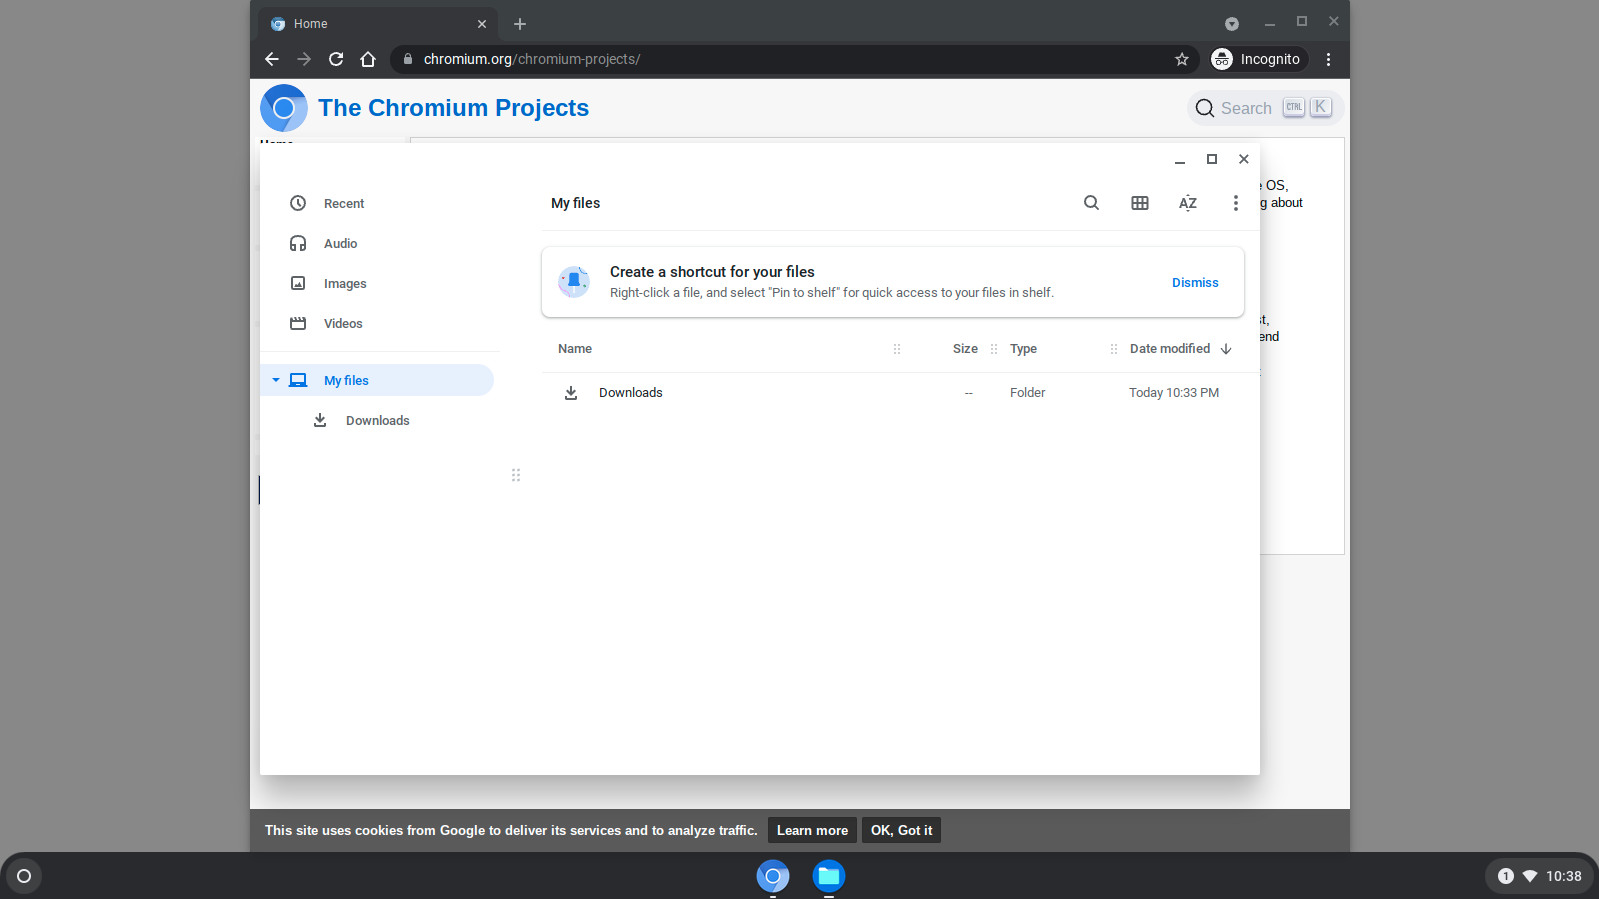
After finishing the above step, you will see the Chromium OS desktop screen, which you can operate using the Chromium browser.
Conclusion
Chromium OS is a lightweight operating system that runs perfectly on your Raspberry Pi device and you can operate it efficiently. The OS installation procedure is simple to follow, requiring a Chromium OS image and BalenaEtcher application to successfully create an image on an SD card. The detailed step-by-step description of the installation is given above and following those steps will let you experience the Chromium OS features on your Raspberry Pi.