If you have old speakers at your home and want to use them with your Raspberry Pi, you can achieve so with the help of balenaSound. The balenaSound is an application that will stream the audio services from your favorite music locations by enabling the Bluetooth capability on your Raspberry Pi device and turning your old speakers into use.
In this guide, you will learn to install balenaSound on your Raspberry Pi and turn the old speakers into use.
Installing balenaSound on Raspberry Pi
If you want to stream your favorite music from the websites and listen to them through your old speakers then you will need to install balenaSound on Raspberry Pi using the following steps.
Step 1: First, visit the balenaSound website.
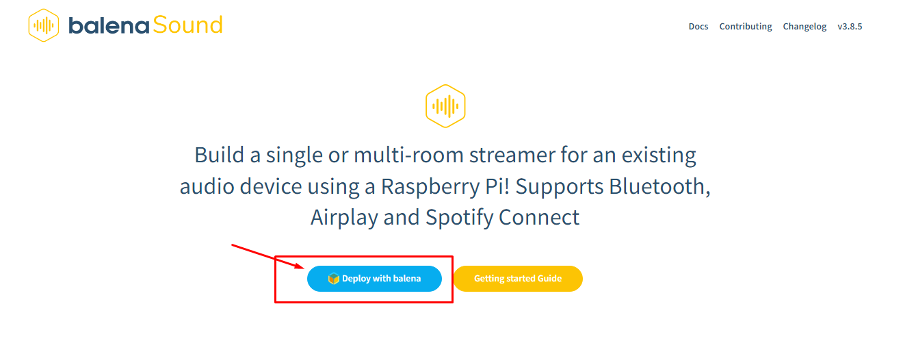
Step 2: Choose the option “Deploy with balena”.
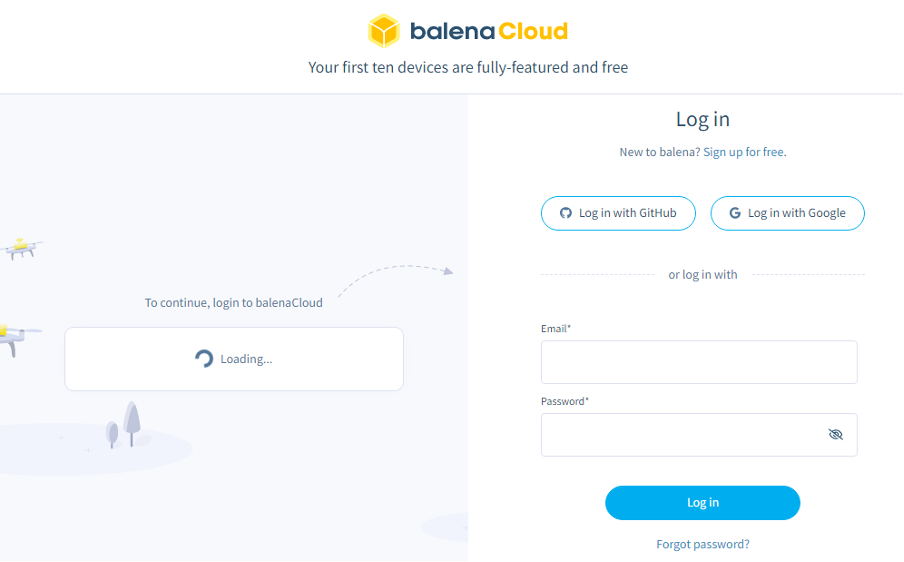
Step 3: The above step will send you straight to the balenaCloud where you will need an account for log in. If you already have a GitHub or Gmail account, you can simply go with the “Log in” option.
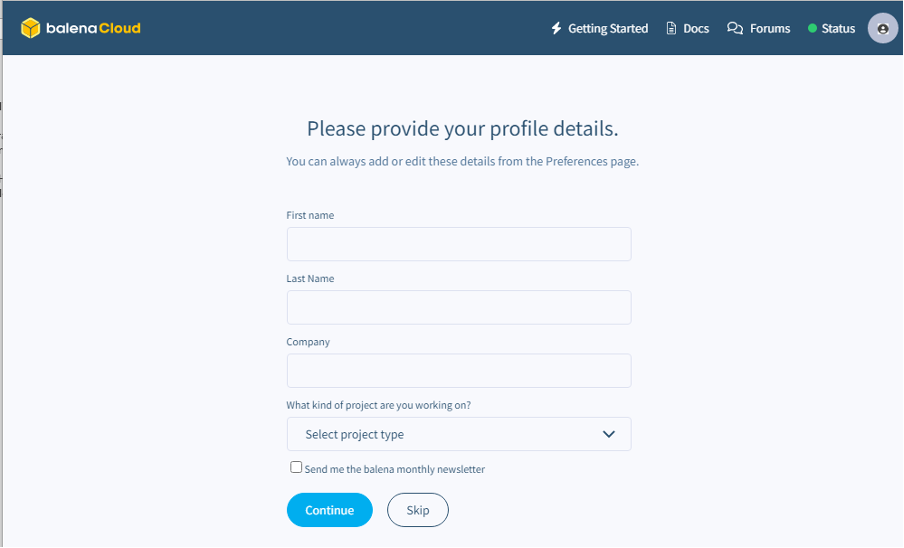
Step 4: Provide your credential details in the next step after login with the Gmail or GitHub account and when it’s done, click on the “Continue” option.
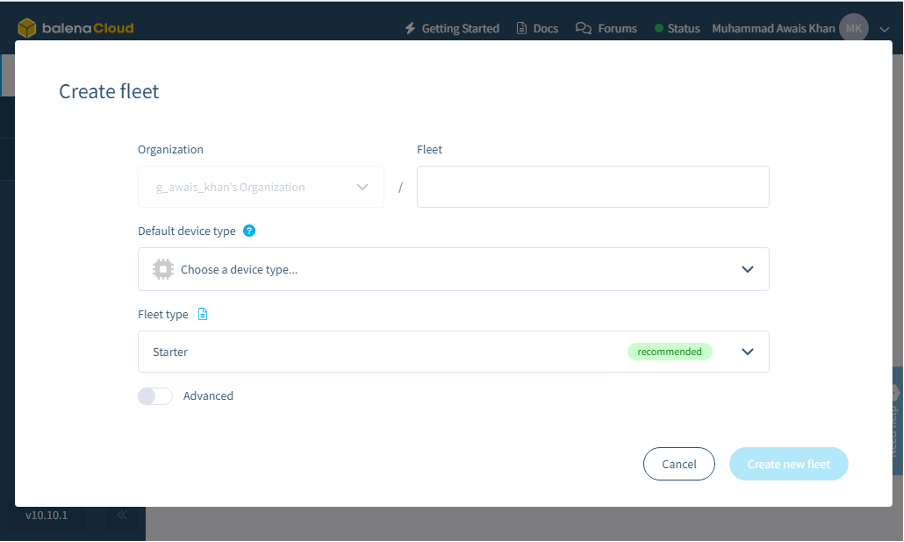
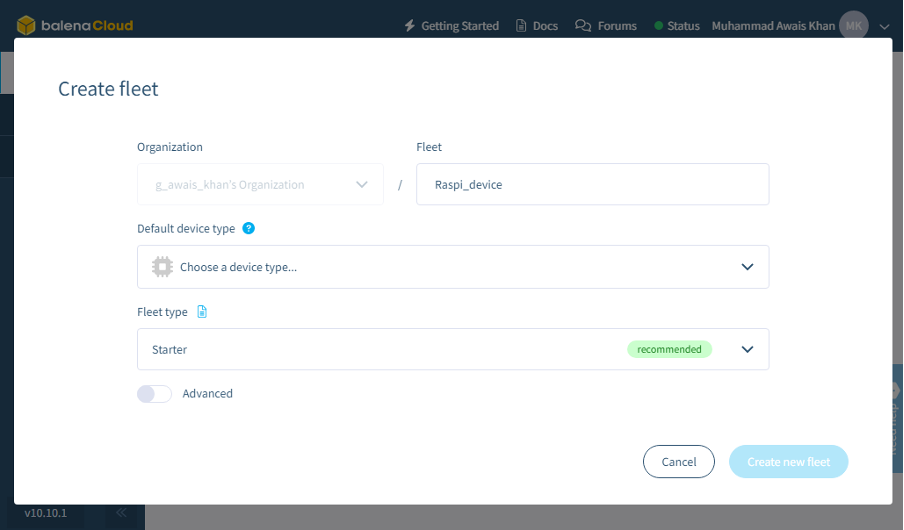
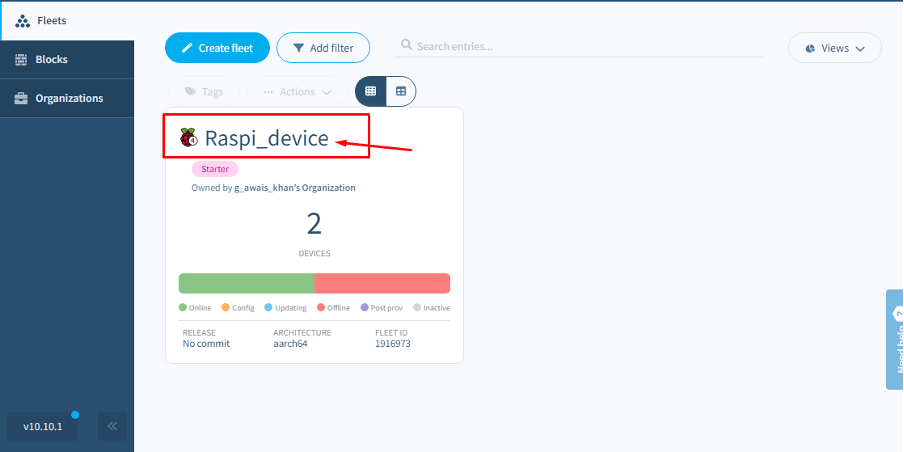
Step 5: Choose any name in the Fleet box. The Fleet is the application name you are going to create.
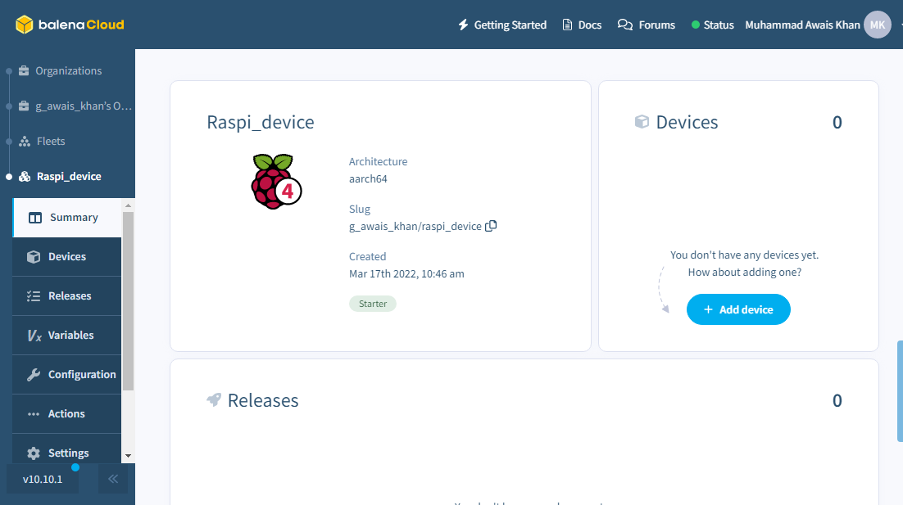
In our case, we choose the Fleet as “Raspi_device”.
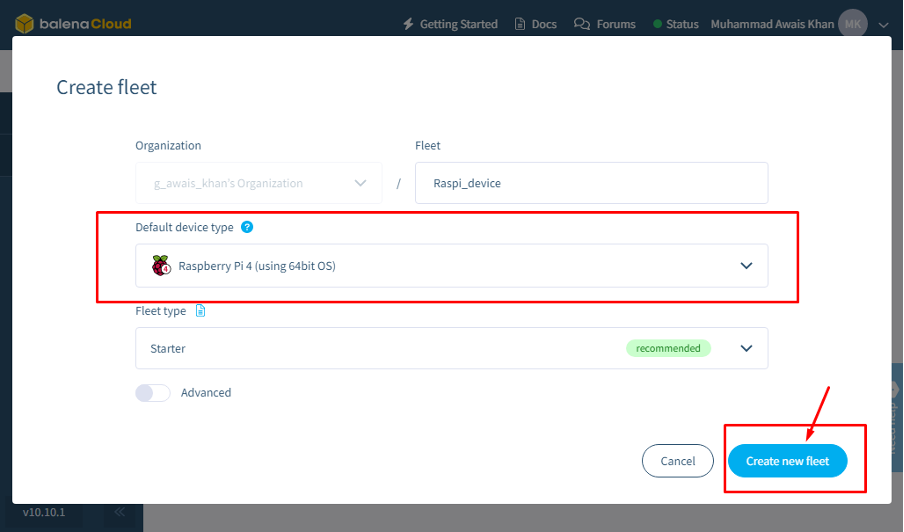
Step 6: Choose the device type and in our case it’s Raspberry Pi 4 so you will also need to do the same. Once it’s done, click the option “Create new fleet”.
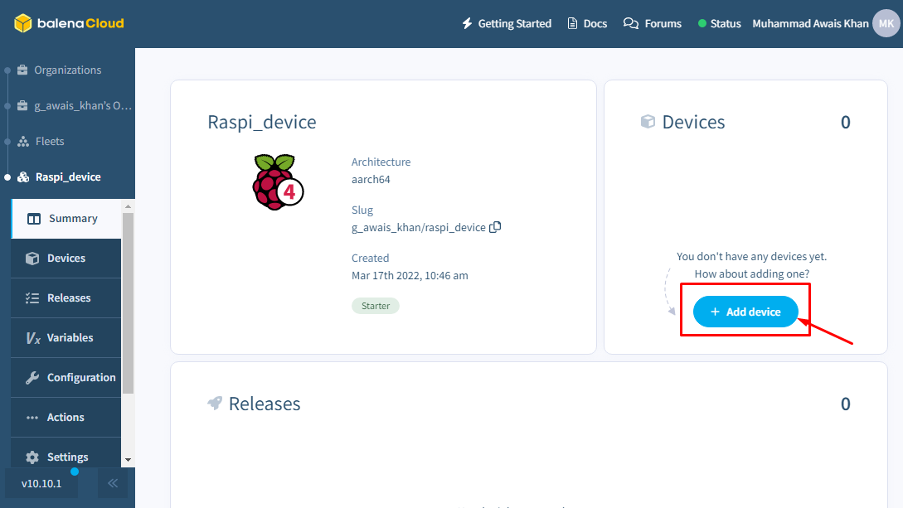
Step 7: Next, click on the “Add device “option.
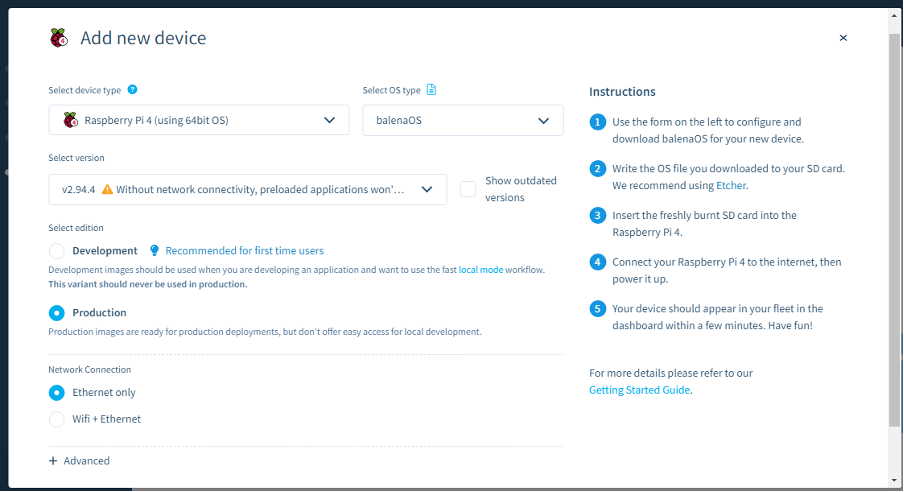
Step 8: Select your Raspberry Pi model. In our case it’s Raspberry Pi 4.
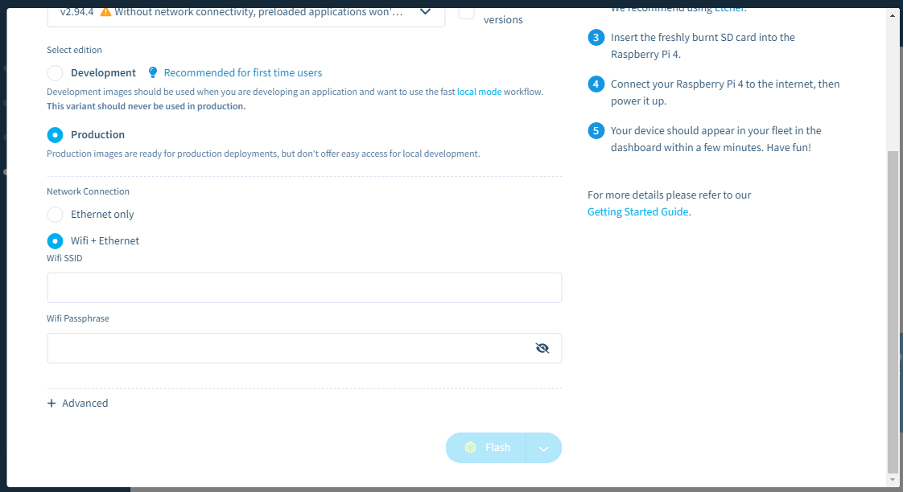
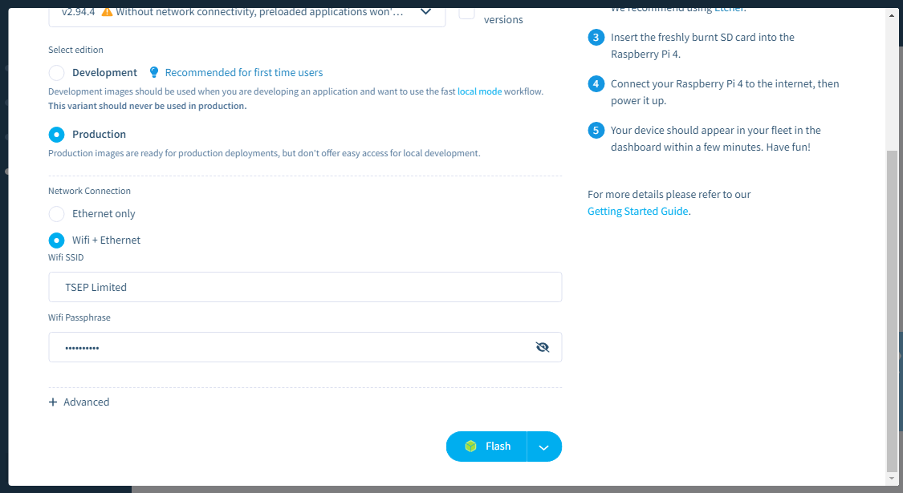
Step 9: Choose your Network connection type. In our case, we are going with the “Wifi+Ethernet” option.
Step 10: Provide your Wifi SSID and password in their respective boxes.
Step 11: Insert an SD card in the card-reader and port it into the PC. Also, format the card reader properly and in the meantime, download the balenaEtcher from the website as well.
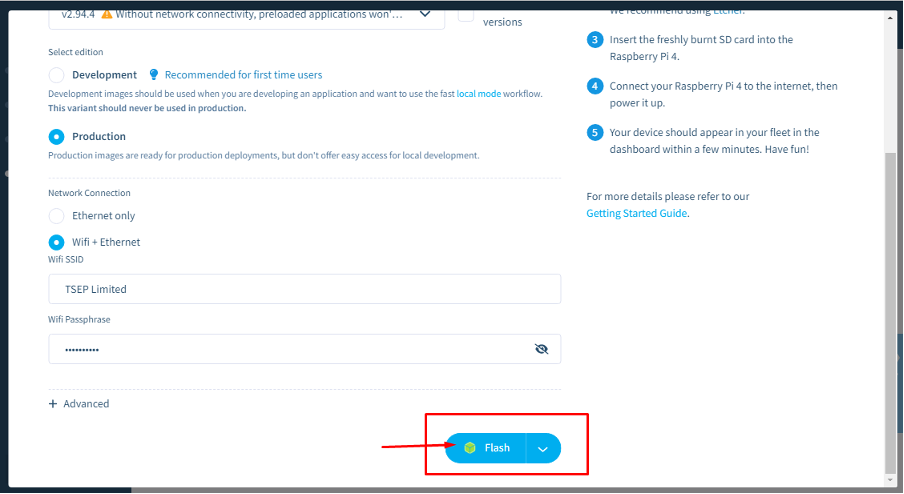
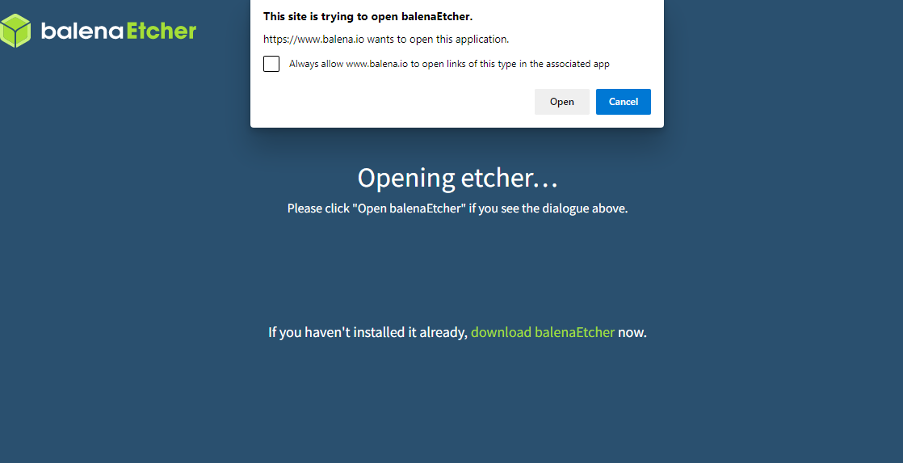
Step 12: After the successful installation of balenaEtcher on your PC, you can then click on the “Flash” option and it will lead you to the balenaEtcher website. You will need to allow the flash process on the balenaEtcher app by clicking on the “Open” option.
Wait for a while to load up the image on the app.
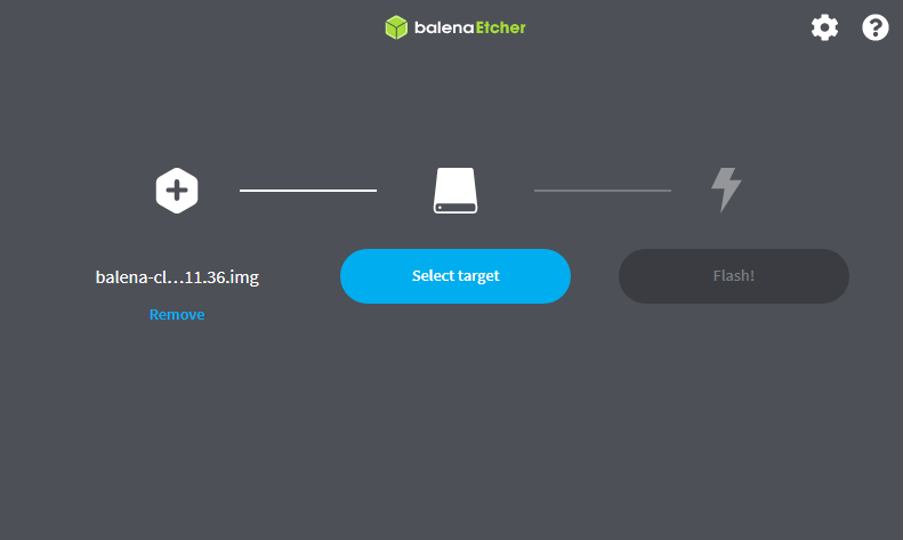
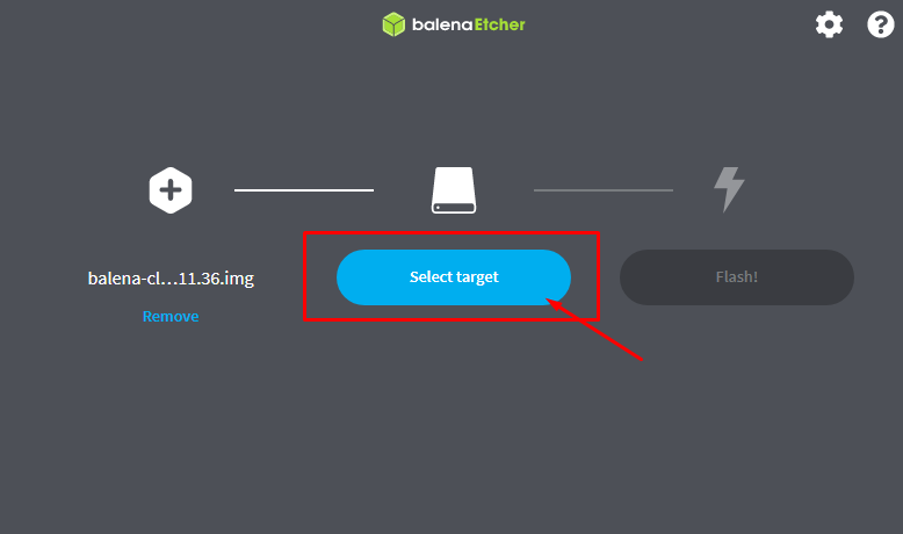
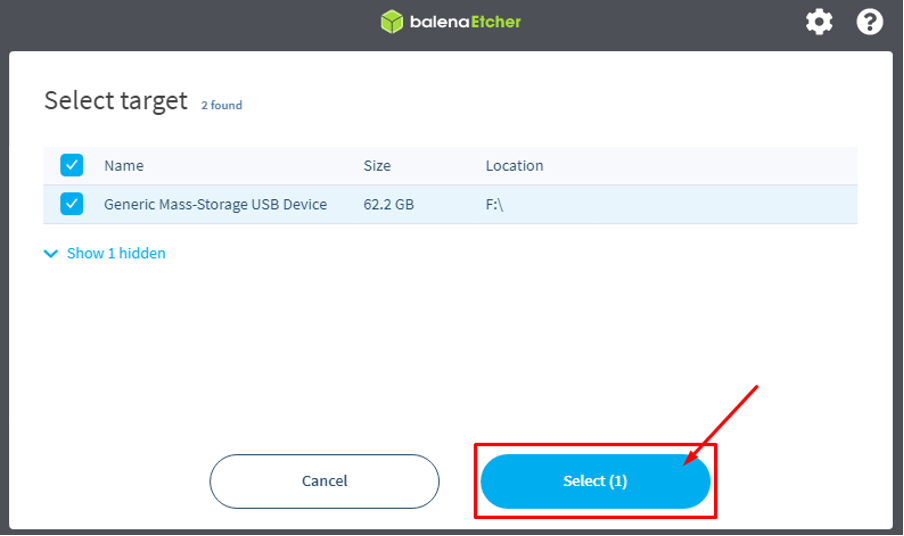
Step 13: Once it loads, select the target drive and choose your SD card reader.
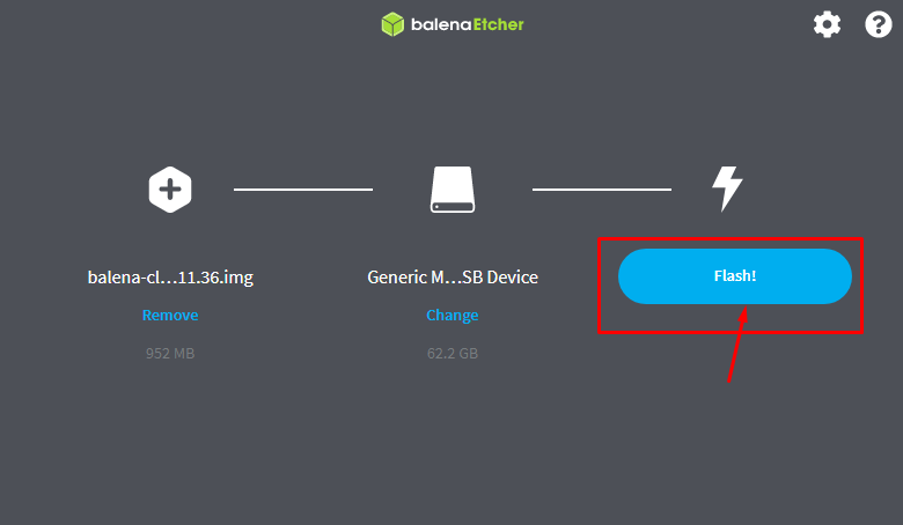
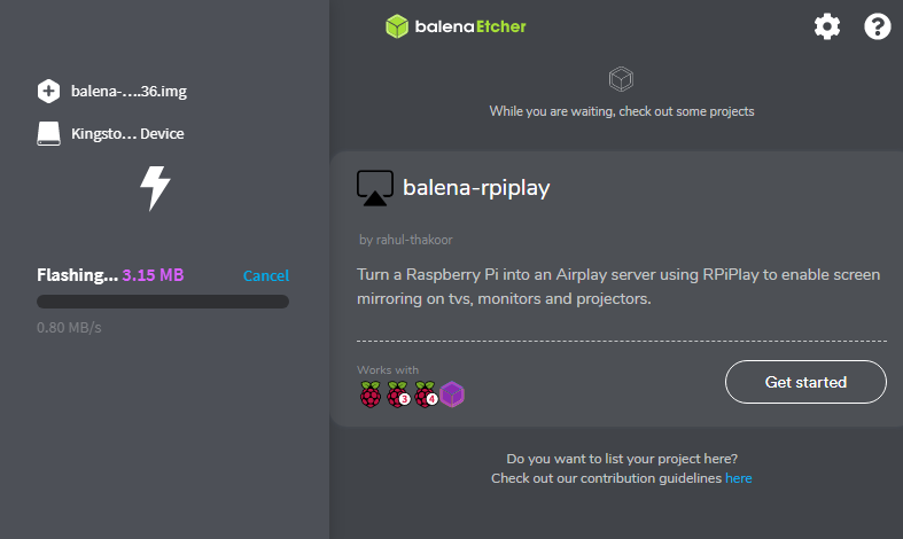
Step 14: Finally, click on the “Flash!” option to load the image on SD card
After completing the process, power on the Raspberry Pi device and insert the SD card into the Raspberry Pi device.
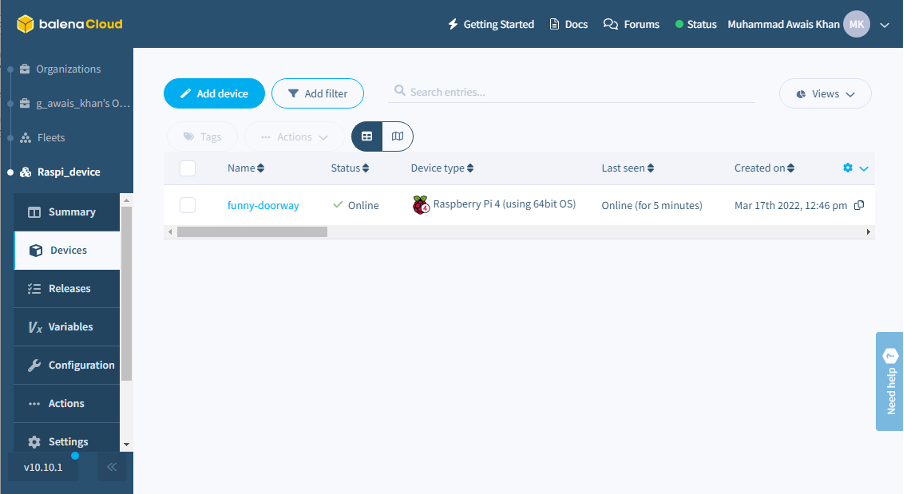
Wait for a few seconds and then enter the address “https://dashboard.balena-cloud.com/fleets/1916973/devices” in the browser to see your device is connected.
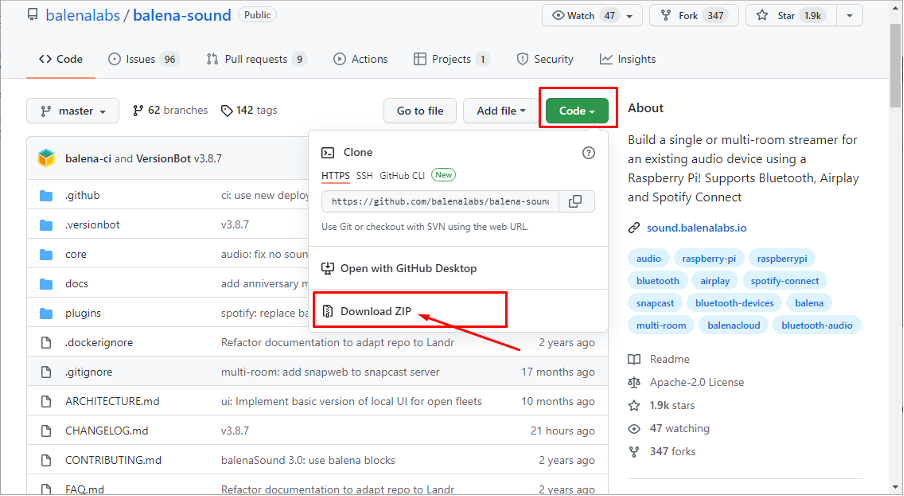
Step 15: Now the next step is to download balenaSound using the link.
Step 16: Extract the balena-sound-master.zip into any location on your device. In our case we unzip the file into the user directory.
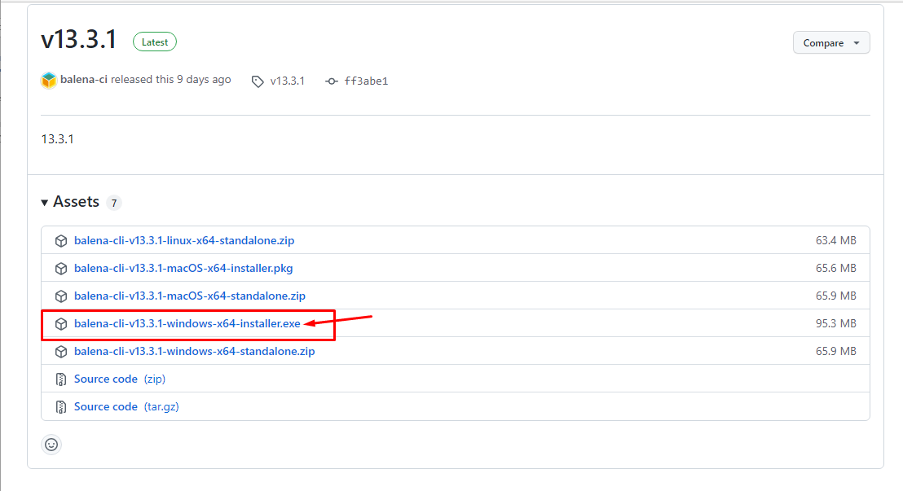
Step 17: Visit the other website and download the balena-cli zip file on your PC. Choose the operating system you have as in our case its Windows OS so we select the Windows installer and install it on our PC.
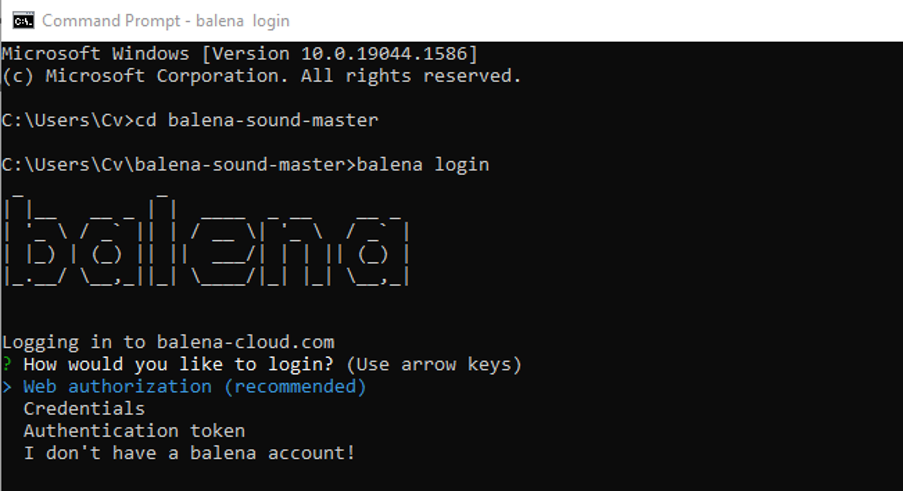
Step 18: Open your Windows command terminal and go to the directory where your zip file is placed by using the change directory ”cd” command.
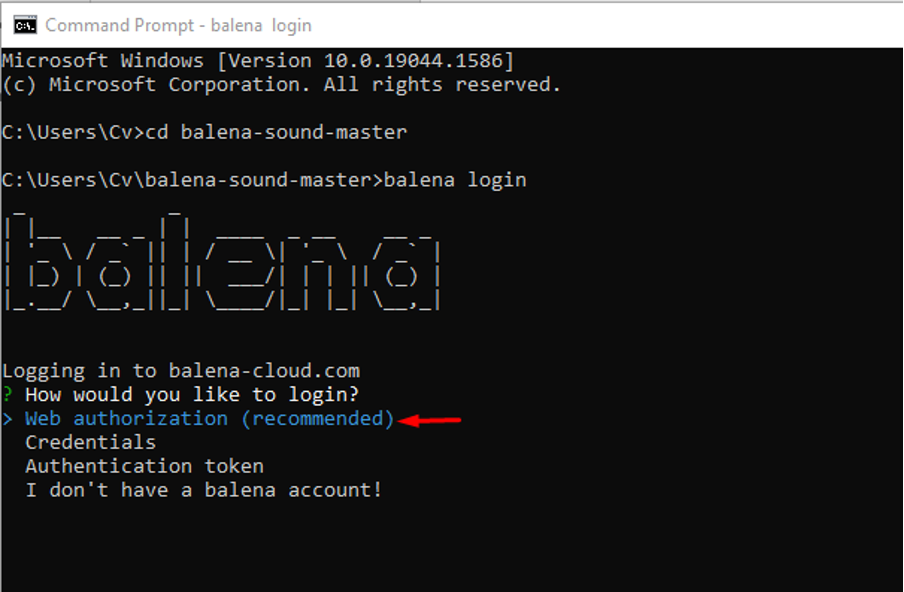
Step 19: Then use the balena-login command.
Step 20: Click on the “Web authorization” option and it will open the authorization screen on your browser.
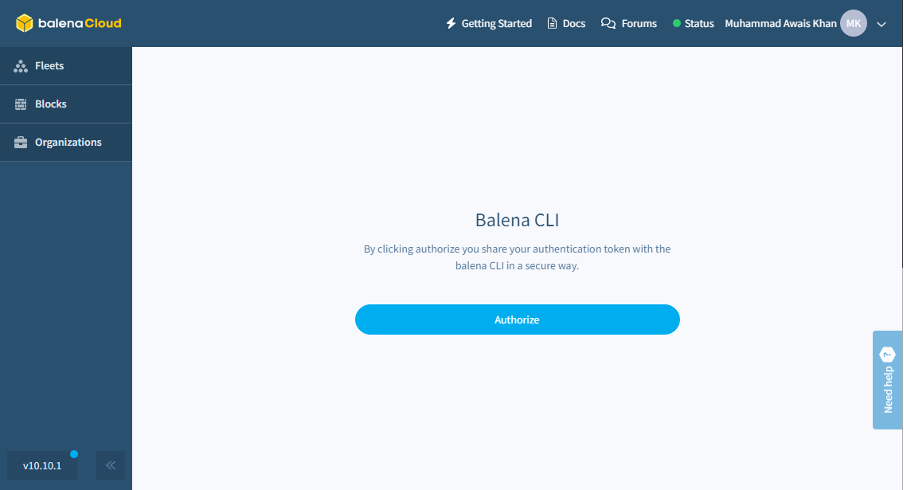
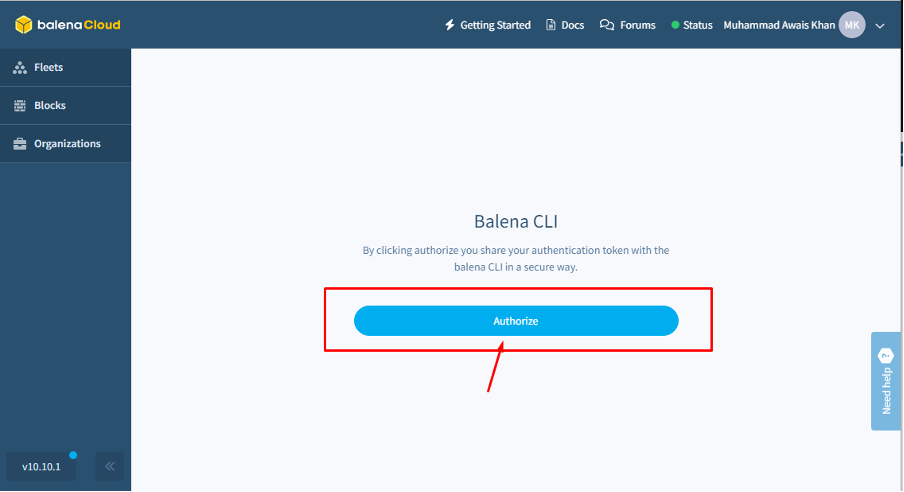
Step 21: Click on the authorize option to share your authorize token.
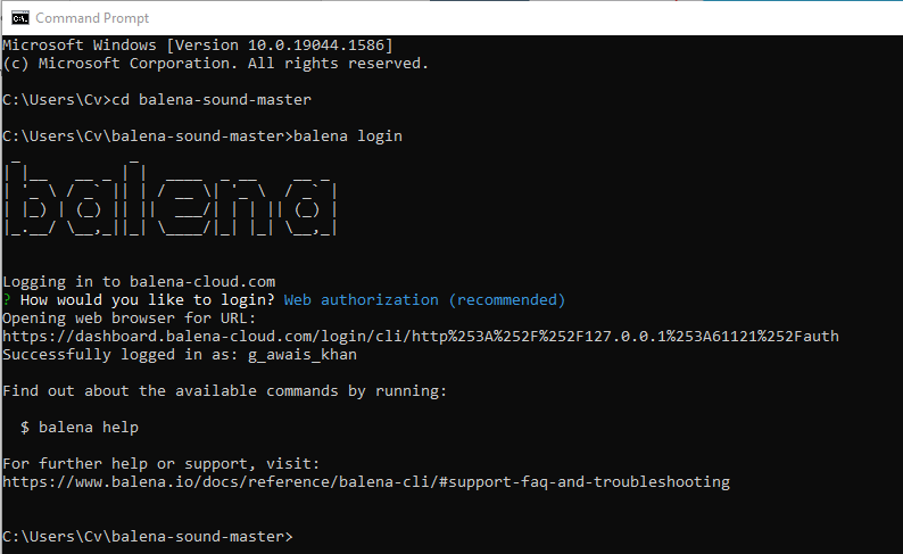
Once, you click it you will get success in login the balena CLI on the terminal.
Step 22: Go to the terminal.
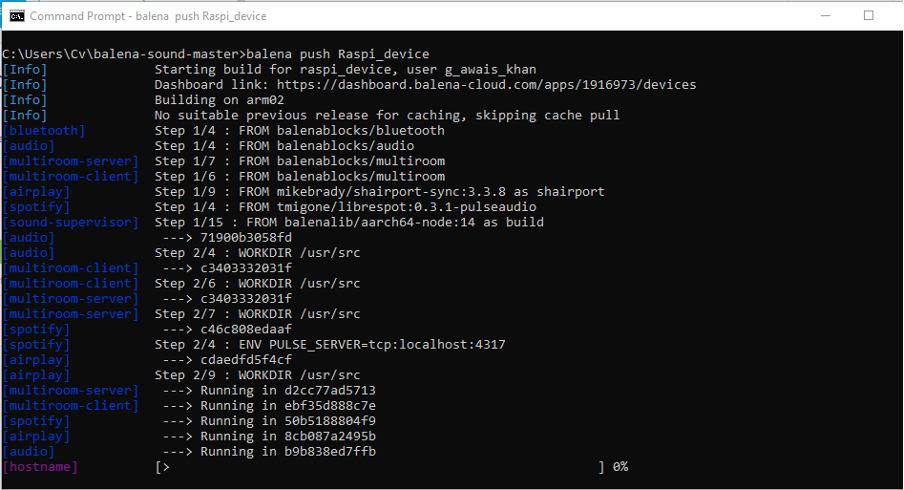
Step 23: Now use the below mentioned command in the terminal.
The “<app_name>” is the name of the application which you can confirm from the Fleet option. In our case it’s “Raspi_device”. .
So we simply execute the below script in the command prompt.
The above script will take your project folder, uncompress it and take the files onto the balenaSound cloud build server where it will be built.
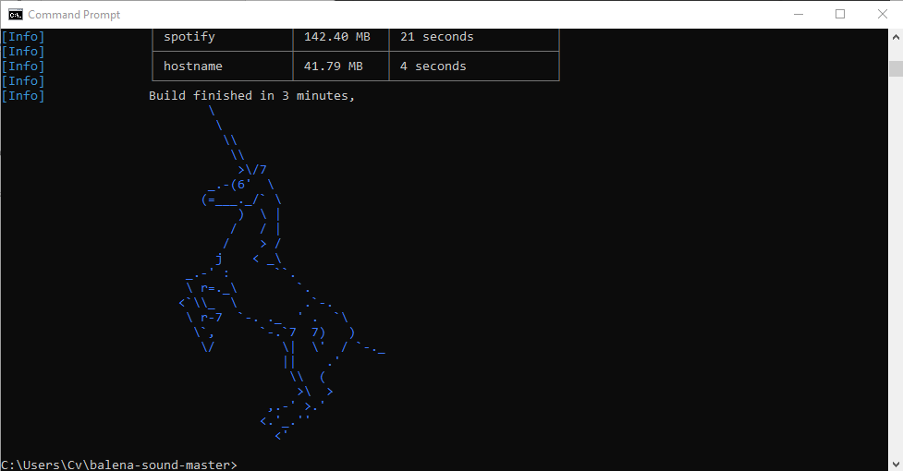
Once all of the files in the deployment have been properly built, the cloud builder will upload them to the balenaCloud registry and create a release item in the balena API database. It will then send out a notification to all of the devices in the fleet that a new version is available. This whole setup will take some time to build all the required files.
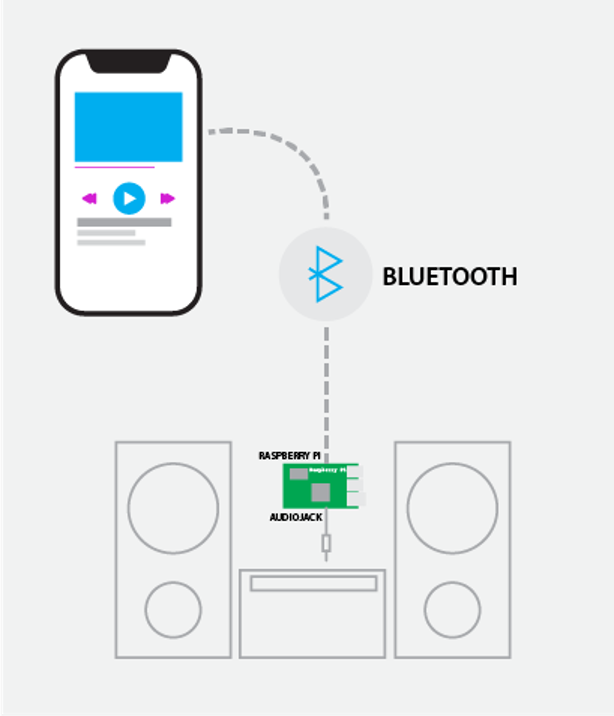
That’s it. To play sound, you will need to connect your old speakers with your Raspberry Pi device through a 3.5mm audio jack. The Raspberry Pi device will become a Bluetooth receiver. You can easily connect with your mobile phone and play music from your favorite platforms like Spotify, Airplay, and others.
Conclusion
The balenaSound is an amazing platform that will turn your existing speakers into use with the help of a Raspberry Pi device. The Raspberry Pi device will act as a Bluetooth receiver and it allows you to listen to your favorite music with one tap once you perfectly set up balenaSound by following the guidelines above. The only thing you will require in the end is the audio jack which will link the device with your speakers.

