This article presents a detail guide to install Ardour Audio Editor on Raspberry Pi system.
How to Install Ardour Audio Editor on Raspberry Pi
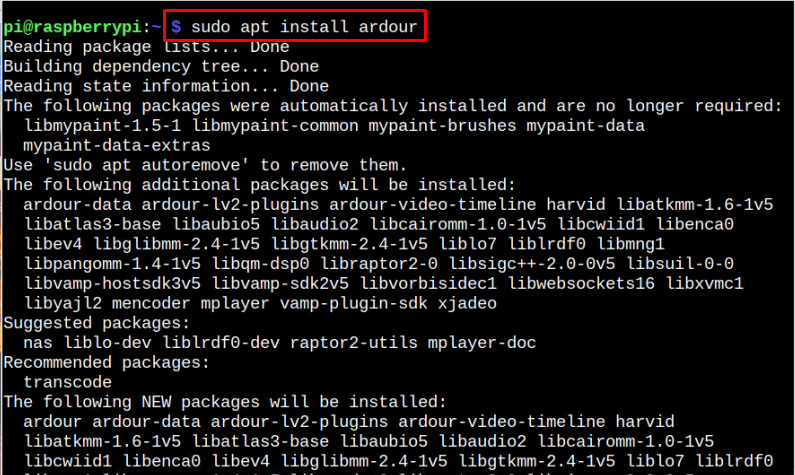
Ardour audio editor can easily be installed through Raspberry Pi source repository and to perform the installation, just hit the following command:
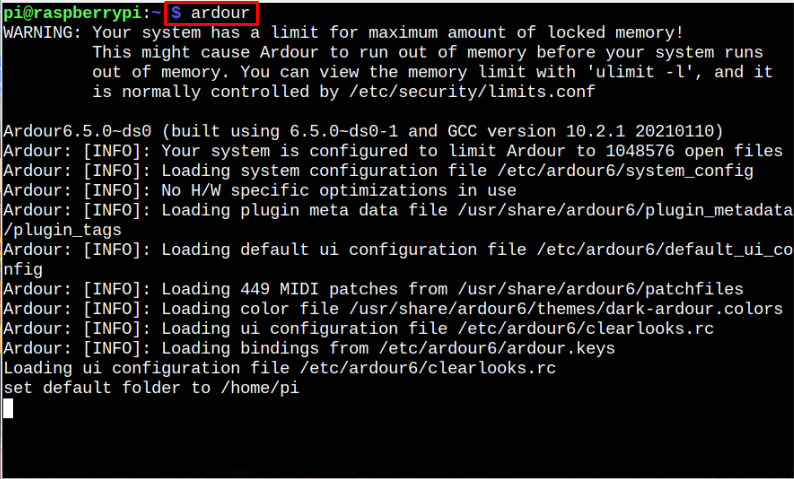
When the above process completes installing Ardour on Raspberry Pi, the users can run it from the terminal through following command:
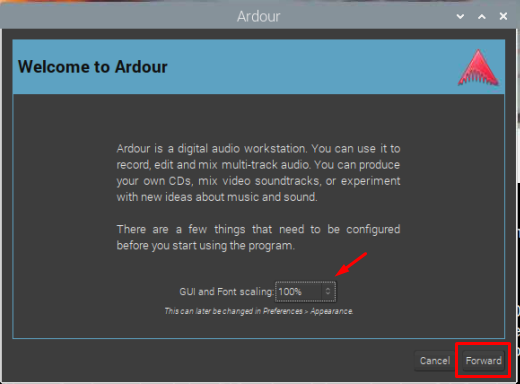
This command will open the Ardour tool and display the following windows where you can proceed to configure by clicking Forward button after setting the desired GUI value.
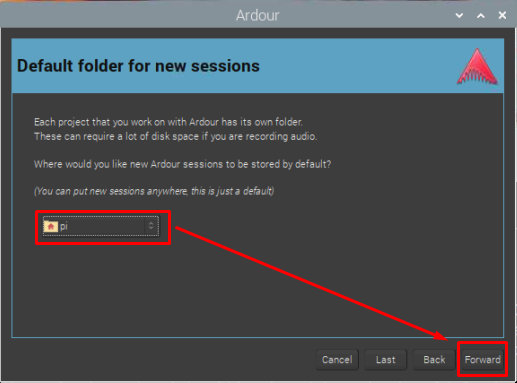
Now select the desired location where you want to put your desired projects in your system, and then click on Forward button.
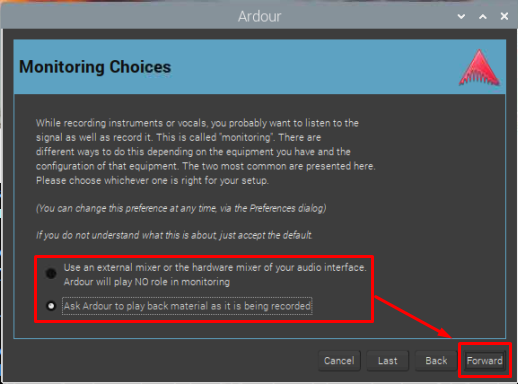
Next is to choose one of the following options for monitoring the audio. Simply click Forward if you do not want to use any external Mic. Otherwise, second option will be suitable.
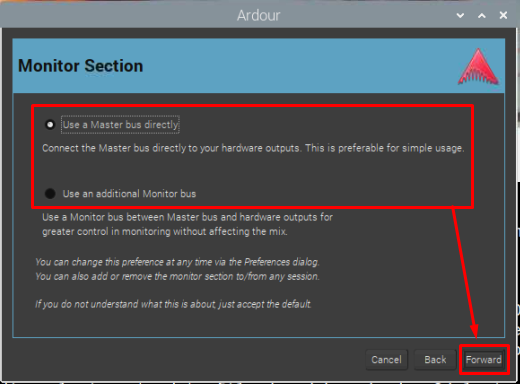
Now choose one option is you want to take greater control of Mixer monitoring through Mic, and press Forward option.
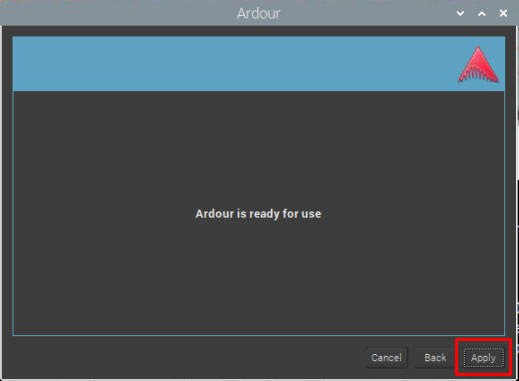
Now select the Apply button to proceed further.
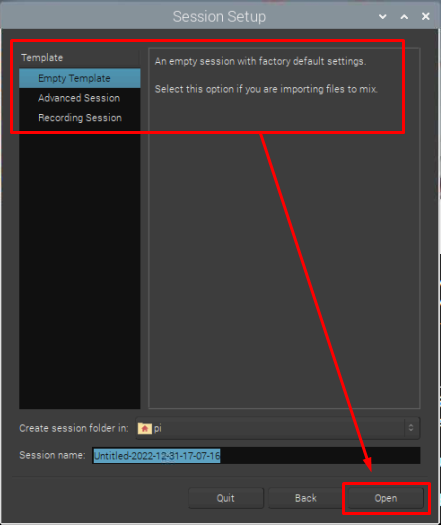
Now choose any Template for the Ardour program. The detail of Template can be seen in the next section of given window. Once the Template gets selected, simply click on Open button.
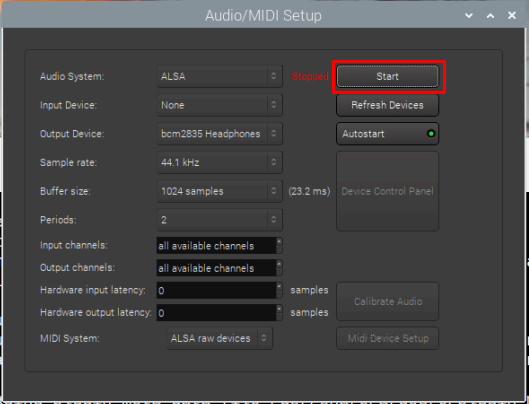
Below window will let the users to do all desired settings. Now simply press the “Start” button.
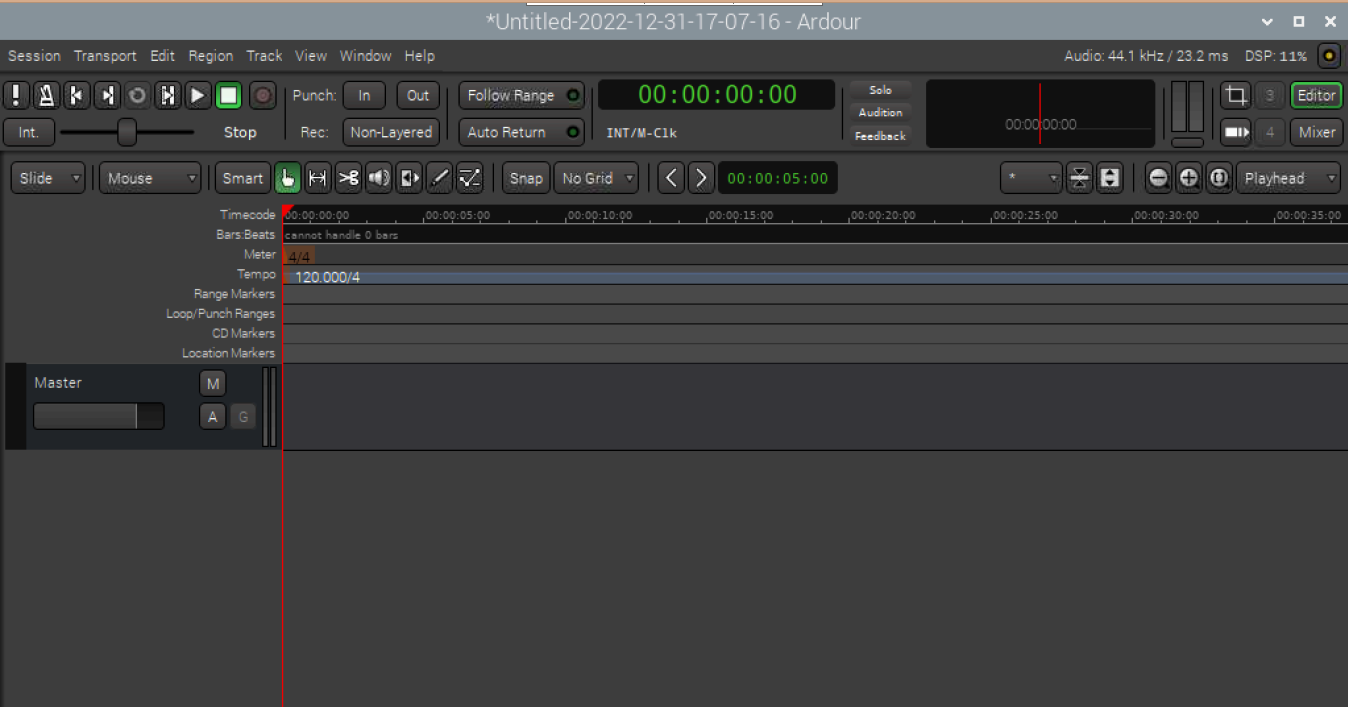
The interface of Ardour will pop out and is shown as given screenshot below.
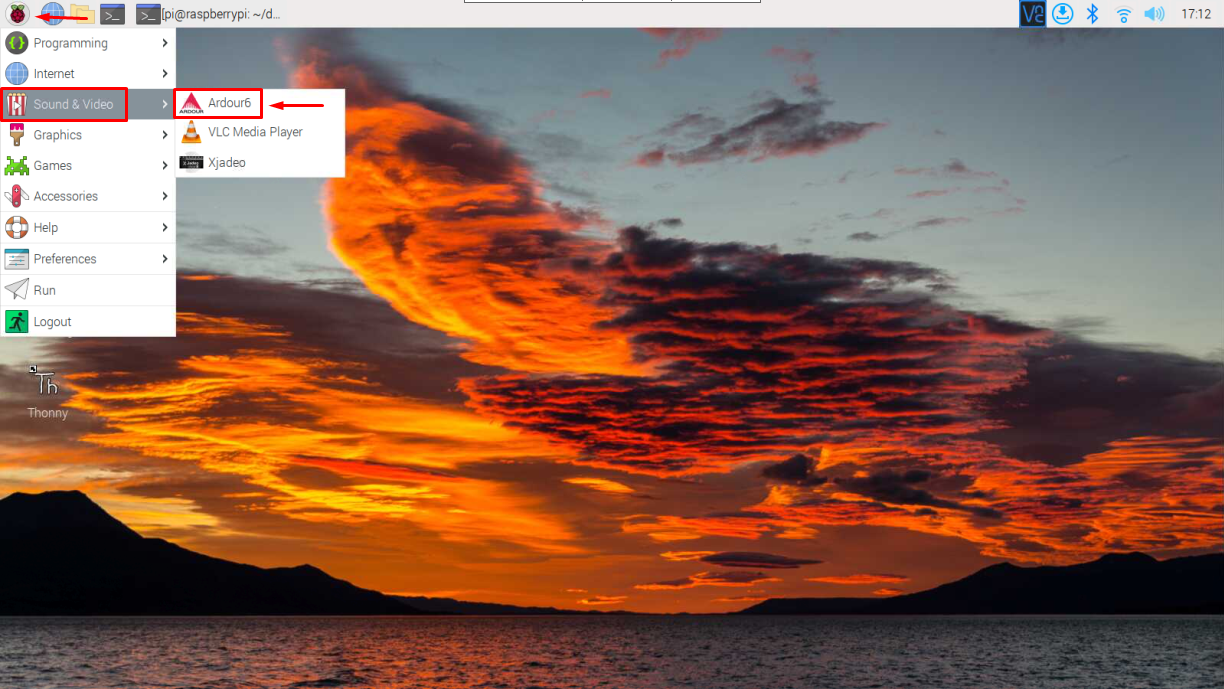
You can also open Ardour from the Application Menu > Sound & Videos > Ardour.
Remove Ardour from Raspberry Pi
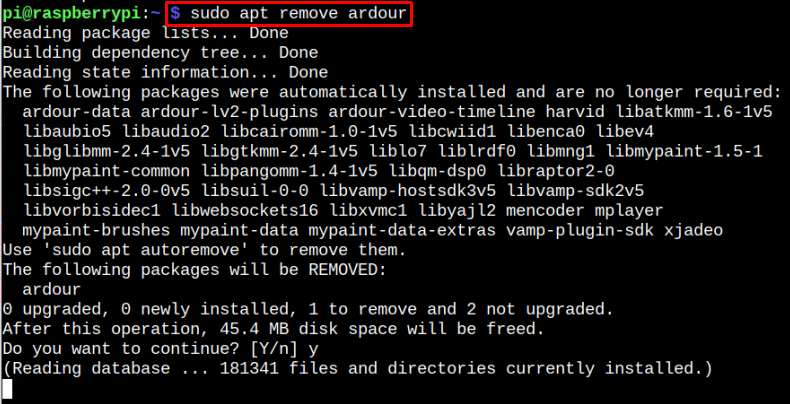
If you want to remove the Ardour form Raspberry Pi, then execute the below-given command.
Conclusion
Ardour is one of the best Digital Audio Workstation used to create, mix, edit, and record audio using external microphone source. The above guidelines provide an easy guide to install this tool from Raspberry Pi repository using the “apt” command. As soon as you installed this tool on the system, you can open it both from terminal and GUI and perform audio editing tasks on your Raspberry Pi system.

