In this guide, we provide you with the detailed procedure to install Arch Linux ARM on Raspberry Pi.
How to install Arch Linux ARM on Raspberry Pi
The installation of Arch Linux ARM is straightforward on Raspberry Pi if you have an image file which you can download from here. After downloading the image file on your laptop or PC, follow the steps given below to complete the installation of Arch Linux ARM on Raspberry Pi:
Step 1: First, insert your SD card in your laptop and PC. Format the card though NTFS or FAT system.
Step 2: Then, download and install the BalenaEtcher application that is used for creating an image of Arch Linux ARM on SD card.
Step 3: Open the Balena application on your system.
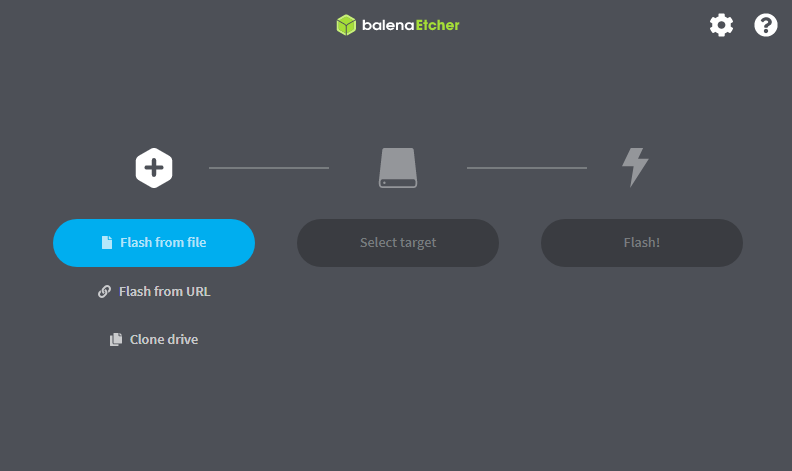
Step 4: Click on the “Flash from file” option.

Load the image file.

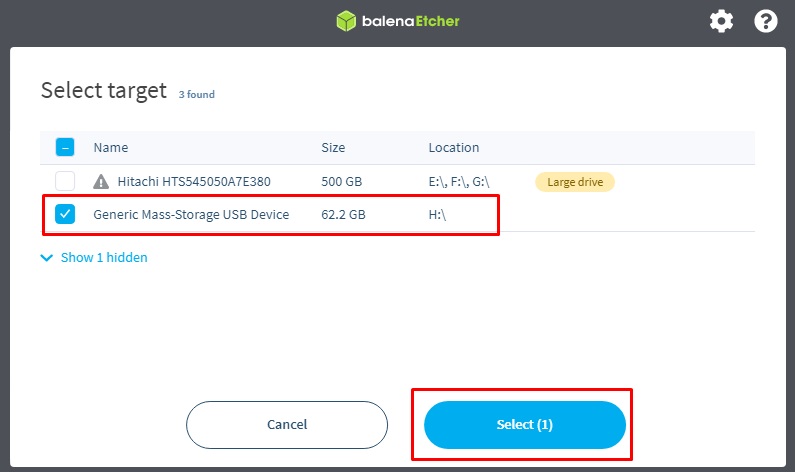
Step 5: Now, proceed towards the “Select target” option.

Choose your SD card storage.
Step 6: Next, pick the “Flash!” option to begin creating an Arch Linux ARM image on SD card/USB.
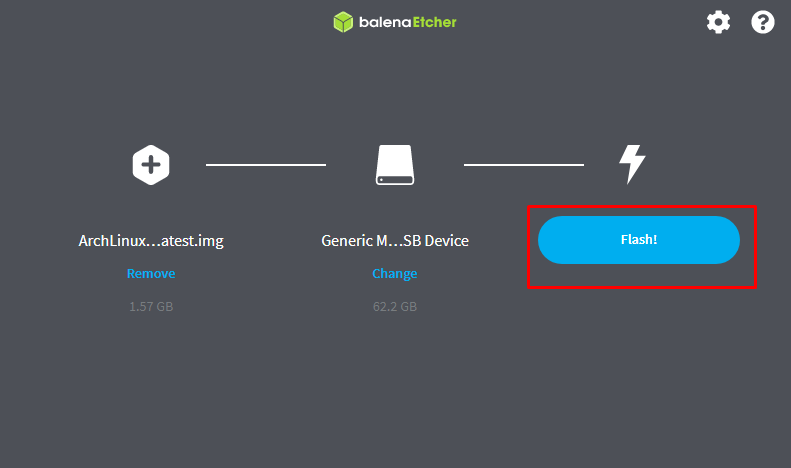
Wait till the Flash process completes.

Step 7: After the completion, power on your Raspberry Pi. Wait for 5 seconds, then remove your SD card from the system and put it into the device port.
Wait, till you see the command-line interface (CLI) of Arch Linux.
Step 8: Next, use the default username and password as “root” to login so that you will be able to run commands. This completes the installation of Arch Linux ARM on Raspberry Pi.
Setup WiFi on Arch Linux ARM
To setup WiFi on Arch Linux ARM, you will need to use the following command:
The above command will provide you with the list of WiFi connections.
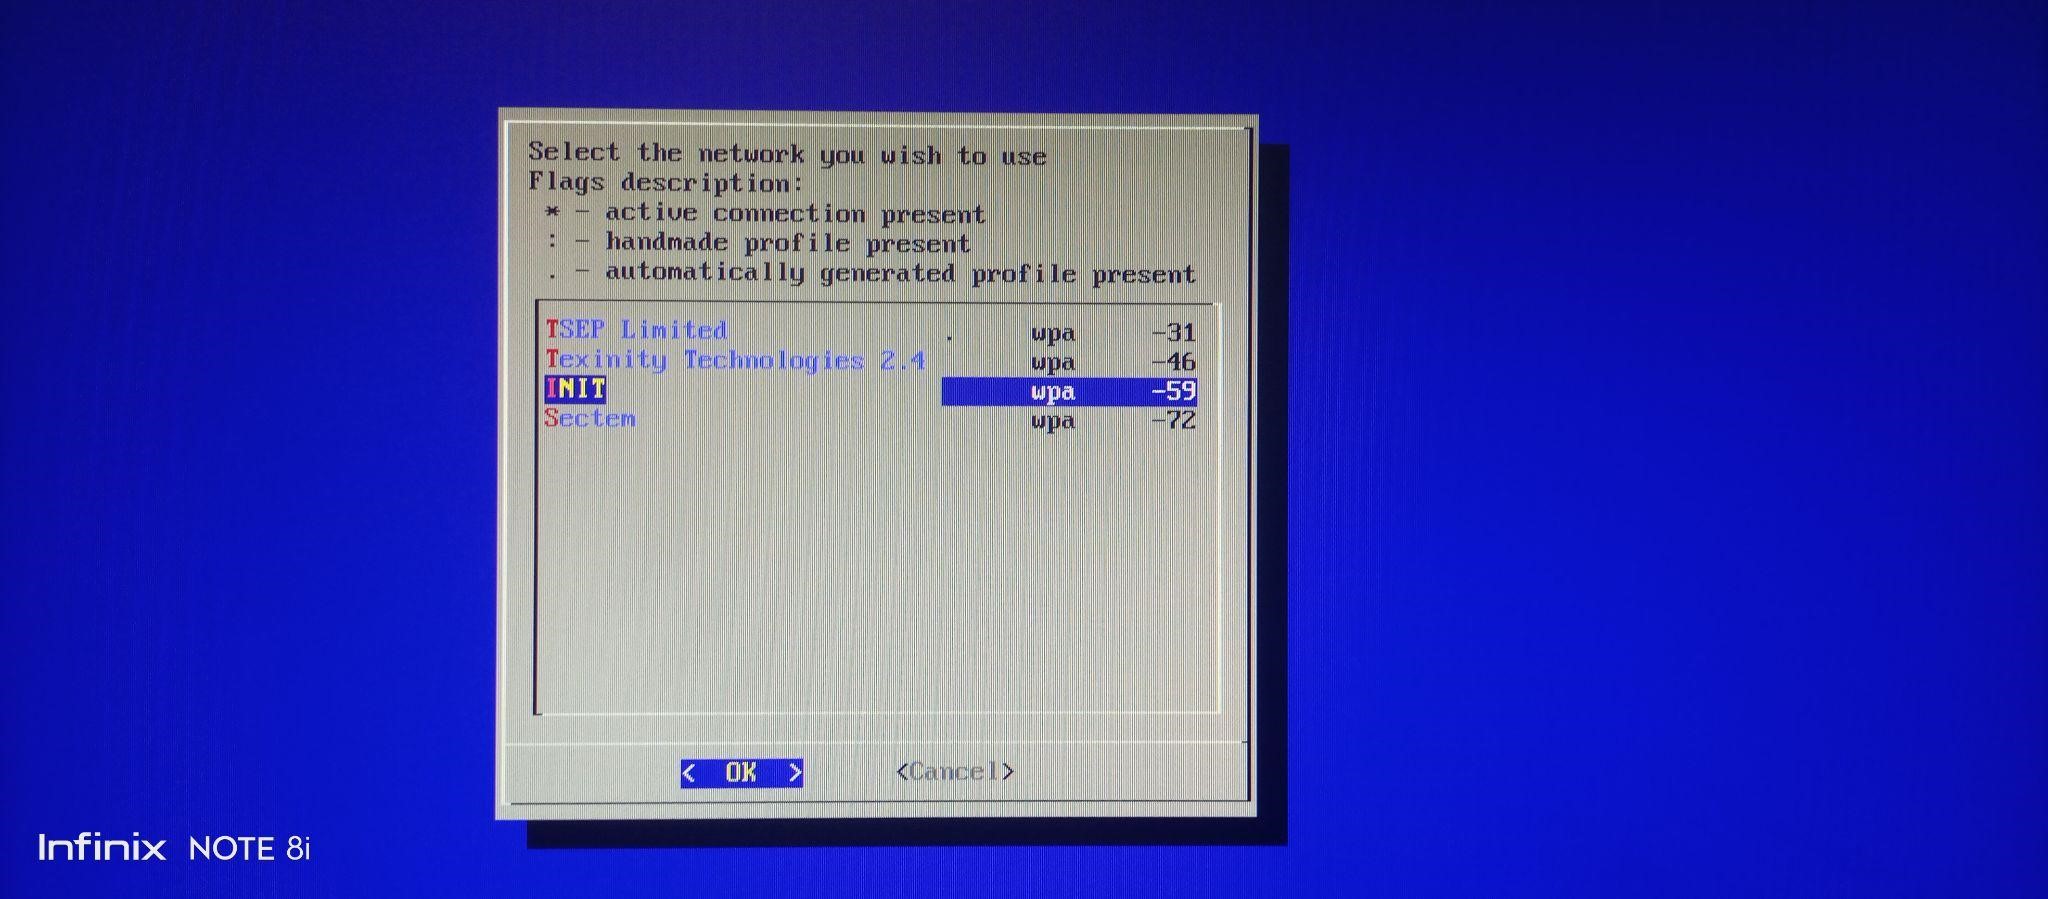
Now, choose your desired WiFi connection.
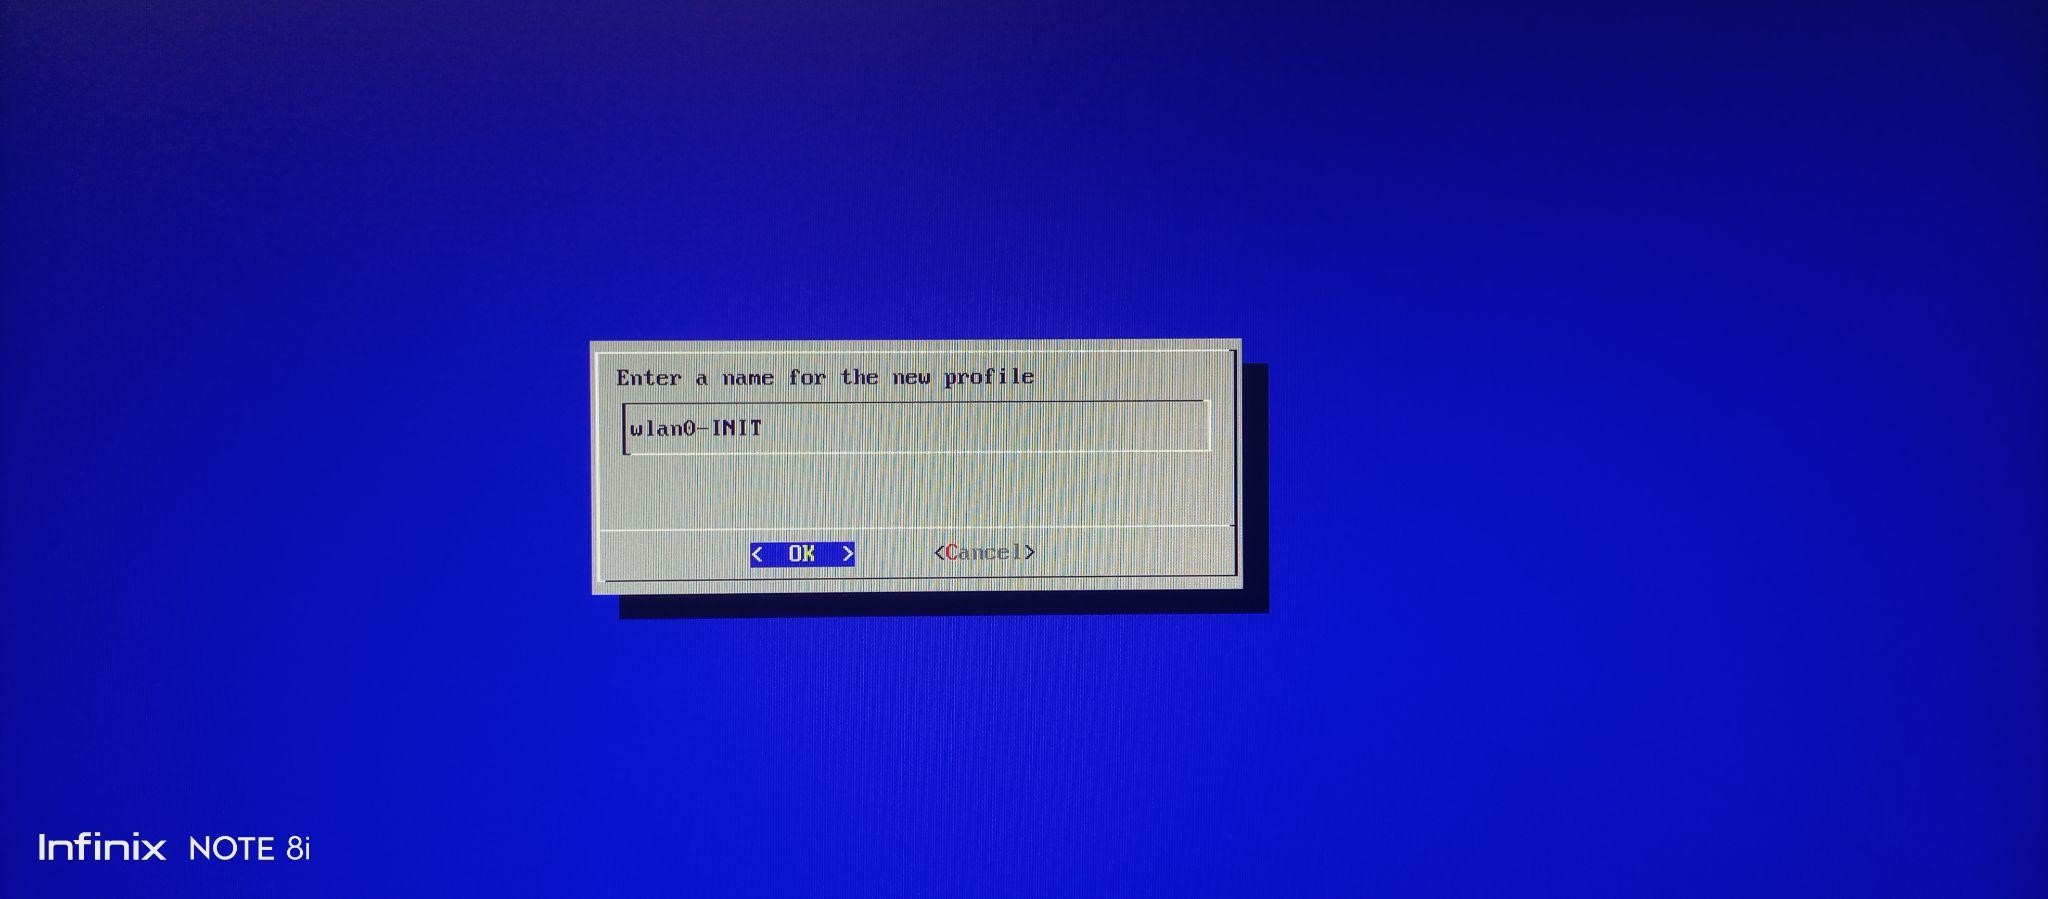
Then type WiFi pass key to connect to the network.

The below mentioned message on the terminal confirms that Arch Linux is connected to the WiFi.
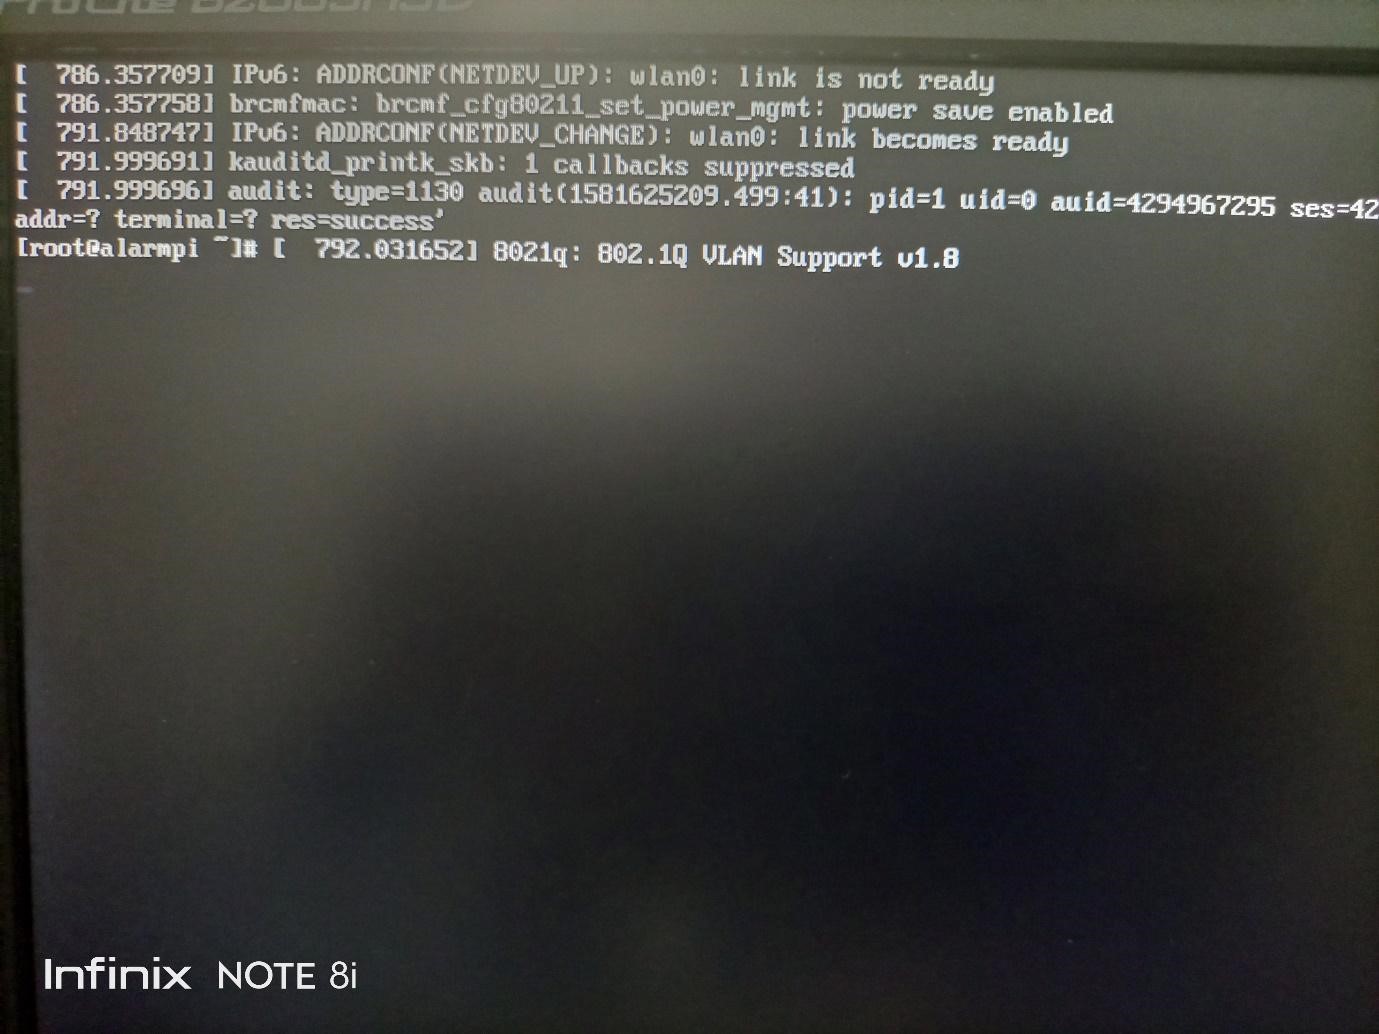
Now, you will be able to run any command and install several applications with ease through the pacman package manager command:
You can even install a GUI interface for your Arch Linux as well. This depends entirely on which desktop environment you choose.
Conclusion
Arch Linux ARM is a robust and lightweight Linux distribution system for ARM based processors that can be managed through command-line interface. The above installation setup will let you install Arch Linux ARM on Raspberry Pi by loading the image file on SD card through BalenaEtcher. After the installation, you will then be able to use the command-line interface to install several applications as well as the desktop environment to use the GUI.