This article is a detailed guide to install Apache Tomcat on a Raspberry Pi system.
Install Apache Tomcat on Raspberry Pi
You can install Apache Tomcat on Raspberry Pi from the following steps:
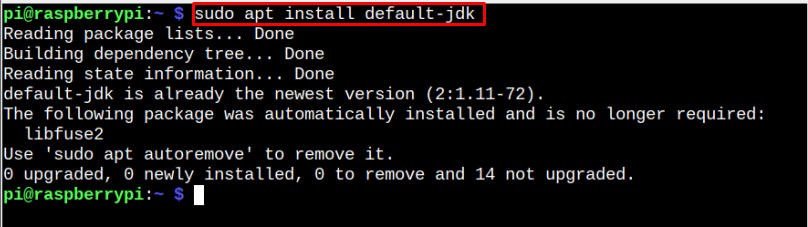
Step 1: Install Java on Raspberry Pi
Make sure Java is installed on your Raspberry Pi system and if not, use the following command to install it:
Step 2: Create an Apache Tomcat Directory
First, you must create an Apache Tomcat directory inside the unbundled packages directory called opt through the following command:

Step 3: Navigate to Directory
Now move towards the directory through the following command:

Step 4: Download Apache Tomcat Source File
Next download the Apache Tomcat source file using the following command:

You can download the updated version from the website.
Step 5: Extract Apache Tomcat Tar.gz File
To extract the Apache Tomcat files inside the directory, use the following command with the name of the source file.

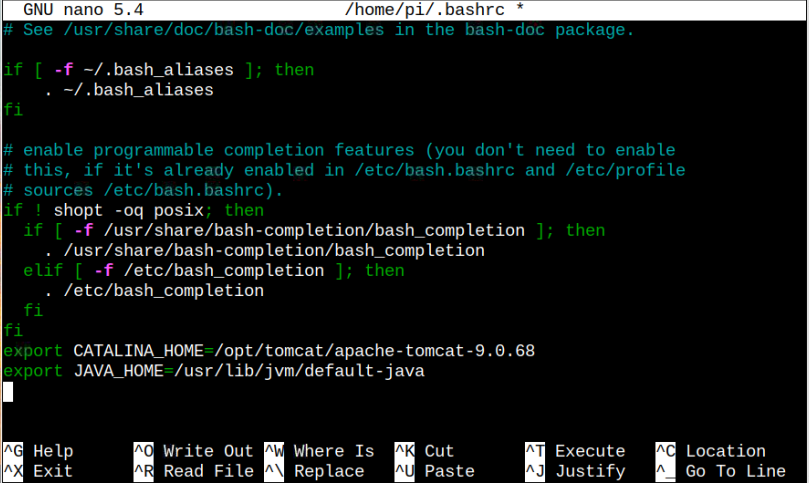
Step 6: Configure Path and Environment for Apache Tomcat
You must configure the Apache Tomcat and Java path inside the .bashrc directory so that you will be able to run Apache Tomcat on your Raspberry Pi system.
To do this, open the “.bashrc” file through the following command:
Inside the file, add the following path for Apache Tomcat and Java:
export JAVA_HOME=/usr/lib/jvm/default-java
Load the changes through the following command:

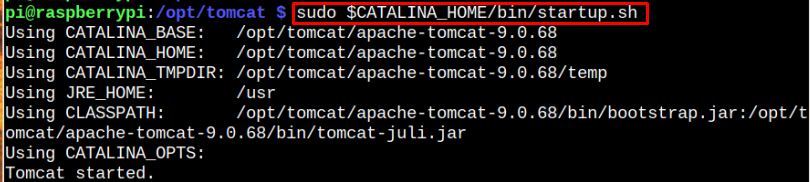
Step 7: Run Apache Tomcat Server
After successfully configuring the environment, you can run the Apache Tomcat server from the following command:
Step 8: Access Apache Tomcat Web Server on Browser
Once you get the “Apache Tomcat started” output on your terminal, you can run the web server using your system IP address, which can be found from the command “hostname -I” with the port number “8080”.
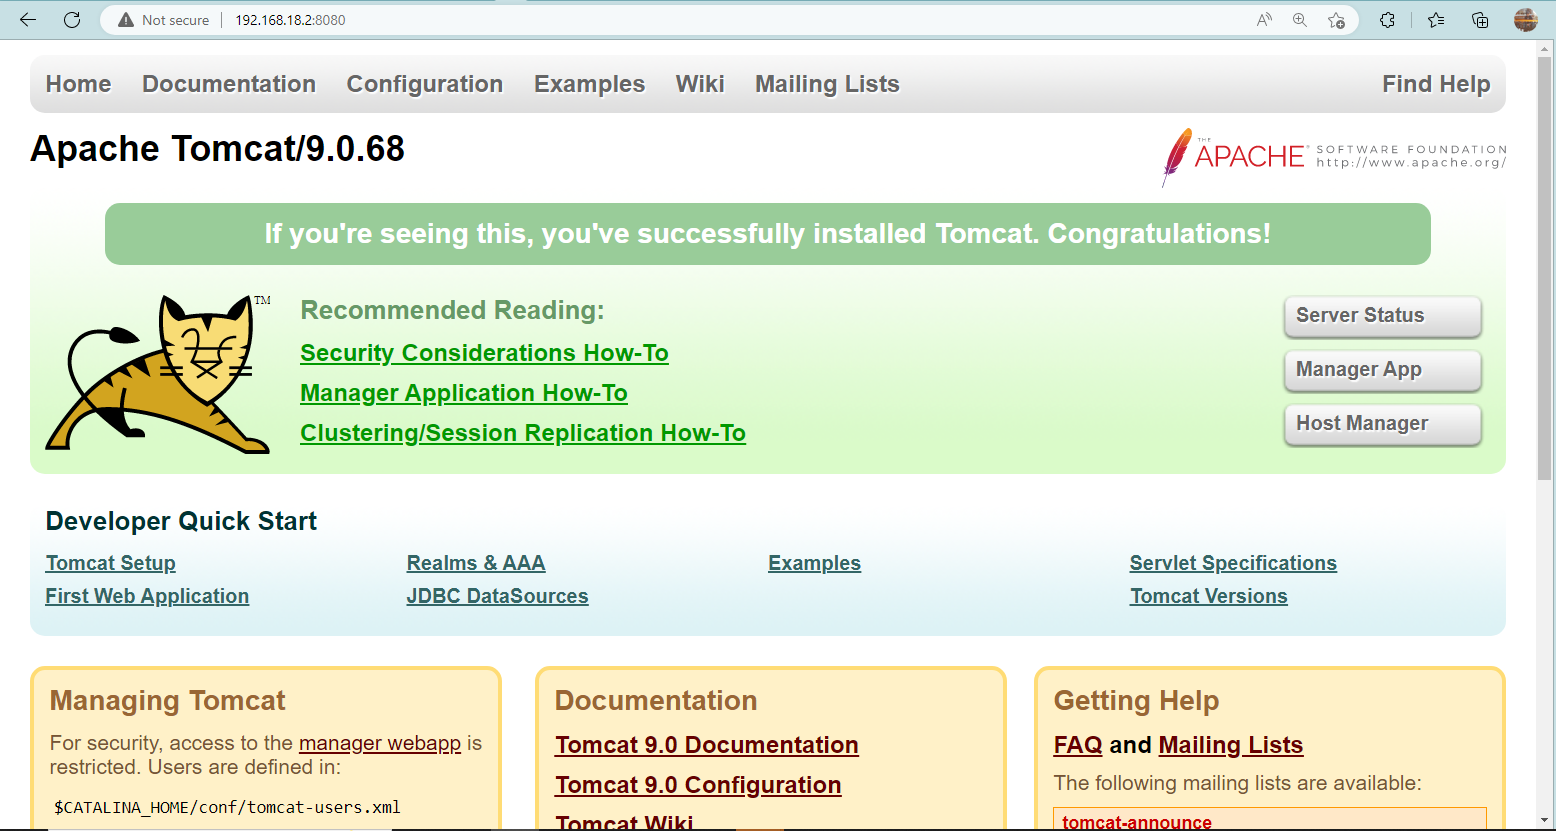
At this moment Apache Tomcat web server is successfully running on your browser and you can start creating your web applications.
Conclusion
Apache Tomcat is a web server used for creating web applications and it can be installed on your Raspberry Pi system through a tar.gz file. After extracting the Apache Tomcat files inside the “opt” directory, you must provide the path where Apache Tomcat and Java is installed so that you can run the web server without any issue. Later, you can run the web server and access the web interface using the Raspberry Pi IP address with port 8080 on your browser.