In this write-up, the utilization of the input_pullup has been explained with the help of an example.
What is the INPUT_PULLUP in Arduino
In making circuits, we add resistors with the components like LEDs, sensors, we can also use the input_pullup. The input_pullup can add resistance up to 20k ohms and is embedded on the atmega chip (any board of Arduino). The configuration makes the input high when the button switch is open and low when it is closed. The input_pullup works the same as the input reads the input from the sensor or component and adds the resistance to it.
Example: INPUT_PULLUP in Arduino
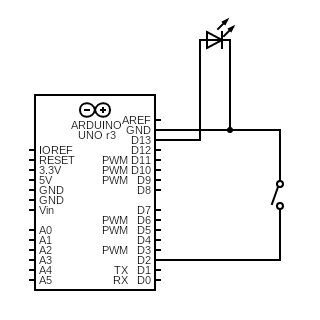
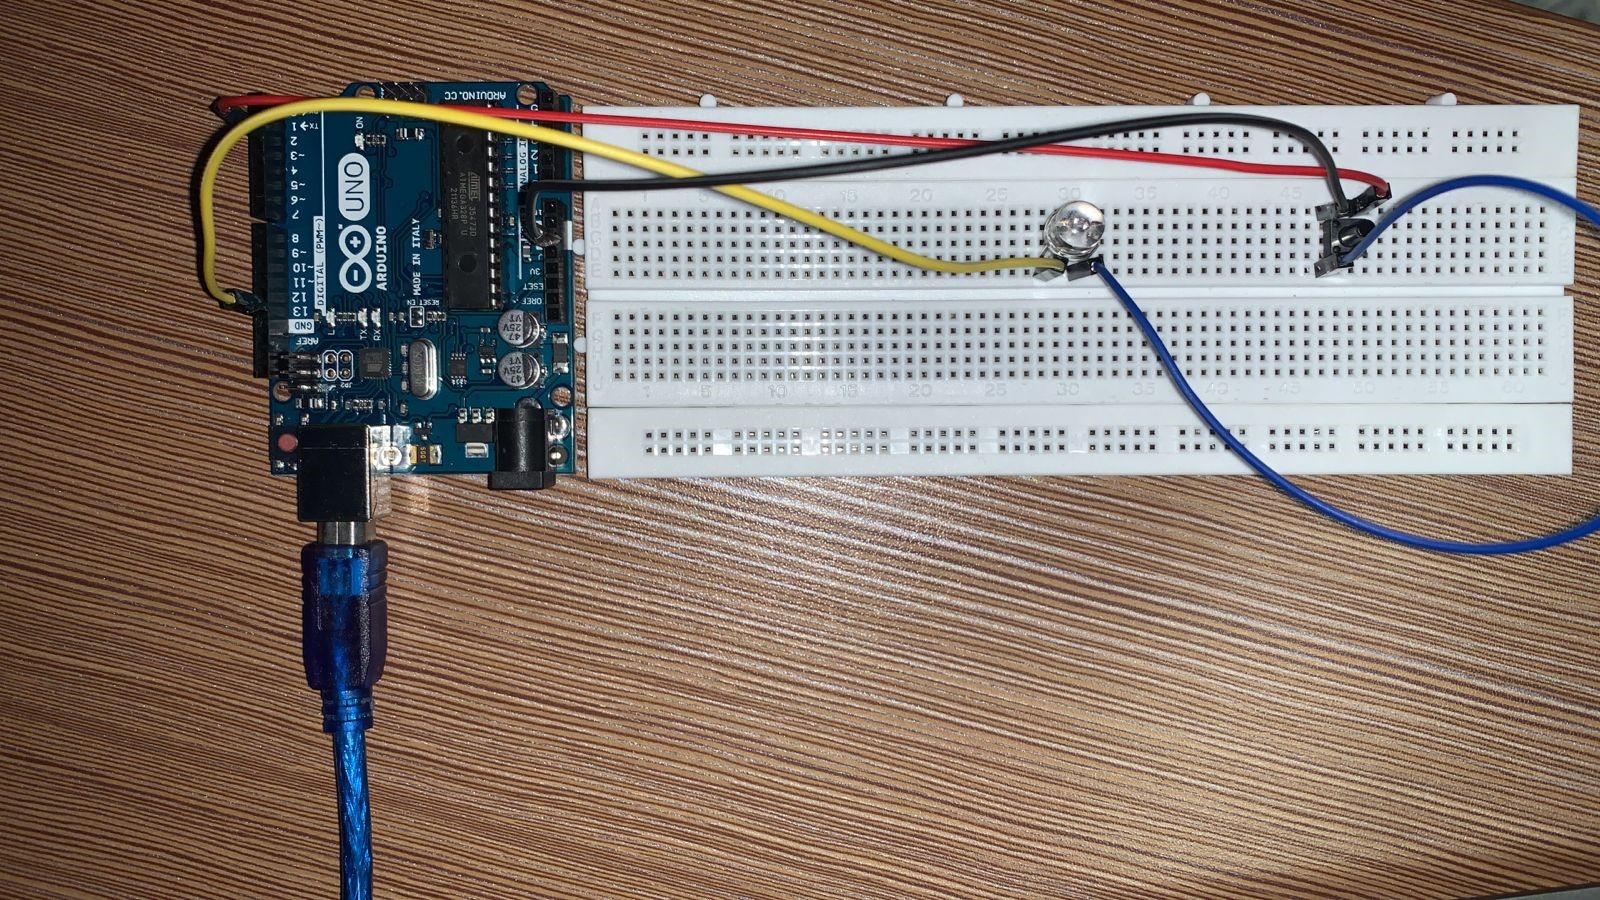
To understand the working and utilization of the input_pullup, we consider a simple circuit of a LED, push-button, and an Arduino UNO. We will connect one leg of the push-button to the ground of Arduino and the other leg with pin 2 of Arduino. Then will connect a LED with pin 13 of Arduino and the negative terminal of LED to the ground on Arduino.
The circuit diagram of this circuit will be like this:
Now consider the following code of Arduino:
void setup() {
Serial.begin(9600);
pinMode(pbutton, INPUT_PULLUP);
pinMode(ledpin, OUTPUT);
}
void loop() {
int x = digitalRead(pbutton);
Serial.println(x);
if (x == 1) {
digitalWrite(ledpin, 1);
} else {
digitalWrite(ledpin, 0);
}
}
Explanation: Three variables are declared of integer data type; x, ledpin, and pbutton. Pin number 13 is assigned to the ledpin and pin 2 is assigned in pbutton. Then with the help of the pinMode() function, we have defined the behavior of pbutton to take input with some resistance using the input_pullup.
In the loop section of code, we are taking the value of pbutton and saving it in the variable “x” and then applying condition on the value of x, we are setting the state of the LED, for example, if the button is open the output LED should be turned on and if the button is closed, the LED should be turned off.
The input_pullup adds the resistance of 20k ohms when the push button is pressed(hold) so the input becomes zero and when the push button is released, the resistance becomes equal to zero, and the voltage becomes around 5 volts. This output can be observed from the LED as well as the value of x is printed on the serial monitor through serial communication at a baud rate of 9600.
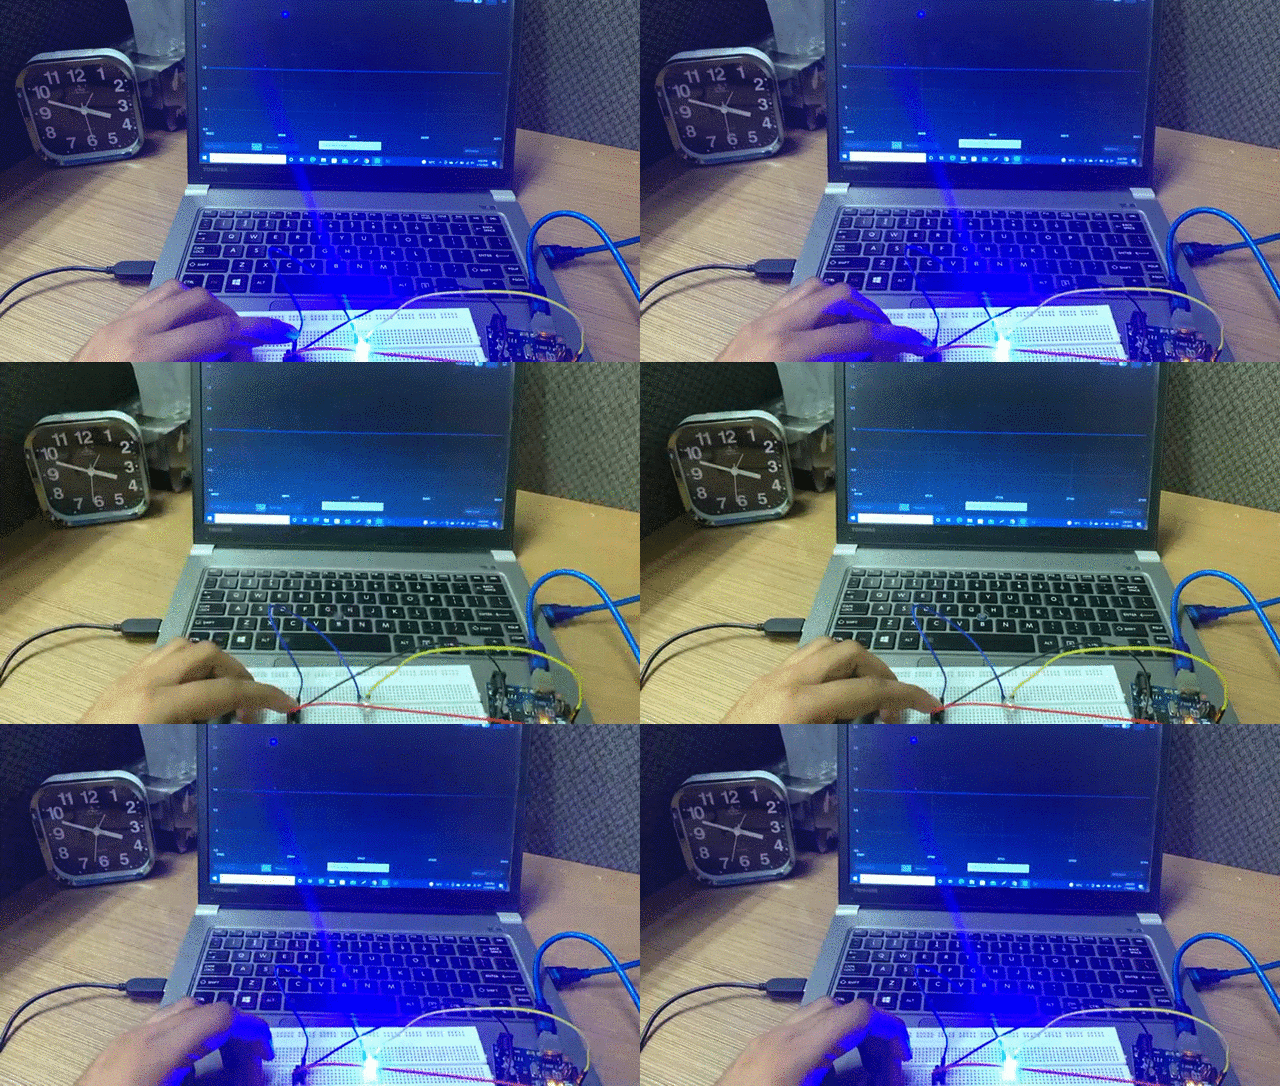
We have also added the animation in which you can see the output on the hardware as well on the serial plotter:
The hardware circuit on the breadboard is:
The serial plotter output is:
When the button is pressed the graph line goes to 0 and when it is released the value goes to 1 and this can be seen from the serial monitor output:
Conclusion
The input_pullup is used to define the behavior of the pin as an input and add the resistance of around 20k ohms to the pin. The input_pullup is different from the input function; if the pin is set to input, it will only take the input and if it is set as input_pullup, then it will add the resistance of about 20k ohms to the input and make it high. In this write-up, with the help of an example, we have explained the input_pullup and its works.


