A Linux kernel module known as zRAM can be used as a swap memory to resolve memory-related issues in Raspberry Pi. zRAM stores the data in a memory block since the data is stored in compressed form, acquiring less space on the system.
If you are facing memory or performance issues with your Raspberry Pi device, follow this tutorial as this will help you to increase the RAM capacity of Raspberry Pi by using zRAM.
Increasing RAM Capacity on Raspberry Pi Using zRAM
To increase the RAM capacity, first you need to install zRAM and set it up using the following steps:
Step 1: Updating/Upgrading Repository
Before installing zRAM; let’s update the repository to get the packages list updated, just copy the below-mentioned command to update the repository:
Then upgrade the repository using the below-mentioned command:
Step 2: Installing Git
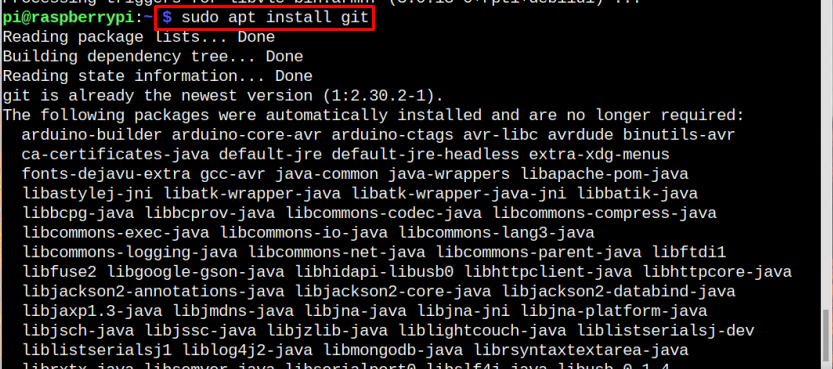
Ensure git is installed on the Raspberry Pi system as this will help us clone the zRAM source file for installation. To confirm the git installation, follow the below-mentioned command:
Step 3: Cloning zRAM Source Files
To clone the zRAM source file from a GitHub website, use the below-mentioned command:
Step 4: Installing and Configuring zRAM Swap Config
Now, navigate to zRAM directory using the below-mentioned command so that the installation could take place in this directory:
Now install the script that was cloned, you have to make the it executable and then run it accordingly using the following command:
The above command successfully installed the zRAM on Raspberry Pi. To activate it, you have to reboot the system using the following command:
Step 5: Finding Current zRAM Size (Optional)
This is an optional step to find out the current zRAM size so that we can compare it at the end after increasing its size.
Note: Remember the size of zRAM here, so it could be compared later.
It doesn’t matter whether you are running the command inside the “zram-swap” directory or outside the directory as well.
Step 6: Configuring zRAM Swap File
After the above step, the zRAM is successfully installed and it will be activated after the reboot but to increase RAM capacity using zRAM, you have to do some changes in the configuration file according to yourself.
To open the zram-swap-config file, use the following command:
The swap-config file will appear on the screen displaying different memory factors/features:
To increase the zRAM size, we only have to be concerned about the three factors which are marked in the image below. You can use other factors if you are sure about that.
For generalization, I am just changing the following configuration:
DRIVE_FACTOR=300
COMP_ALG=lzo
Note: By increasing the value of MEM_FACTOR and DRIVE_FACTOR, the zRAM size will also be increased and decreased accordingly changing the “COMP_ALG” to “lzo”.
Once done with the modifications, press “Ctrl+X” and Y to save the modified file and exit back to the terminal.
Then just reboot to start the system will new modifications:
Step 7: Verification
To verify if the RAM capacity has increased or not, use the below-mentioned command:
It can be seen clearly in the output that the size of zRAM has increased compared to the previous size (shown in step 5):
That’s all for this article, the RAM capacity has been increased using zRAM.
Note: Keep in mind that increasing the RAM capacity doesn’t mean that it increases the RAM size. Instead, zRAM changes the way to relocate the RAM usage on the Raspberry Pi system.
Conclusion
To increase the RAM capacity using zRAM, you have to clone the source files from the GitHub website and then run the script to install zRAM on the Raspberry Pi system. You can increase RAM allocation through zRAM by performing configuration within the “zram-swap-config” file and applying the changes by rebooting the device.


