If you want to host your web meetings through Jitsi, follow this article for detailed guidance on how to set it up on your Raspberry Pi device.
Host Your Web Meetings with Jitsi and Raspberry Pi
Before moving towards the Jitsi setup process, ensure you have connected your camera to your Raspberry Pi device. It can either be a USB camera or a module. Once the camera is connected, you can follow the steps below to set up Jitsi on Raspberry Pi:
Step 1: Install Firewall on Raspberry Pi
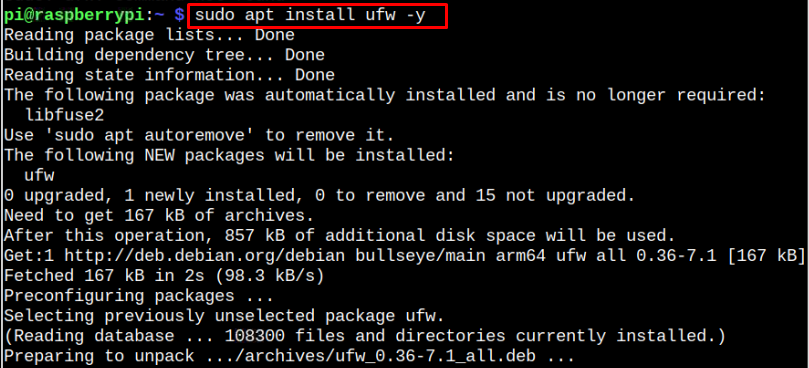
First, install the Firewall on Raspberry Pi through the following command, as this will be required later in enabling the ports for Jitsi.
Step 2: Enable Ports on Raspberry Pi
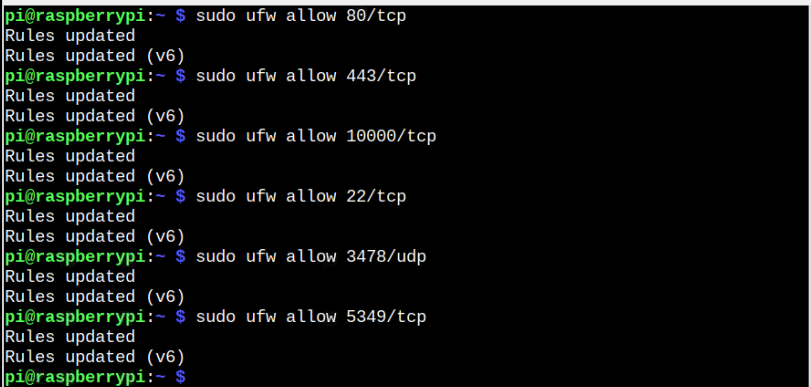
Now follow the below-mentioned syntax to allow firewall settings for ports 80, 443, 10000, 22, 3478 and 5349.
Make sure to allow firewall settings to the exact port number with the associated protocol shown in the above image.
Step 3: Add Jitsi GPG Key
You cannot install Jitsi directly from the Raspberry Pi source repository. However, you can add the Jitsi repository to the source list to install it on your system. To make things work, you first need to add the following GPG key:
Step 4: Add Jitsi Repository
To add the Jitsi repository to the Raspberry Pi repository’s list, use the following command:
Step 5: Update Raspberry Pi System
Once the Jitsi repository is added, update the Raspberry Pi repository list through the following command:
Step 6: Install Jitsi on Raspberry Pi
After successfully updating the repository without any error, you can install Jitsi on Raspberry Pi through the following command:
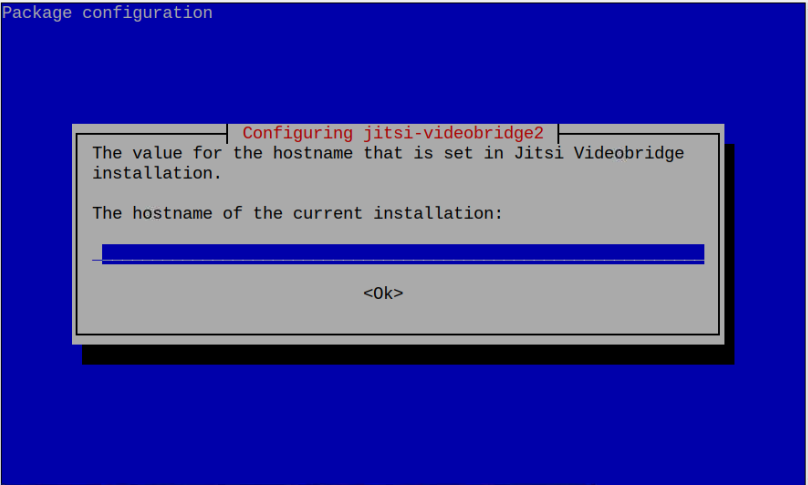
During the installation, you will be asked to enter the hostname, which you can find from the “hostname” command. In my case, it’s “raspberrypi”.
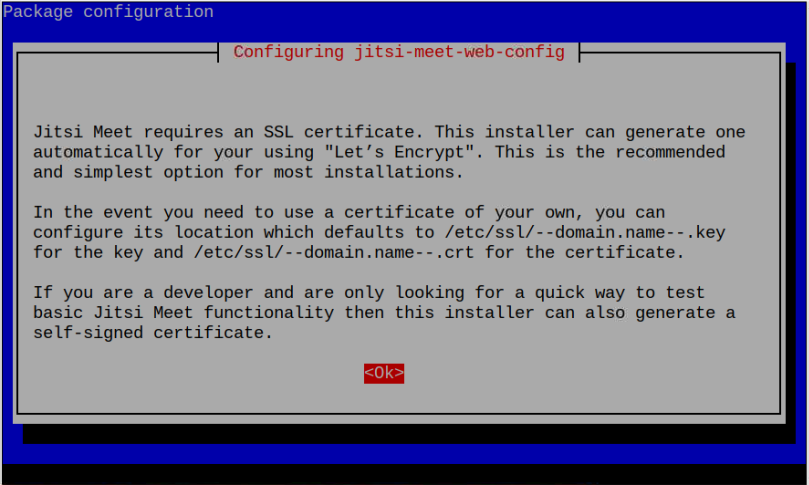
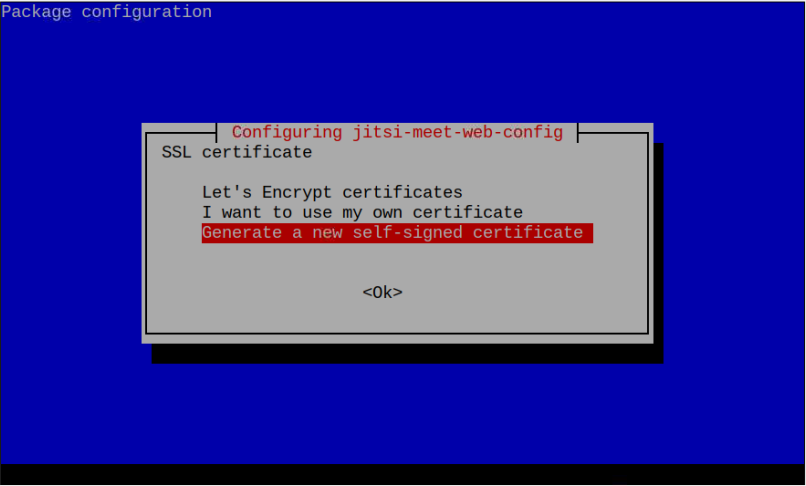
Press Enter on the “Configuring jitsi-meet-web-config” screen.
Go with the “Generate a new self-signed certificate” option to complete the Jitsi configuration.
Access Jitsi Server on Browser
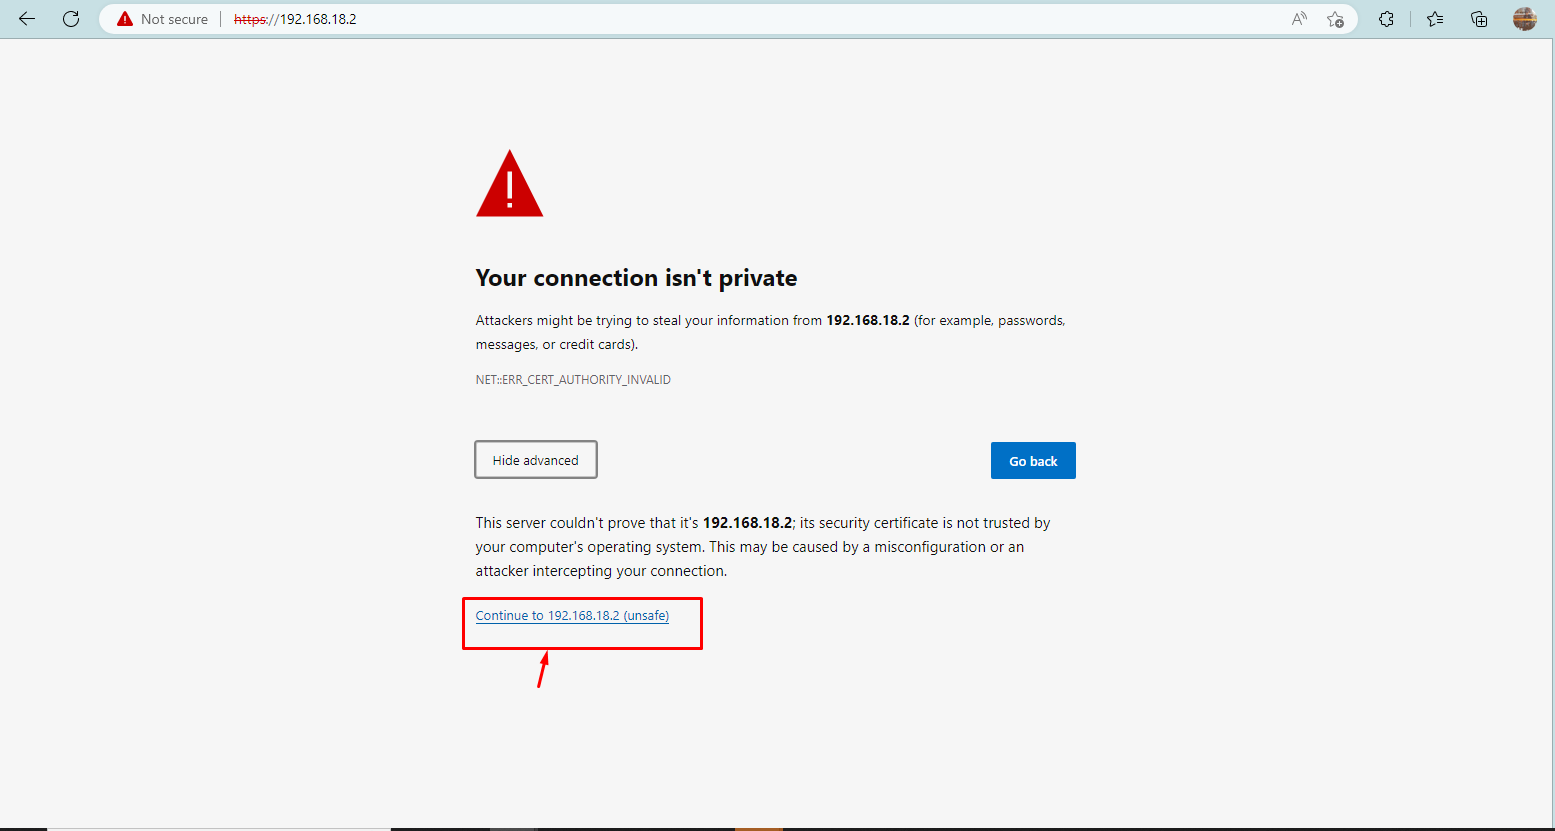
The Jitsi server operates on port 443. To access the server, you must enter the Raspberry Pi IP address with port 443.
Note: Use the “hostname -I” command to find the Raspberry Pi IP address. Press the “Continue” button on the Firewall warning that appears once you enter the IP address.
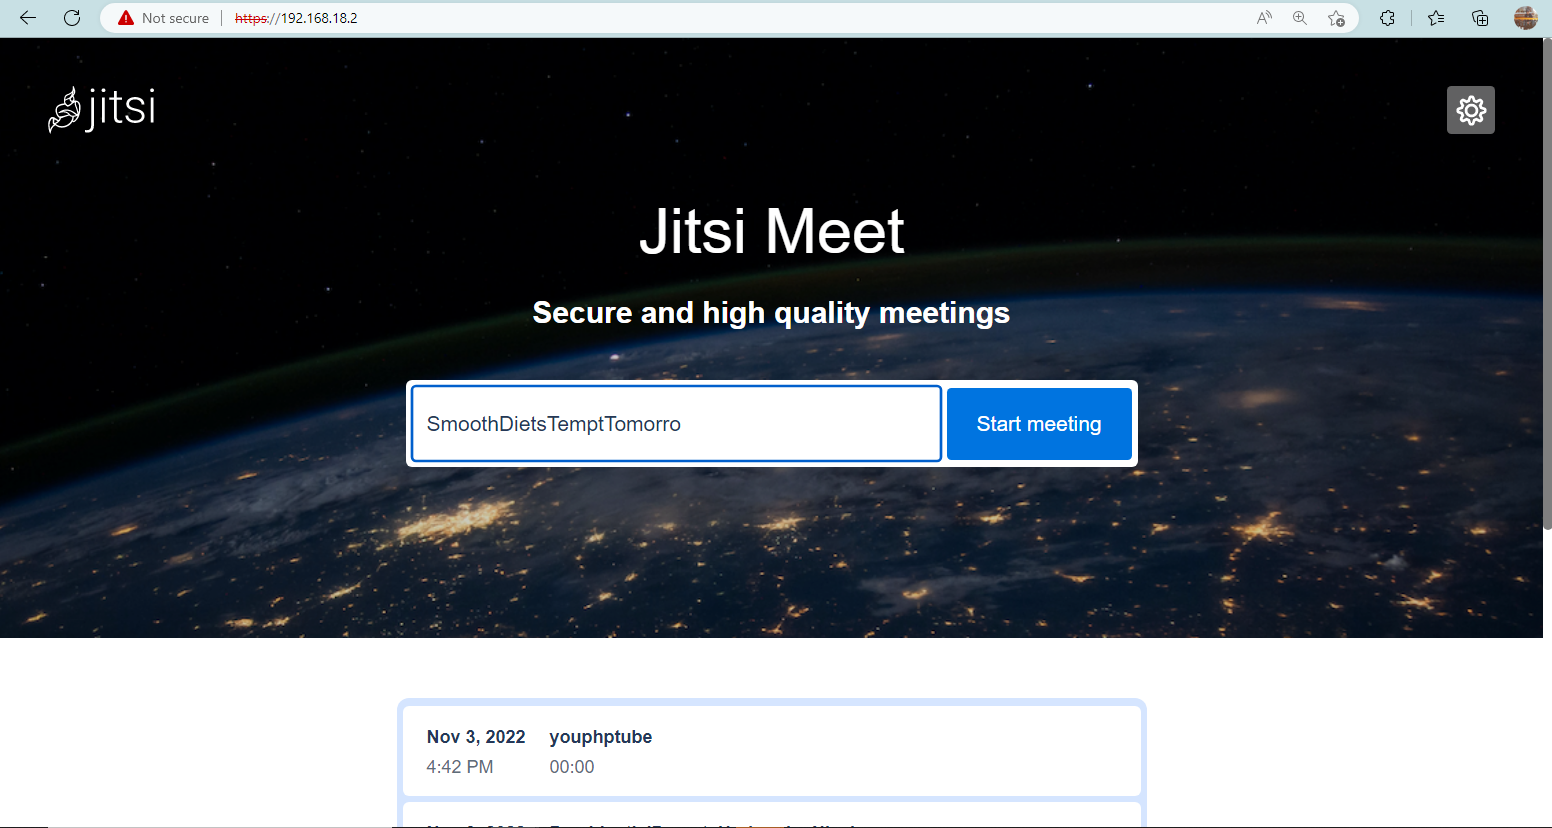
This will open the Jitsi server web page on your browser, which ensures that you have successfully set the server on your Raspberry Pi system.
Start creating a meeting and send invitations to other people to join you using Jitsi from any platform. At this moment, you have created the self-hosted meeting platform on Raspberry Pi through Jitsi.
Conclusion
Jitsi is an open-source platform that helps them arrange meetings, video conferencing, instant messaging and much more. You can easily create your self-hosted meeting platform by installing Jitsi via adding the GPG key and its repository to the Raspberry Pi source list. After the installation, you can access the Jitsi web server using the IP address of your Raspberry Pi with the port number “443”.

