Thonny is a lightweight programming IDE whose popularity increases over the time because of its simplicity, easy to use interface, debugging feature and interactive programming interface. This makes it the most supported programming IDE for Raspberry Pi system. Further, with the growing demand of Python programming language and its inclusion as an official language for Raspberry Pi system, it’s hard to keep this language away from the Raspberry Pi users or anyone else who have passion to learn programming.
If you are Raspberry Pi users, follow this article to learn how you can use Thonny IDE to program code in Python programming language.
Getting Started with Python on Raspberry Pi Using Thonny IDE
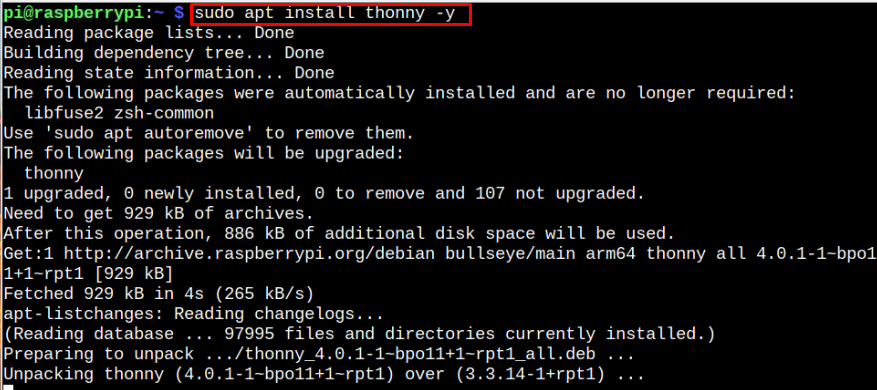
Thonny IDE is already installed on Raspberry Pi operating system, however, if you unable to find it on the system, you can install it using the following command:
Run Thonny on Raspberry Pi
You can run Thonny on Raspberry Pi directly from the Terminal using “thonny” command as shown below:

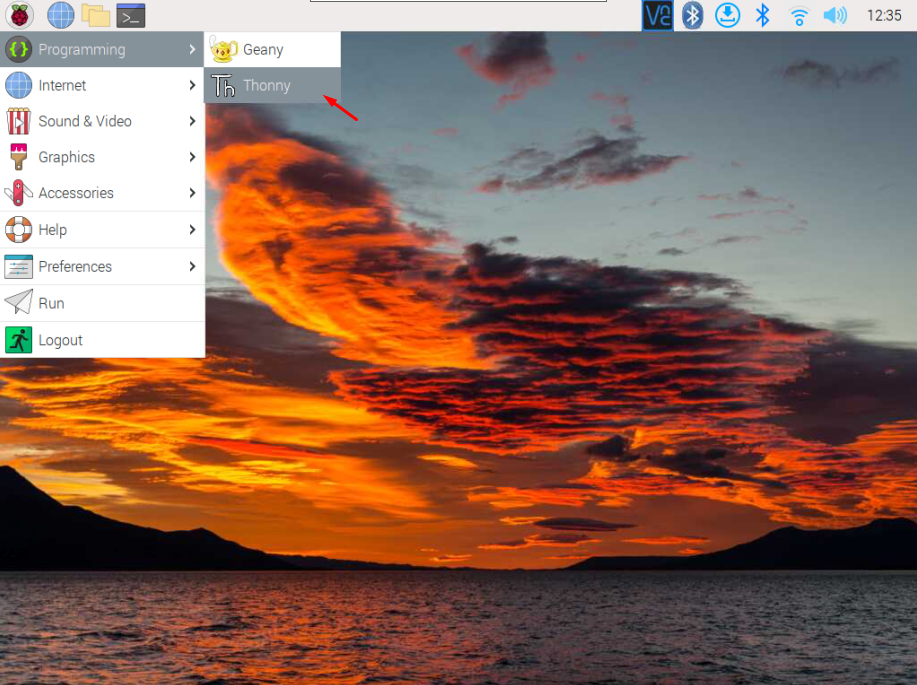
Or, you can open it from the “Application Menu” in the “Programming” section.
Use Thonny IDE for Python Programming
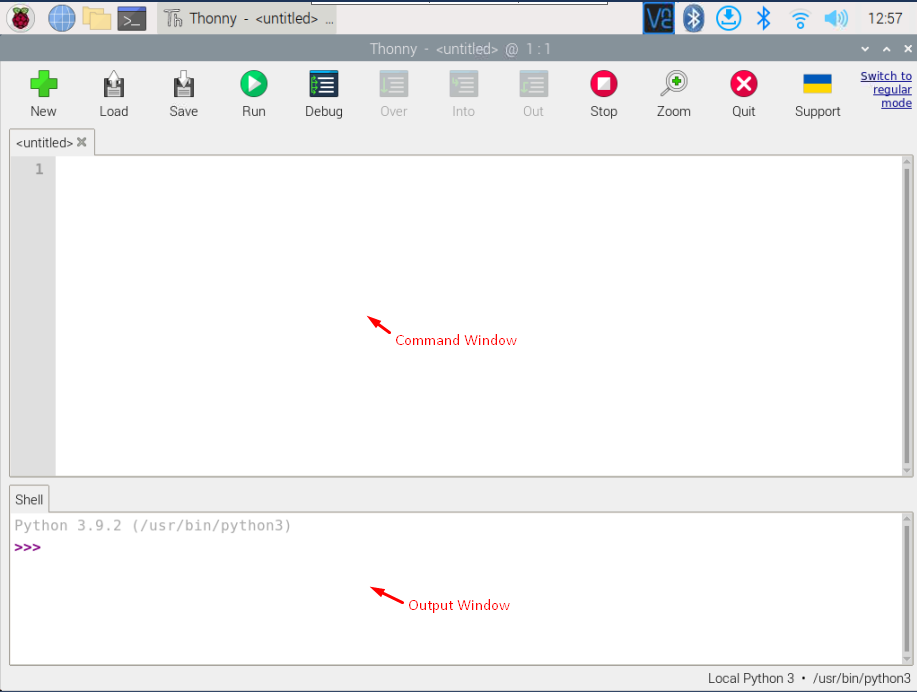
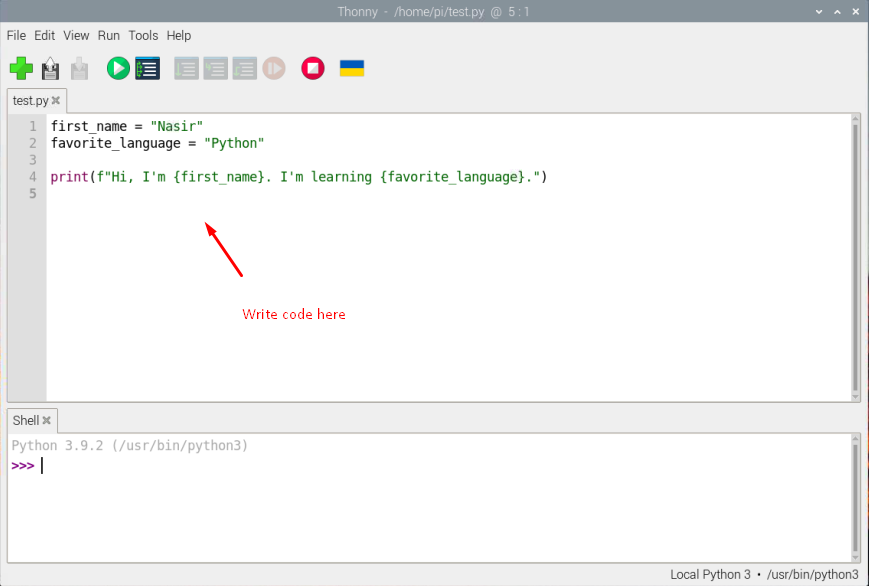
After opening the Thonny IDE on your desktop, you will see a big “white” window, which is the place where you have to write your Python code, while the small one is the output window where you will see the output of your code.
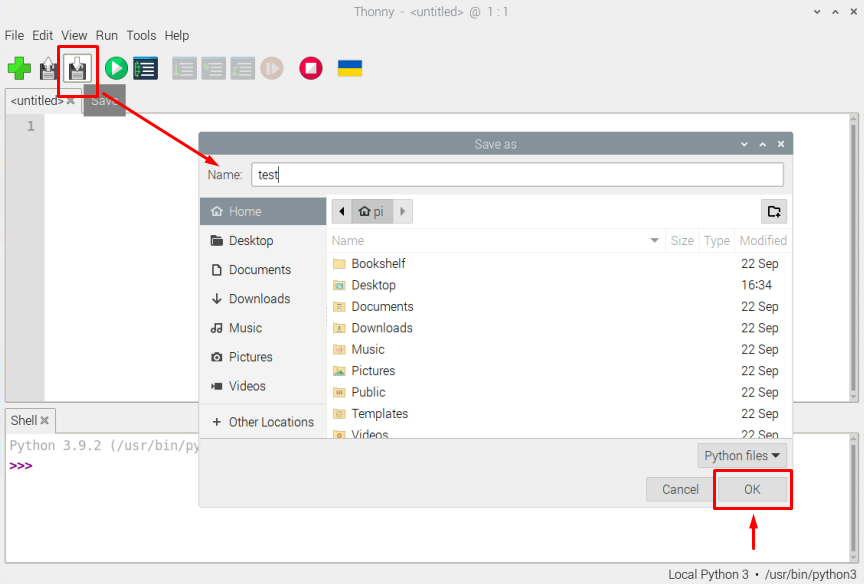
Now, let’s start writing our first Python code in Thonny IDE. However, before that, you have to save the file using “CTRL+S” and give it a suitable name.
Then write the following code inside the Thonny IDE code window. You can write any code you want.
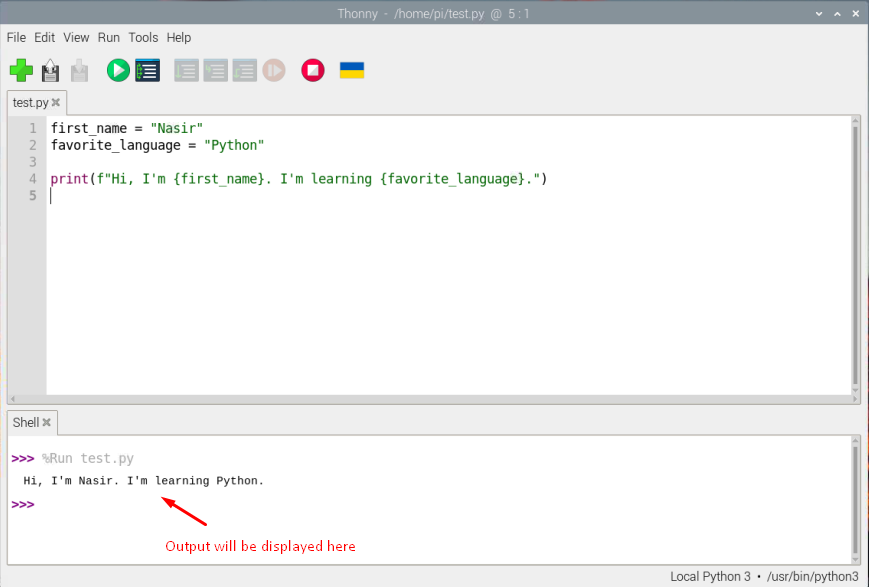
favorite_language = "Python"
print(f"Hi, I'm {first_name}. I'm learning {favorite_language}.")
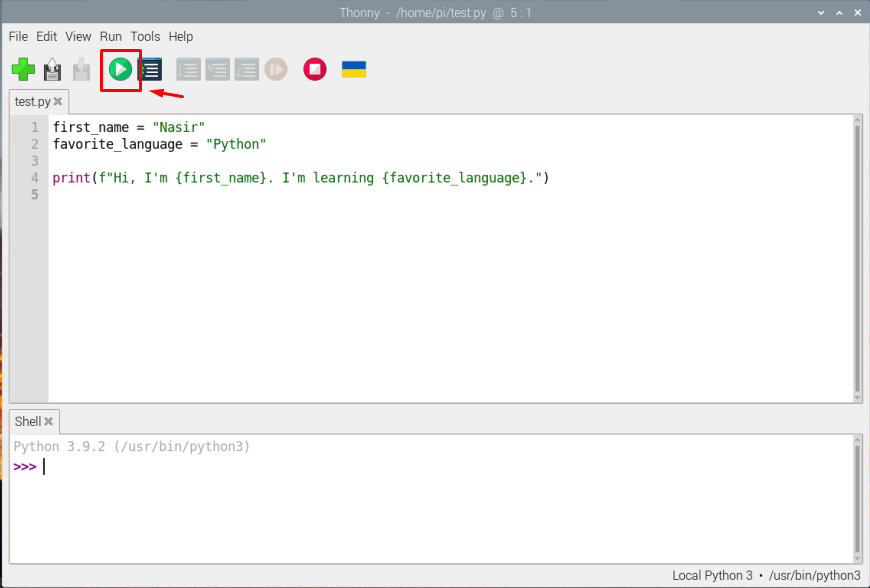
The “f” in the above code is a string formatting mechanism. Run the code using “Run” button to display the output.
 Let’s try another example of basic mathematics in the Thonny IDE using the following Python code:
b=a+1
c=a+b
print(c)
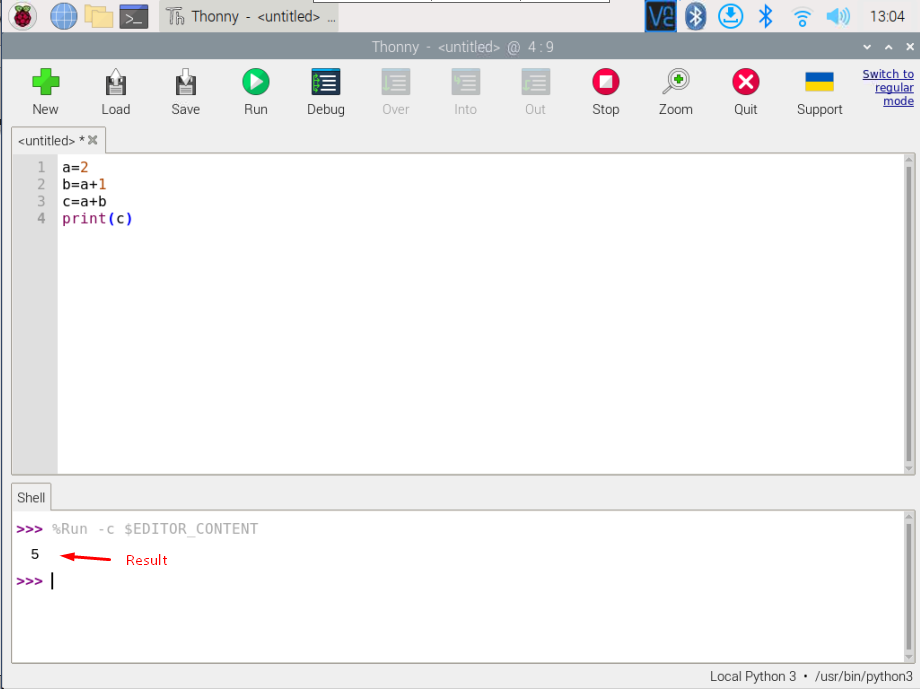
In this way, you can write any code you want using Thonny IDE on Raspberry Pi system.
Conclusion
Thonny is one the most popular IDE for Python programming due to its friendly user interface, debugging method, and interactive shell. Taking these features into account, the above guidelines show you the installation of Thonny IDE with the guide the run Python codes on the IDE. This will help users understand the basics of using Thonny IDE on Raspberry Pi for Python programming.