How to install Mono on Raspberry Pi
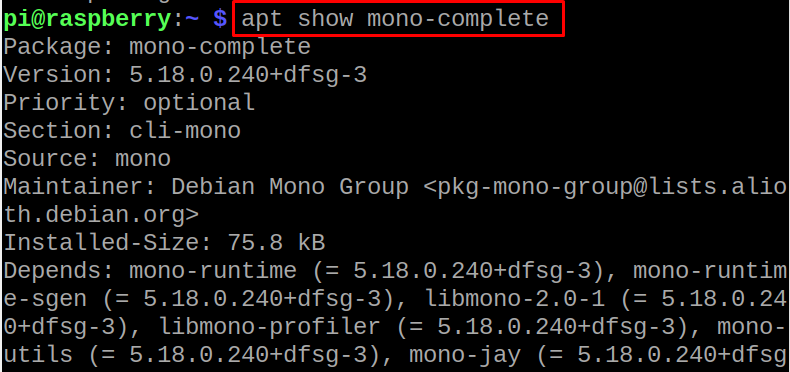
To install Mono on Raspberry Pi, we will check the availability of the Mono package in the default repository of Raspberry Pi using the apt package manager:
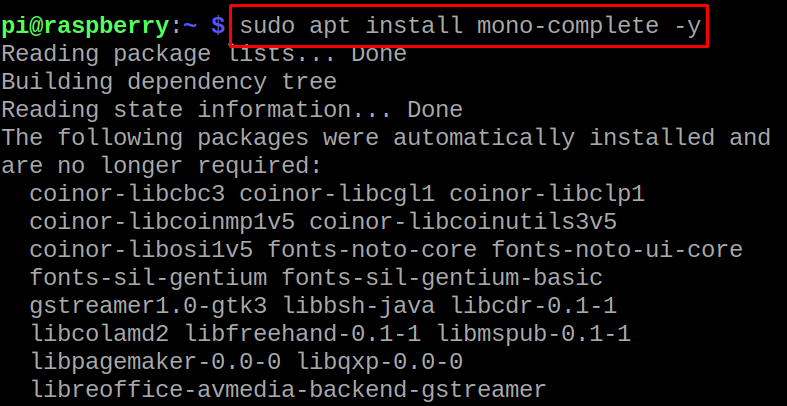
Then after confirming the availability, we will install it by running the command:
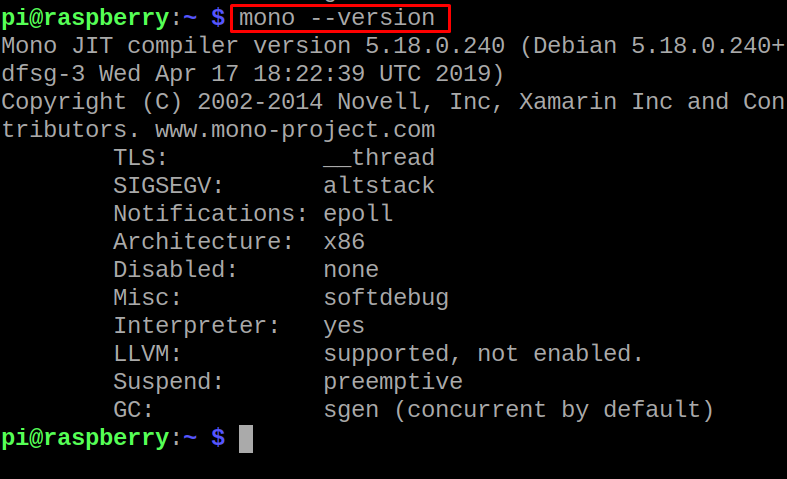
When the package has been installed, we will use the command mentioned-below to display the version the application:
How to program using Mono on Raspberry Pi
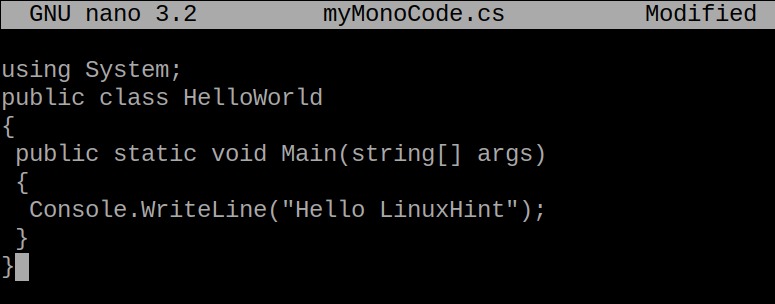
Now after the installation, we will simply write the code using Mono to test the application, for this open the file using the nano editor with name “myMonoCode” the “.cs” extension means that it is a C# file:
Then type the script mentioned below to display “Hello LinuxHint” on the screen:
public class HelloWorld
{
public static void Main(string[] args)
{
Console.WriteLine ("Hello LinuxHint");
}
}
Compile the file using the command:
After compilation an exe file of “myMonoCode” will be made in the same directory which can be run by using the command:
In the above figure, we can see the output of the script of file “myMonoCode”.
Conclusion
Mono is the alternative to the Net framework and is used to develop different applications in C, C++ and C#. Mono is available for different operating systems and in this article, Mono has been installed on the Raspberry Pi operating system using the command-line method.


