This guide explains how you can install inxi on your Raspberry Pi to retrieve the information on your device’s hardware components.
Install inxi on Raspberry Pi
You won’t find inxi in your Raspberry Pi repository; thus, you have to manually download it from the GitHub website so that you can install it on your Raspberry Pi device. To install inxi, follow the below-mentioned steps:
Step 1: Update Raspberry Pi System
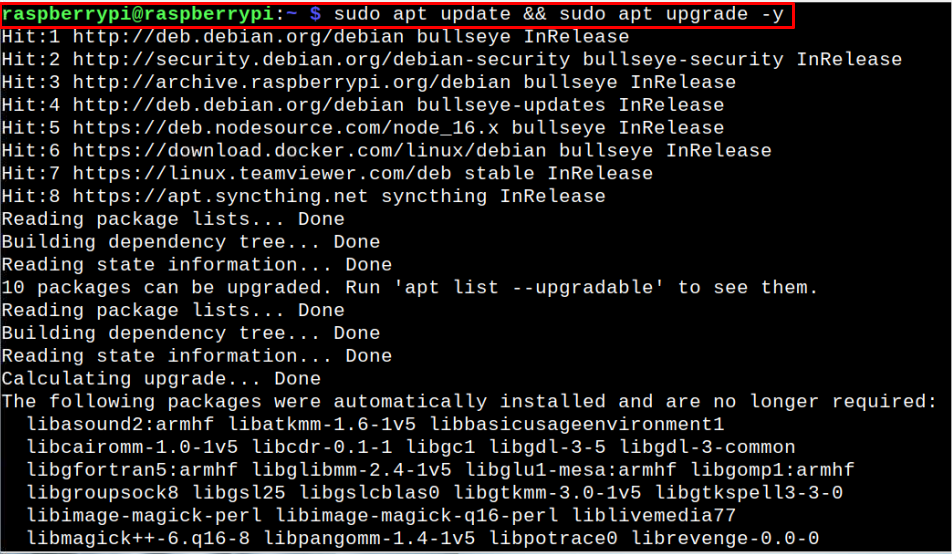
Before performing the installation of inxi, you must ensure the packages on the Raspberry Pi system are updated and if they are not, you can run the following command to update them:
The above command successfully updates the Raspberry Pi system.
Step 2: Download inxi script on Raspberry Pi
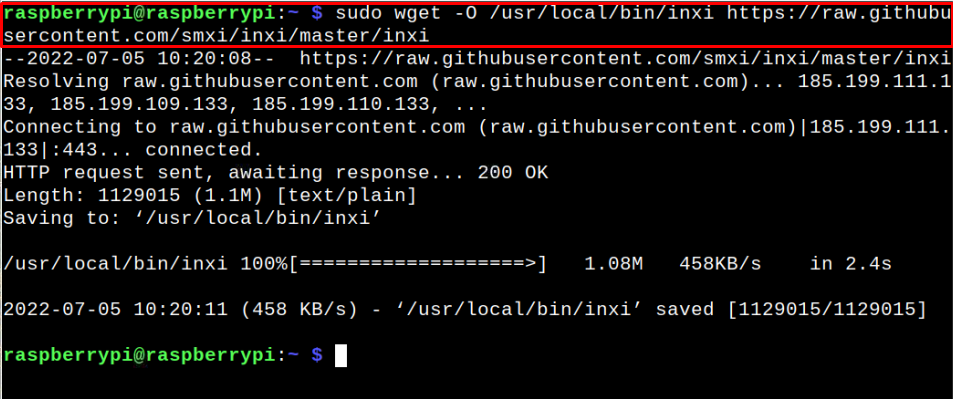
Next, you will need to download inxi script to the directory location “/usr/local/bin” using the following command:
Step 3: Grant Permission to the inxi Script
After successfully downloading the inxi script, you have to execute the following command to grant all permission to the directory:
Step 4: Check inxi version
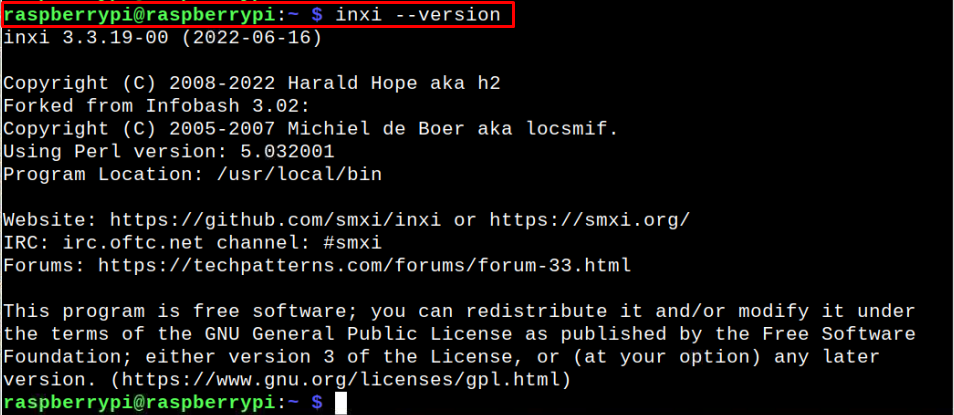
Once the permission is granted, you can check the version of inxi installed on your device using the following command:
Step 5: Run inxi on Raspberry Pi
To get the short overview of the system, you can simply apply the below-mentioned command:
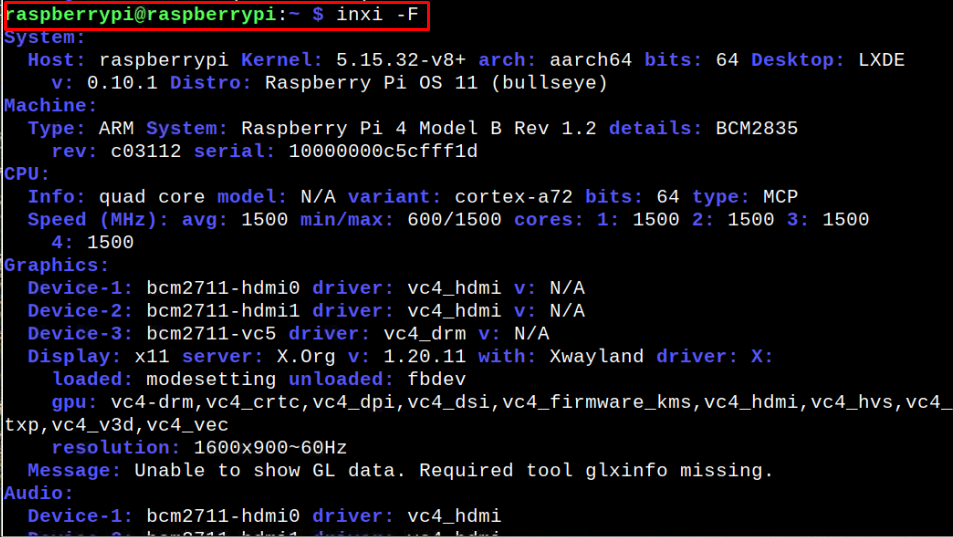
If you want to get a detailed overview of the system, you can apply the following command:
Removing the inxi script file from Raspberry Pi
If you think that inxi is no longer required for your Raspberry Pi device, you can remove its script anytime using the following command:
Conclusion
inxi is an excellent command-line utility that runs on your Raspberry Pi terminal and provides information on several hardware components of your device. You can install this application on your Raspberry Pi by downloading it from the GitHub source and then allowing permission to the script so that you can use this application on your device. You will get information on hardware components related to your Raspberry Pi device using several commands.


