In this tutorial, we will explore the installation procedure of Google Chromium on Raspberry Pi.
Steps to Install Google Chromium for the Raspberry Pi
Google Chromium is a default web browser for the Raspberry Pi operating system. However, there might come a stage where you will need the command to reinstall Google Chromium on your system. If that case occurs, you can follow the below-given steps to quickly install Google Chromium on Raspberry Pi:
Step 1: First run the update command to ensure Raspberry Pi packages are updated.
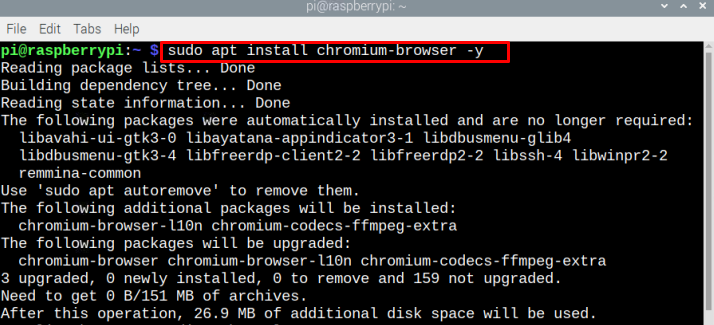
Step 2: Then run the following command on the terminal to install Chromium Browser on Raspberry Pi:
Once the process of installation is finished, you can launch it through the terminal or GUI. To run the Chromium Browser via the terminal, type the below-given command:
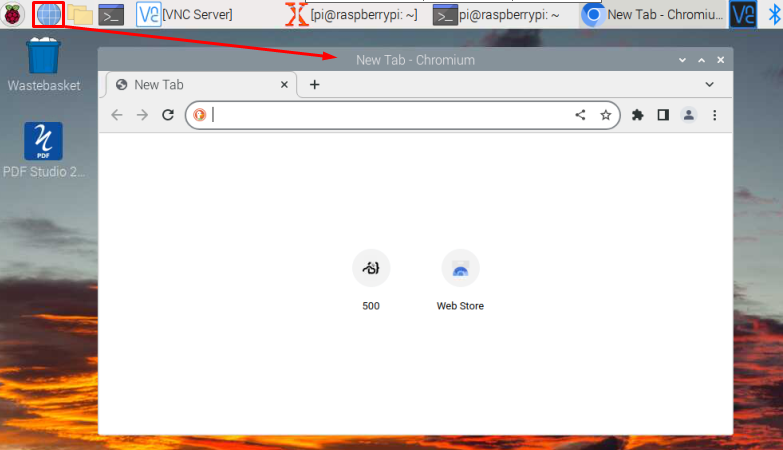
You can also launch the Browser from the Raspberry desktop, and click on the globe icon present on the taskbar. The Chromium Browser will be open on your desktop:
Make Chromium Browser as Default Web Browser in Raspberry Pi
If you have multiple browsers installed on Raspberry Pi, you can make Chromium Browser as your default web browser from the following steps:
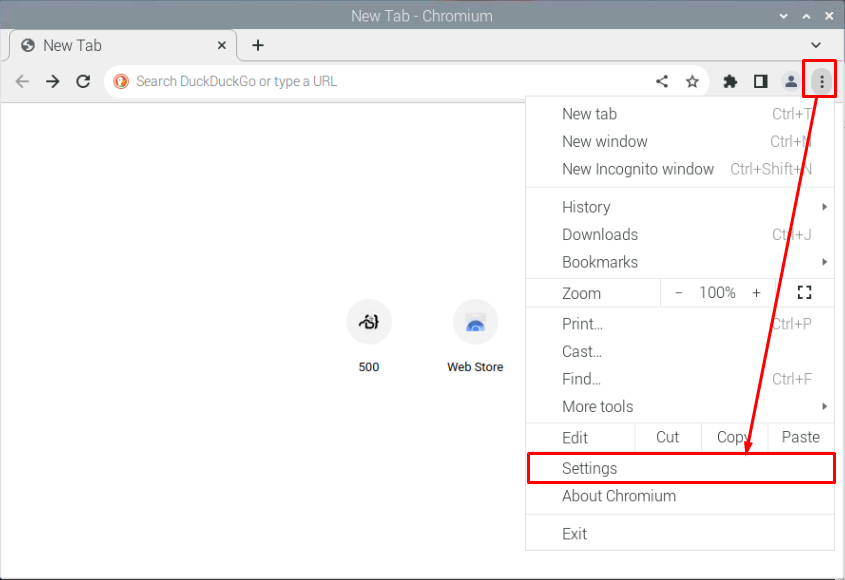
Step 1: Go to Chromium Browser’s Settings.
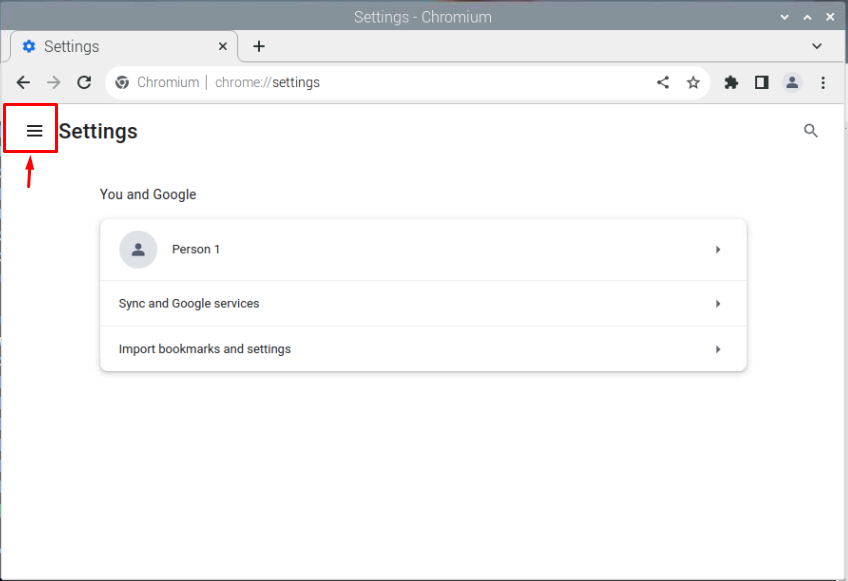
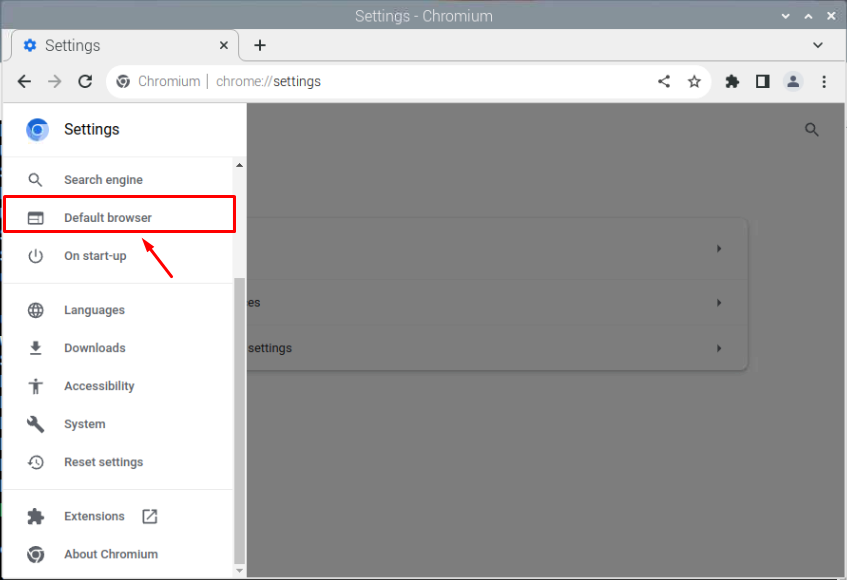
Step 2: Go to the highlighted option in the image below:
Step 3: Select the Default browser option to make Google Chromium a default browser on Raspberry Pi.
Remove the Chromium Browser from Raspberry Pi
In case, if you don’t like using Chromium Browser on Raspberry Pi, you can remove it with the following command:
Bottom Line
Google Chromium is a lightweight web browser that is preinstalled on Raspberry Pi. However, if someone accidentally deletes it from the system, they can reinstall it from Raspberry Pi’s official repository. They can also make this browser the default browser using the above-mentioned guidelines in case there are multiple browsers installed on the system.

