Arduino Port Grayed Out
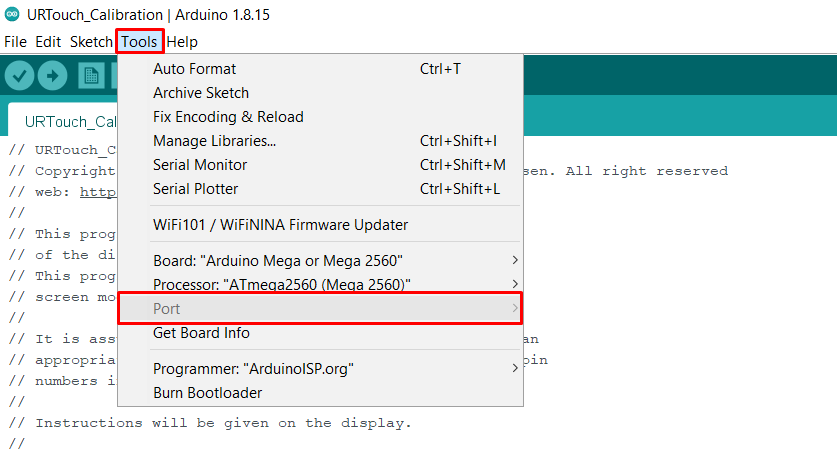
Among all the errors users face, port grayed out is one of the common types of error which means the Arduino board is not recognized by the user PC. One of the main reasons it occurs is that either you are using a clone Arduino board or PC COM port drivers are not installed properly.
Below is the main two reason why “Arduino Port Grayed Out”:
- Using a clone Arduino board
- COM port drivers not installed
- Faulty USB cable
How to Fix
Most of the time Arduino port error can be resolved by updating the port drivers or replacing Arduino board along with connecting cable. Let’s look at all possible solutions that can solve this error.
1. Install Latest Port Driver for Arduino
The first step towards resolving this issue is to look for the drivers for the Arduino board. The main cause behind port graying out is drivers not available for serial communication. Most of Arduino use ch340 chips and FTDI chips (FT232RL) for serial communication, to begin serial communication PC must have drivers for these two chips. Latest Arduino board uses Atmega16u2 and 8u2 AVR chips for serial communication.
Download the following two driver depending upon Arduino board chip:
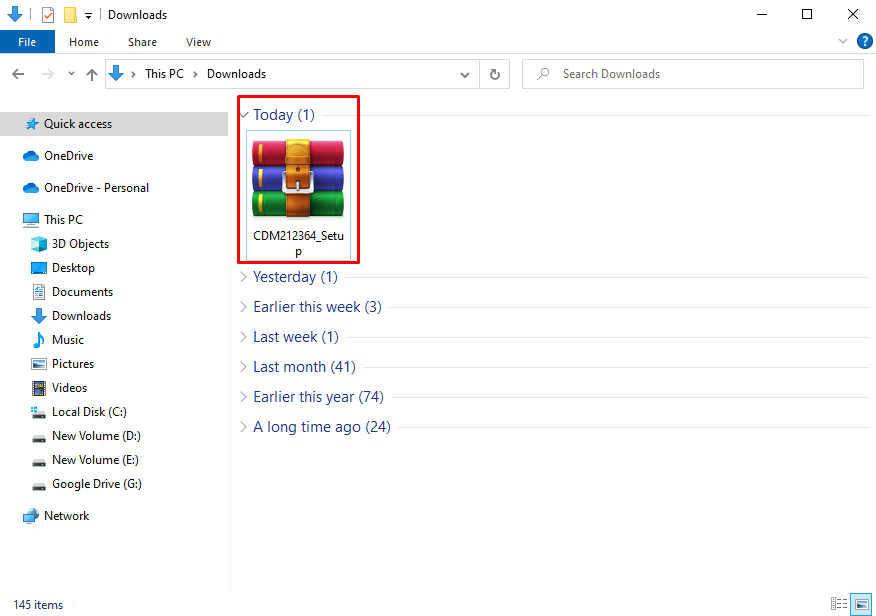
For CH340 drivers click the link above and download the Window CH349 driver files as shown in image below:
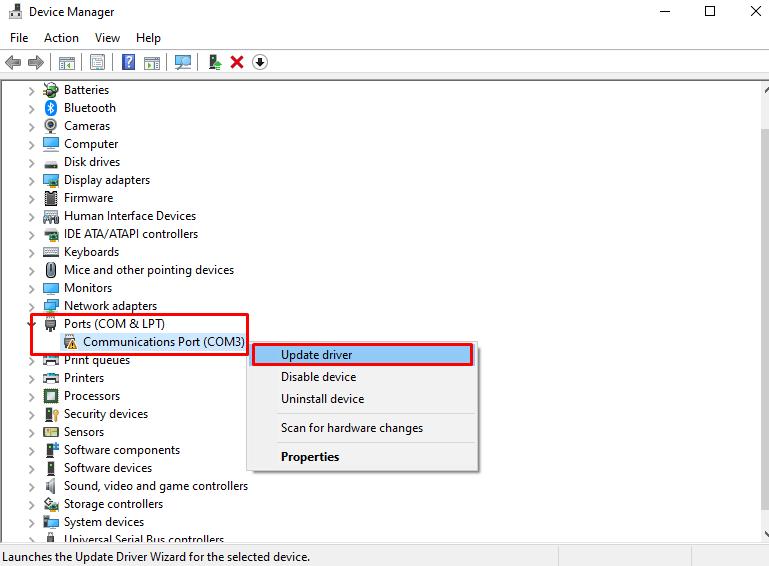
To check whether drivers are properly installed or not, open the device manager. A yellow label can be seen along the driver’s name. “COM & LPT” section displays the required driver.
Right click the COM port driver and select the update driver.
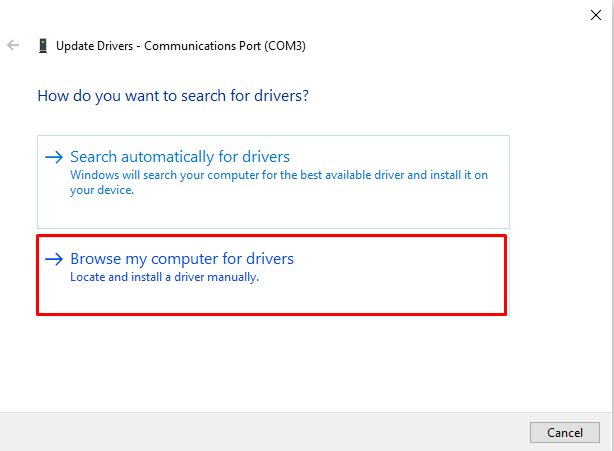
A new window will open and click the second option to search drivers manually from the computer. Now select the driver we just downloaded using the above link.
After selecting the driver, the PC will install all the required drivers.
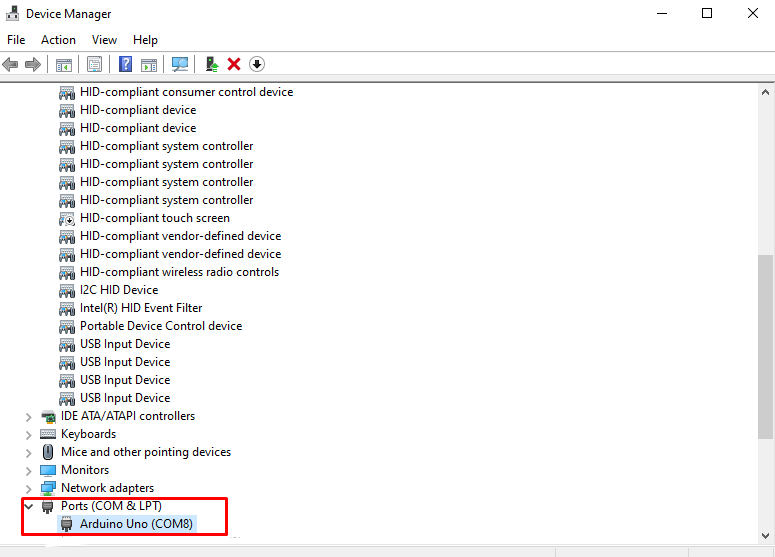
Once the drivers are installed successfully a message will appear and the yellow warning sign in device manager will disappear. Now open the Arduino IDE and program the Arduino board.
For FTDI drivers open a given link and click VCP Drivers now under VCP section download the executable setup for Windows.
Extract and run the installer click Finish after installation is completed.
Now the Arduino board is ready to be programmed.
2. Change Arduino Board
Second possible reason why “Arduino Port Grayed Out” is the use of clone Arduino boards. The IDE will not be able to detect the Arduino board because it might be using an unrecognized chip for serial communication. To avoid all this hassle, always prefer to buy Arduino boards from official sellers and distributors. Click here to visit the Arduino store. Lastly, we have also compiled a guide to buying Arduino from multiple authorized sources click here to read.
3. Change USB Cable
Not all USB cables are meant for communication, some are only made for charging purposes, if the Arduino IDE is not picking up the Arduino board, try changing the USB cable. It’s recommended to use a cable that comes along with an Arduino board. Changing the USB cable for the Arduino board might solve the port gray out issue.
USB data cables are generally thicker and have more wires than a normal charging cable. USB cables come with four wires, two more than normal charging cable.
4. Update Arduino IDE
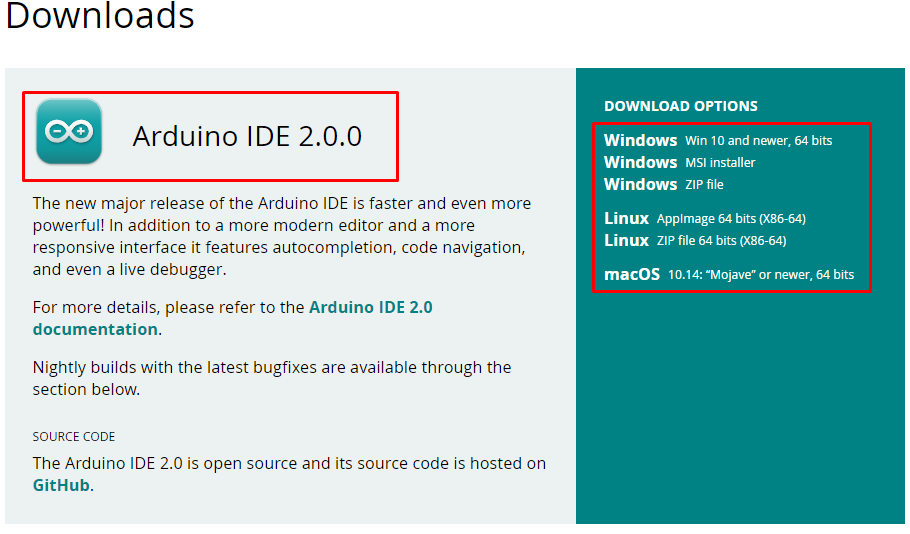
Finally, if all above doesn’t work try updating Arduino IDE. It can be downloaded using the Arduino official site. Latest IDE comes with preinstalled chip drivers, we just need to add boards using the device manager. To download Arduino IDE, click here.
Conclusion
Arduino ports grayed out usually when we get a new Arduino board or installed any older version of IDE. To resolve this issue port drivers, need to be installed. Generally, CH340 chips and FTDI chips (FT232RL) are used in Arduino boards. This guide helps to install drivers for both chips. Some other methods like installing an updated version of IDE or changing the USB cable can also resolve this.

