In this article, we will discuss in detail about how you limit the files and folder permissions in the Raspberry Pi Linux system.
Let’s start!
Files and Folders Permission in Raspberry Pi OS
There are two methods to change the permission of files and folders:
Let’s discuss each of these in detail.
Method 1: Through Terminal
To change permission of a file or folder through a terminal, first, we will use the below-mentioned command to display the list of all files along with their permission accesses.
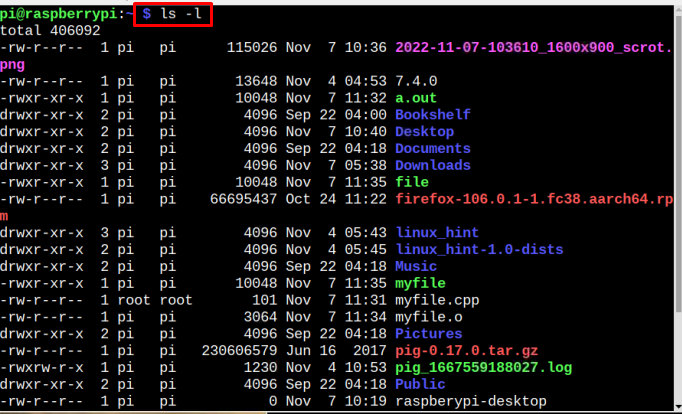
If you want to look for a particular file’s permission, you can use the below-mentioned command, as a result of it the permission details along with the date and time of the creation of the file will also be displayed:
Note: Remember to replace <file_name> with the name of the file you want to check the list of.

For a folder, you can use the below-mentioned command to get the list of all the files present inside the directory along with their creation date and time and permission information:
Note: Remember to replace <folder_name> with the name of the folder you want to check the list of.

Changing Permission Using Change Mode Command
To change the file permission, you have to use the chmod command using the following syntax:
Here, in the above command:
- u stands for the user
- g for groups in which the user is present
- o stands for others
- r for read permission
- w for write permission
- x for executing permission
Remember all the above privileges can be set according to the user’s choice. For example:

Note: In the above image we have used the ls -l command just to display the permission access of our file, hello-Linux is our file.
The above command changes the permission to file by allowing users the permission to read, write and execute the file. While the same permission for group users as well. However, other users can read and write on the file.
There’s also one other shortcut way in which the above command can be used and the user just has to remember the below representations:
- a for All users
- u for Current User
- g for Groups
- o for other Users that are not in owner’s group
Users can use any of the above representation alphabets along with “+” or “–” signs, depending upon the requirement. The positive sign “+” is used to assign access whereas the negative sign “-” is used to deprive/deny access.
The syntax for this command will be:
In the above command o+x states that all the other users o is allowed to execute the file.

Similarly, other commands can be used to give or deny permission as mentioned below:
o-x : It means other users are denied to execute file.
a+x : It means all users are allowed to execute file
g-x : It means groups are denied to execute file.
a+w: It means all users are allowed to write on file.
a-w: It means all users are denied to write on file.
g+r: It means groups are allowed to read file.
a-r: It means all users are denied to read file.
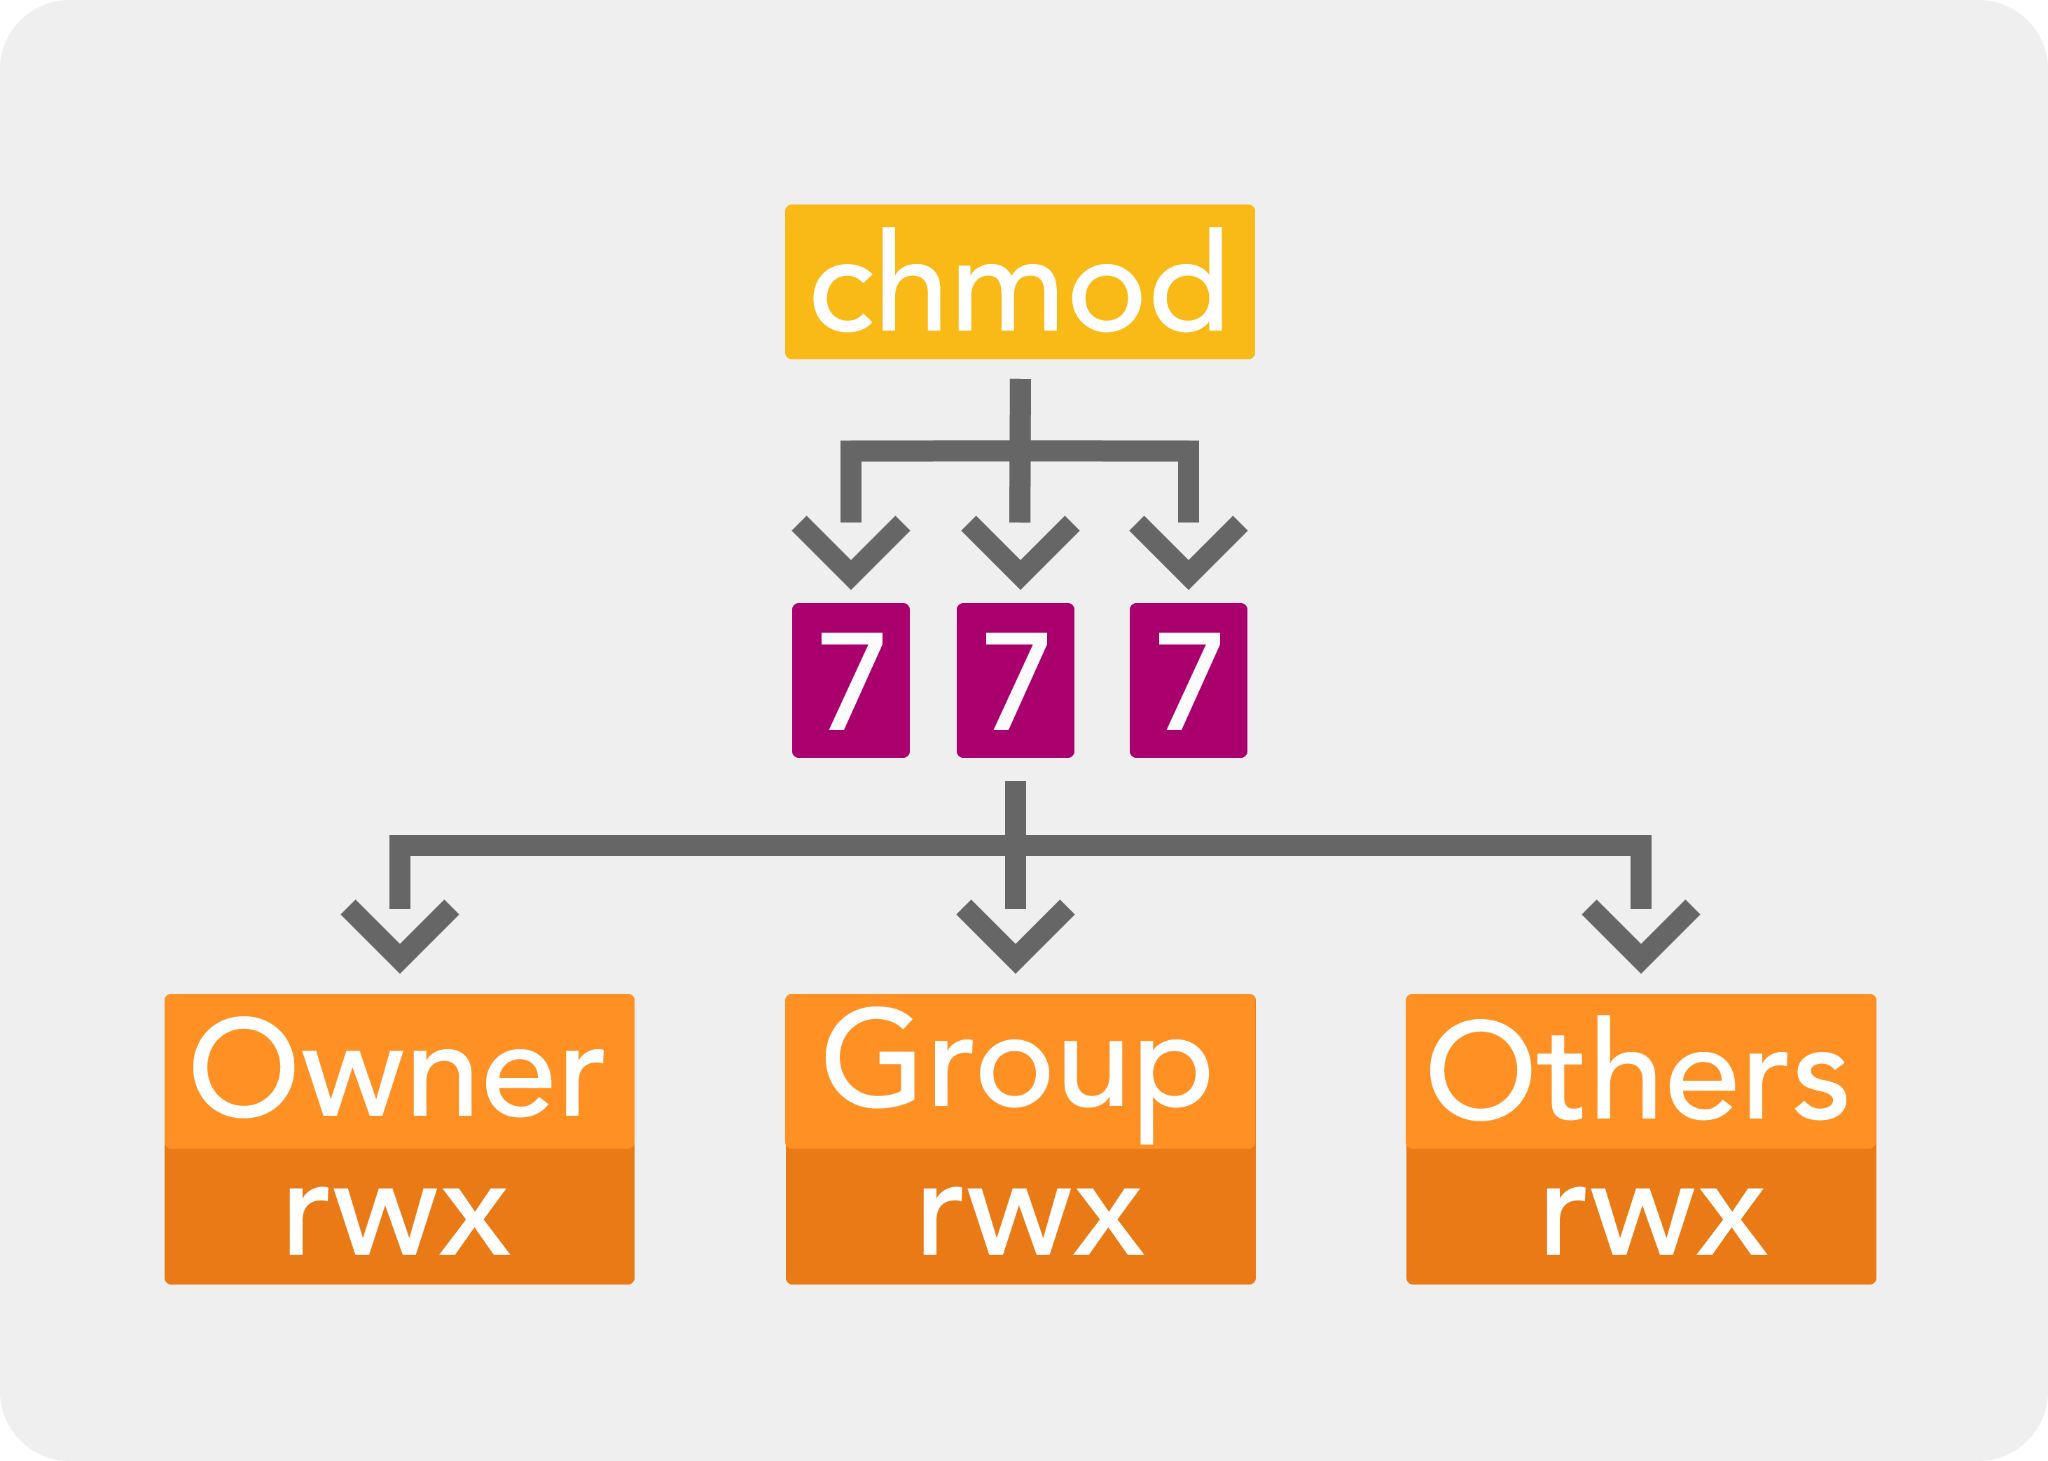
Octal Mode
There exists another way also to change the mode with permission access and that is octal code mode where instead of w, r, x, and g, u, o, an octal code can be used in which the first octal number represents the permission for user, the second digit for groups and the last digit is for others. The octal code digits representation is given below:
4: To assign read-only privilege
5: To assign read and execute privileges
6: To assign read and write privileges
7: To assign read, write, and execute privileges
The syntax of the command to be followed is mentioned below:

Note: Our file name is hello-Linux and 754 is the octal code which states that the user is given access to read, write, and execute, and the group is allowed to read and execute the file. Whereas, other users are only allowed to read the file.
You can follow the below-given image to learn about octal code.
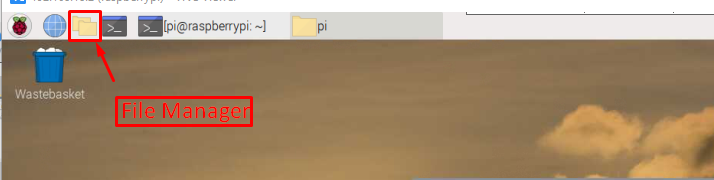
Method 2: Through GUI
The second method to look for permission for a particular folder or file is the GUI method. For this method, first, click on the File Manager option to open Raspberry Pi home directory:
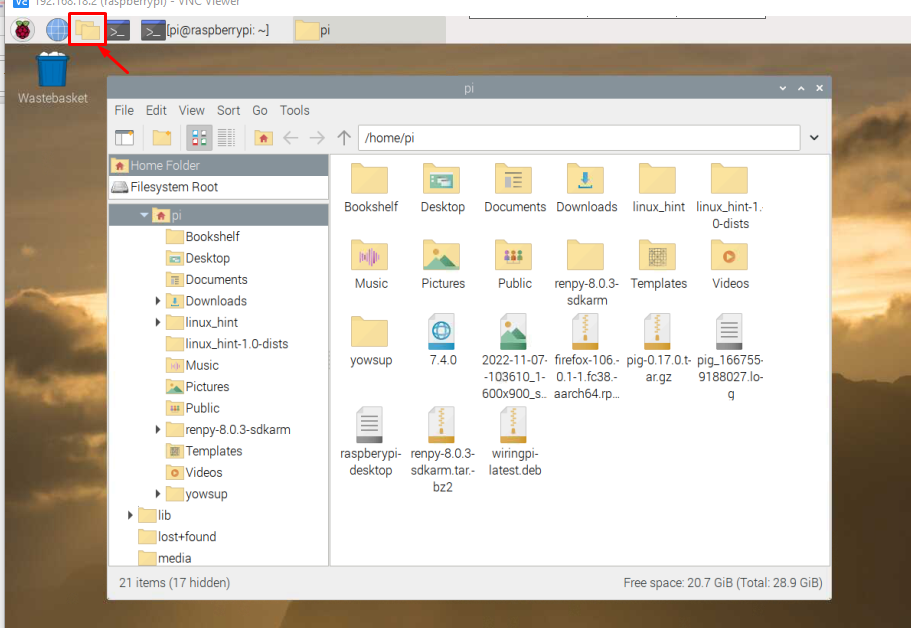
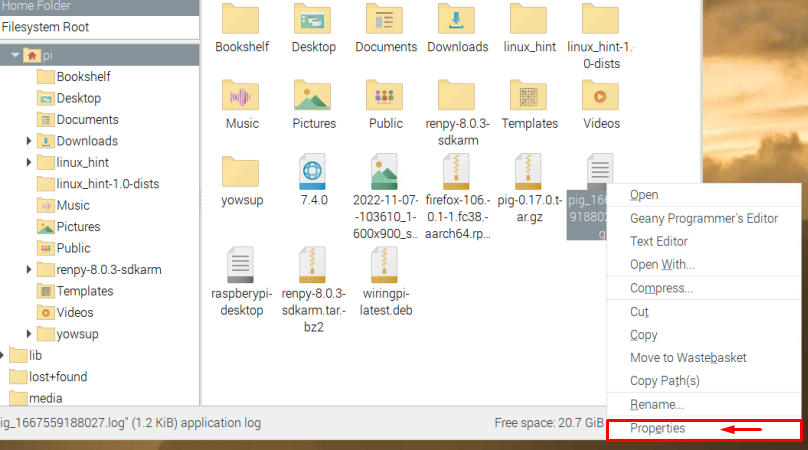
Right click from the mouse on any file and select the Properties option from the drop-down list.
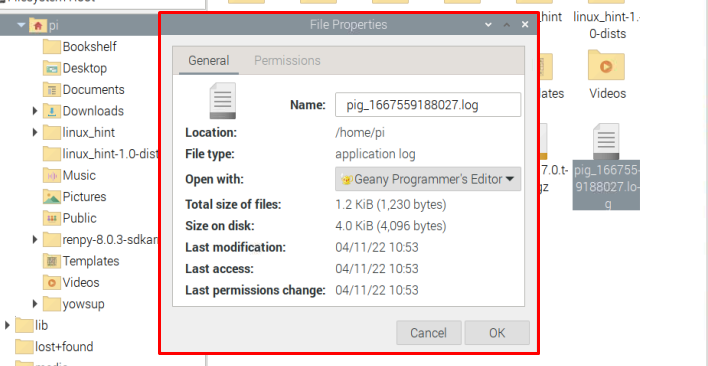
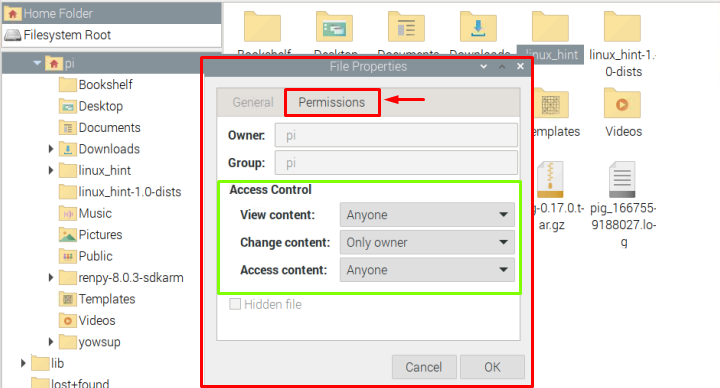
A File Properties dialogue box will appear on the screen.
Click on the Permissions tab and from here, you will be able to change the permission privileges of a file.
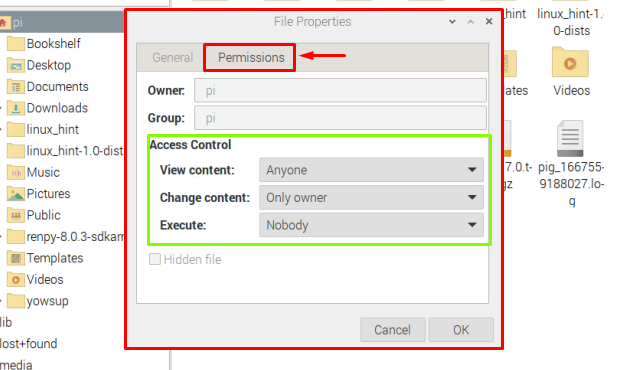
Once you are done setting the permission for View content, Change content and Execute, click the “OK” button.
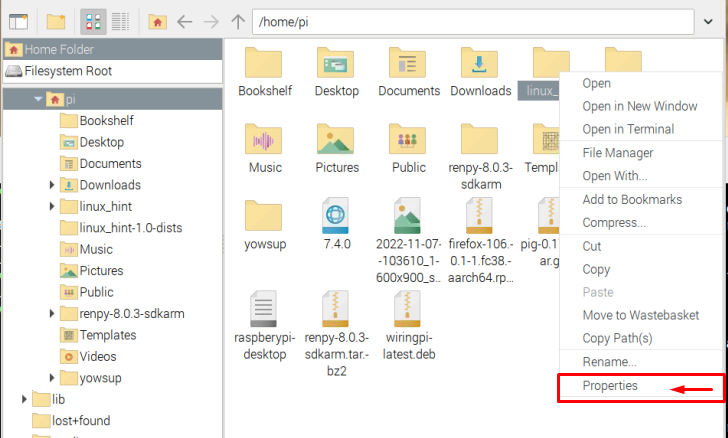
For folders permission through GUI, same steps can be performed. Right-click on the folder and click the Properties:
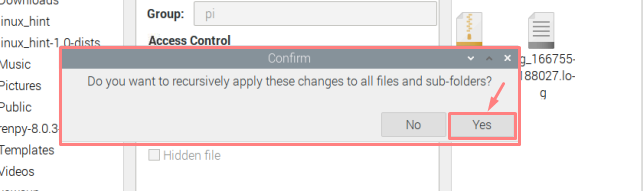
Then go to Permissions and after setting the required permissions then click “OK”.
It will ask you for confirmation, so click “Yes” here to apply the changes.
That’s it for this guide!
Conclusion
When multiple users are using the same system, it becomes necessary for you to keep your files save from other users by limiting the access to some folders and files. For that purpose, Linux operating system provides two methods, one is the terminal method in which commands are used to assign read, write, and execute permissions whereas the other method is GUI based where permissions can be assigned manually through the Properties option of files or folders.