This tutorial is for Raspberry Pi users to encrypt a directory using EncFS to secure the data inside the system.
How to Encrypt a Directory using EncFS?
To encrypt directories using EncFS, follow the steps given below:
Step 1: Firstly, update and upgrade the repository as we will install EncFS from the Raspberry Pi repository:
Step 2: Then install EncFS using the below-written command:

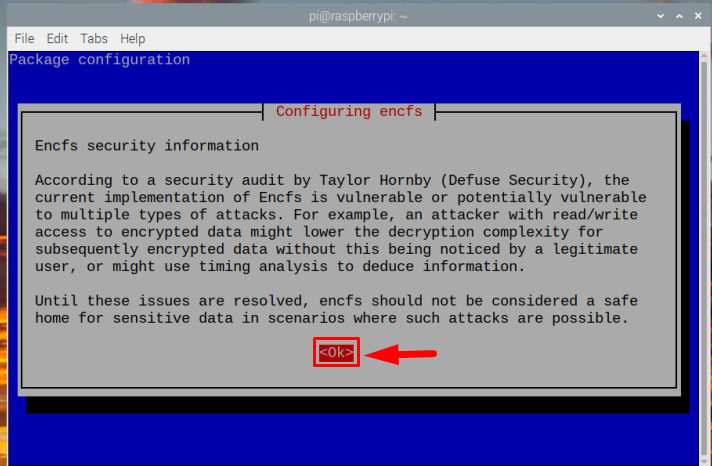
Step 3: As soon as EncFS gets installed, a Configuring encfs dialogue box will appear on the screen, click OK here:
Step 4: Now create a directory with the name EncFS:
Note: You can name the directory according to your choice.
Step 5: Navigate to the newly created EncFS directory using the following command:
Step 6: Now create another directory with the name encrypted-rootdir inside the EncFS directory, as all the encrypted data in Raspberry Pi goes to root-dir:
Step 7: For the unencrypted data, create an unencrypted mountpoint which will be encrypted in the upcoming steps:
Step 8: Now to create an encrypted volume, run the below-written command and it will give you some configuration mode options to choose from:

If you are not sure about what mode to choose, you can go with the standard mode by pressing the Enter button:
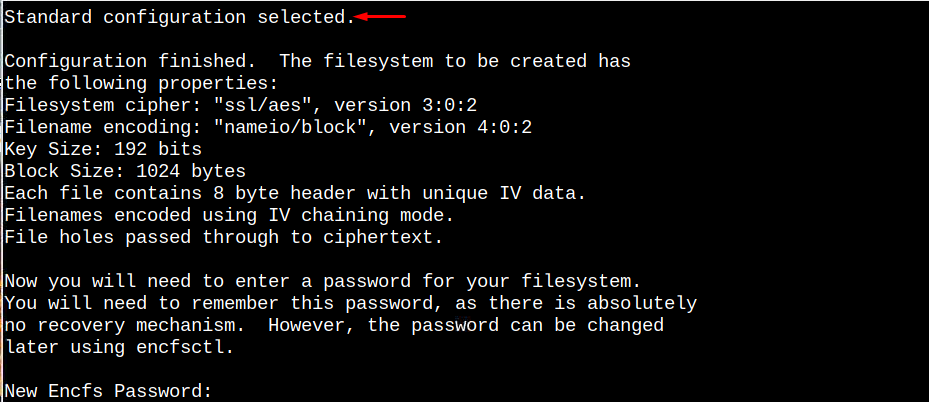
Step 9: Now enter the desired password for EncFS:

Step 10: Enter the same password again to verify it:

Step 11: To display the location and details of our unencrypted-mountpoint, run the below-written command:

Step 12: Now change the directory to the unencrypted mount-point which is present inside the EncFS directory:
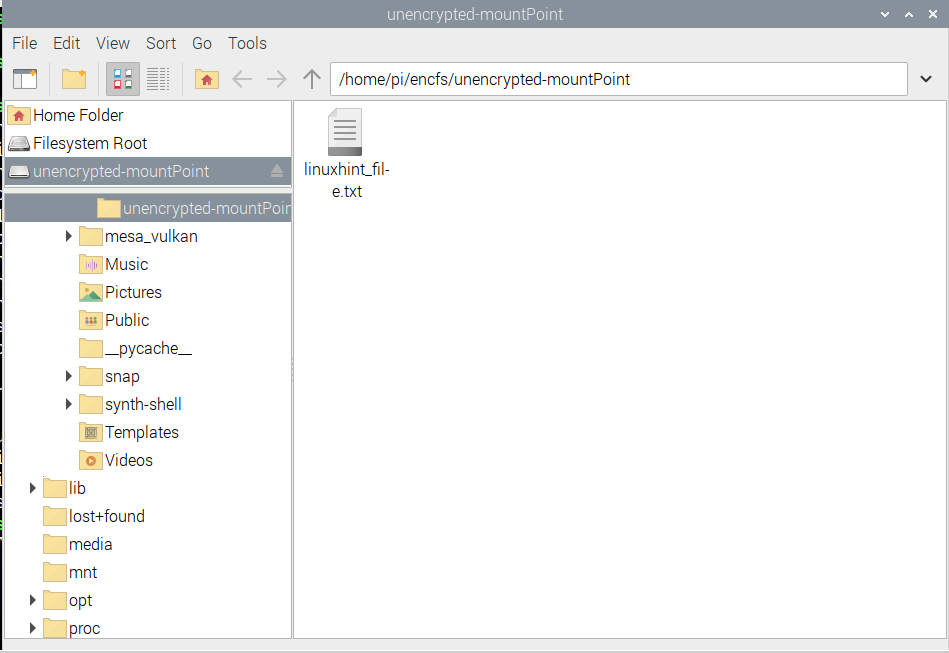
Step 13: Now let’s create an example text file inside an EncFS folder. I have created a file with the name linuxhint_file.txt:

Step 14: To confirm that the file is created successfully, you can use the below-written “ls” command:

Step 15: Now go back to the main EncFS directory using the below-written command:
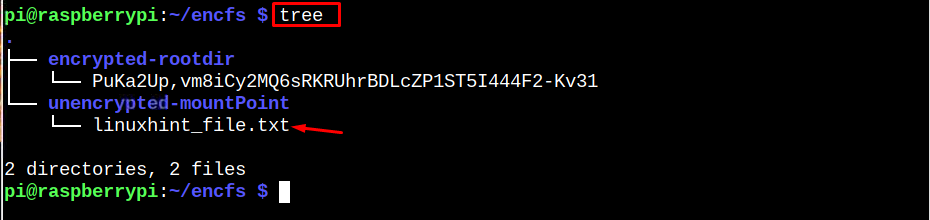
Step 16: Run the below-written command and focus on the output:
In the output, you will see that whenever you create a file in an unencrypted directory, an equivalent encrypted file also gets created in the encrypted directory which is displayed in a tree:


Unmount the Mounted Directory
After creating the encrypted directory now if you want to unmount the mounted folder. Then by using the below-mentioned command, the directory can be unmounted:

And now when you run the tree command you will see that the unencrypted version gets hidden:

Now whenever someone wants to access the unencrypted directory’s content, they have to mount the folder using the below-written command; after which they have to enter the correct password:

And as soon as the correct password is entered the encrypted directory’s content/files will start to appear on the screen. Once the tree common is run:
Conclusions
You can install the EncFS tool on Raspberry Pi from the repository using apt command. Then you can create an encfs directory and create two subdirectories, one for the encrypted content and the other for the unencrypted one. Then mount the files and set a password for them. You can unmount the files anytime and see the encrypted and unencrypted directories’ status using the tree command.