How to Enable SSH Root Login on Raspberry Pi
To enable the SSH root login, use the following steps:
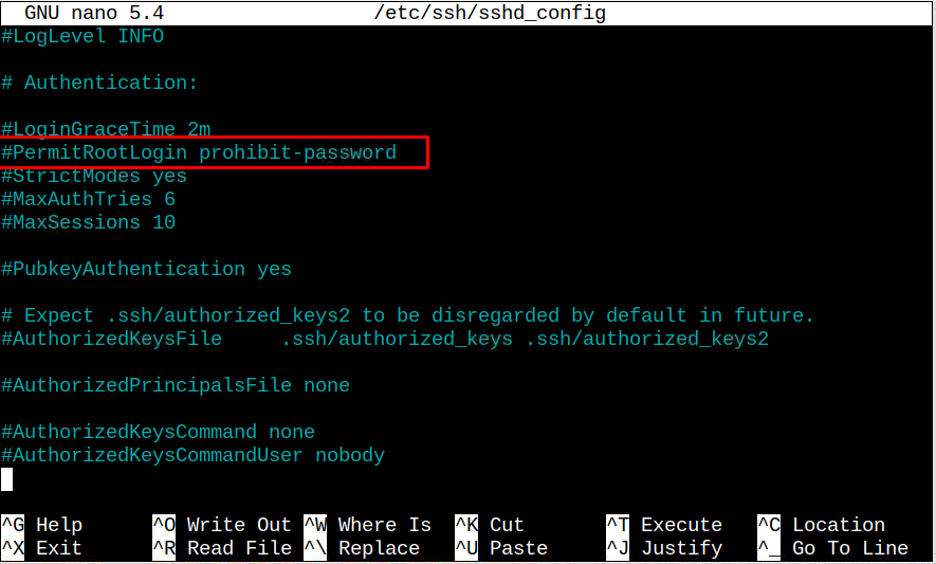
Step 1: First, you should open the SSHD configuration file on the Raspberry Pi terminal via the following command:
Step 2: Inside the file, find the line “#PermitRootLogin”, which is disabled by default using “#”.
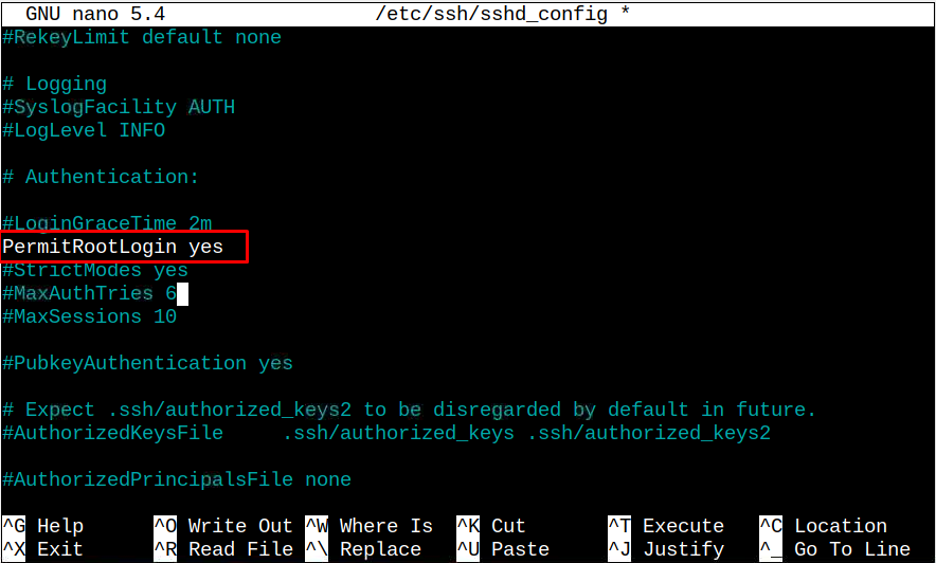
Step 3: Enable it by removing the “#” sign and add “yes” instead of “prohibit-password”.
Step 4: Save the configuration file using “CTRL+X”, add “Y” and press Enter.
Step 5: Restart the SSH service on Raspberry Pi for the changes to occur and it can be done through the following command:
Step 6: Now, to confirm the Root login is enabled, you can run the following command on the Raspberry Pi terminal:
Note: Enter the “hostname -I” command to get the Raspberry Pi IP address.
Step 7: Enter the default root password to log in to Raspberry Pi as root.
Use SSH Root Login on PuTTY
You can access the Raspberry Pi terminal as a root on PuTTY through the following steps:
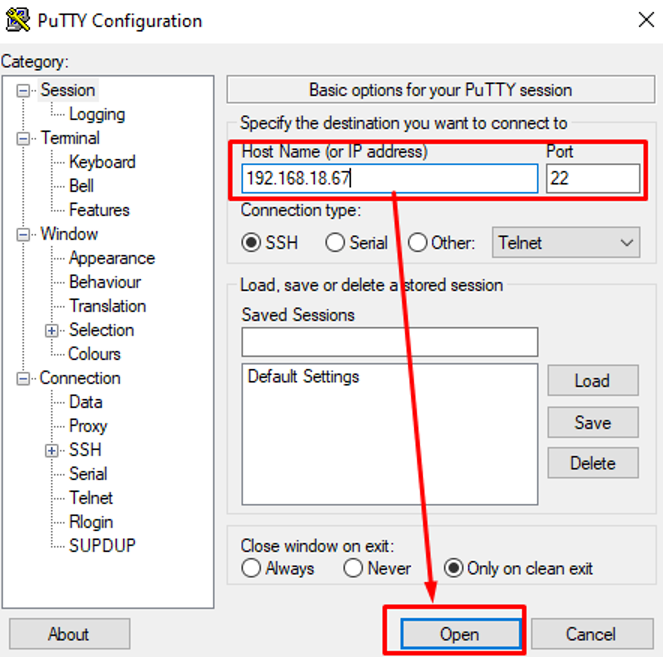
Step 1: Enter the IP address/hostname of Raspberry Pi and choose the “Open” button.
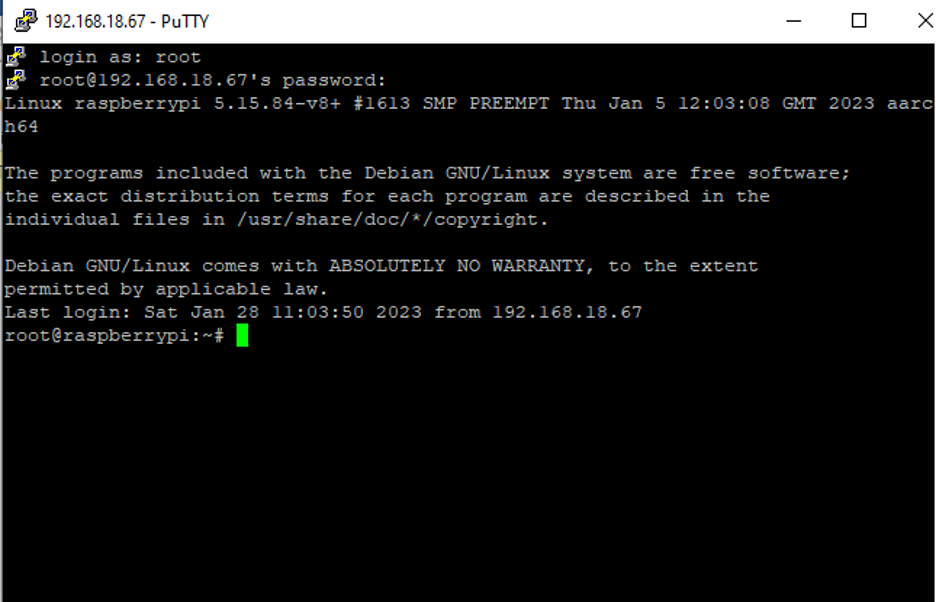
Step 2: Login as root and enter the default password to access the Raspberry Pi terminal as a root user.
Note: You can disable the SSH root login again by adding the “#” before the “PermitRootLogin” option inside the SSH configuration file.
Conclusion
The Raspberry Pi users can easily enable the SSH root login by opening the SSHD configuration file through the nano editor and removing the “#” sign from the “PermitRootLogin” option. Then, add “yes” in front of the “PermitRootLogin” option and restart the SSH service to apply the changes. After that, they can access the Raspberry Pi terminal by login in as “root” with the default password.


