Dual boot on Raspberry Pi – Step-by-Step Guide
There are different ways to use dual boot on Raspberry Pi but here we will show you the easiest one to follow which requires simple steps given below:
Step 1: First, visit the website on your system browser.
Step 2: Select your Raspberry Pi storage option.
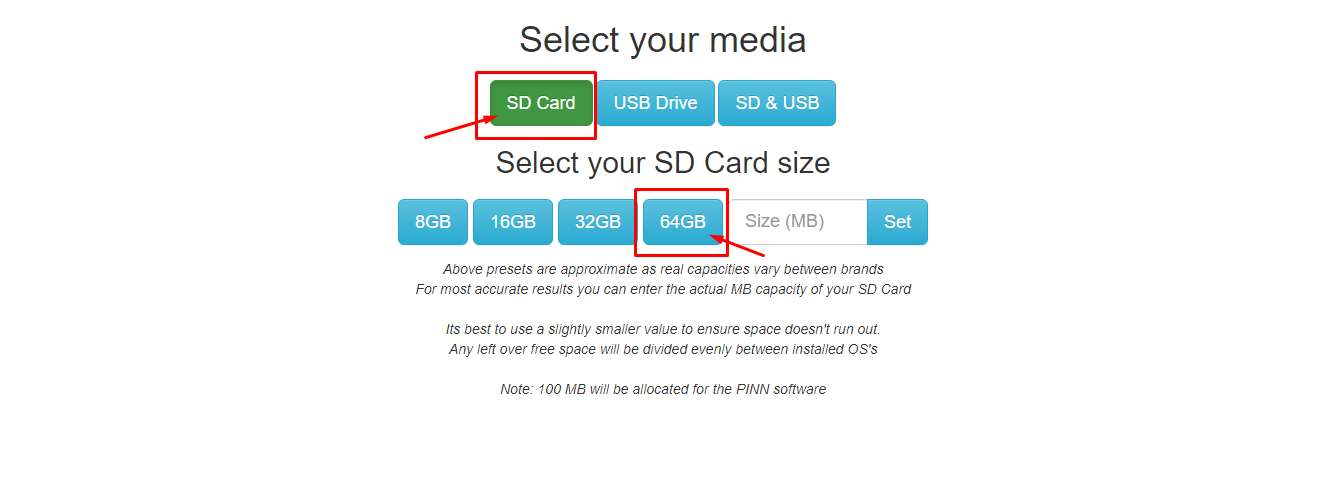
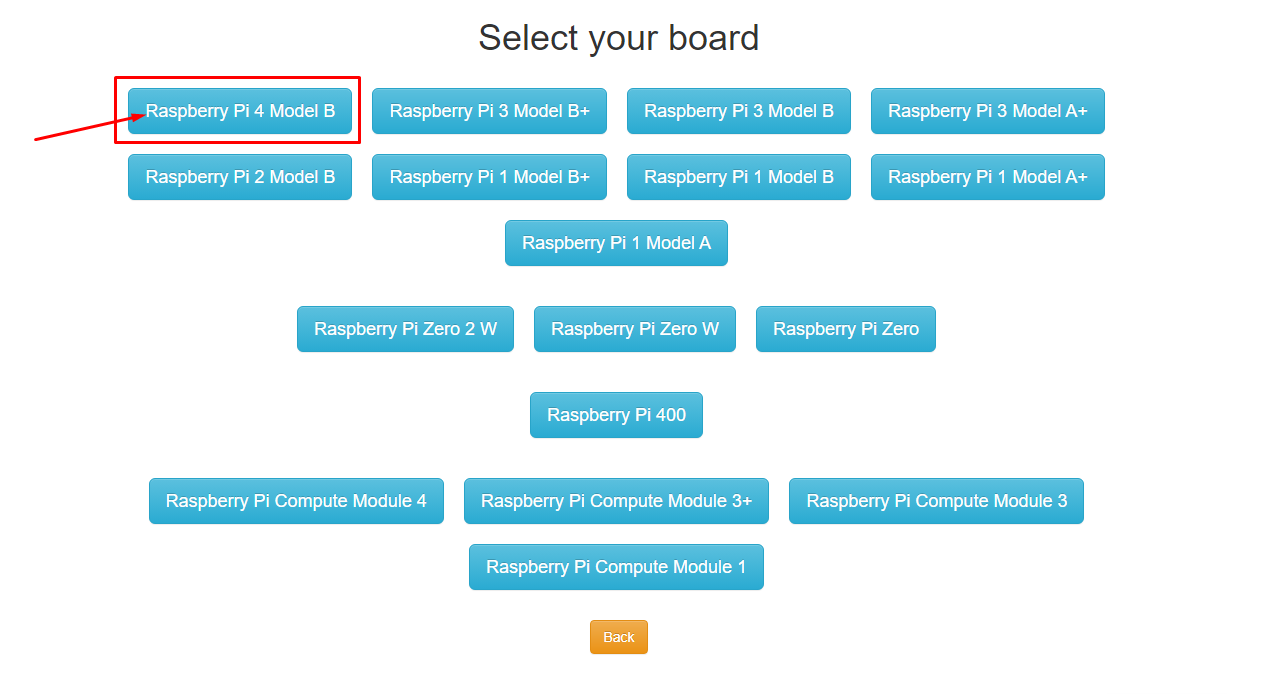
Step 3: Next, select your Raspberry Pi model.
Step 4: There you will find different operating systems ranging from light versions to full ones. Pick any two operating systems according to your choice. In our case, we picked DietPi and Raspberry Pi OS Lite (32-bit).
Step 5: Set your partition size for each operating system or go with the default option.
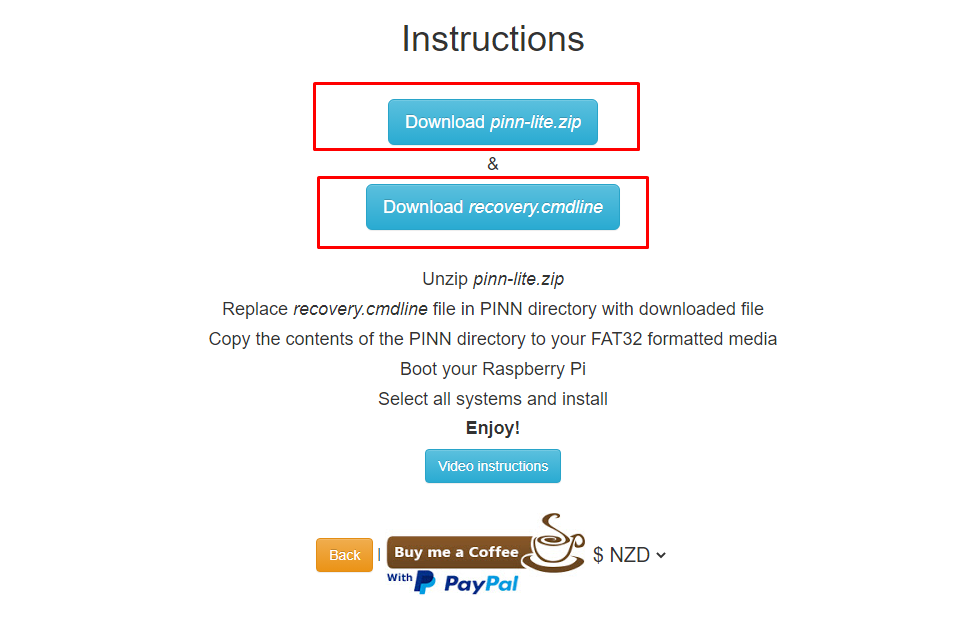
Step 6: Now, download both files “pinn-lite” and “recovery-cmdline” on your system.
Step 7: Now, insert the SD card into your system format using the FAT32 system as this operation will only work on the FAT32 system.
Step 8: Next, extract the content of “pinn-lite” to FAT32 formatted SD card as well as copy the “recovery-cmdline” file into the SD card as this will replace the previous cmdline file in the directory.
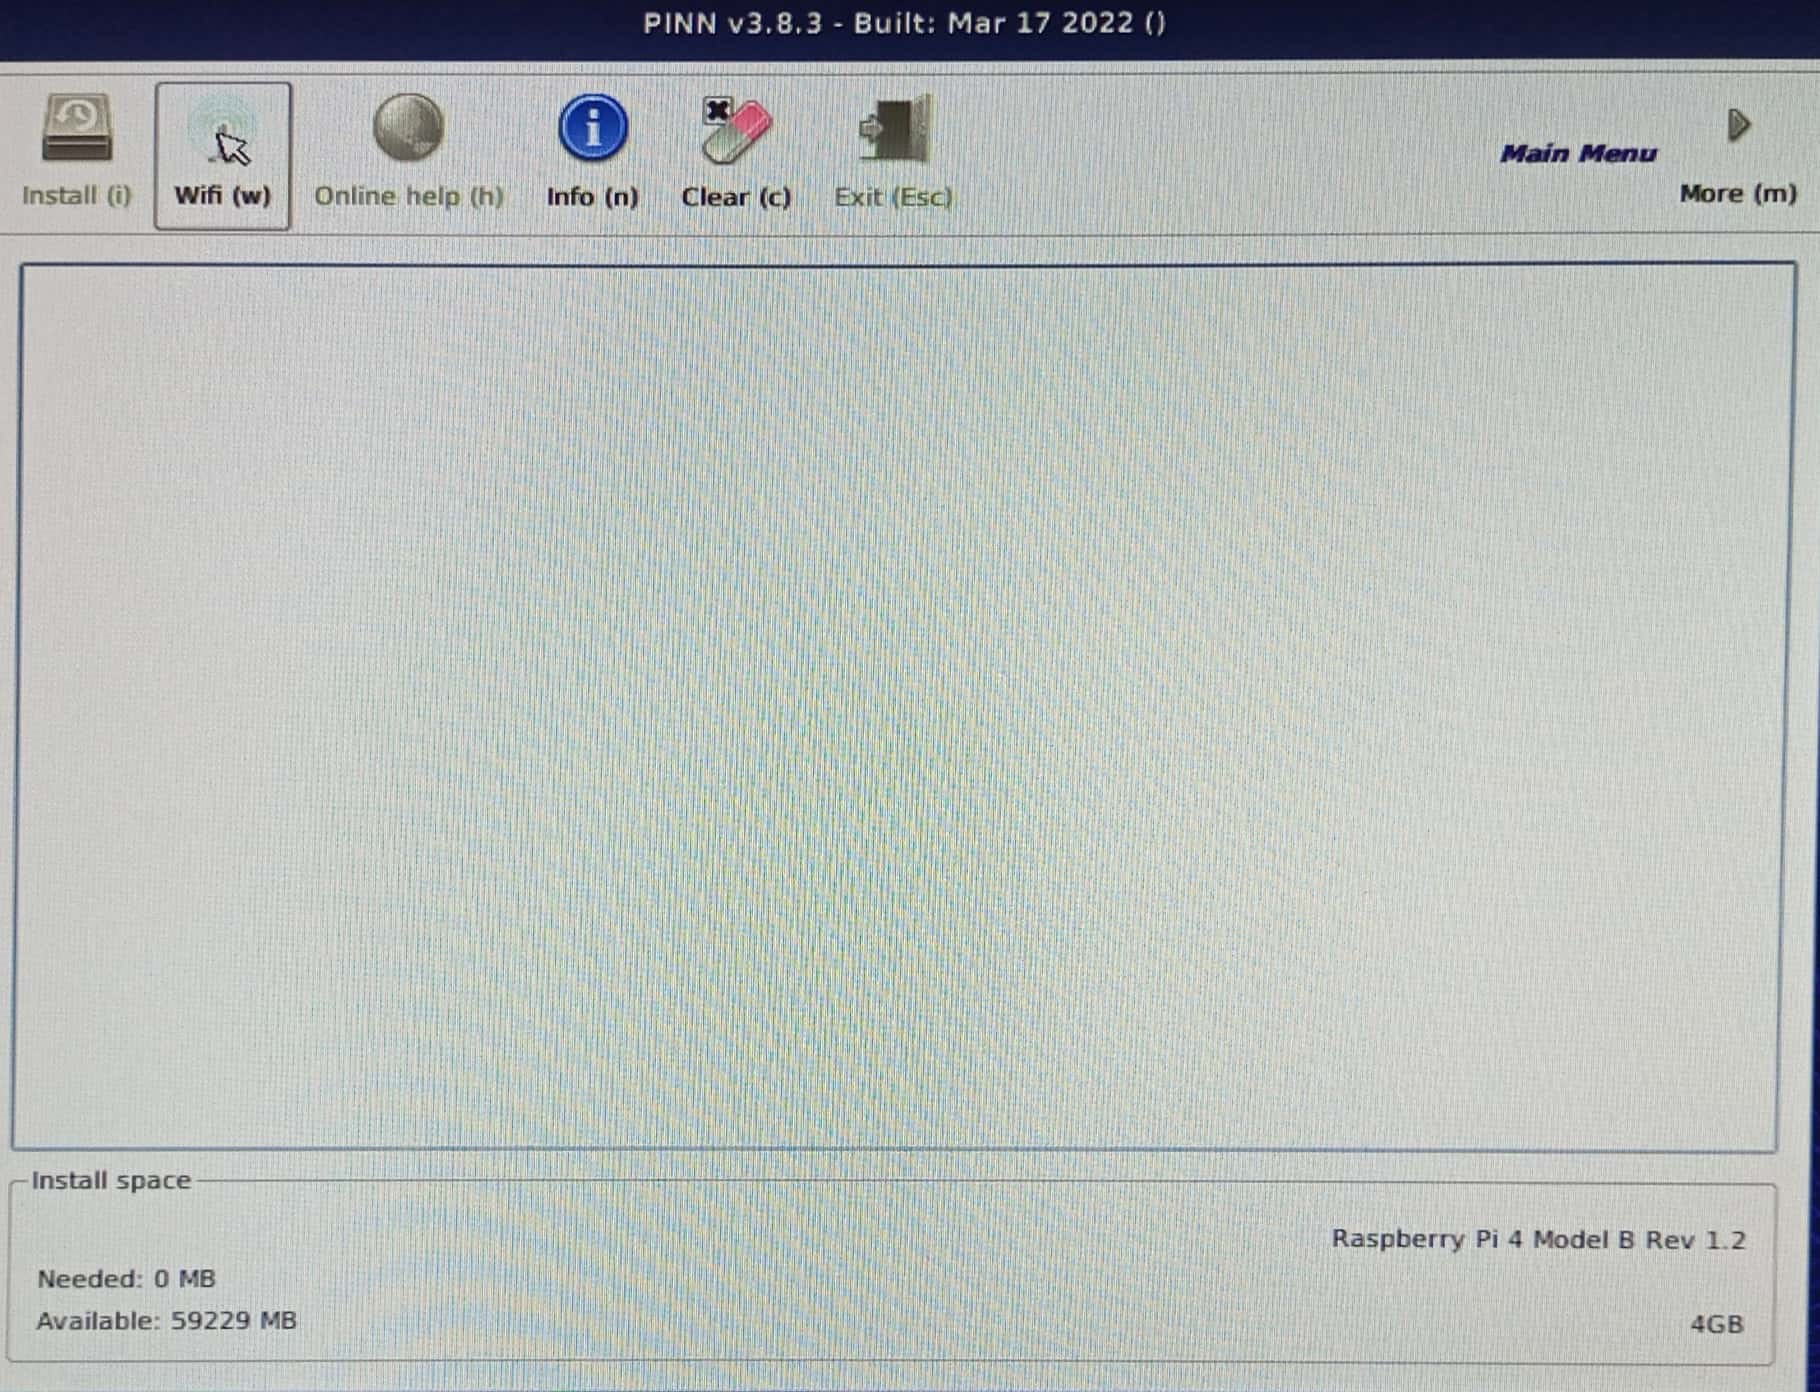
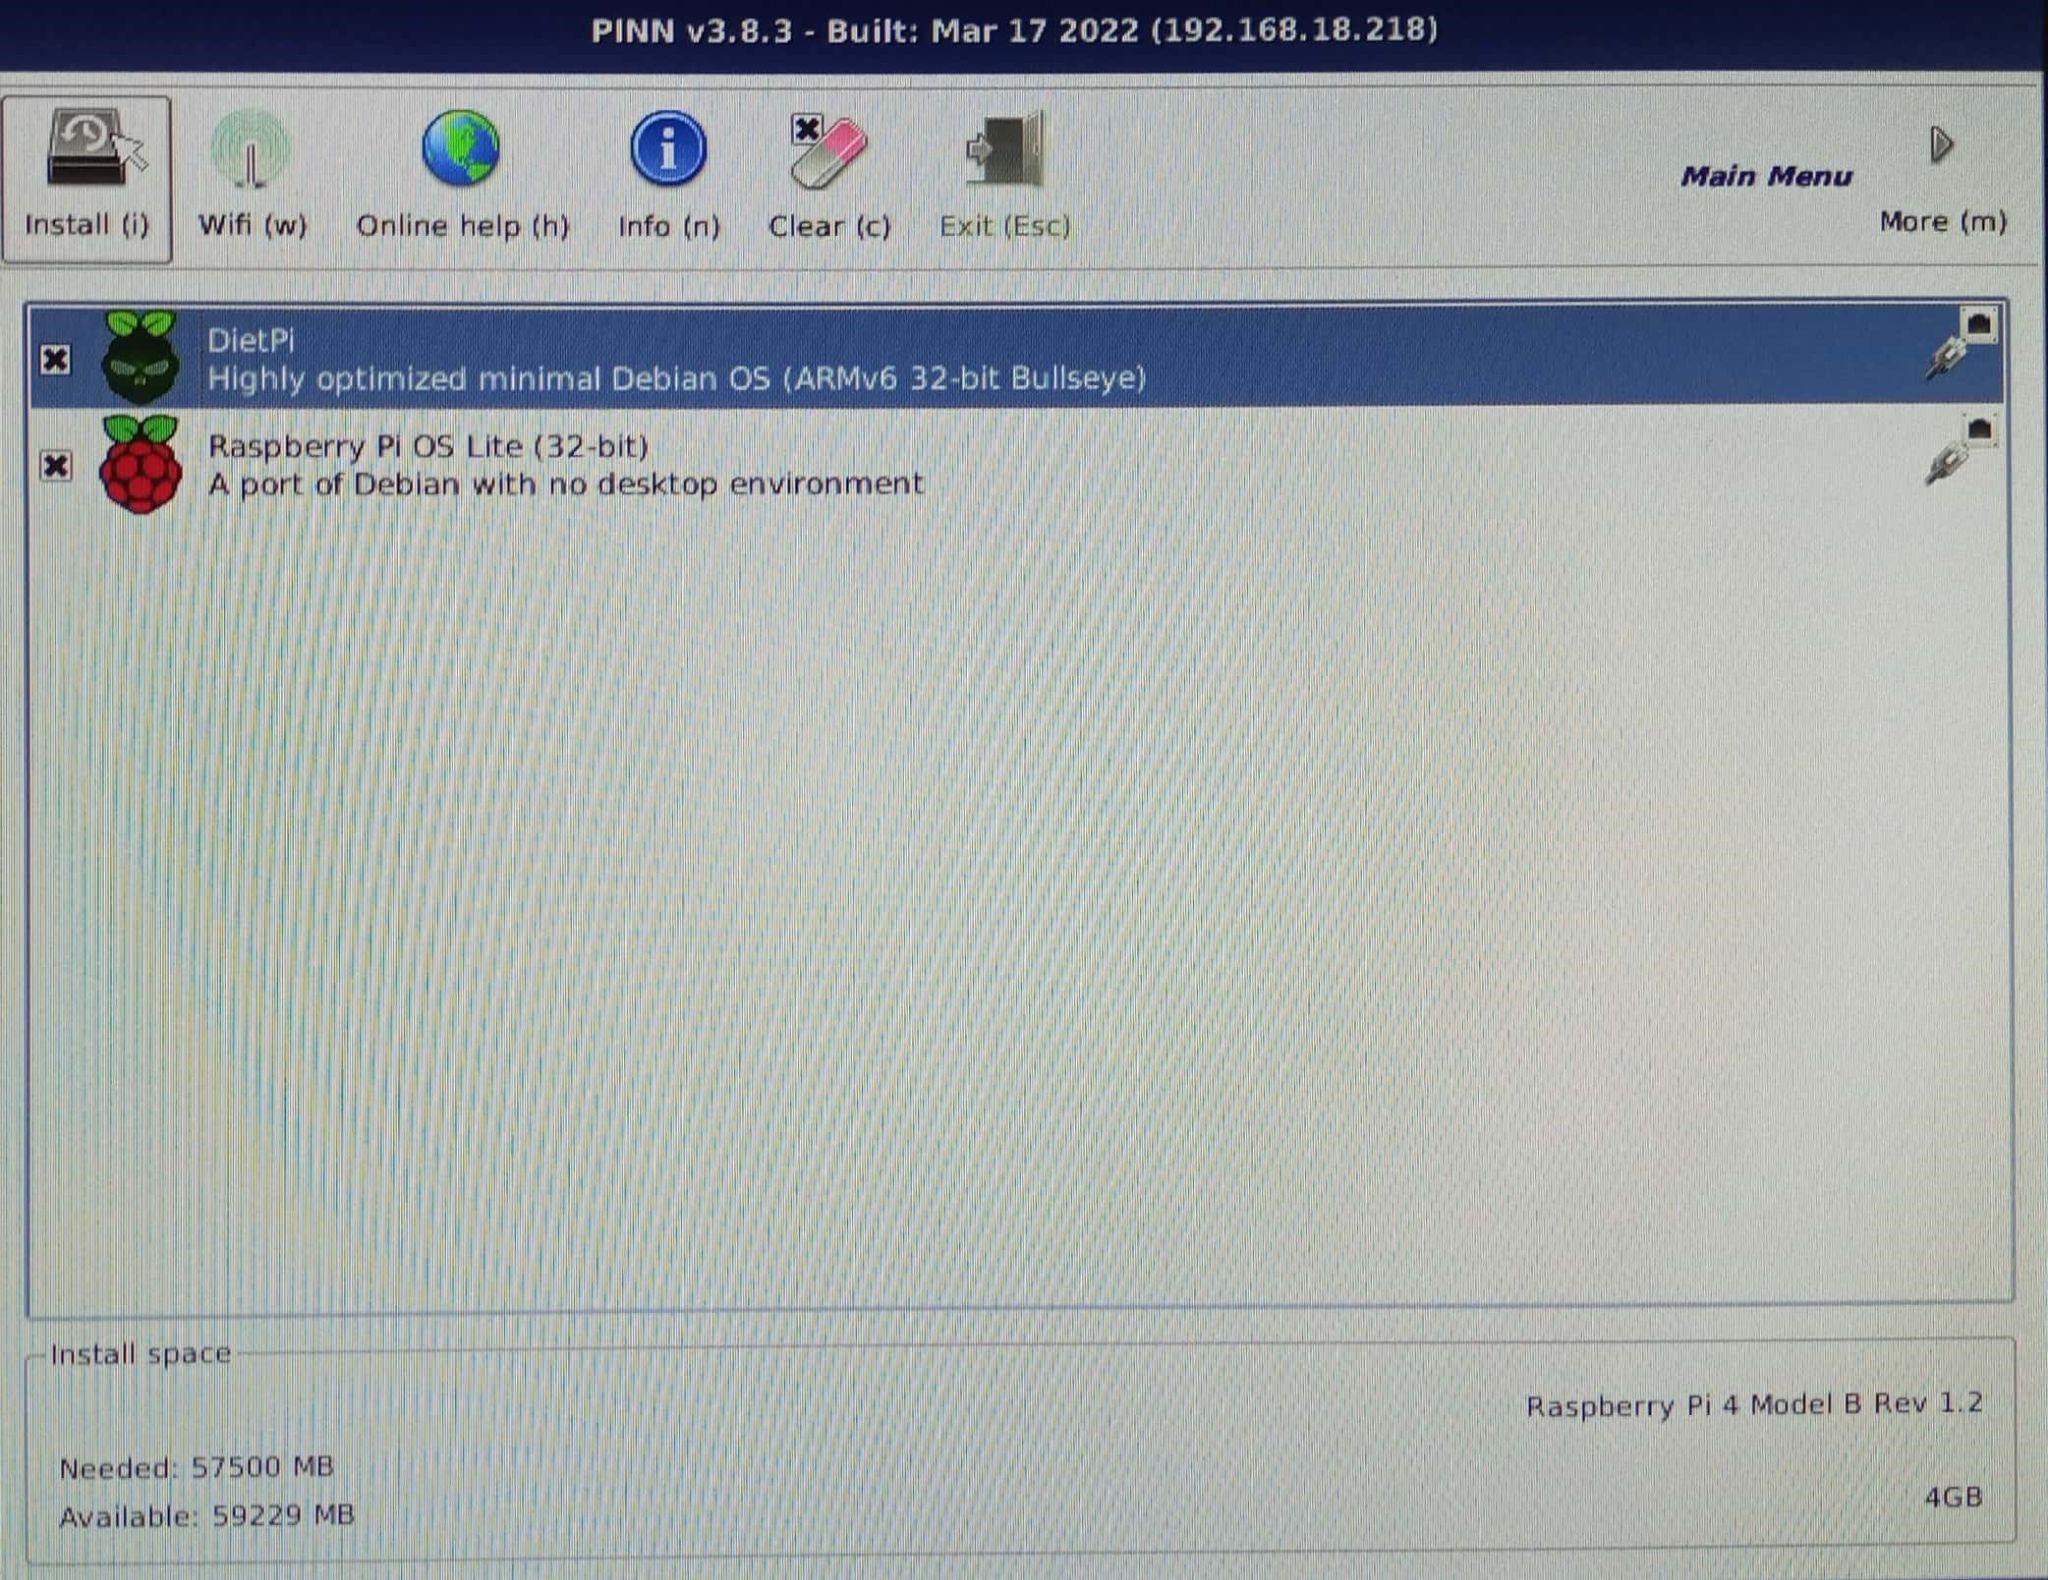
Step 9: Now, remove the card, power on your device and insert the card into the device SD-card port. After few seconds, you will see the dual boot setup process as shown below:
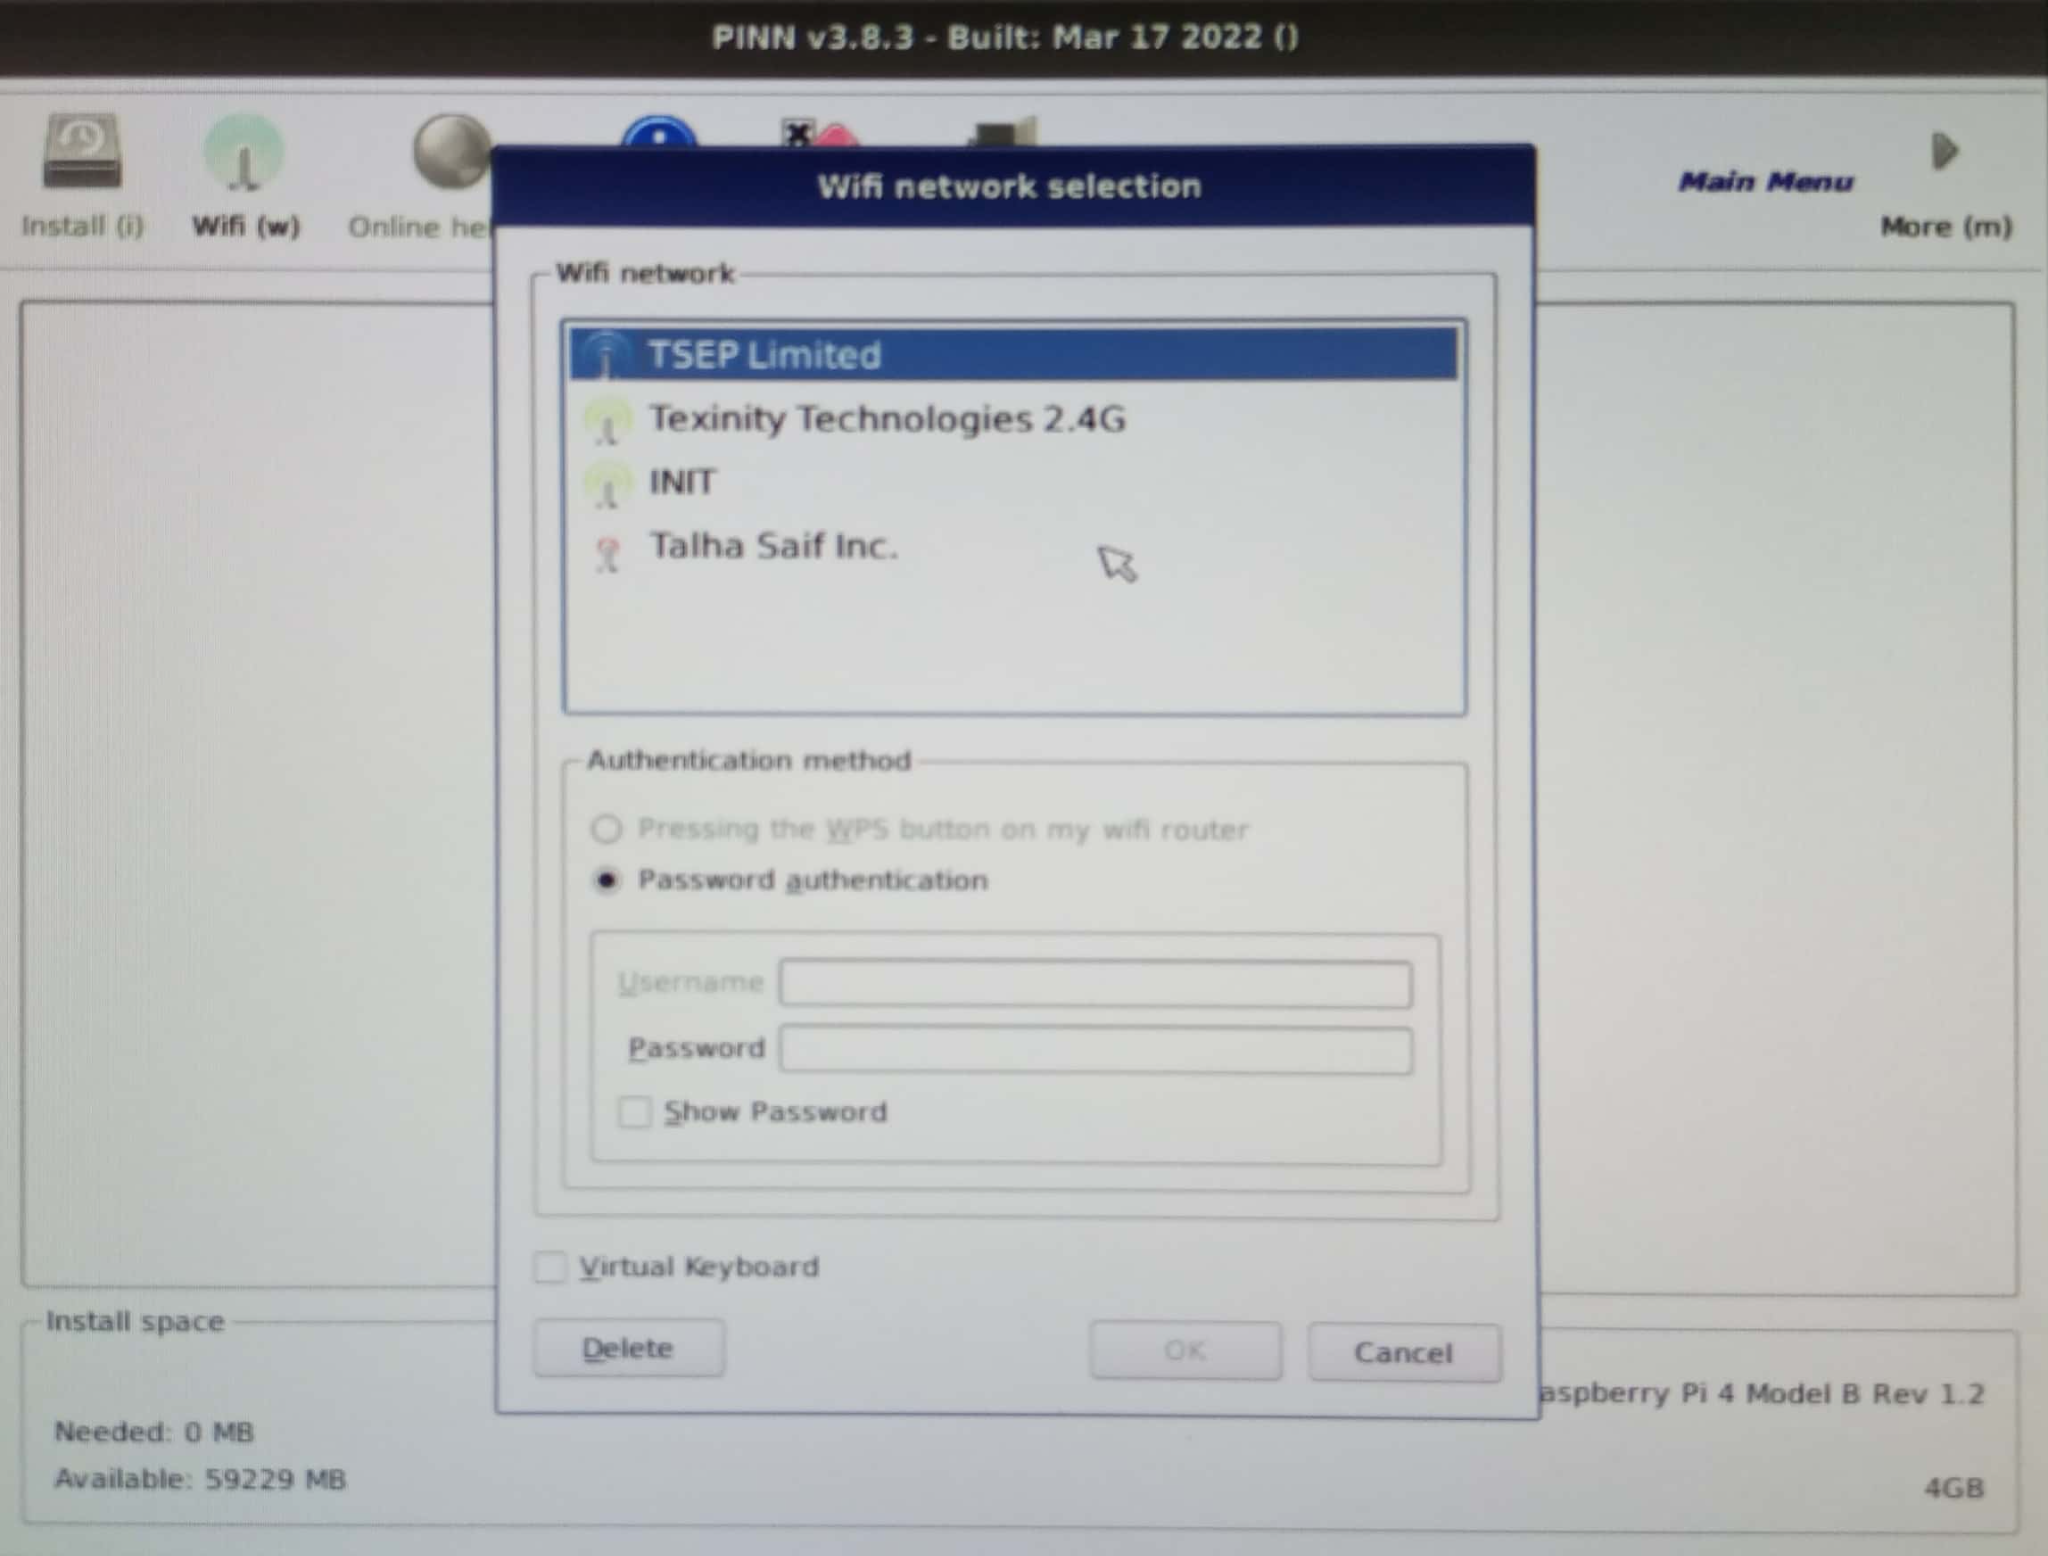
Step 10: Connect to your WIFI network using the “Wifi” option.
Step 11: Proceed toward the “Install” option after selecting both the operating system that appears on your screen.
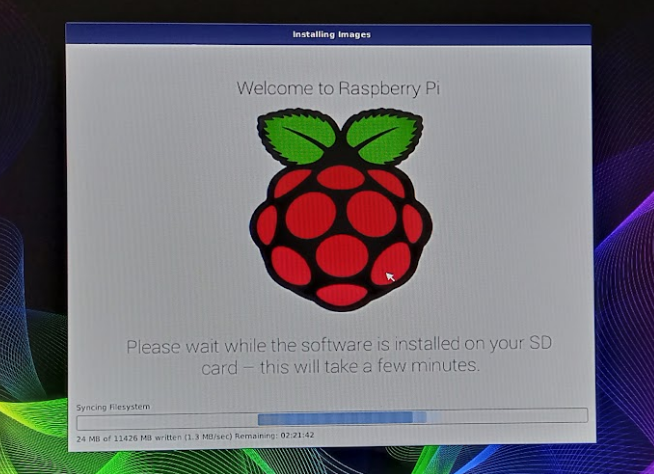
This begins the dual boot process on your Raspberry Pi device.
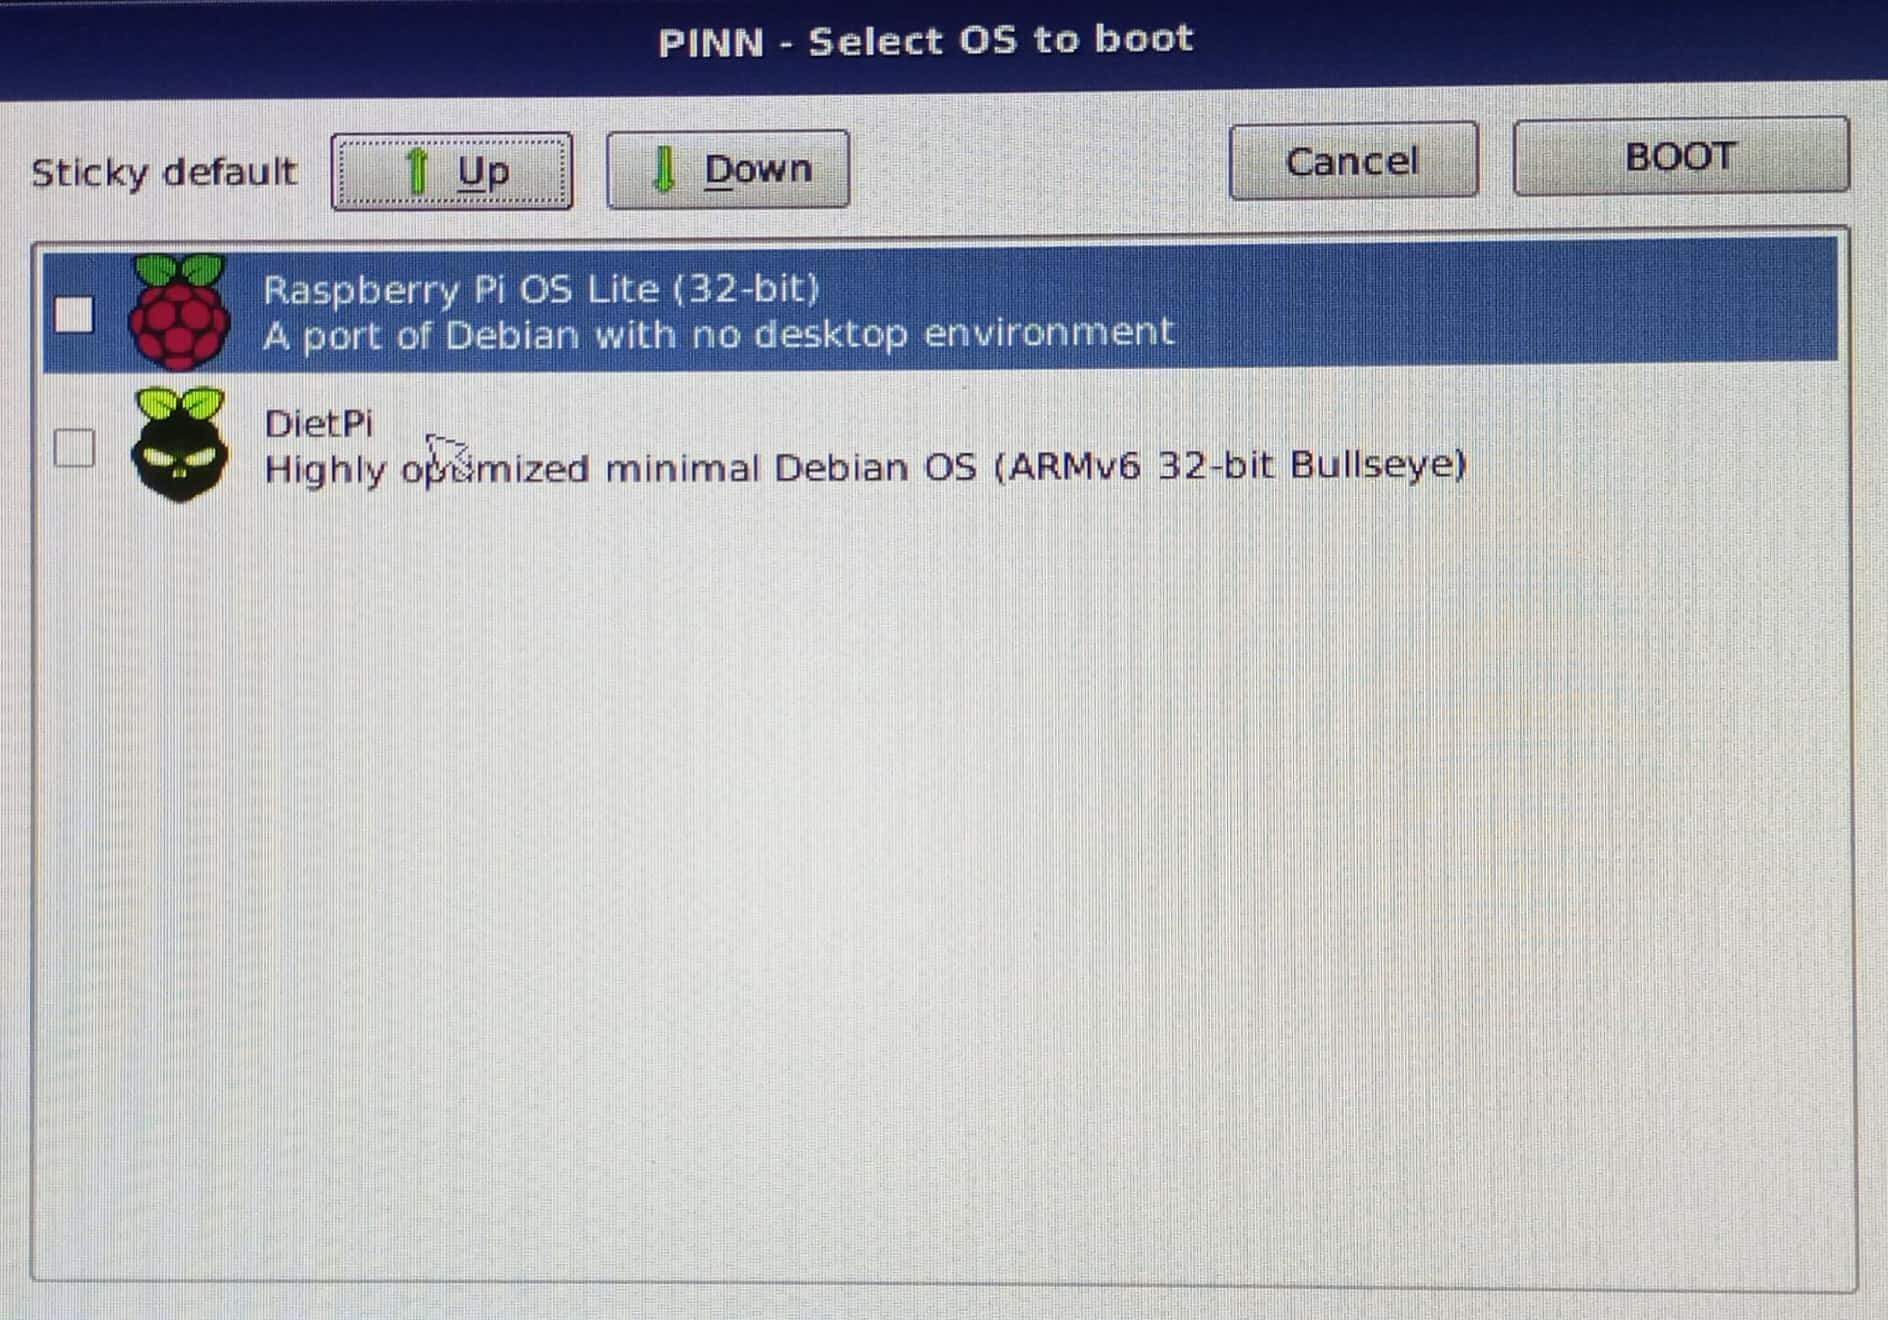
This may take a longer time depending on your Wifi speed but when the process completes, you will be able to use two operating systems on your Raspberry Pi. You have to choose the operating system order according to your choice.
Whenever you turn on your device, you will see the above screen. You have to place the OS on top which you want to use and then click on the “BOOT” button to enter the selected system.
Conclusion
The dual boot process allows Raspberry Pi users to use multiple operating systems on their devices. It is beneficial for those who don’t want to rely on a single operating system as this will help them change their operating system any time depending on their needs. The above steps will provide you with the simple way to install two operating systems through an online platform that won’t require any third-party tool. You just need to copy the contents to your SD card and the process will prepare the dual boot setup on your Raspberry Pi device.

