There are a lot of functions that can help in interfacing the LCD with Arduino, two of them are display() and noDisplay() functions which are discussed in detail in this write-up.
What are the display() and noDisplay() in Arduino
When the LCD is interfaced with Arduino, the display() function is responsible for displaying the output which is printed on the LCD. And the noDisplay() function is used to turn off the display of output from the LCD but remember, it does not clear the output from the LCD memory but only vanishes the output from the screen of LCD.
These two functions, display() and noDisplay(), can be used together to control the display of the LCD as well as for blinking the output which is displayed on the LCD.
How to control the output on LCD using display and noDisplay in Arduino
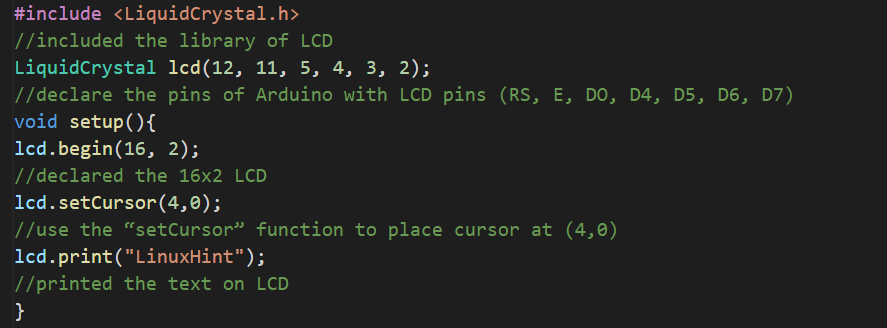
We will write an Arduino code in which we simply print “LinuxHint” on the LCD and control its display on LCD with these two functions:
//included the library of LCD
LiquidCrystallcd(12, 11, 5, 4, 3, 2);
//declare the pins of Arduino with LCD pins (RS, E, DO, D4, D5, D6, D7)
void setup(){
lcd.begin(16, 2);
//declared the 16x2 LCD
lcd.setCursor(4,0);
//use the “setCursor” function to place cursor at (4,0)
lcd.print("LinuxHint");
//printed the text on LCD
}
void loop(){
lcd.noDisplay();
//powered off the display of text
delay(1000);
//generated a delay of 1 sec
lcd.display();
//powered on the display of text
delay(1000);
//generated a delay of 1 sec
}
Explanation of the code: In the above code, we simply include the library of the LiquidCrystal to interface the LCD with Arduino and then use the LiquidCrystal() function to assign it Arduino pins. Then we had to initialize the 16×2 LCD, also set the position of the cursor, and print “LinuxHint” on the LCD.
Then in the loop section, we turn off the display using the noDisplay() and after a delay of 1000 milliseconds turn on the display using the display() function.
Hardware and Simulation
The components required for having the output of the above code are:
- 16×2 LCD
- Breadboard
- Connecting wires
- Potentiometer
- Arduino Uno
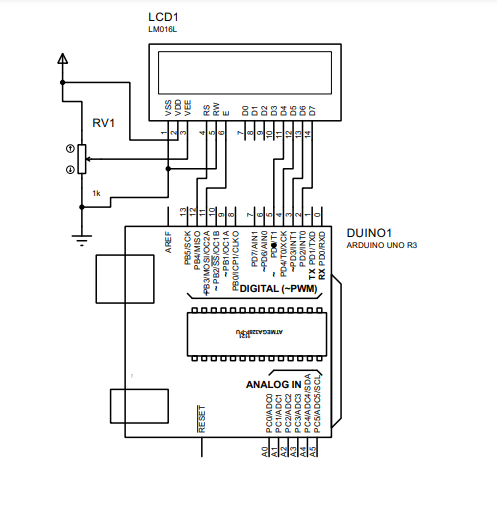
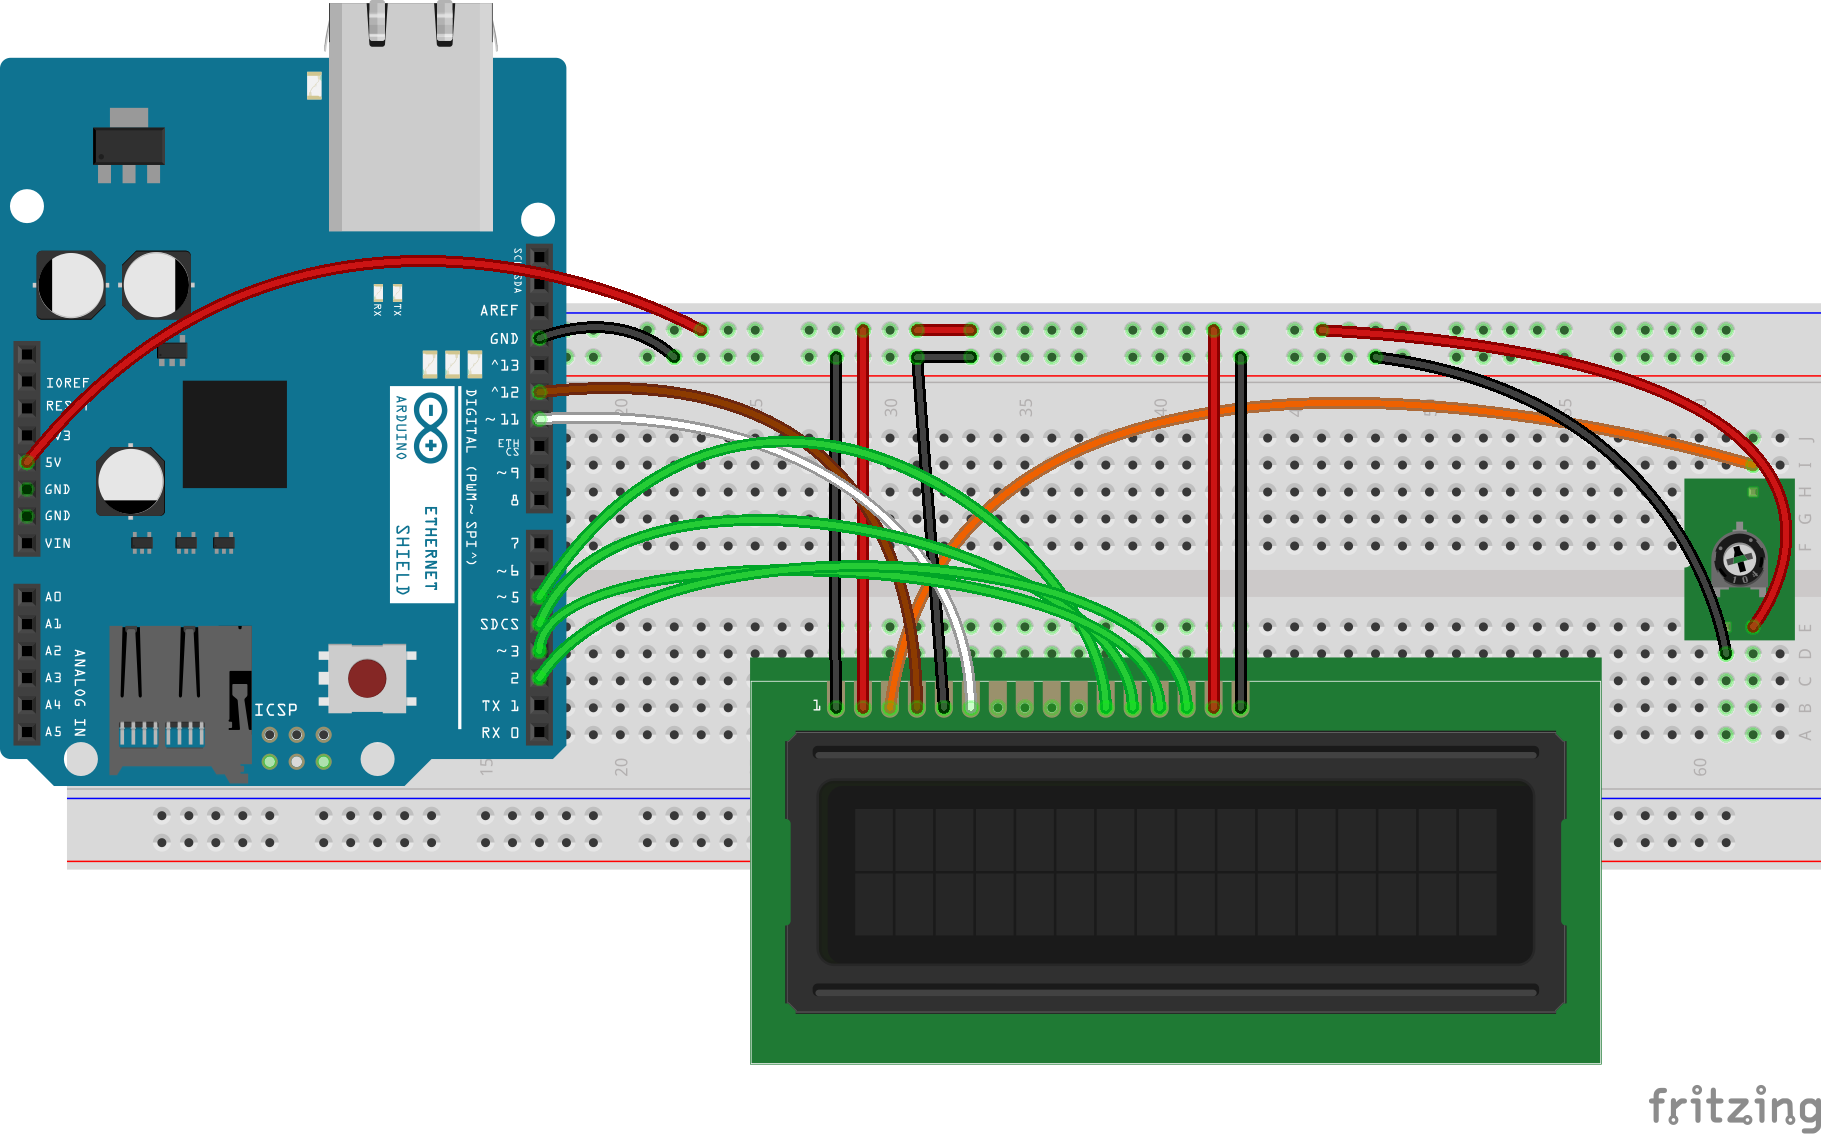
The circuit diagram for this project will be:
In the above circuit diagram, we have connected the LCD pins with Arduino pins in such a way:
| LCD pins | Arduino pins |
| VSS | Ground |
| VDD | 5 volts |
| Vo | Output of potentiometer |
| RS | 12 |
| RW | Ground |
| E | 11 |
| D4 | 5 |
| D5 | 4 |
| D6 | 3 |
| D7 | 2 |
| A | 5 volts |
| K | Ground |
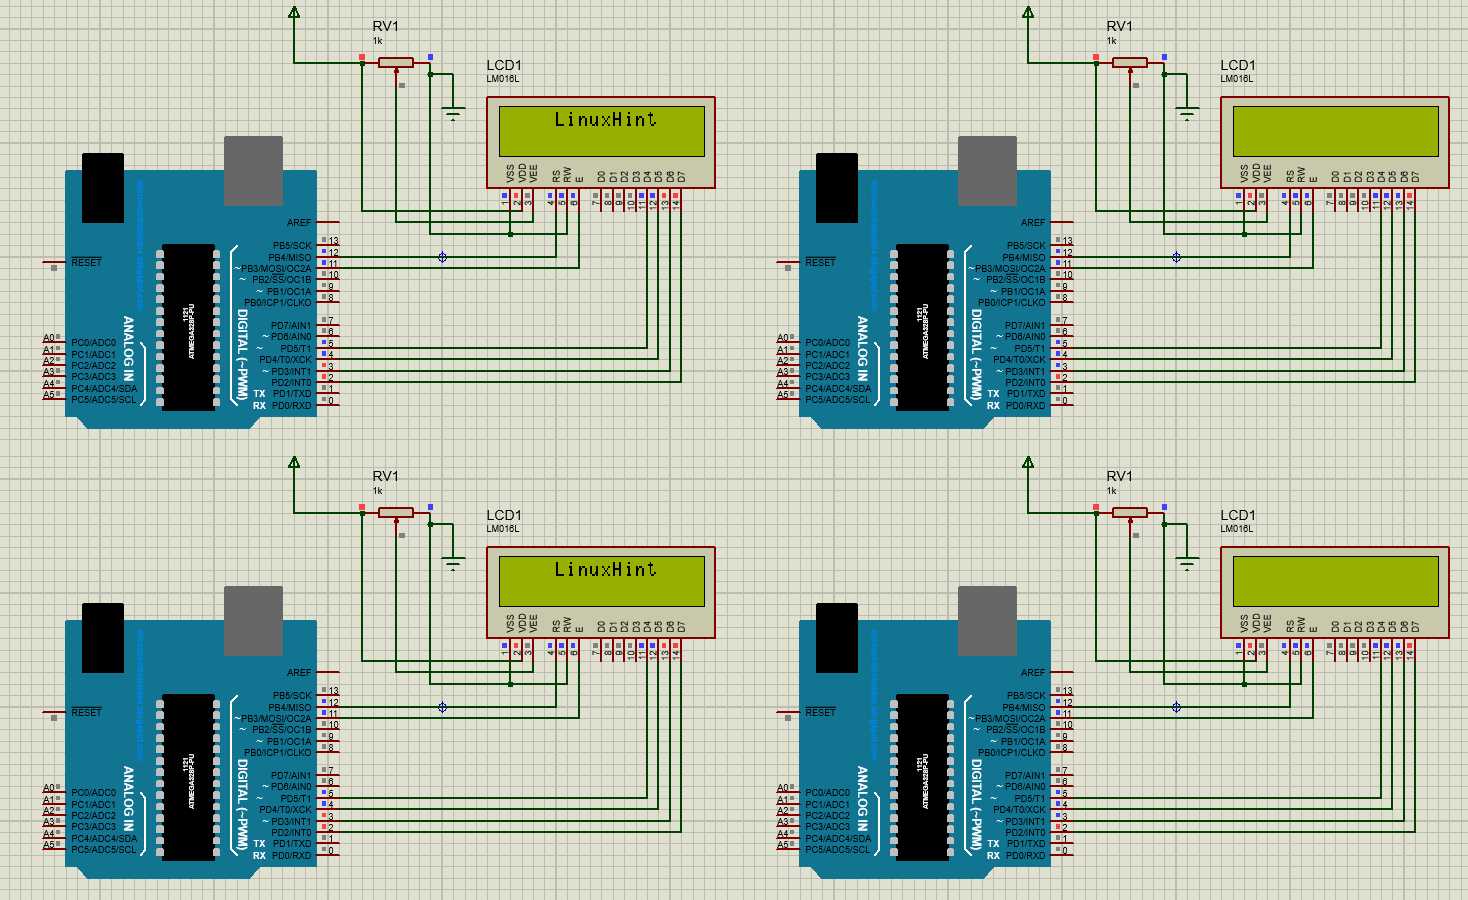
The simulation of the above circuit diagram is:
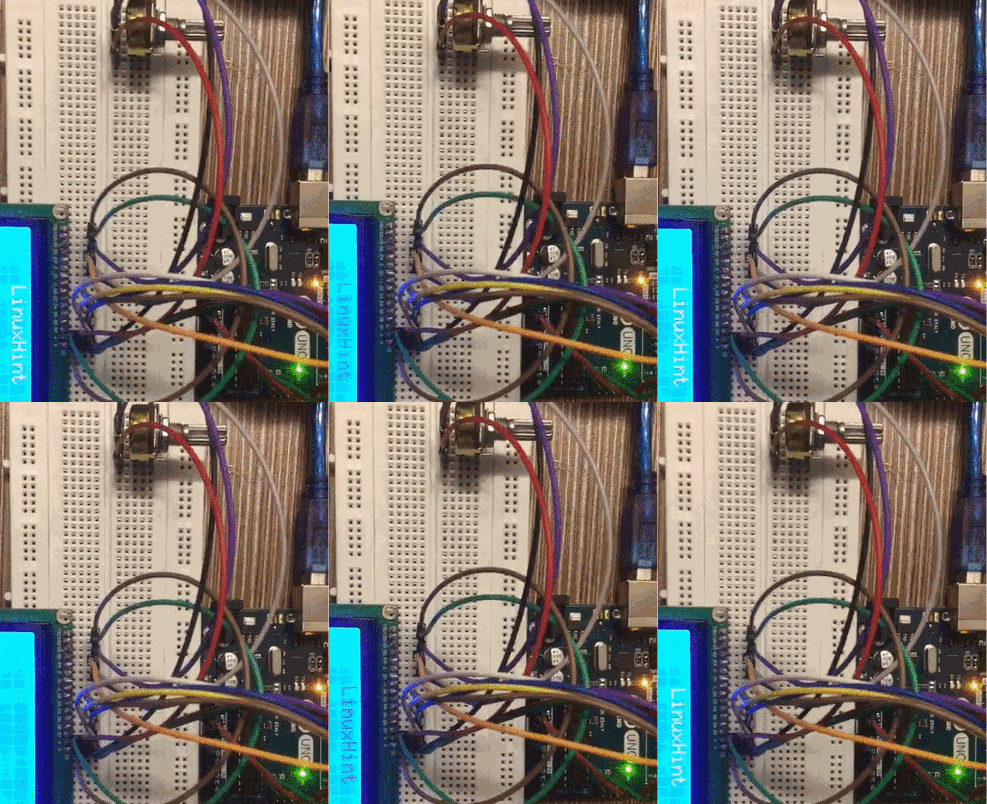
The hardware of the above circuit is:
In the above circuit diagram, the connections of LCD with the pins of Arduino are made with the help of jumper pins. A potentiometer is used to control the brightness of the LCD whose one leg is connected with 5 volts, one is connected with the “E” point of LCD, and the last leg of the resistor is connected to the ground.
The working of the hardware is:
Conclusion
The display() and noDisplay() functions are used to control the display of the LCD interfaced with Arduino. The noDisplay() function is used to turn off the display(it just turns off the display without clearing the memory of the LCD) and the display() function is used to turn on the display. Both these functions can be used together to blink the display with the help of delay() functions. In this write-up, both these functions are explained with an easy example of turning on and off the display of the LCD interfaced with Arduino.

