Ethernet and Wi-Fi are the essential modules of the Raspberry Pi device as they allow users to connect to the internet and perform different internet related activities. The usage of ethernet instead of Wi-Fi provides high speed internet connectivity. If you are using the Ethernet option for Internet connectivity, it’s better to disable the Wi-Fi option to reduce the load on the system.
If you want to know, how to disable or turn off Wi-Fi through terminal, follow this article for further guidance.
Disable Wi-Fi on Raspberry Pi Through Terminal
There are three ways to disable Wi-Fi on Raspberry Pi through terminal, which are as follow:
Method 1: Disable Wi-Fi Through Configuration File
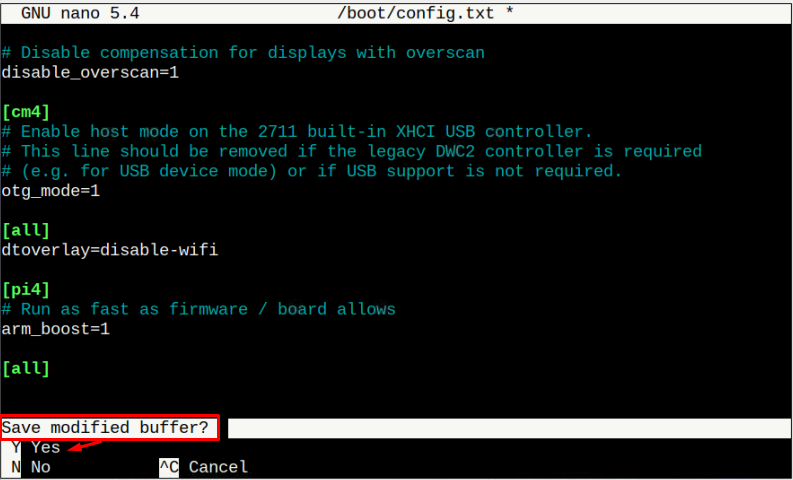
In the configuration file on the Raspberry Pi system, you have the option to disable your Wi-Fi connection. You only need to add a simple text in the command to turn off the Wi-Fi. To do this, you need to use the following command first to open the configuration file on the terminal:
$ sudonano/boot/config.txt
Now scroll down the bottom of file and insert the following line inside the file just below the “[al]” text.
dtoverlay=disable-wifi
After that, you need to press “CTRL + X” and “Y” to save the file.
Reboot the system to disable the Wi-Fi on Raspberry Pi.
Method 2: Disable Wi-Fi Through rfkill Utility
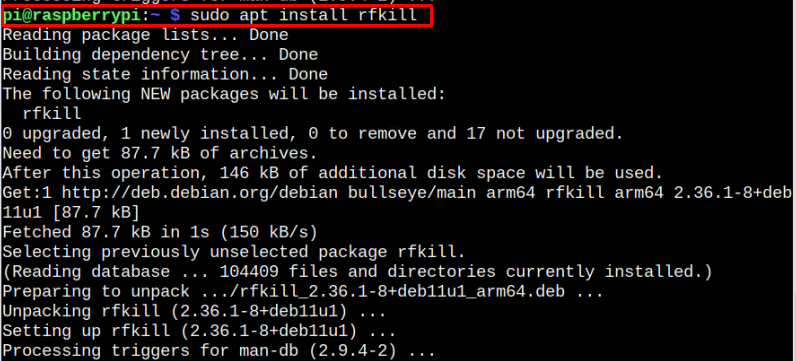
The rfkill is a command-line utility that easily disable the network interface on your Raspberry Pi system. To install rfkill tool on the Raspberry Pi device, execute the below-given command.
$ sudo apt install rfkill
After the installation, you can easily disable the Wi-Fi connection on your Raspberry Pi device. To disable, run the below mentioned command:
$ sudo rfkill block wifi
Method 3: Disable Wi-Fi with Modprobe Blacklist
“Modprobe” is a type of software tool utilized to access the kernel configuration files of the Linux system. Using this feature, you can disable Wi-Fi from loading the configuration file by adding a few command lines.
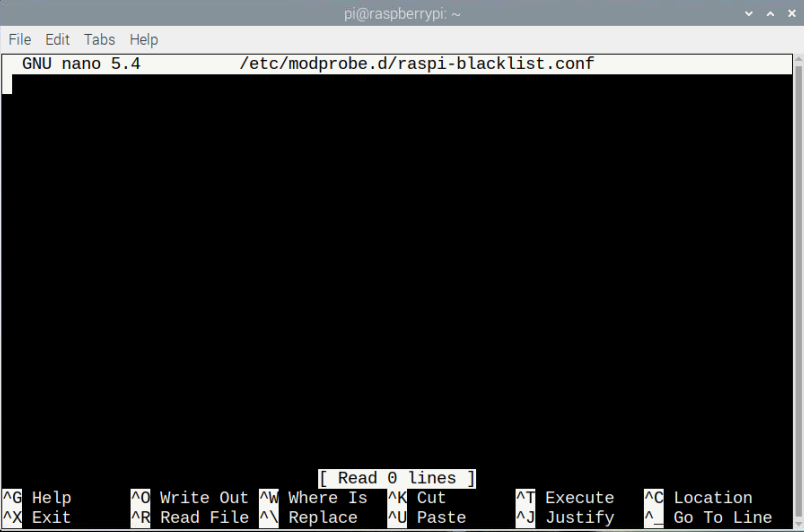
To open and edit the Kernel configuration file, you need to add following command with sudo permission.
$ sudonano/etc/modprobe.d/raspi-blacklist.conf
Inside the file, you have to write and run the following two lines to disable Wi-Fi.
blacklist brcmfmac
blacklist brcmutil
Press “CTRL + X” and then type “Y” to save the file.
After saving the configuration file, reboot the device disable the Wi-Fi on Raspberry Pi.
Method 4: Disable Wi-Fi Through systemctl
The “wpa_supplicant” is service running on Raspberry Pi system that manages the Wi-Fi. Disabling this service through “systemctl” command will also disable the Wi-Fi on Raspberry Pi system.
$ sudo systemctl disable wpa_supplicant
You must reboot the system to apply the changes.
Conclusion
When you are not using Wi-Fi for internet access, it’s better to disable it on Raspberry Pi system to increase the device performance. We have discussed four different techniques in the above-mentioned guidelines to disable Wi-Fi using a terminal. The users can choose any of the method to quickly disable the Wi-Fi on the system.
About the author
Muhammad Nasir
Hi! I am an engineer and technical blogger by profession and I enjoy getting things done with electronics. I am using this platform to share my knowledge in the field of Raspberry Pi, Linux, and Embedded Systems with others.