What is delayMicroseconds() function in Arduino
It is obvious from the name of the function that it is used to halt the working of Arduino code for a time of microseconds given by the user. This function comes in handy when the program is either taking input from the outside or controlling some devices like the delay() function. To use the delayMicroseconds() function we have to follow the syntax posted below :
To use the delayMicroseconds() function we have to give the time as its argument and it will halt the program for the given time.
To illustrate how we can use the delayMicroseconds() function we have given the two example codes that will help you understand the use of this function.
Using delayMicroseconds function to blink the LED faster
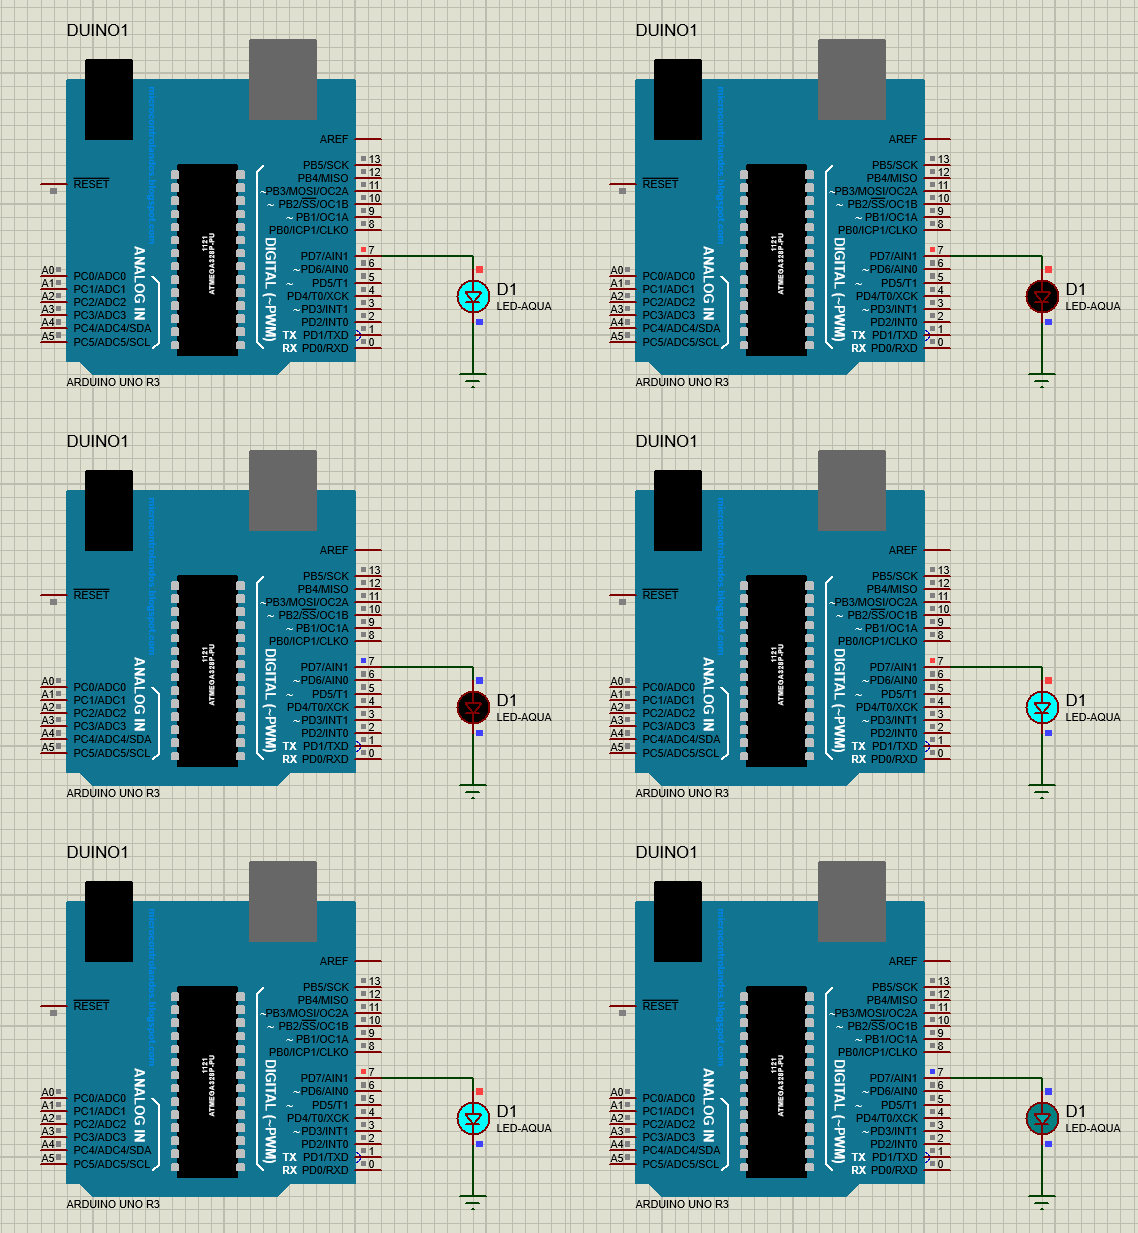
To demonstrate how this function paused the flow of Arduino code we have used the blink example of LED. Below we have given the code for the LED blink in which we have blinked the LED by changing its states using the digitalWrite() function and in between the state change we have given the delay of microseconds.
pinMode(7, OUTPUT);/*assigning the working mode of pin at which the LED is connected*/
}
void loop() {
digitalWrite(7, HIGH); /*giving HIGH value to the function to turn the LED on */
delayMicroseconds(1000); /* In order make the LED in HIGH state for a while*/
digitalWrite(7, LOW); /*giving LOW value to the function to turn the LED off*/
delay(1000); /* In order make the LED blink in LOW state for a while*/
}
Using delayMicroseconds to generate the pulse of the distance sensor
To generate the pulses of the distance sensor the delayMicroseconds() function is mostly used as most of the time a short pulses are required to be generated. The pulse is generated by giving HIGH and LOW states to the trigger pin of the distance sensor and in between the change of the states we have given the delay in microseconds.
In short, we can say that we have generated the pulse by changing the state of the trigger pin with a delay using the delayMicroseconds() function. Generating pulses can serve multiple purposes, one of which is that we can use them to measure distances of obstacles from the respective objects or we can measure the speed of the upcoming obstacles. To show how we can generate a pulse of few microseconds we have given the respective Arduino code below:
int echo = 6; //Arduino pin for echo pin of sensor
float d, dist; //variable that stores the duration and distance calculated
void setup() {
Serial.begin (9600);// communication rate for serial communication
// giving working modes to the trigger and echo pin of the sensor
pinMode(trig, OUTPUT);
pinMode(echo, INPUT);
}
void loop() {
// generating pulse of 10-microsecond
digitalWrite(trig, HIGH);
delayMicroseconds(1000); // time in microseconds
digitalWrite(trig, LOW);
delayMicroseconds(1000);// time in microseconds
digitalWrite(trig, HIGH);
delayMicroseconds(1000); // time in microseconds
digitalWrite(trig, LOW);
d = pulseIn(echo, HIGH); // finding the duration of the pulse
dist = ((d/2)/29.1); // calculating the distance covered by the pulse
// printing distance on the Serial Monitor
/* Serial.print("distance: ");
Serial.print(dist);
Serial.println(" cm");*/
delay(500);
}
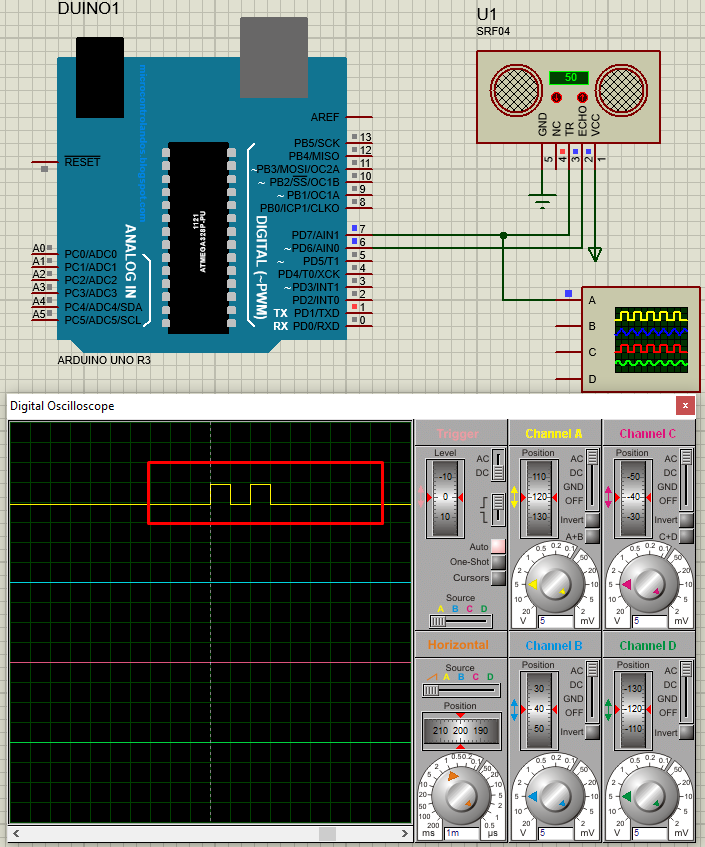
The pulses generated by the distance sensor can be seen in the image below:
Conclusion
The delayMicroseconds() function is used to pause the flow of Arduino sketch for a time in microseconds specified by the user. It is different from the conventional delay function as the delay function takes the values in milliseconds which is greater than microseconds. So, we can say that to give a tiny pause to the Arduino code we can use the delayMicroseconds() function and this pause can be used for multiple reasons.


