Pins in Arduino
Arduino boards have multiple GPIO pins depending upon the board, some of the pins are analog which are connected to on board 10 bit-ADC (analog to digital converter). Analog pins can also be configured as digital ones. Arduino programming uses different functions to declare input output pins. Following is the function which is used to define pins in Arduino.
Two ways to define pins of Arduino
To define an Arduino pin two ways can be used and those are:
Using pinMode() Function
The pinMode() function in Arduino is used to define pins. This function specified the given pin to either act as input or output. Pins on Arduino are default to set as input so we do not need to declare them separately as input using the pinMode() function.
In Arduino input pins can be triggered with a slight change in current inside the circuit. A Small amount of current can change the state of input pins from one to another. This also explains that pins configured as pinMode(pin, INPUT) can sense small changes and easily pick up electrical noises from the environment even when nothing or single wires is connected to them.
Below is the given syntax of pinMode() function:
Syntax
Parameters
pinMode() functions take two parameters:
- pin: The Arduino pin that is to be defined to set it to a specific mode
- mode: INPUT, OUTPUT, or INPUT_PULLUP
Returns
pinMode() functions return nothing.
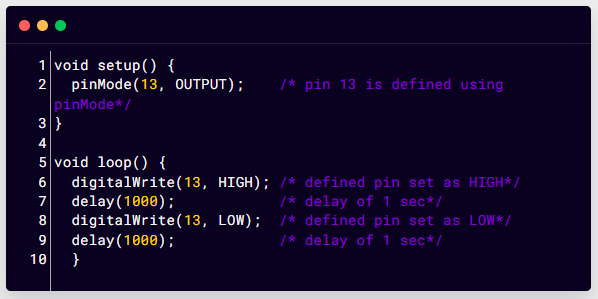
Example Code:
pinMode(13, OUTPUT); /* pin 13 is defined using pinMode*/
}
void loop() {
digitalWrite(13, HIGH); /* defined pin set as HIGH*/
delay(1000); /* delay of 1 sec*/
digitalWrite(13, LOW); /* defined pin set as LOW*/
delay(1000); /* delay of 1 sec*/
}
Here the above code explains the use of the pinMode() function in defining a pin in Arduino programming. Program started with a void setup() function where using the pinMode() function we declared pin 13 as an output. Then in the void loop() section using digitalWrite() function pin 13 is set as HIGH and LOW alternatively with delay of 1 second.
Using the pinMode() function any of the Arduino pins can be defined. By default, we can use Arduino digital pins to read data, however the analog pins in different modes can also be configured as digital one such as A0, A1.
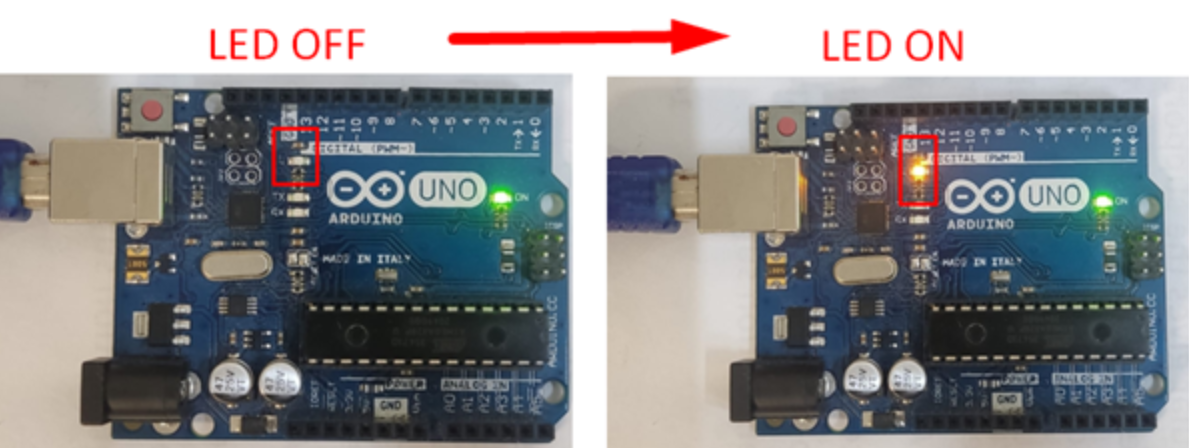
Output
In output a LED will start blinking. As an on-board Arduino Uno LED is connected to pin 13 of Arduino so it will start to blink. An external LED can also be connected to see the output.
Using Variables
Variables in programming are used to store data. Variable syntax consists of name, value, and a type. Variables can also be used for declaring pins in Arduino programming. We called it a declaration.
Here is a simple syntax of declaring pin 13 using an int variable:
Here we created a variable whose name is pin having value 13, and type is of int.
Once the pin is defined using a variable it’s a lot easier to switch between the pins during the whole Arduino code, we just need to assign a new value to the variable pin and a new pin will be defined.
For instance, here in below pinMode() function we declared pin 13 as output without using a pin number:
Here the pin variable will pass the value of pin (13) to pinMode() function. This declaration will work same as the conventional syntax we use in Arduino sketch:
Using a variable in this case means you only need to specify the pin number once, but it can be used many times. So, let’s say we decided to change pin 13 to a new pin 7 we only need to change one line in code. Also, we can improve our code by declaring pins in a more descriptive way. For example, controlling an RGB LED we can define pins using variables such as redPin, greenPin, and bluePin).
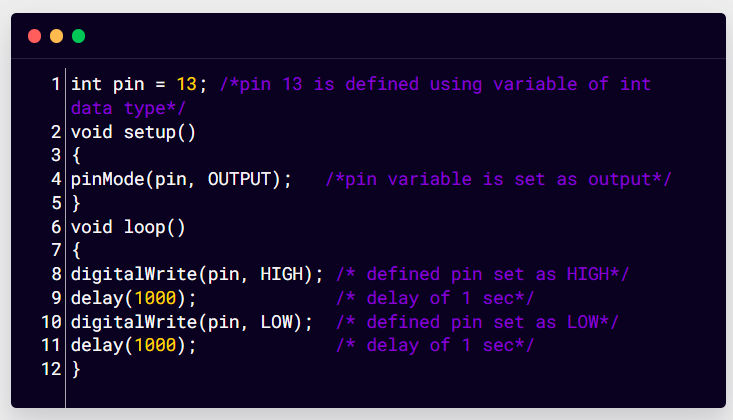
Example Code
void setup()
{
pinMode(pin, OUTPUT); /*pin variable is set as output*/
}
void loop()
{
digitalWrite(pin, HIGH); /* defined pin set as HIGH*/
delay(1000); /* delay of 1 sec*/
digitalWrite(pin, LOW); /* defined pin set as LOW*/
delay(1000); /* delay of 1 sec*/
}
Here in this code a pin 13 is set as output using a variable pin of int data type. Next in the loop section LED is set as HIGH and LOW for 1 second alternatively. This will result in blinking of LED at pin 13.
Conclusion
To interact with hardware Arduino needs to take inputs and send instructions as output. To do this we have to specify an Arduino pin as an input and output. To define an Arduino pin two ways can be used: one is using the pinMode() function and the other one is defining a pin using a variable. Defining a pin using a variable is more user friendly and helps to write code effectively.


