In Inkscape, cropping an image is easy to use, quick, and efficient. There exist various tools and options in Inkscape that assist in this process. This write-up will teach you how to crop images in Inkscape using Stars and Polygons, Bezier, and Rectangles and Squares Inkscape tools. So, let’s start!
How to crop an image in Inkscape using Rectangles and Squares tool
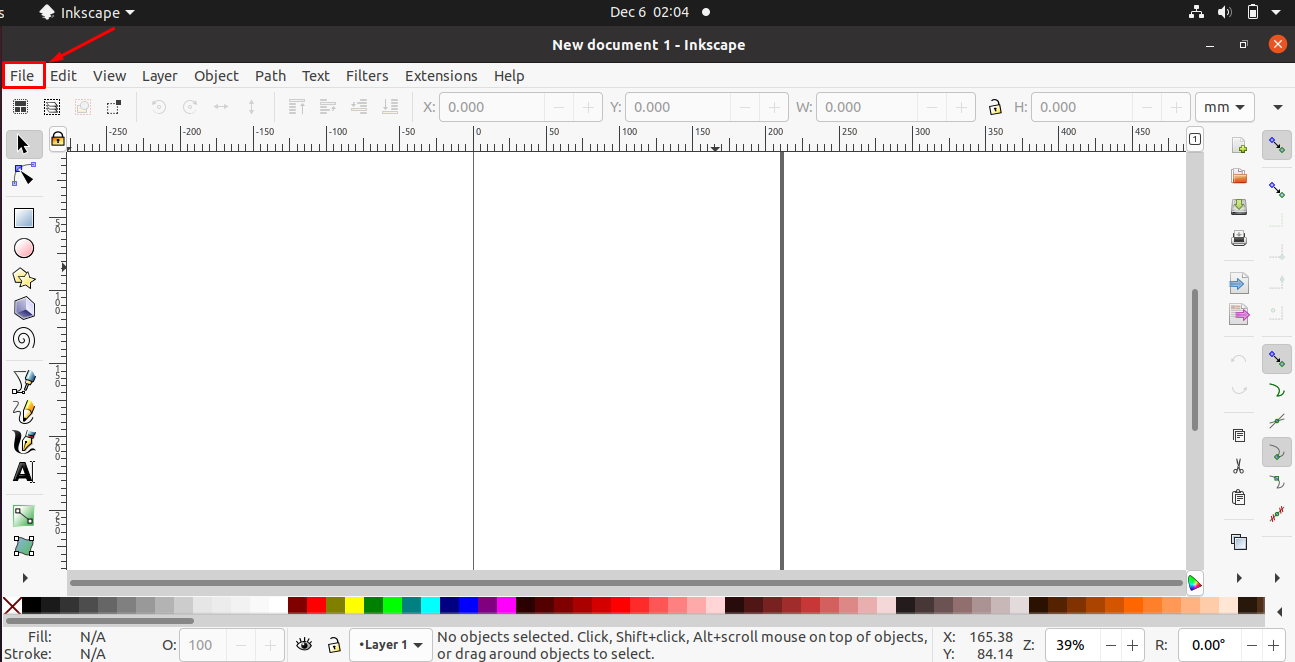
If you want to crop an image, then, first of all, open it in your Inkscape application. For this purpose, click on the “File” menu, which is located at the top right side of the menu bar:
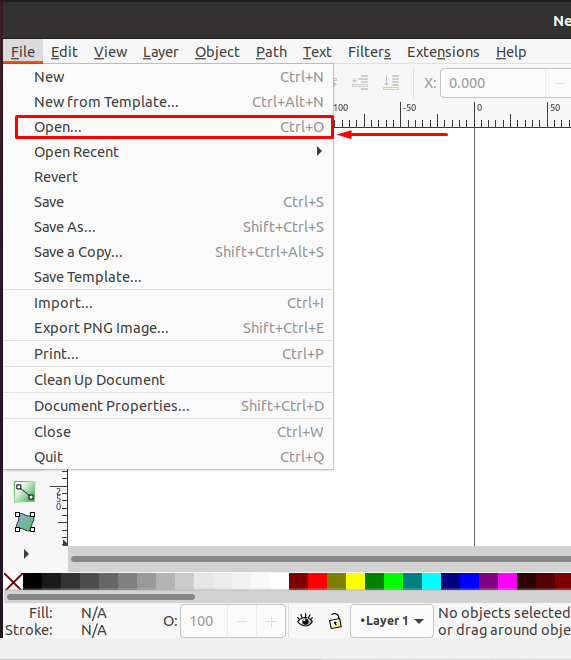
From the drop-down “File” menu, choose the “Open” option:
Next, browse for the image which you want to crop in Inkscape. For instance, we have selected “image1.jpg“. After selecting the desired image, click on the “Open” button to load in the Inkscape:


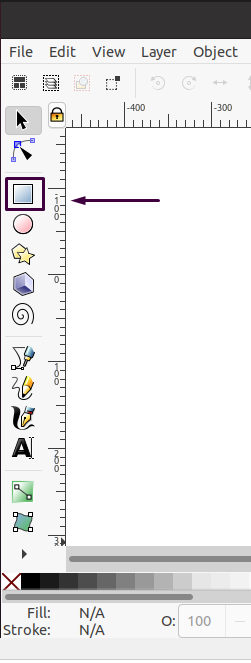
We will show you how to crop the opened image in Inkscape by utilizing different tools. In the first example, we will use the “Rectangles and Squares” option from the Inkscape tool panel, which is located at the left side of the Inkscape window:
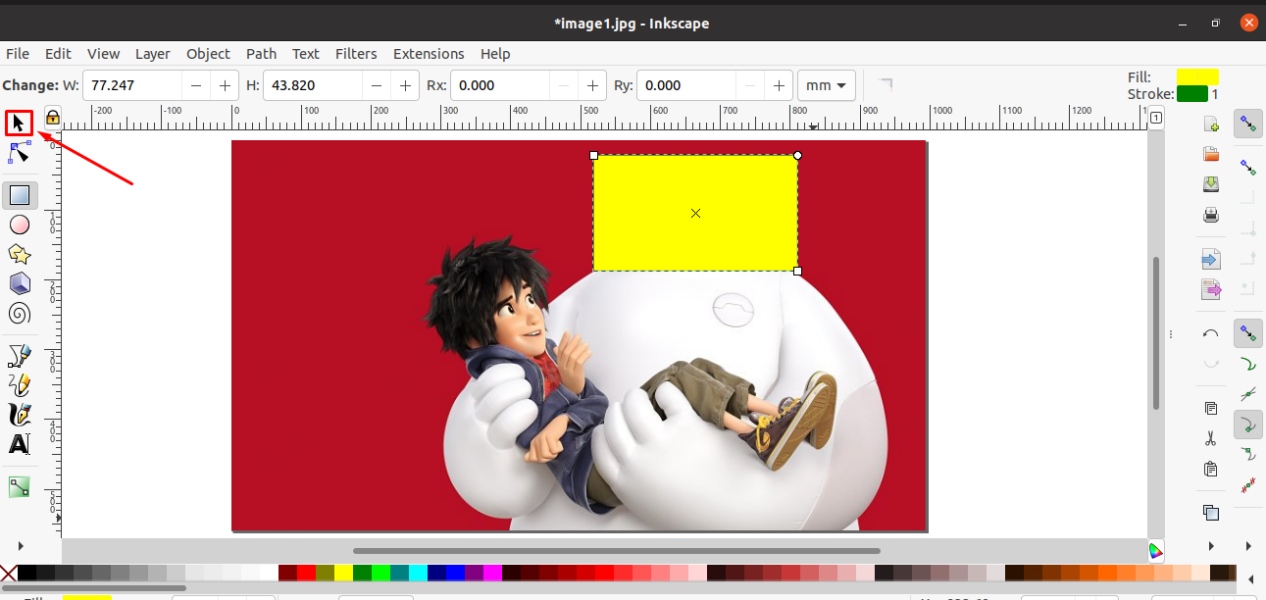
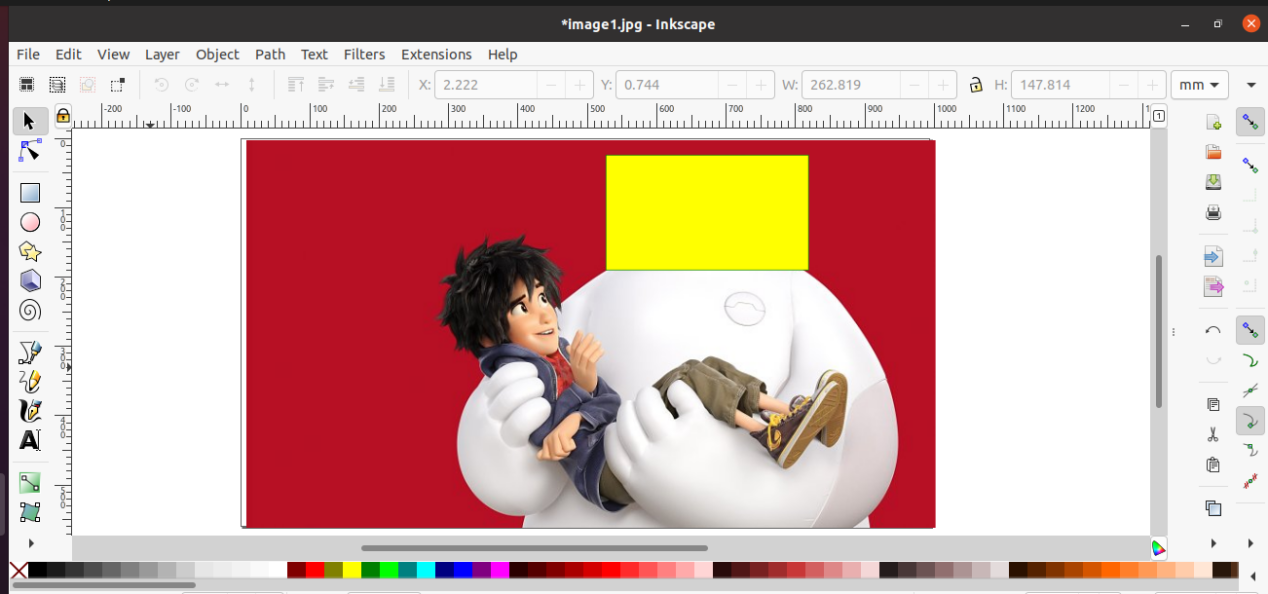
Now, add the selected shape on the part of the image which you want to crop:

After doing so, press “F1” or click on the “Select and transform object” tool, which is represented by the “mouse arrow” icon in your Inkscape tool panel:
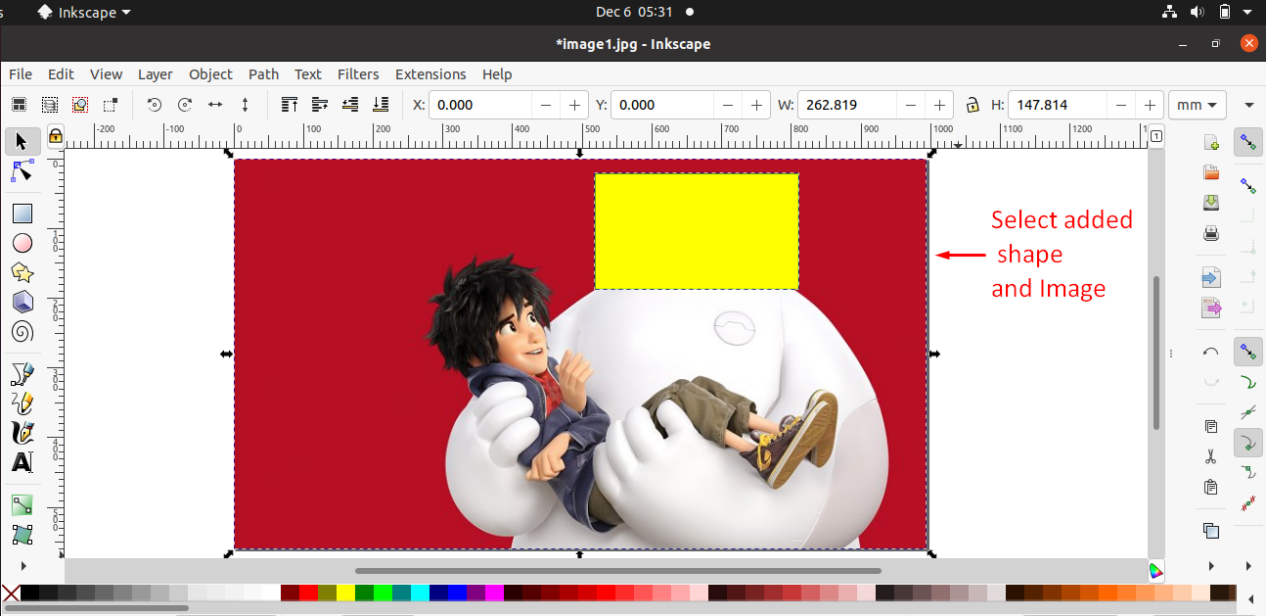
Now, press the “Shift” key and utilize your mouse cursor to select both the added shape and the image at once. Here, the thing to keep in mind is that you have to hold the “Shift” key until the specified operation is performed:
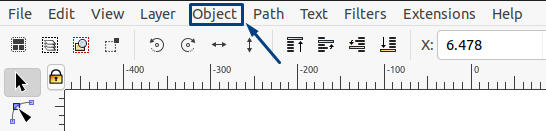
In the next step, we will set the clip on the part of the image we want to crop. In Inkscape, the clip features permit users to hide all other objects other than the clipped one. To do so, click on the “Object” menu:
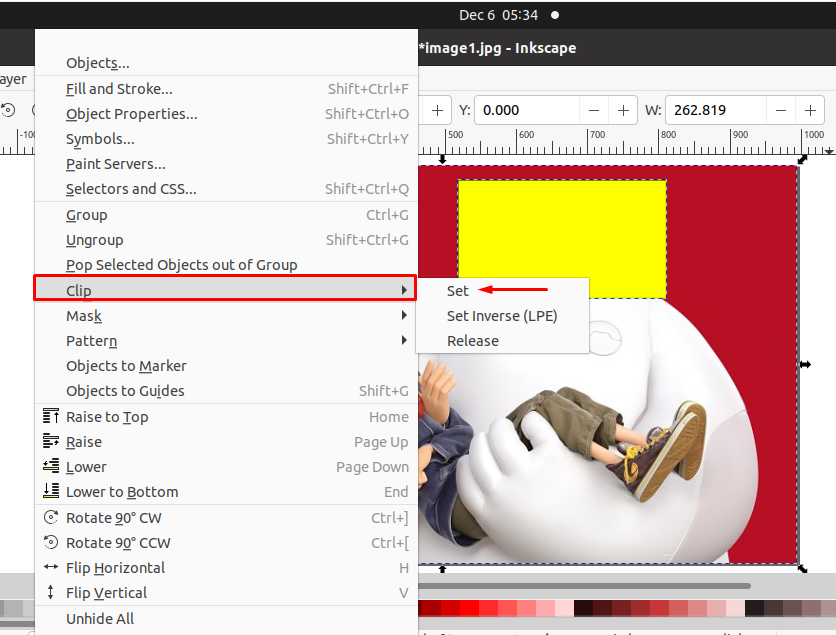
In the “Object” menu, look for the “Clip” option. Upon finding it, explore its sub-menu and then click on the “Set” option:
At this point, Inkscape will crop the image according to the added shape:

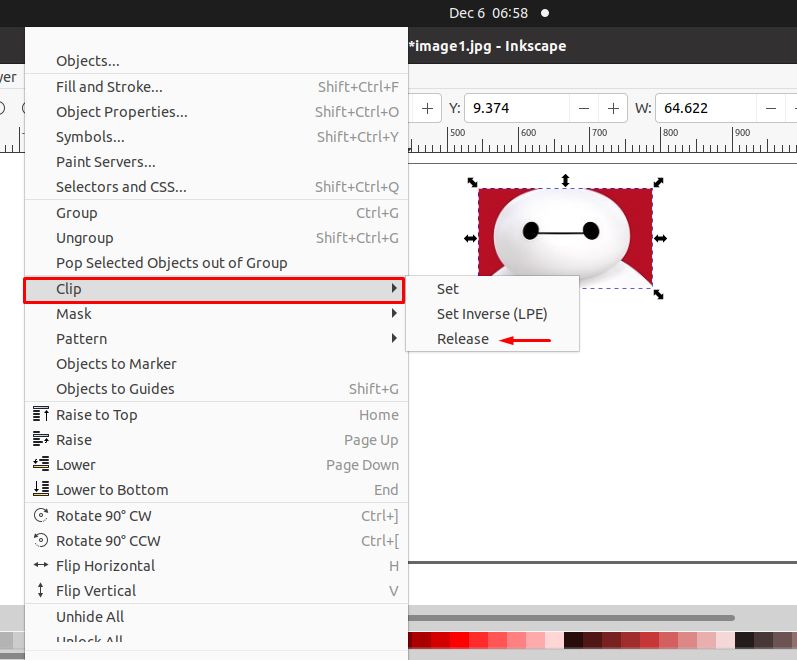
If you think the image is not well-cropped, you can reset its parameters by releasing the clipped section. Want to do so? Open the “Object” menu, move to the “Clip” sub-menu and then click on the “Release” option:
Now, adjust the added shape according to your preferences, and you then repeat the previously given process to crop the image:
How to crop an image in Inkscape using Stars and Polygons Tool
In Inkscape, you can also utilize the “Stars and Polygons” tool for cropping the image. This section will teach you how to do that, and we will perform the mentioned procedure on the same image. However, you can select the desired image from your file system:

After opening your selected image in the Inkscape, look for the “Stars and Polygons” tool in the left-side Inkscape toolkit:

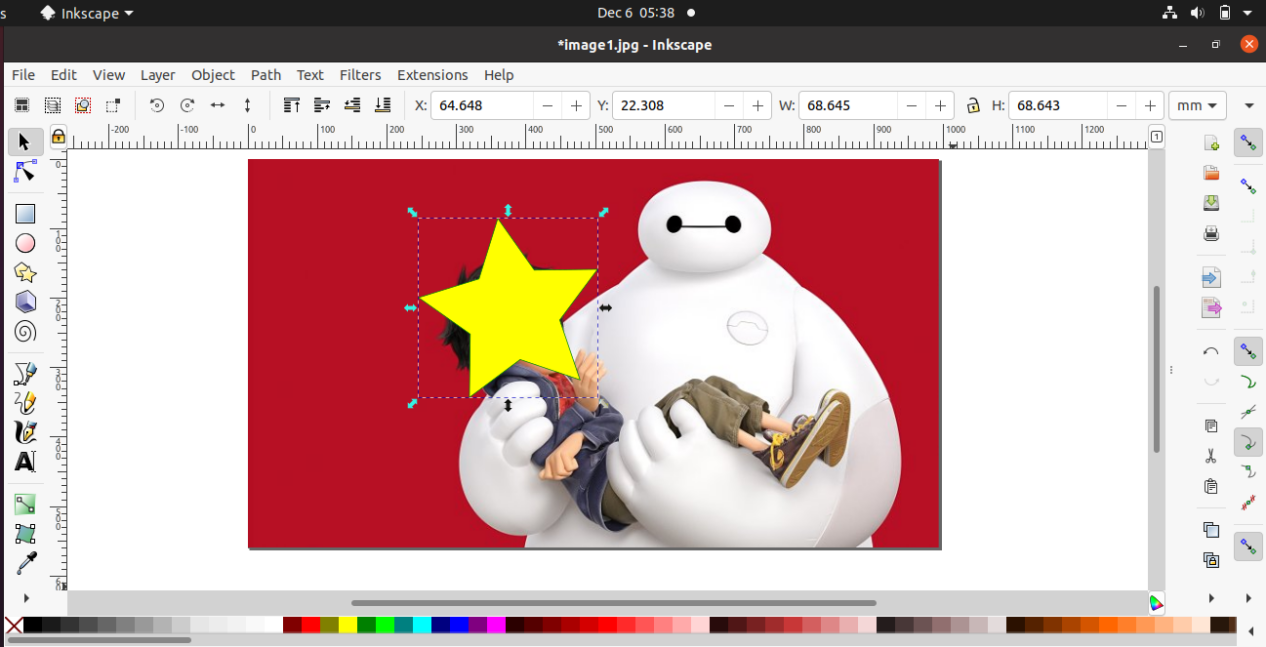
Next, add the selected shape to the image part which you want to crop:
After that, click on the “Select and transform object” tool, which is represented by the “mouse arrow” icon in the Inkscape tool panel:

Now, select the whole image along with the added shape while holding the “Shift” key:

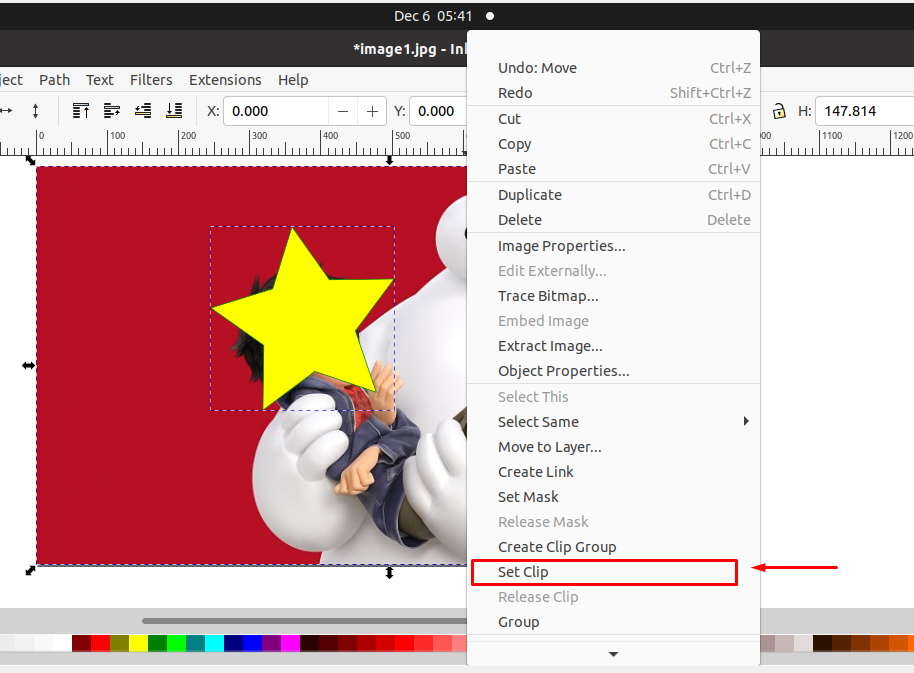
In the next step, we will clip the part where we have added the “Star” shape. For this purpose, you can utilize the “Object” menu. In another way, left-click on the opened image, and then select the “Set Clip” option from the opened menu:
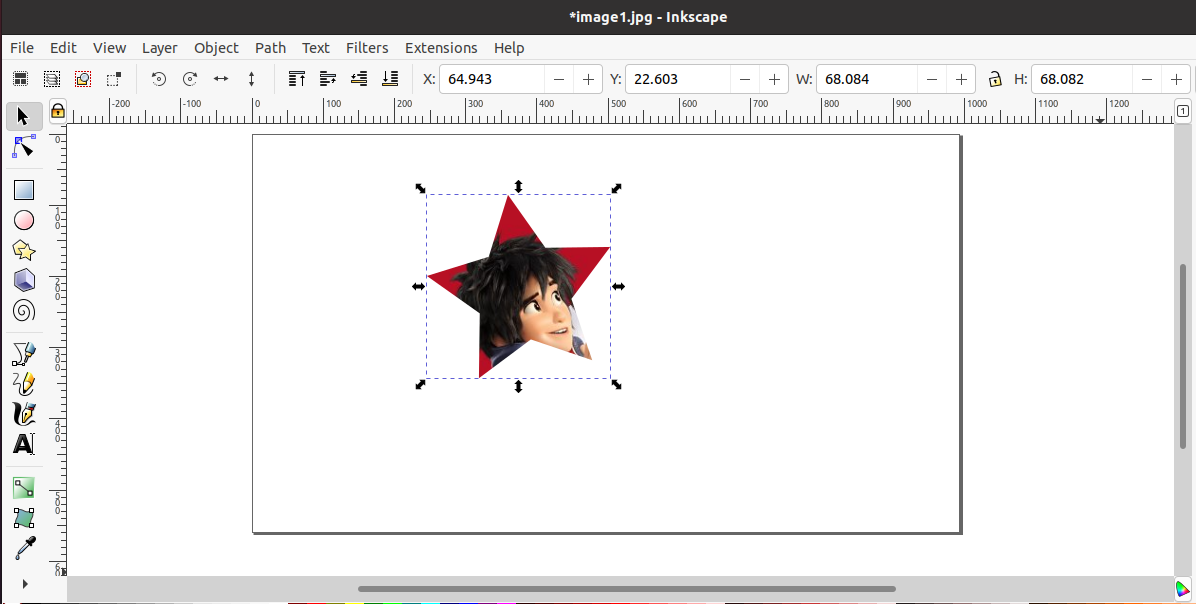
By following the given procedure, your cropped image will be displayed in the following form:
You can also reset the parameters by using the “Release set” option of the “Object” menu.
How to crop an image in Inkscape using Bezier tool
In Inkscape, the “Bezier” tool creates curves and regular lines. With the help of the “Bezier tool,” you can also crop images. To do so, firstly open up your selected image in the Inkscape:

Now, select the Bezier tool from the tool panel of the Inkscape:

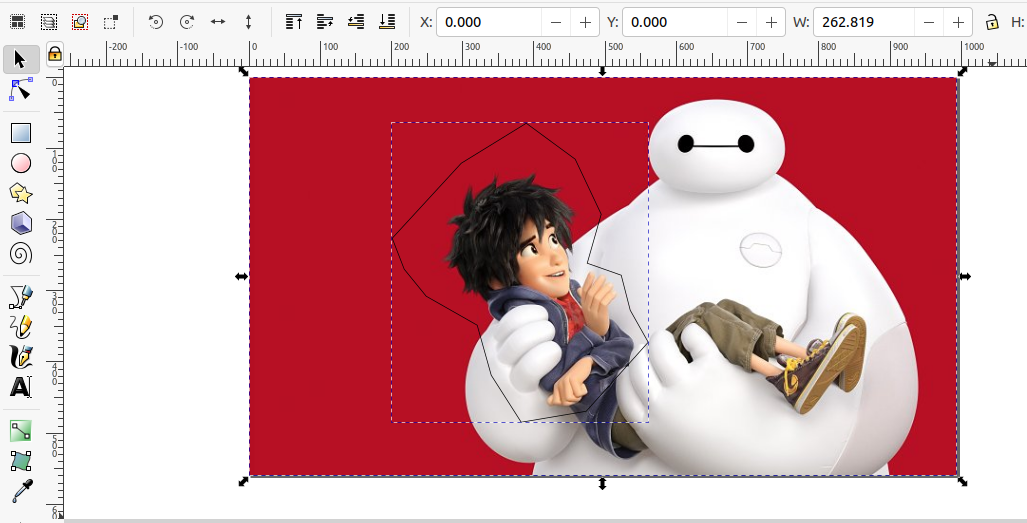
Next, we will draw a random shape around the part of the image which we want to crop:

After doing so, click on the “Select and Transform object” tool as highlighted in the below-given image:

Hold the “Shift” key and then select the drawn shape and the whole image at once:
Left-click on the selected image, and then from the opened menu, select the “Set Clip” option:

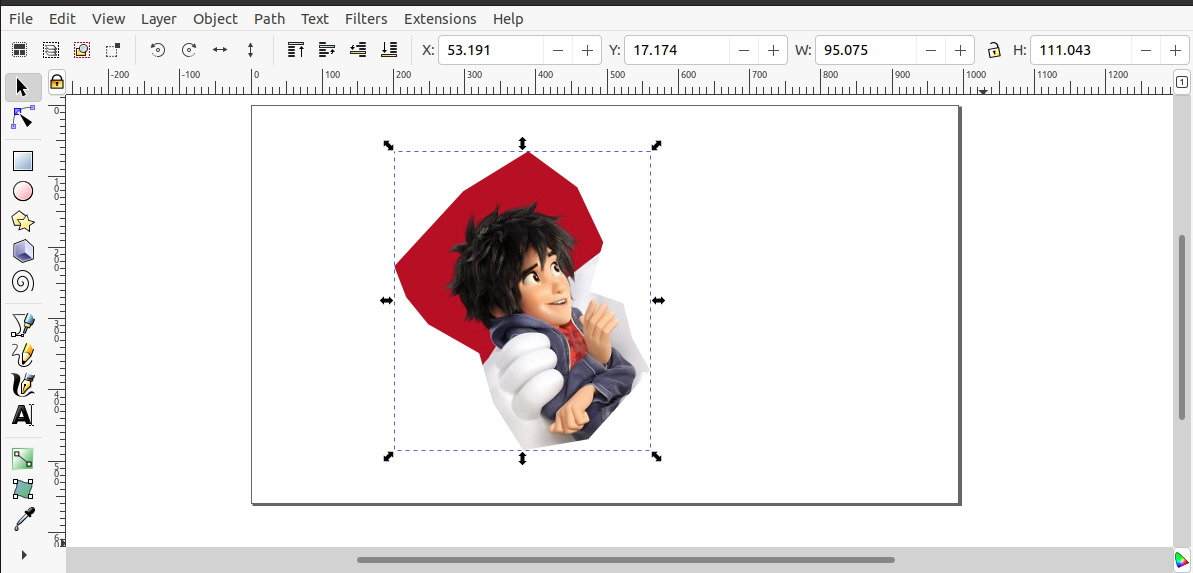
Your image is cropped and ready to use for further processing:
If you are not satisfied with the area of the cropped image, then you can release the set clip and again adjust the parameters.
Conclusion
Images are cropped to draw the audience’s attention to a specific part of a larger image. In most image processing and vector graphics editors such as Inkscape, the clipping tool is used to trim the edges, resize or adjust the aspect ratio or orientation. It also enhances the overall composition of an image. This write-up showed how to crop images in Inkscape using Stars and Polygons, Bezier, and Rectangles and Squares tools.