Smashing is a custom Sinatra-based framework that allows users to build beautiful and impressive dashboards on the Raspberry Pi system. The smashing is beneficial for displaying custom dashboards on the screen and looks great, especially on TV screens around offices or organizations. It has a drag-and-drop feature that allows users to change Widgets’ position easily.
To use Raspberry Pi device to create a custom dashboard, follow this article for detailed guidance.
How to Create a Smashing Dashboard Using Raspberry Pi
To create a smashing dashboard using Raspberry Pi, follow the below-given steps:
Step 1: Install Node.js on Raspberry Pi
The Raspberry Pi user must install Node.js on the system since, without it you won’t be able to run smashing on the system. To install Node.js, follow the below-mentioned command:

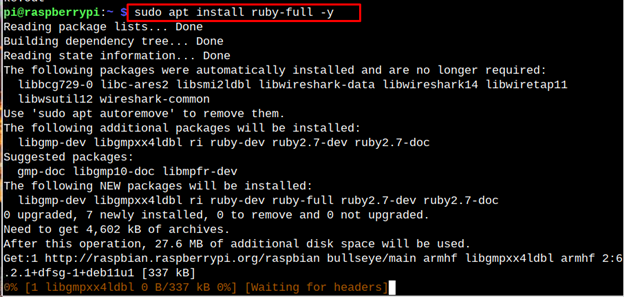
Step 2: Install Ruby on Raspberry Pi
The Smashing is a Sinatra-based framework while Sinatra is the part of Ruby programming language, thus, you should install the language on Raspberry Pi through the following command:
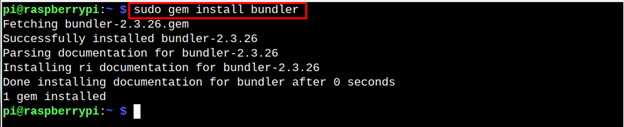
Step 3: Install Bundler on Raspberry Pi
After installing Ruby, you should also require installing the Bundler through the following command as it manages Ruby’s application gems on Raspberry Pi:
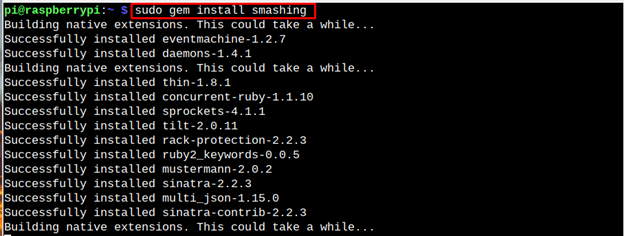
Step 4: Install Smashing
To install Smashing, use the following command:
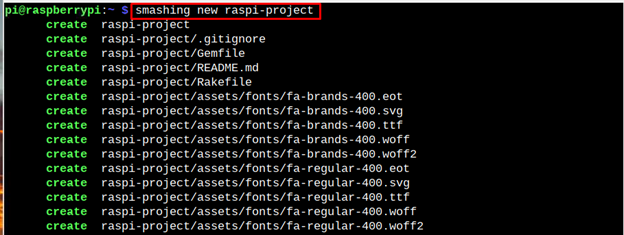
Step 5: Create a Project Folder
Now, you must create a project folder using the following command for smashing so that it will automatically create the files inside the folder.
Note: Name the project folder according to your choice and replace it with “<folder_name>”.
Step 6: Navigate to Project Folder
Move to the folder through the “cd” command as shown below:
![]()
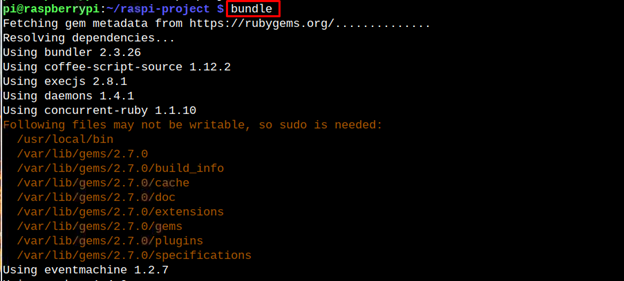
Step 7: Execute the Gems
To start executing and installing all the dependencies required to run smashing on Raspberry Pi, execute the below-given command:
Step 8: Start Smashing on Raspberry Pi
To start smashing on Raspberry Pi, run the following command:

Step 9: Access Smashing Dashboard
Now, to access the smashing dashboard on any system, you have to use the Raspberry Pi IP address with port “3030”.
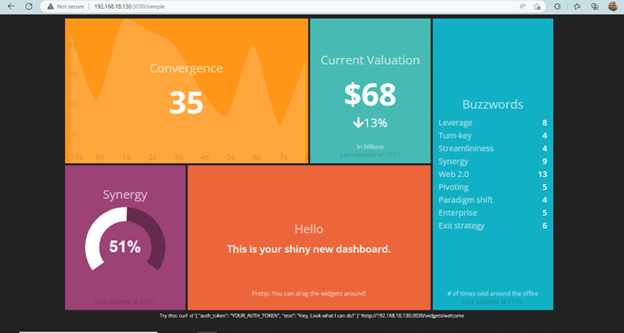
By default, smashing has three dashboards, which are “sample.erb” and “sampletv.erb”. If you need help adding other dashboards, you can follow here because the method for adding different ones may vary.
Conclusion
To successfully create a smashing dashboard using Raspberry Pi, you must install “node.js” and “Ruby” programming language. After that, with the help of the “gem” command, you can install bundler and smashing. You must create a project folder and execute the “gems” inside it. Once it’s done, you can start “smashing” and access the dashboard using the IP address of your Raspberry Pi device.