This tutorial guides you in creating a new user on your Raspberry Pi system, so, let’s begin it.
How to Create a New User on Raspberry Pi
Creating a new user on Raspberry Pi isn’t a difficult task and you can do it easily by carefully following the below-mentioned steps.
Step 1: Create a New User
To create a new user on Raspberry Pi, follow the below-mentioned syntax and run it in the terminal accordingly.
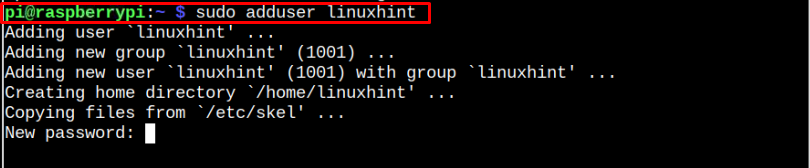
In the above command, “linuxhint” is the new user’s username. Enter your password for the new user and then retype it for verification.
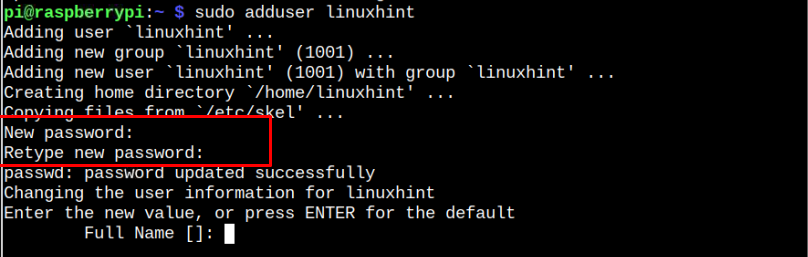
Enter Full Name, provide other details and press Enter.
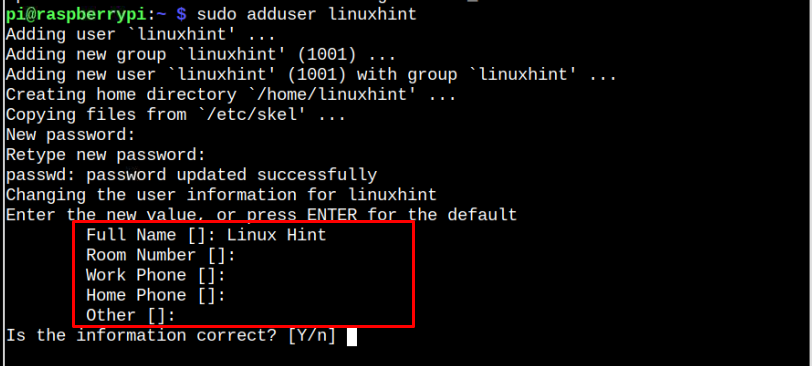
Choose “Y” to confirm the information you provided is correct.

Step 2: Add sudo Right for New User
Allowing sudo right to the new user is important because it will help you in installing the packages through sudo command. To do this step, you should apply the following command:

Step 3: Check Users on Raspberry Pi
After successfully creating the new username for Raspberry Pi, you can confirm the username list by applying the following command:

There are two users now, “pi” and the new user “linuxhint”.
Step 4: Login Raspberry Pi with New Username
To log in with a new username, you need to open Raspberry Pi configuration using the following command:

Then, select the “Boot/Auto Login” option available in the “System Options”.

Select the third option for login to Raspberry Pi.

Reboot your device and when it restarts again, you will see the login screen where you should select “LinuxHint” as your new user instead of “pi” and write down the password to login into the account.

You can open the Raspberry Pi terminal to confirm the changes to your username.

Step 5: Disable sudo Password for New Username
Since running the sudo command requires a password and if you want to remove the password restriction, run the following command:

Replace the “<new_username>” in the above command; in our case, we are removing the sudo password restriction for the user “linuxhint”.
Step 6: Removing the Previous Username on Raspberry Pi
To remove the previous username “pi”, you can use the following command:
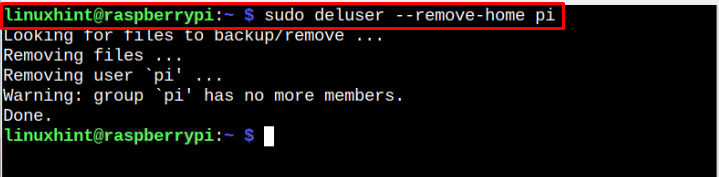
It will completely remove the username “pi” from your system and disable the SSH login from the username “pi”. If you want to re-access the SSH connection, you must provide your new credential details like a new username and password to successfully log in to SSH connections like PuTTY or VNC viewer.
For another scenario, if you want to remove the newly created username from your Raspberry Pi instead of deleting “pi”, you should need to apply the same command by login into the terminal with the username “pi”. However, instead of “pi”, you should need to write your username, which you want to remove.
Conclusion
Adding a new username on the Raspberry Pi system is an effective way to handle your system privacy. Besides allowing multiple users to use the system with their own username and login, it also prevents hackers to access your device resources using the new username credentials easily. The above step-by-step guidelines will help you create a new user for your Raspberry Pi and in case you want to remove the previous username, you can also get help from the above guidelines.