This article will show you how to set up an independent VNC session to access the device remotely without notifying another user. This way, you can perform your task on your Raspberry Pi terminal and use the desktop.
How to Create an Independent VNC Session on Raspberry Pi
The VNC server can create an independent VNC session so that you can continue working on the Raspberry Pi system. The advantage of having an independent VNC session is that the other user accessing the device won’t see your activity on the system and everyone can do their tasks simultaneously.
To create an independent VNC session on Raspberry Pi, follow the below-mentioned steps:
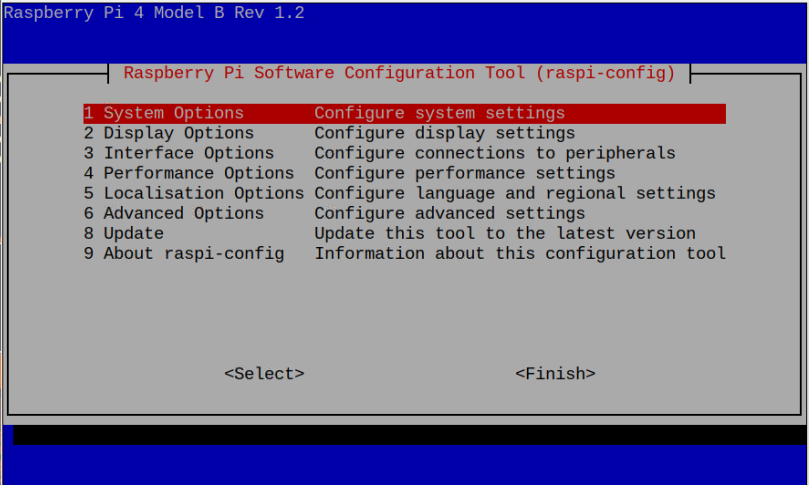
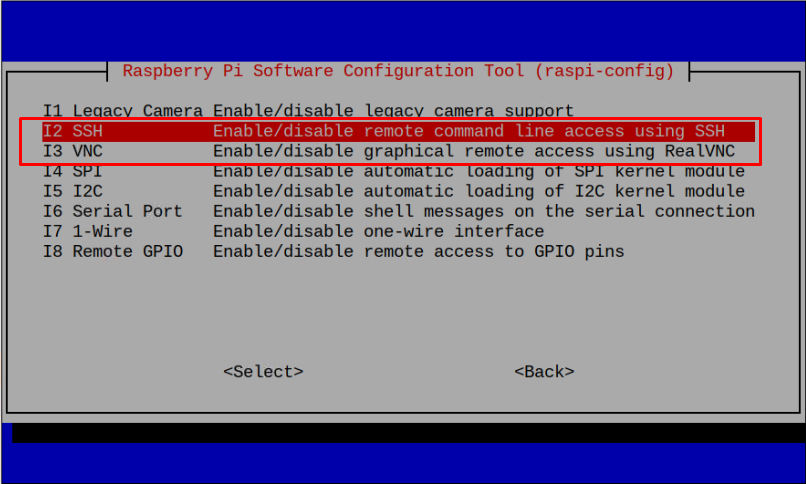
Step 1: Make sure that SSH and VNC service is enabled on your Raspberry Pi device. You can enable both by opening the Raspberry Pi configuration through the following command:
Select the SSH and VNC service one by one from the “Interface Options” to enable them on your Raspberry Pi system.
Step 2: Use the following command to run VNC server on the terminal.
When you run the above command, it creates a new VNC session with the IP address of your Raspberry Pi device with a display number.
In the above-highlighted address, “192.168.43.96” is the Raspberry Pi IP address while “1” is the display number.
Executing the above command multiple times will generate different sessions, which you can pass on to other trusted users who want to access your device. However, you must ensure all the users and devices are connected to the same network.
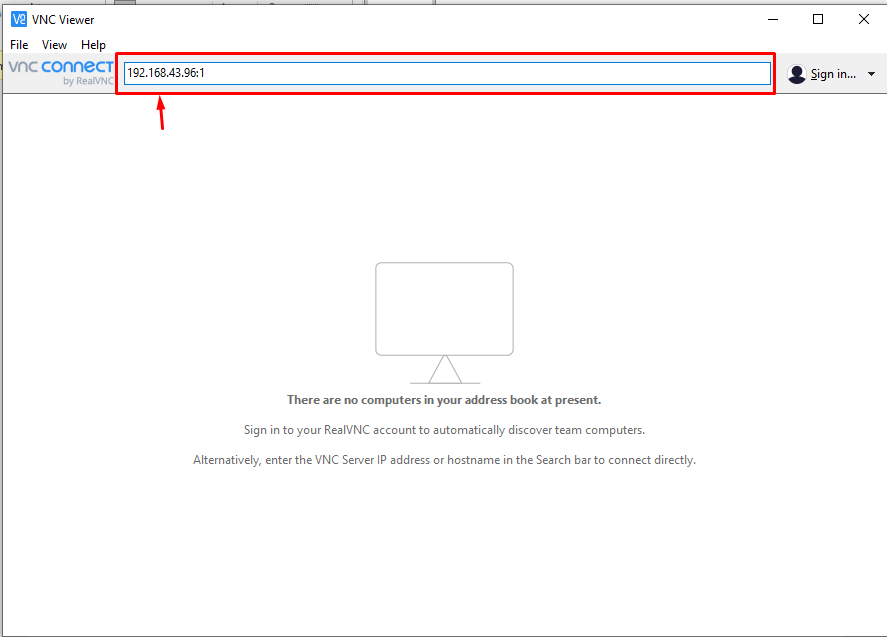
Step 3: Open the VNC viewer on your device. In my case, I am accessing the device through my laptop and adding the address for the new session in the address section as shown below:
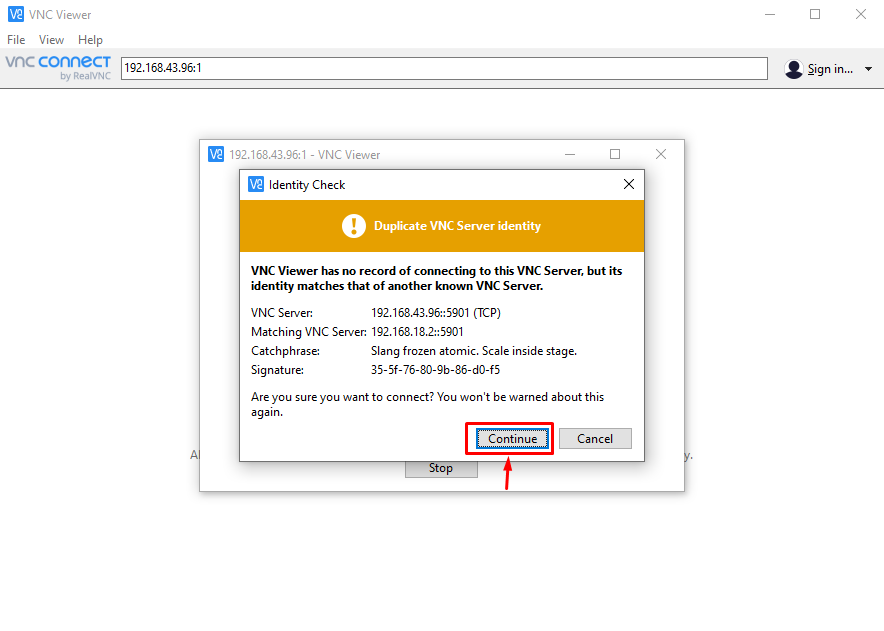
Step 4: Select the “Continue” button that appears once you enter the above address.
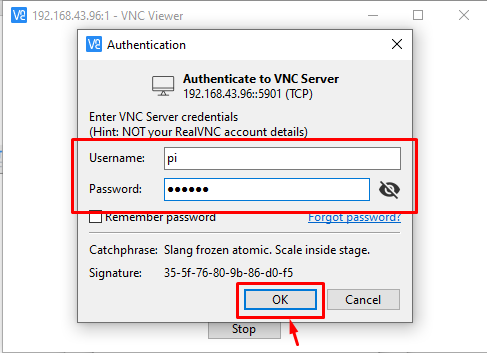
Step 5: Enter the login credentials like Raspberry Pi username and password to login remotely and go with clicking on the “OK” button.
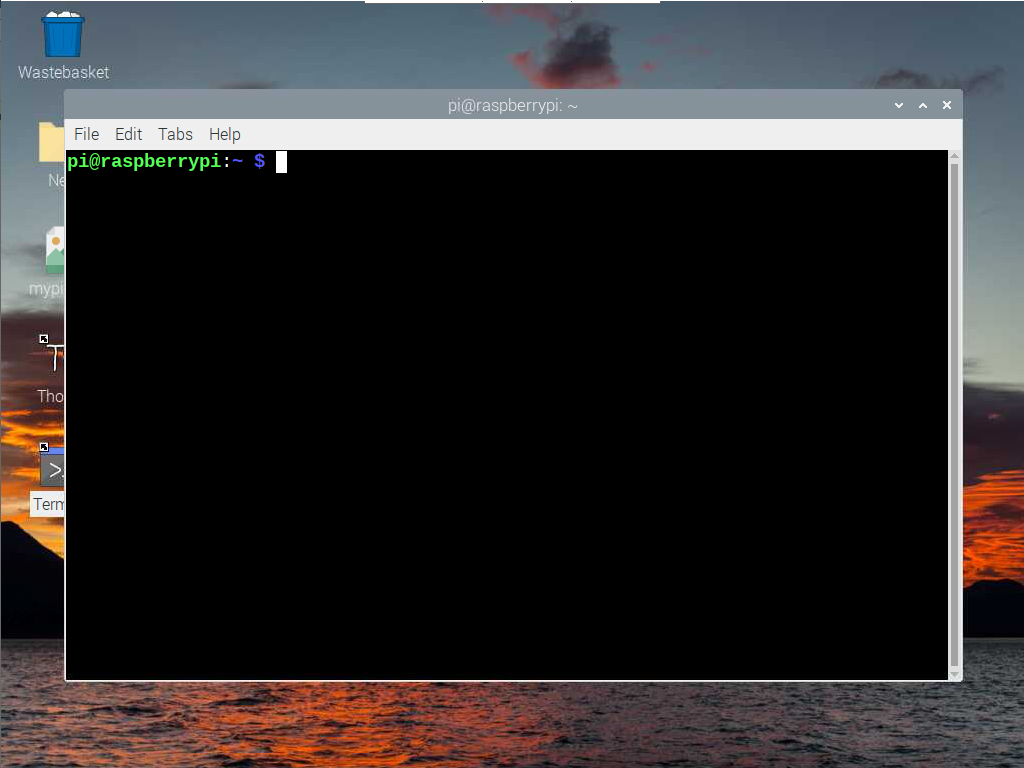
This will open the independent desktop environment on VNC.
At this phase, you can use the Raspberry Pi desktop GUI without creating a hurdle for another user accessing your device. It’s better to create a desktop shortcut to easily open the application or file explorer on your Raspberry Pi desktop.
At this phase, you have successfully created an independent desktop session on Raspberry Pi through VNC.
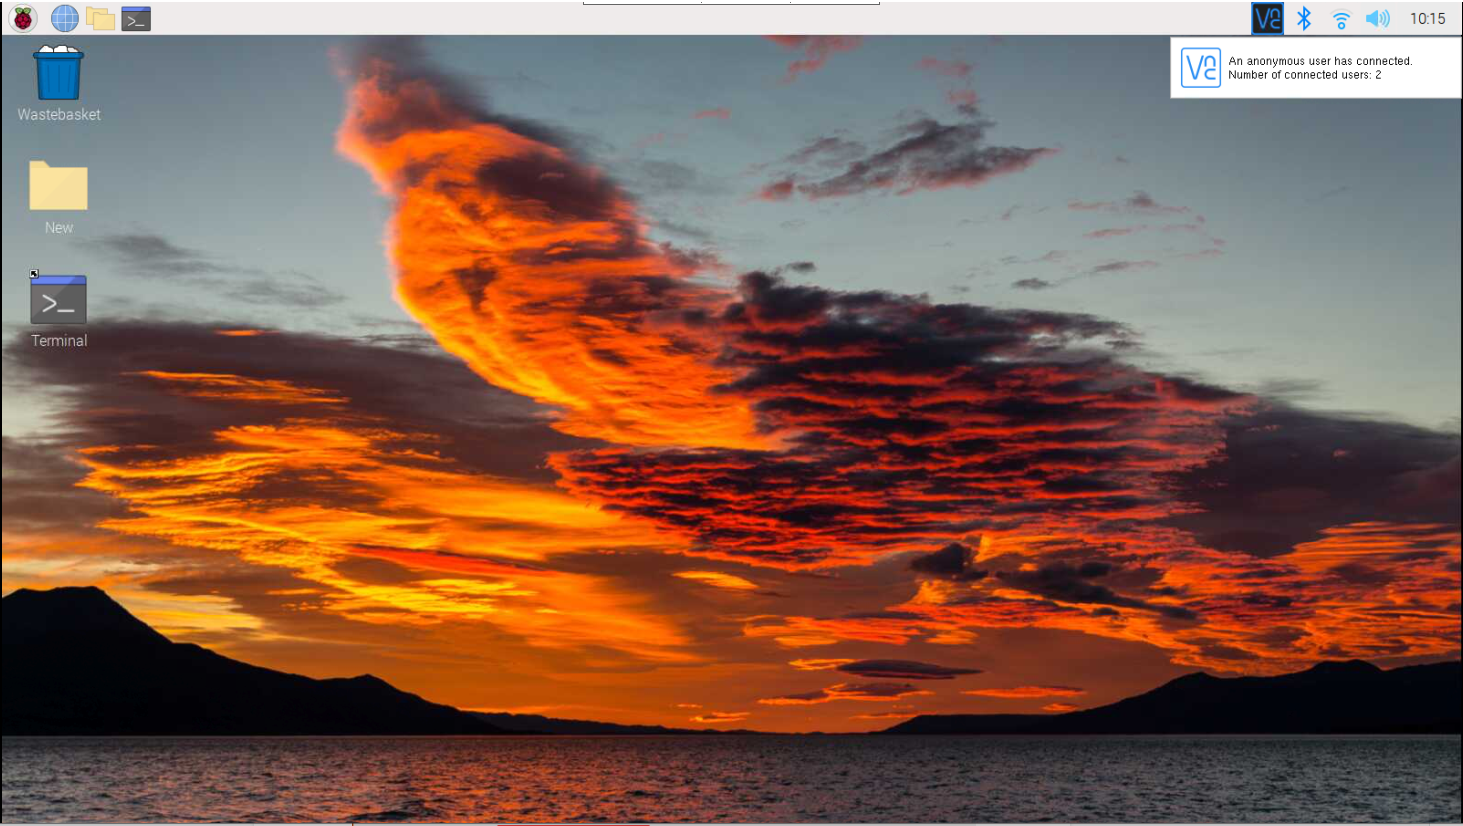
The only difference between a normal VNC display and an independent VNC display is that you won’t be able to see the taskbar and application menu on your desktop on the independent display, which appears in the case of a normal display as shown below:
Kill VNC Server Session
In case you want to kill the VNC session, follow the below-mentioned command:
Conclusion
Using multiple independent sessions on Raspberry Pi is extremely useful since it allows different users to use the device at the same time. You can do it easily through the VNC server by running the “vncserver” command in the Raspberry Pi terminal to create an independent desktop session with the IP address and display number. This address and display number can be used on a VNC viewer from a laptop or PC to access the independent Raspberry Pi session. However, before creating a session, it’s better to create desktop shortcuts for applications you want to use on an independent desktop session like a terminal, chromium browser and more.

