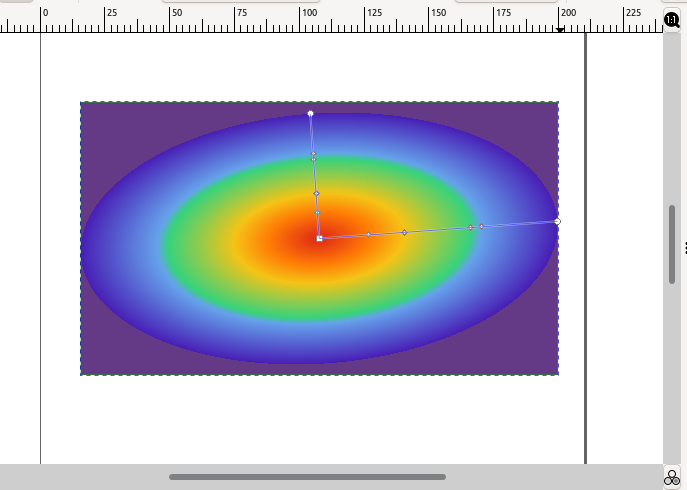
There exist two general types of gradients in Inkscape: Linear and Radial. In Linear gradients, the added colors follow a straight line whereas in the case of Radial gradients a circular path is followed by the colors. This write-up will demonstrate the procedure of creating gradients in Inkscape. Moreover, the method of converting the Linear gradient to Radial gradient will be also provided. So, let’s start!
How to create gradient in Inkscape
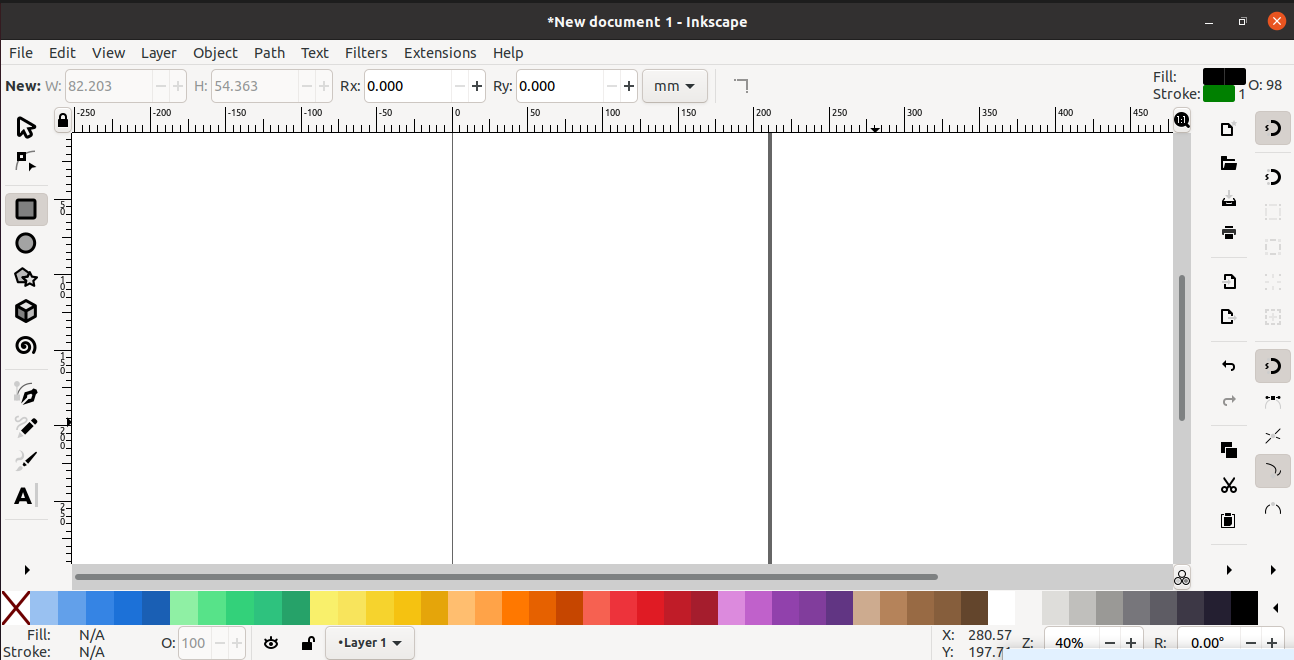
First of all, open the Inkscape application on your system and then create a new document. After doing so, decide the shape for which you would like to apply the gradient:
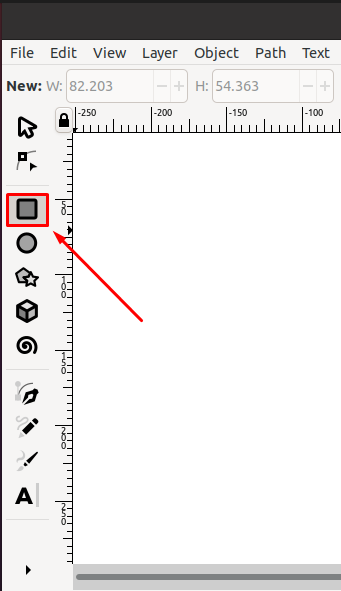
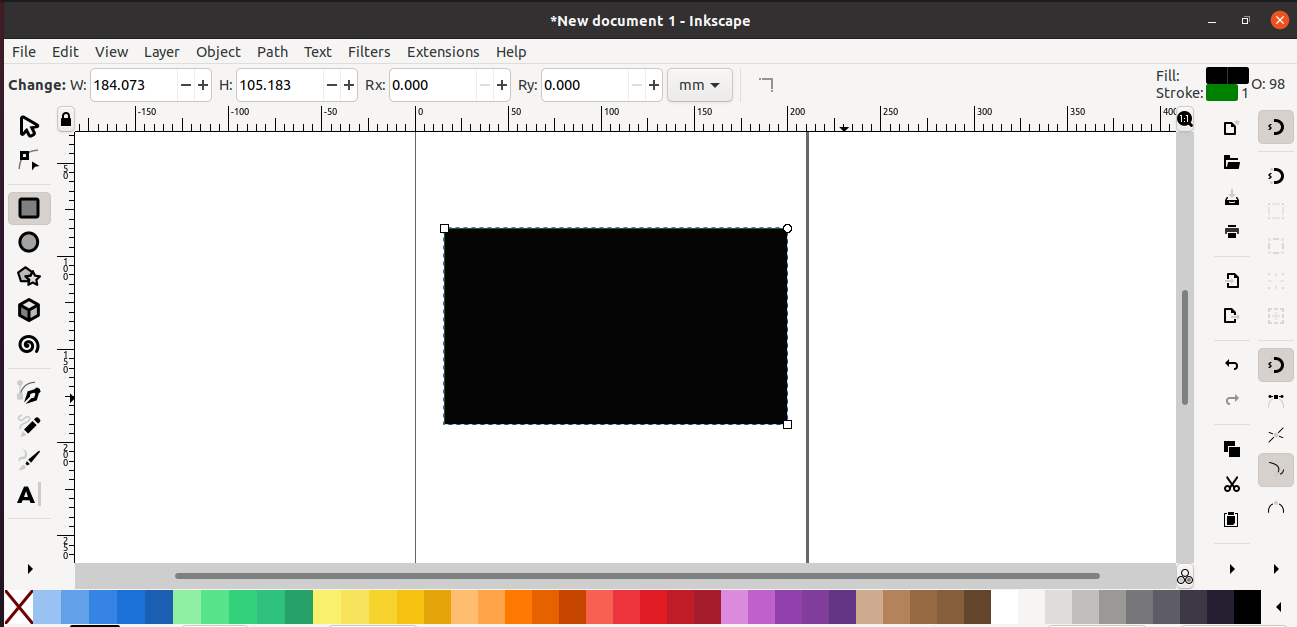
In our case, we will use a “Rectangle” object and create a rainbow gradient for it. To do so, firstly, click on the “Rectangle and Squares” tool and add a rectangle in your Inkscape canvas:
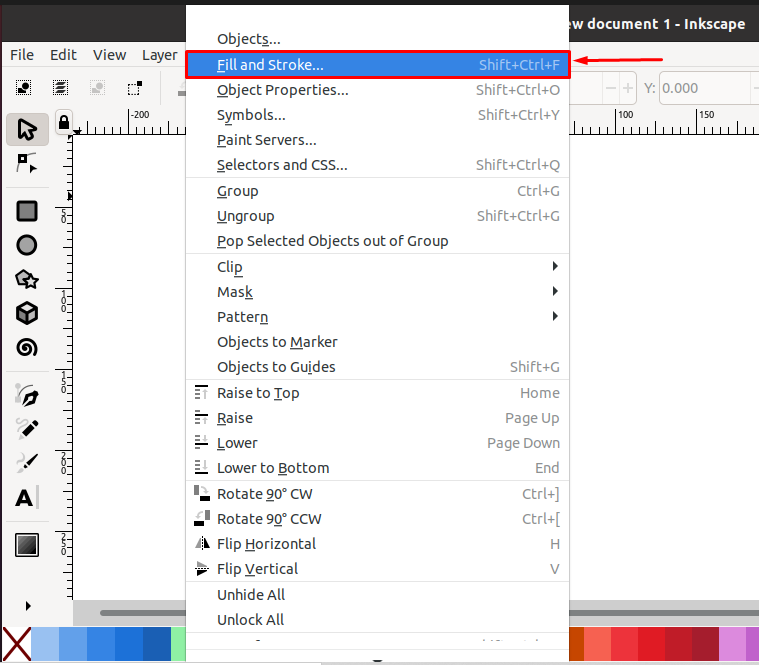
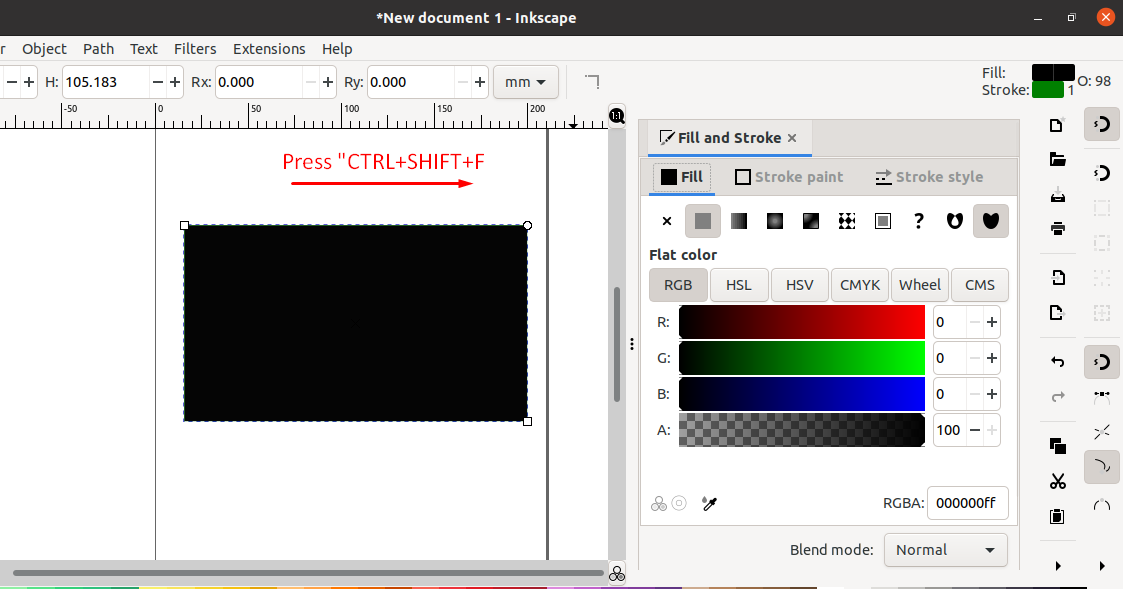
As you can see, our current Rectangle object has black color. To fill it with a rainbow gradient we will open up the “Fill and Stroke” tool window. For this purpose, look for the “Object” option in the Inkscape menu bar:
Explore the “Object” menu, and select the “Fill and Stroke” tool. You can also press “SHIFT+CTRL+F” for the same purpose:
After doing so, the “Fill and Stroke” window will appear at the right-side of your Inkscape window:
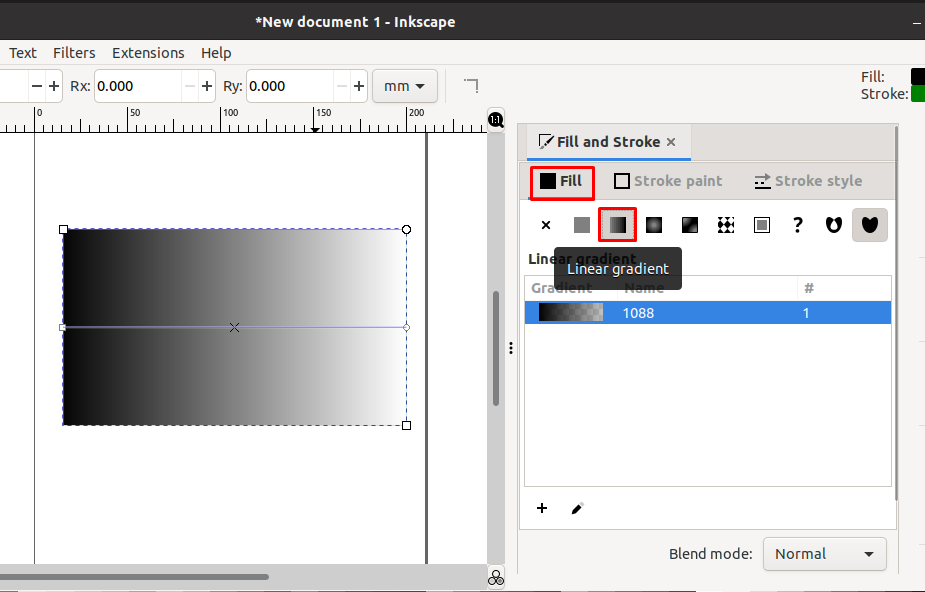
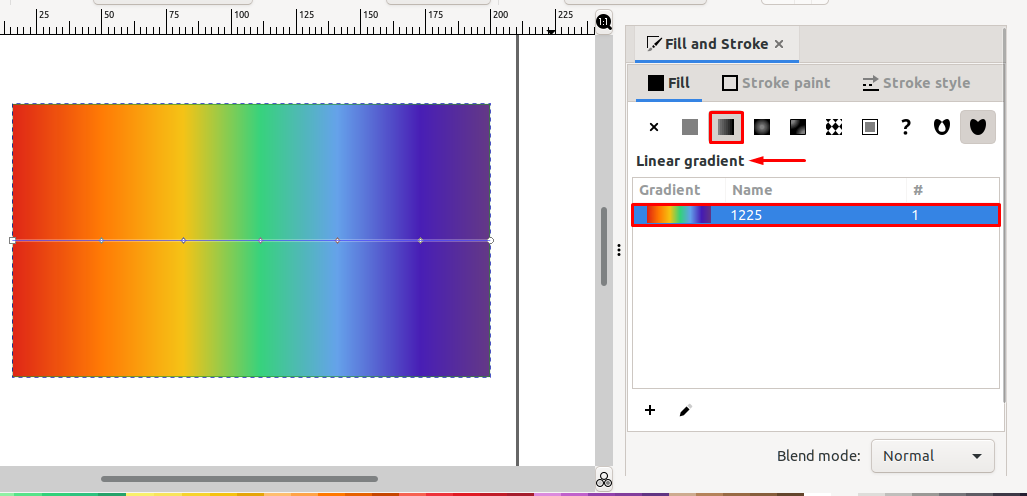
Now, we will move ahead to create a Linear rainbow gradient. So, in the “Fill and Stroke” window, select the “Fill” tab and then click on the “Linear gradient” option which is highlighted in the below-given image:
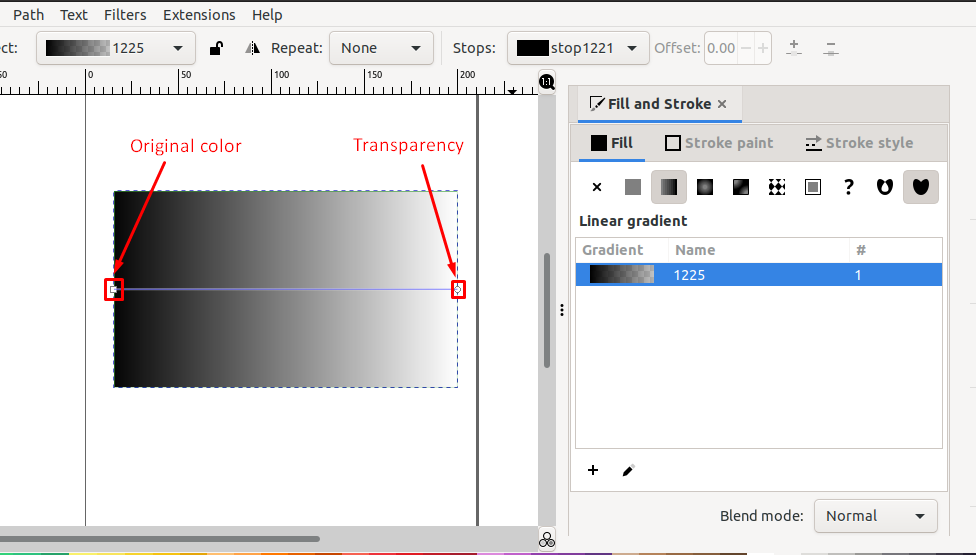
A liners gradient will be applied to our rectangle object. The created Inkscape gradient will comprise two stops. The stop present on the left side represents “Original color” and the right-sided stop indicates the “Transparency”:
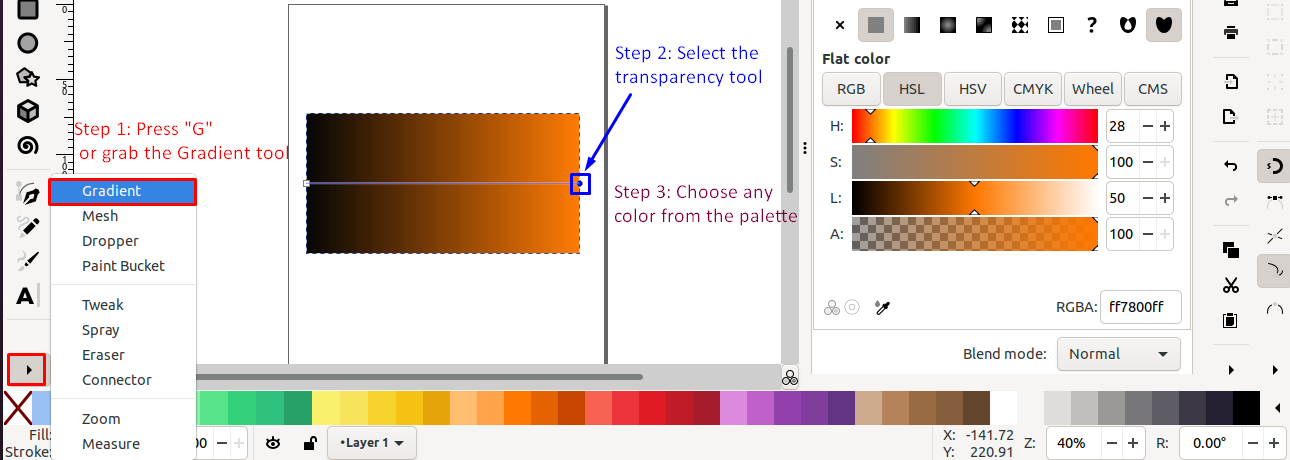
Press “G” to grab the “Gradients” tool to select the Transparency stop and then add any color. Here is a sample for creating a color transition:
As we have already mentioned, we will create a Liner rainbow gradient. For that, we have to add seven colors, however, the current gradient has only one stop for the coloring purpose.
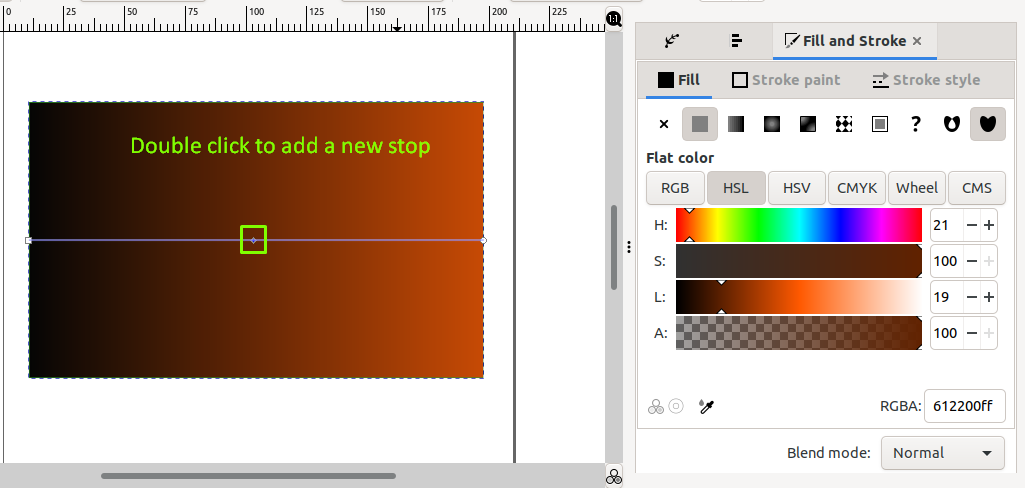
Inkscape gradient offers the facility to add multiple stops which can then permit you to define a different color for a stop. Double click on a particular position for adding a stop on it:
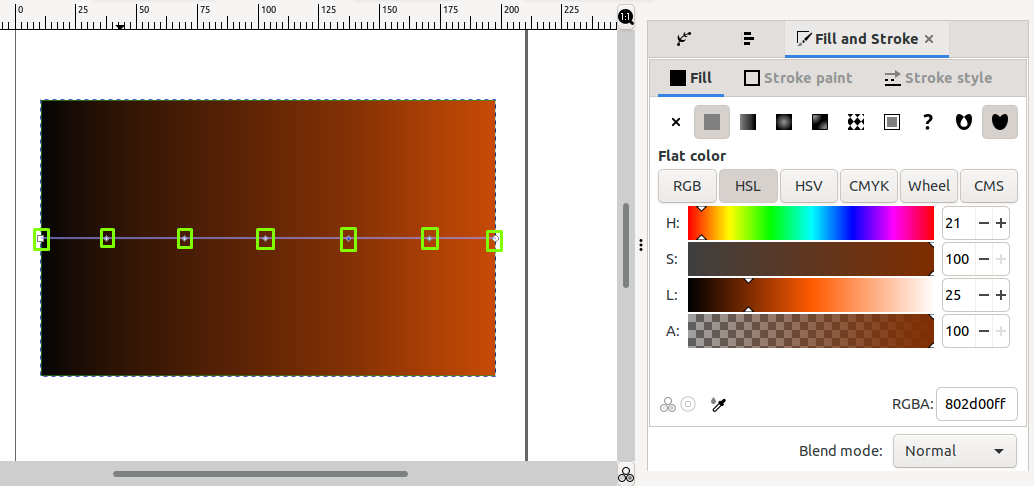
Now, our Inkscape gradient has three stops. To create a rainbow gradient, we will add four more stops in the following manner:
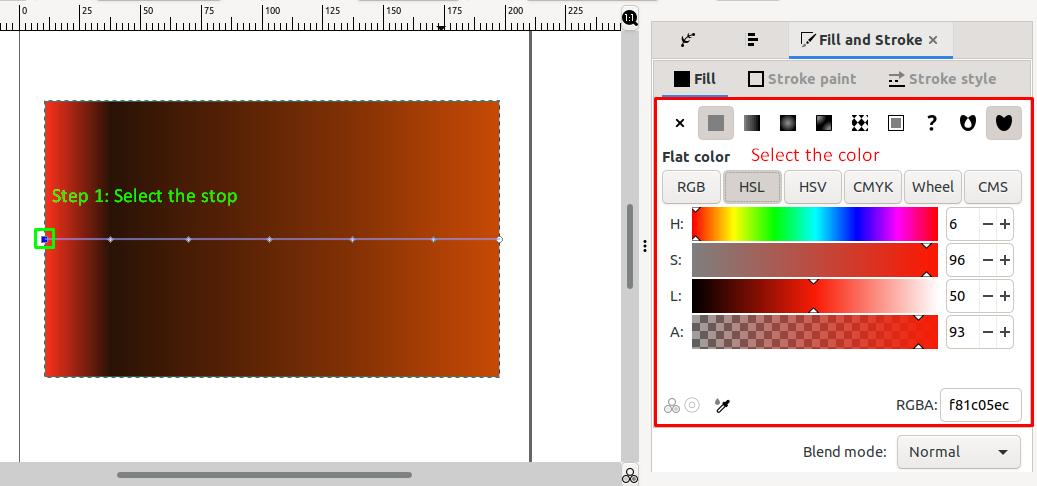
You can click any of the added stops for moving or creating even space between them. To add any color to a stop, you have to select it first by clicking on it. For instance, we have selected the first stop, and then from the “Fill and Stroke” window we choose the red color, which results the following:
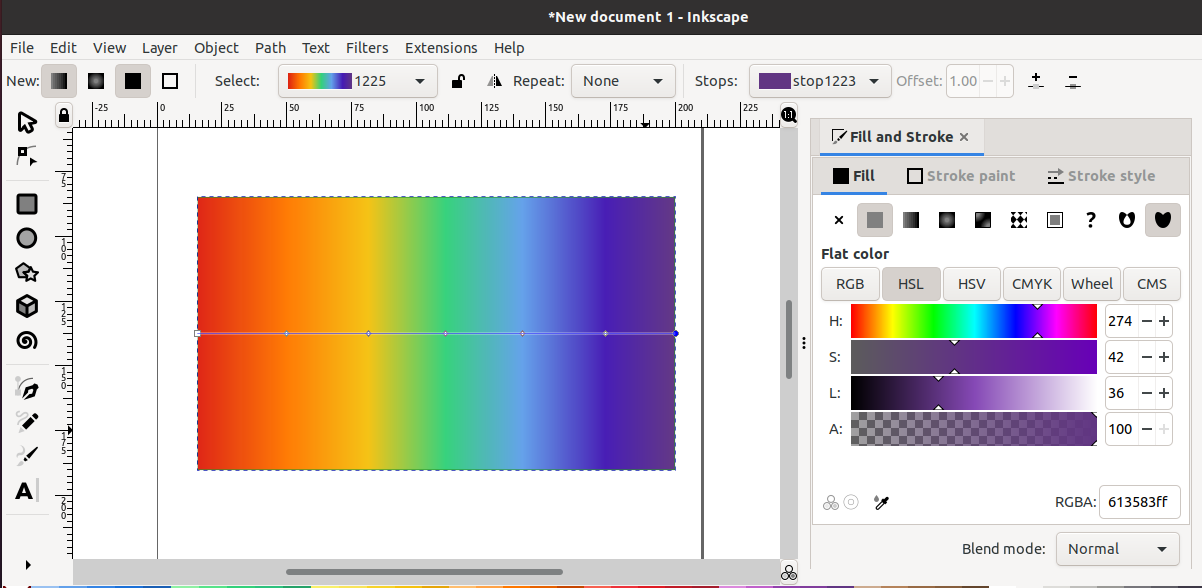
Similarly, we will select each of the remaining six stops and then add colors. From the below-given image, you can see that we have used the “Red”, “Orange”, “Yellow”, “Light green”, “Light blue”, “Dark blue”, and “Purple” colors for our Inkscape gradient:
In the “Fill and Stroke” window, click on the “Liner button” and note that the created gradient will be saved in the linear gradient list with its numerical name. It also declares that instead of creating a new gradient again, you can use the existing gradient:
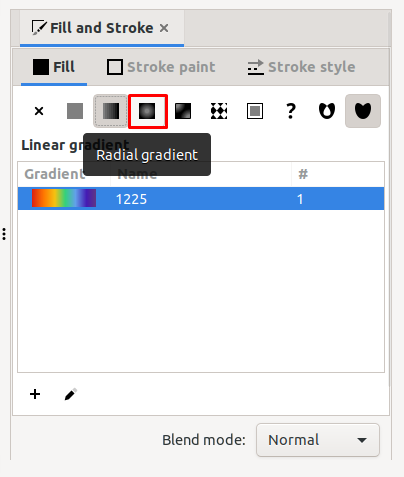
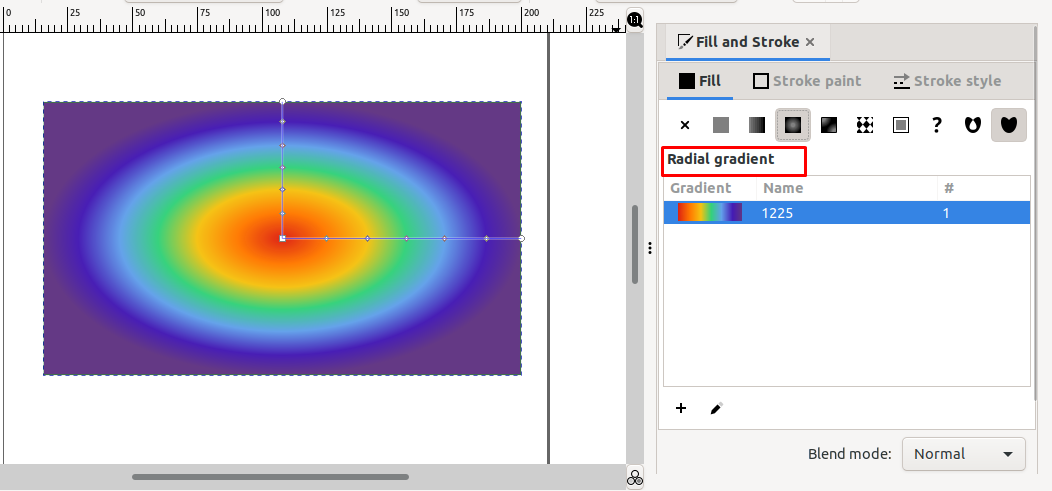
For instance, we have selected the Linear gradient. Now, click on the “Radial Gradient” from the “Fill and Stroke” window; it will convert the Linear gradient to the Radial gradient where the added colors will follow a circular path:
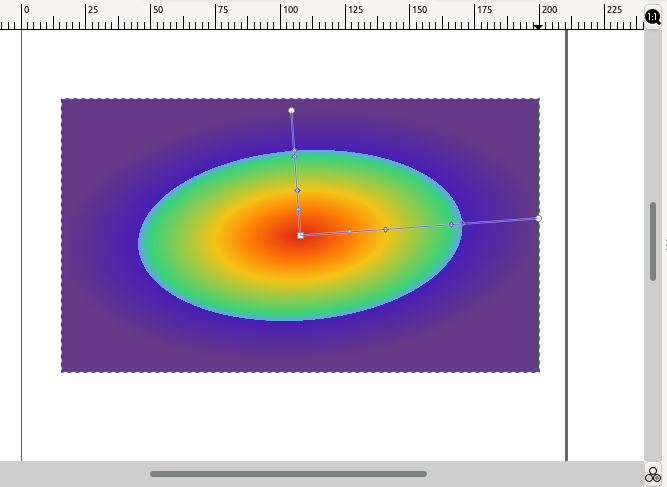
Want to make some changes in the color space? Select a stop and then drag it to scale up or down its color space:
Conclusion
Gradients are used to create a smooth transition between multiple colors. As an Inkscape user, you can easily create and modify gradients on the canvas. In Linear gradient, the added colors follow a straight line and in radial gradient, a circular path is followed by all of the added colors. This write-up guided you about how to create gradients in Inkscape. Moreover, the procedure of converting Linear to Radial gradient is also provided.

