The Dialog application is compatible with Debian and its distributions like Raspberry Pi OS and Ubuntu. In this write-up, the installation method of Dialog in Raspberry Pi OS has been discussed as also the usage of the application.
How to install the Dialog on Raspberry Pi OS
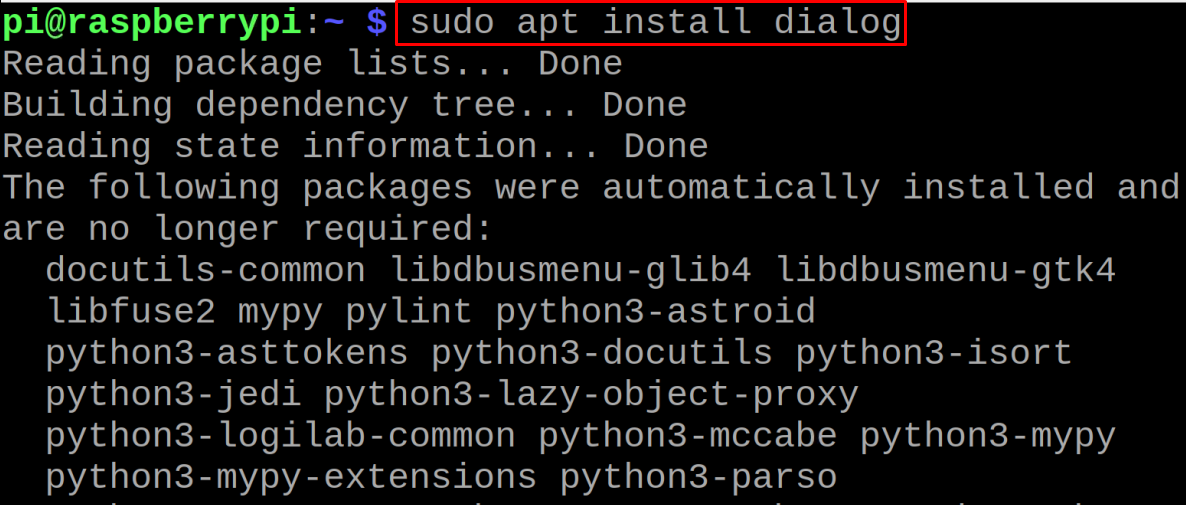
The package of the Dialog can be installed easily using the apt package manager. We will install the Dialog package on the Raspberry Pi using the command:
For the confirmation of the installation of the “Dialog” package, we will check the version of installed dialog package using the command:

How to use the Dialog on Raspberry Pi OS
The general syntax of using the dialog command on Raspberry Pi terminal is:
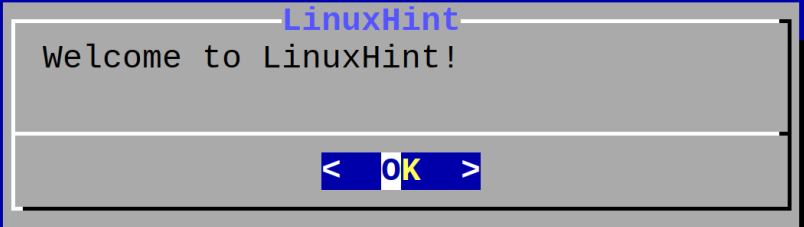
In the above Dialog’s syntax, the common options are about the content which you want to display in the dialog box and block options means the dimensions of the dialog box. To understand it, we will first learn to make the dialog box with a height of 6 and a width of 40, we will use the “–title” to display the title of the dialog box and use “–msgbox” to display some message:

The message dialog box will appear displaying the “Welcome to LinuxHint!”:
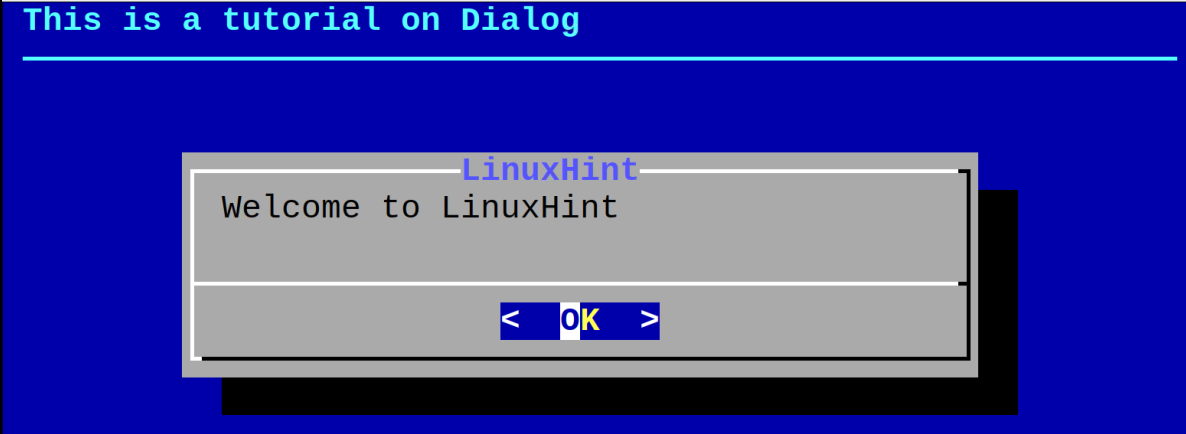
We can also add the back-title on the dialog box, for this purpose, we will use the command:

The back-title “This is tutorial on Dialog” has been displayed:
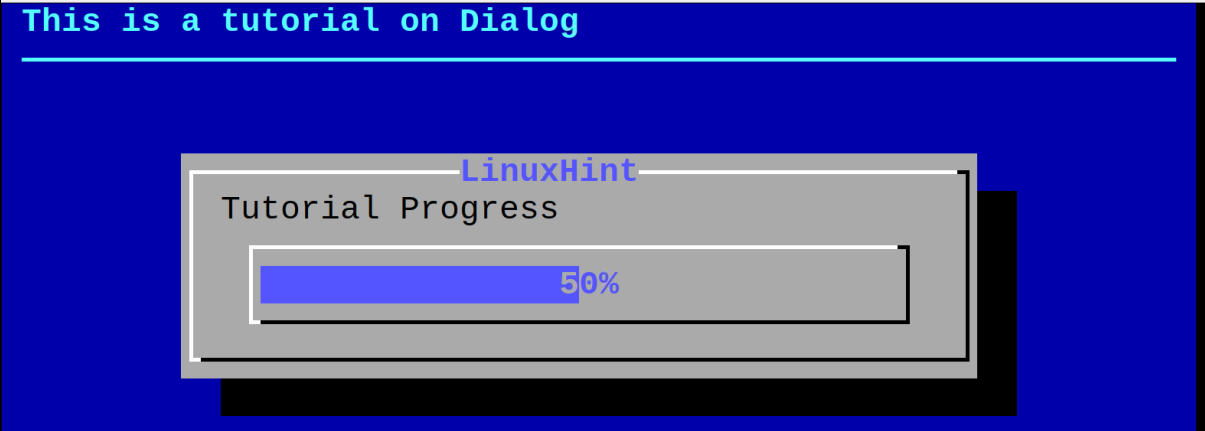
We can also display the progress bar in the dialog box using the “–gauge” option with the dialog command:

In the above command, “50” is used to display the percentage on the dialog box with the “–gauge” option:
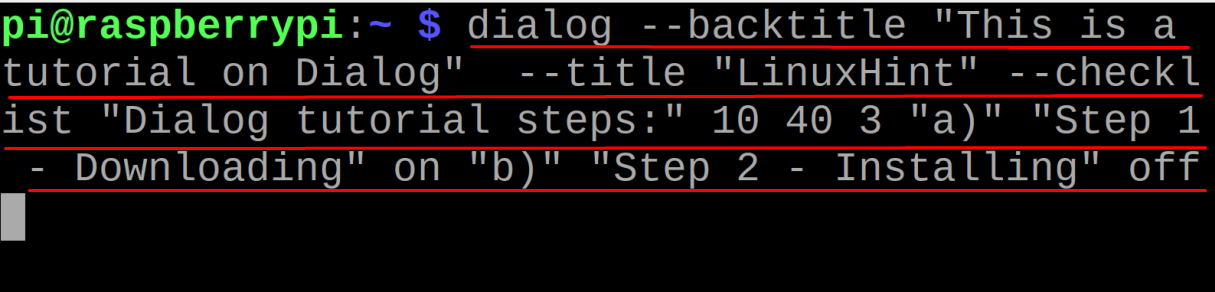
To add the checklist options in the dialog box, we have to include the “–checklist” option in the command and use “on” and “off” to mark the options:
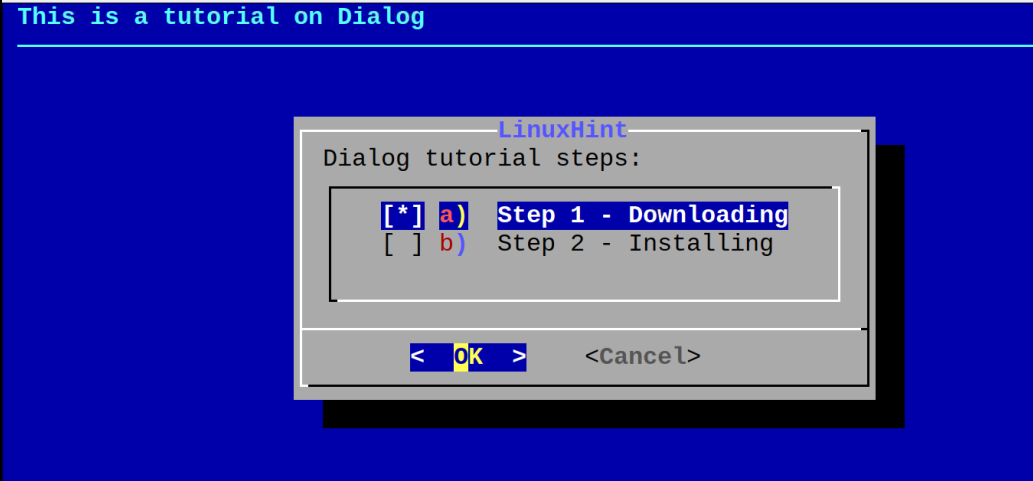
The dialog box has been displayed:
This is the basic usage of the Dialog in Raspberry Pi terminal, to explore more options of the Dialog utility, we can use the help using the command:


How to uninstall the Dialog from the Raspberry Pi OS
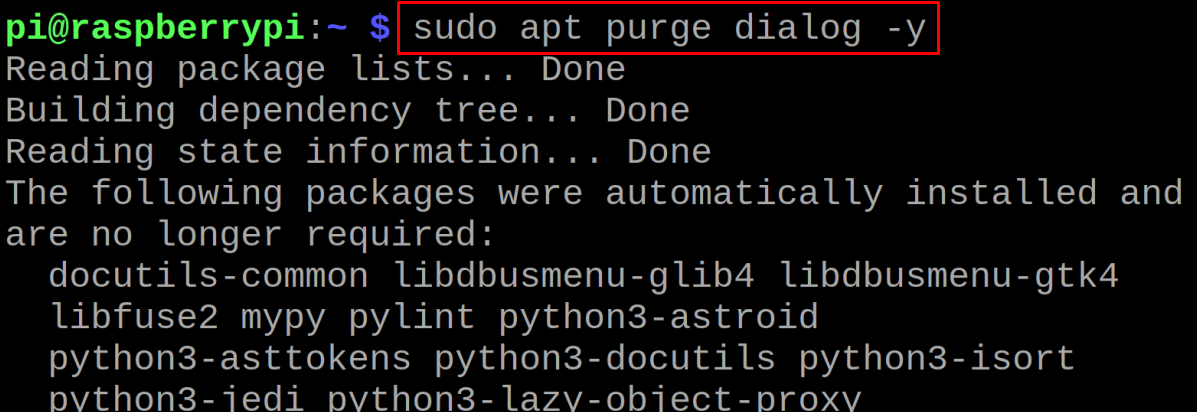
If there is no need for the “Dialog” package in the Raspberry Pi OS, we can use the following command to uninstall and remove its dependencies:
Conclusion
The Dialog utility is used to create dialog boxes in Raspberry Pi terminal and can be a handy tool for creating terminal-based applications. The package of the Dialog comes with the Raspberry Pi OS and can be installed using the apt package manager. In this write-up, we have installed the Dialog on Raspberry Pi and also learned the basic usage of this package to create dialog boxes.