Suppose that you have a logo file in PNG format and you want to convert it to SVG. What will you do? You will look out for this feature in popular image editing software or vector graphics editors such as Inkscape. Inkscape permits users to save and convert the PNG or JPG image file into SVG file format. Today, we will thoroughly demonstrate how you can convert PNG to SVG in Inkscape. So, let’s start!
How to convert PNG to SVG in Inkscape
In Inkscape, you can not directly convert PNG image format to SVG format. However, this statement does not state that it is not doable. In Inkscape, you can create a new SVG file by tracing the PNG image with the help of the “Trace Bitmap” tool, and this section will guide you on how to do that.
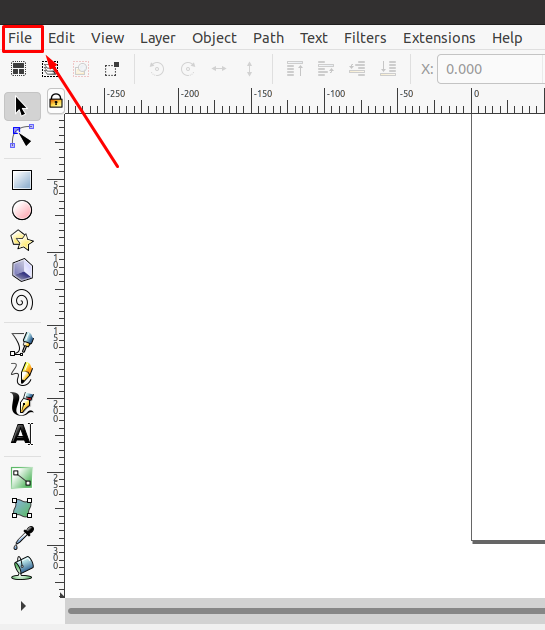
First of all, open up the Inkscape application on your system:

In the next step, we will add the PNG image to convert in Inkscape. For this purpose, open up the “File” menu from the Inkscape menu bar and look for the “Open” option:
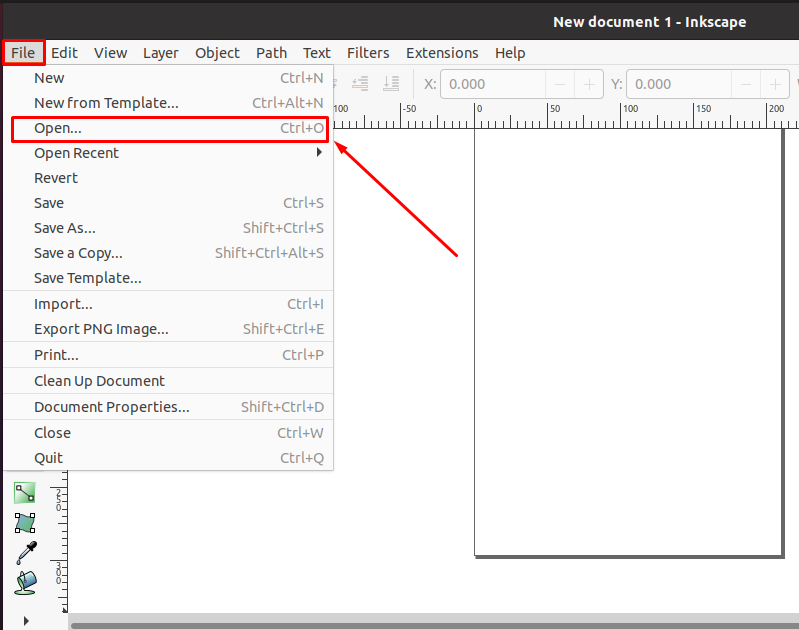
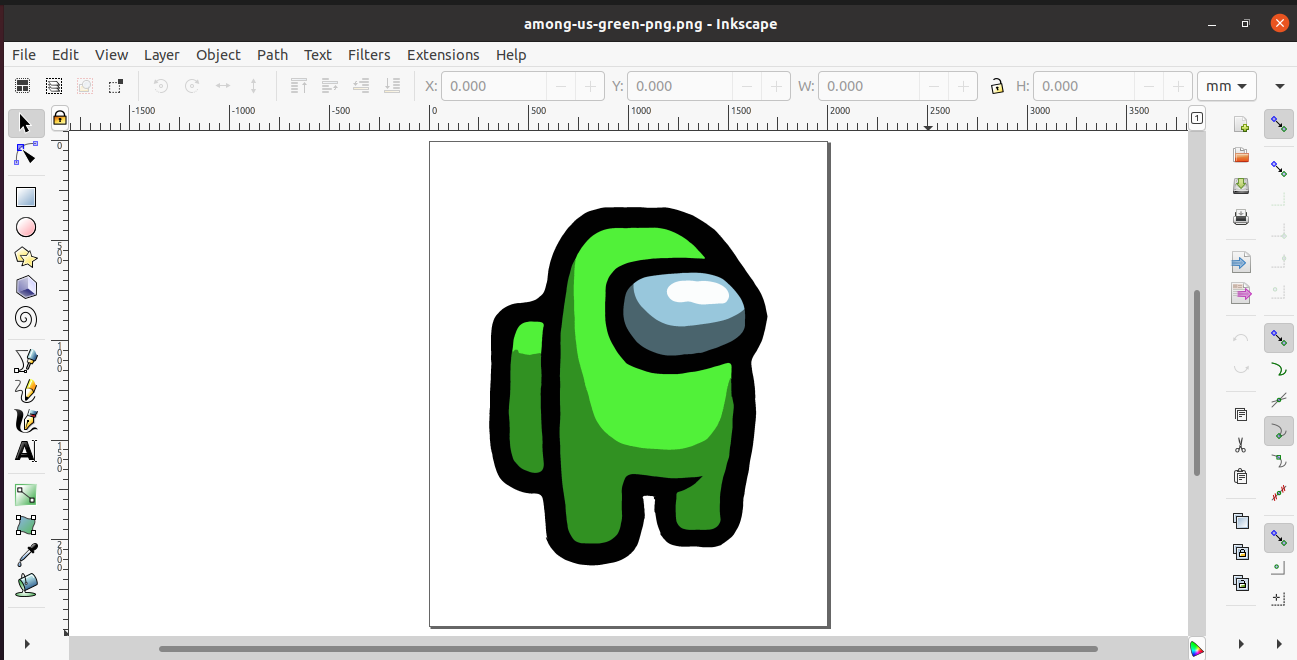
Explore your file system to select the required file. For instance, our desired file “among-us-green-png” is stored in the “Pictures” folder. So, we will select it from there and then click on the “Open” button:

Within a few seconds, the selected image will be opened to your Inkscape canvas:
Now, click on the “Select and transform” tool from your Inkscape toolkit, present at the left side of the opened window:
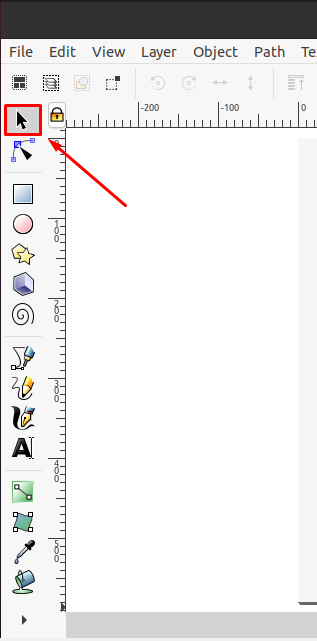
With the help of the “Select and transform” Inkscape tool, select your PNG image:

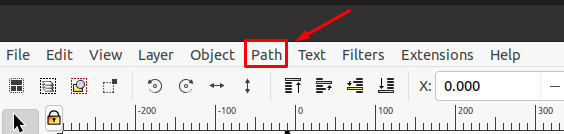
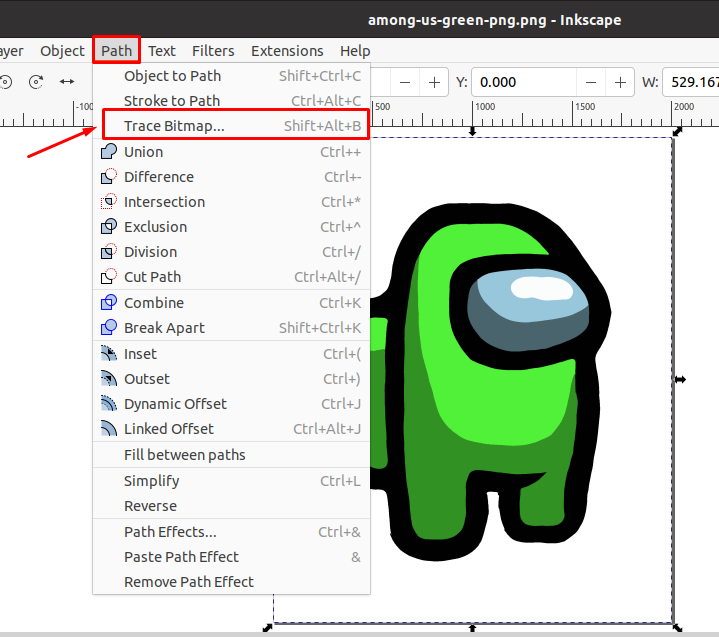
You have opened and selected your PNG file, and now it is all ready to convert into SVG format. To do so, move to your Inkscape menubar and open up the “Path” menu:
From the drop-down menu of the “Path”, look for the “Trace Bitmap” option. The “Trace Bitmap” is a tool that utilizes an algorithm for generating the vector tracing of the selected image automatically. This functionality also plays a significant role in converting PNG to SVG format in Inkscape:
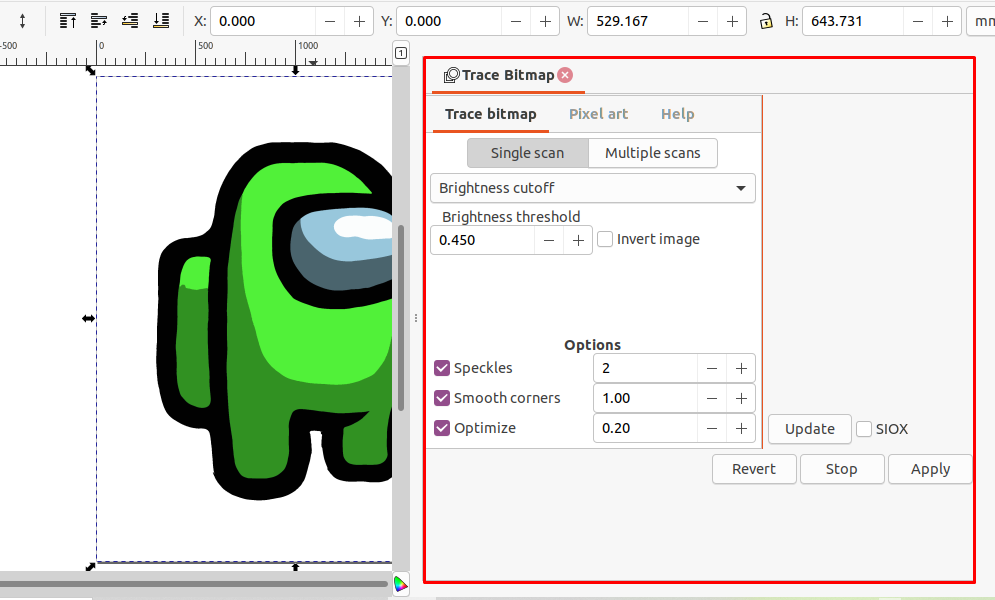
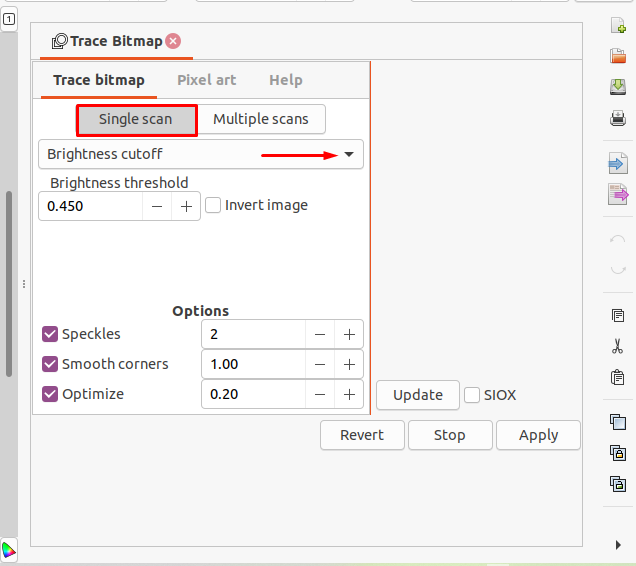
In the “Trace Bitmap” dialog box, explore the “Single scan” tab and check out the options for scanning by expanding the following highlighted menu:
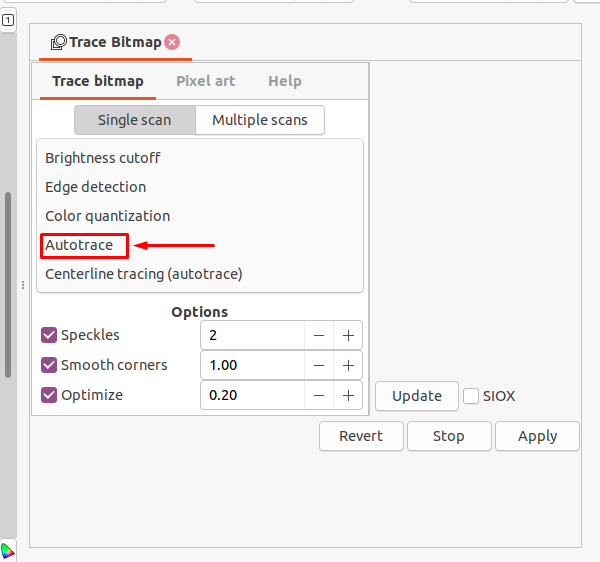
From the drop-down menu, select the “Autotrace” option. In Inkscape, the “Autotrace” option is utilized for tracing an image into an element. Then, the traced element will be used in an SVG drawing:
Next, click on the “Update” button to preview the traced image with the specified settings:

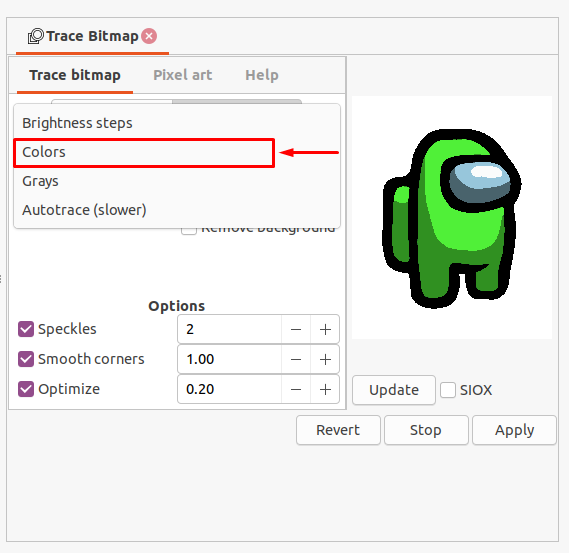
Now, explore the “Multiple scans” menu and select the “Colors” option to enable multiple color scans:

Also, mark the checkboxes: “Smooth”, “Stack”, “Remove background”. Here, the “Smooth” option will smooth out the texture of the traced image, the “Stack” image scanning option determines how the paths are defined, and lastly, the “Remove background” option will remove the background of the image. After doing so, click on the “Update” button to preview the traced image and then hit the “Apply” button to save the specified changes:

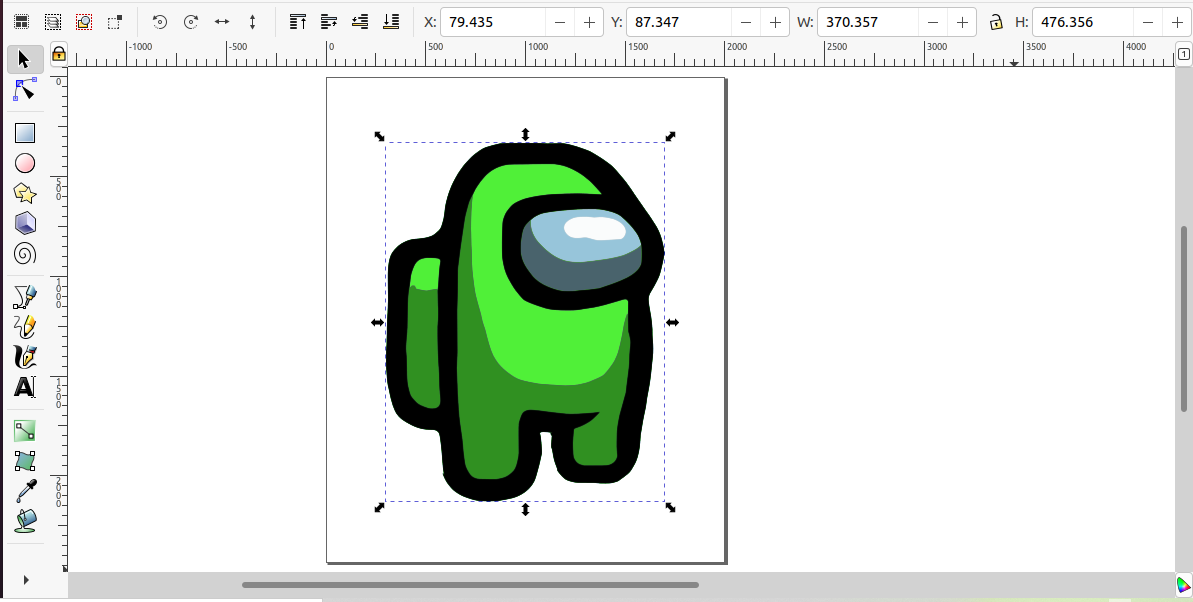
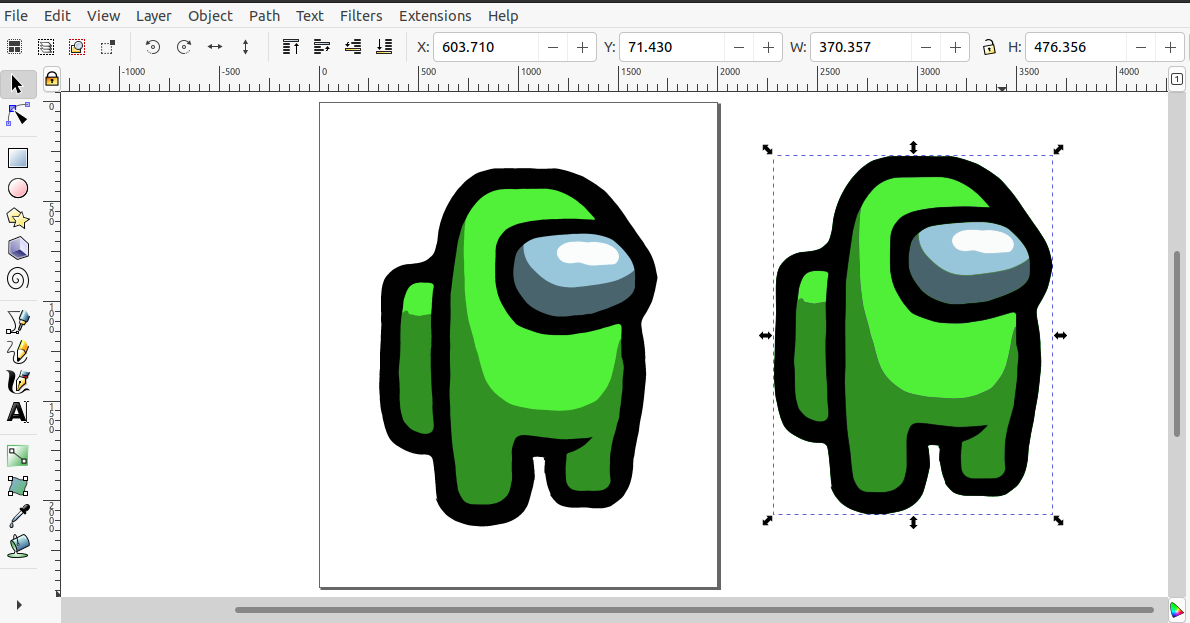
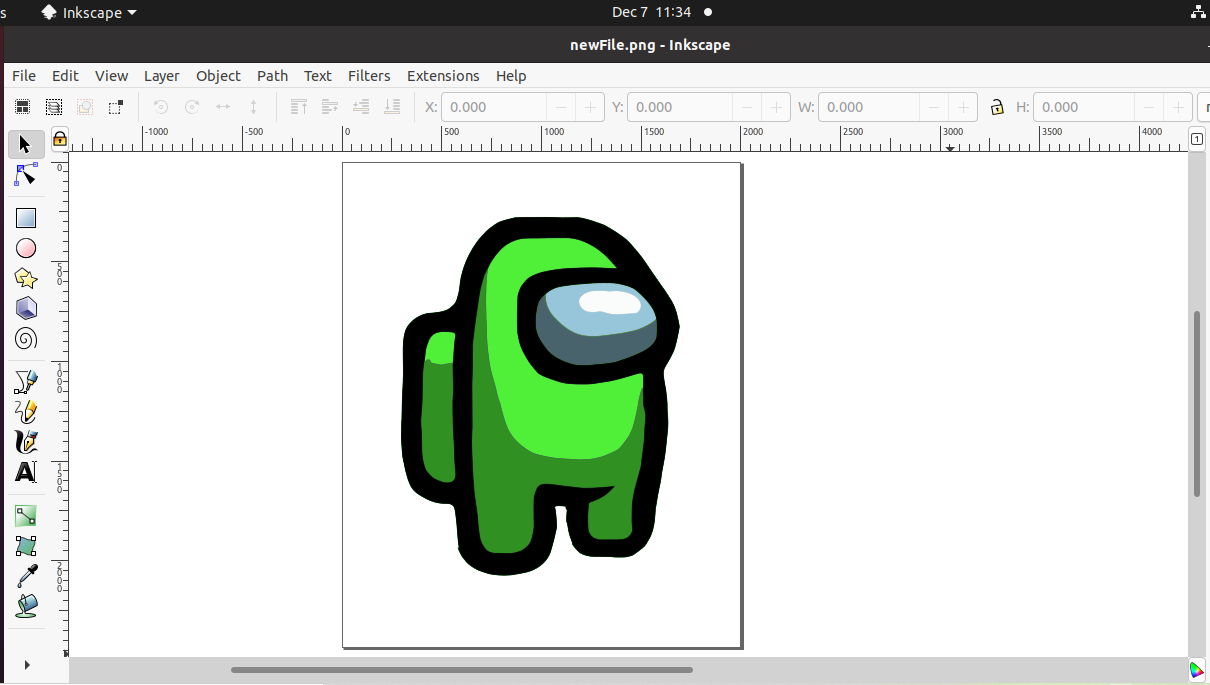
The traced image will be overlapped with the opened PNG image:
Click on the image, and drag it in any direction so that you can separate the PNG image and the traced SVG image:
Then, select the PNG image, and from the left-click menu, click on the “Delete” option:

Now, drag the traced image to the Inkscape canvas and move to the “File” option of the Inkscape menubar:
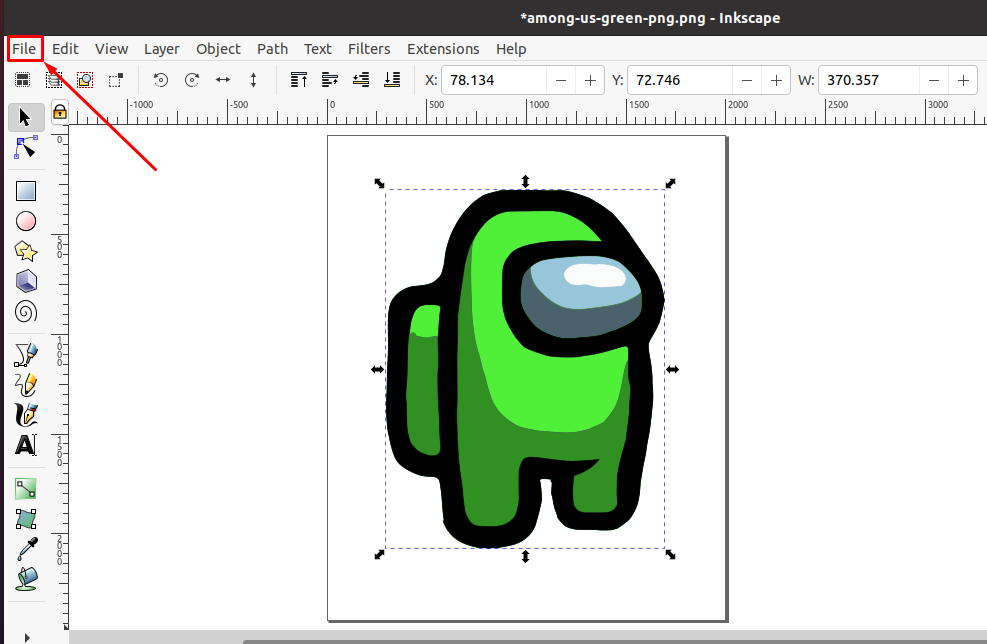
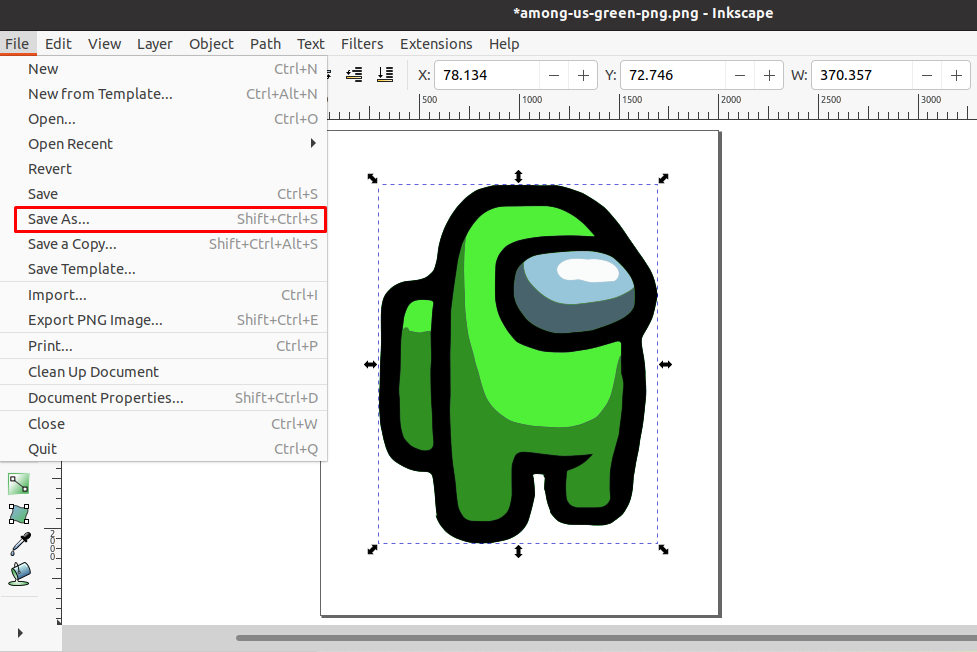
Click on the “Save As” option, from the drop-down “File” menu. Alternatively, you can press “Shift+Ctrl+S” to avail the mentioned functionality:
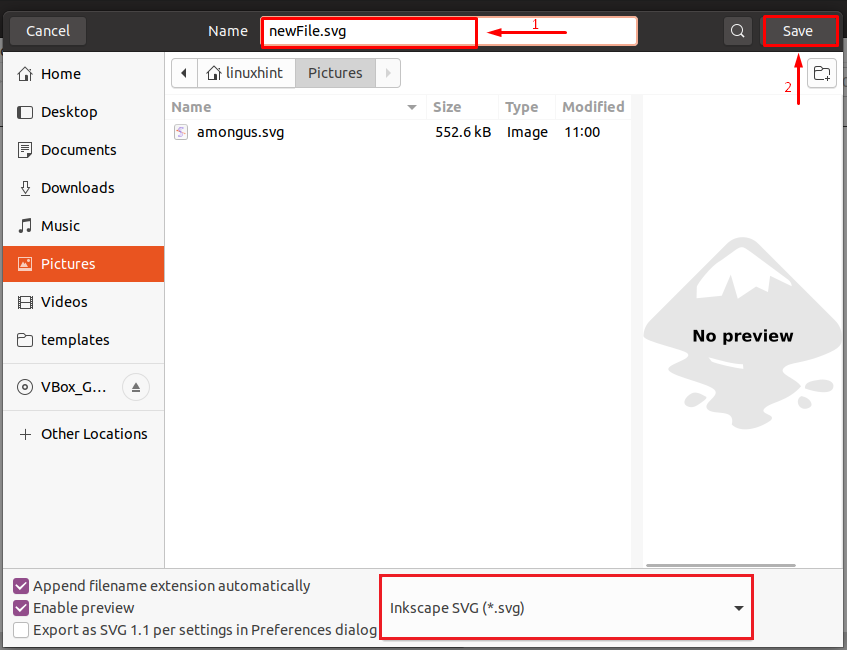
Now, write out the text you want to name your SVG image and make sure that you select Inkscape SVG(*.SVG) as the file format:
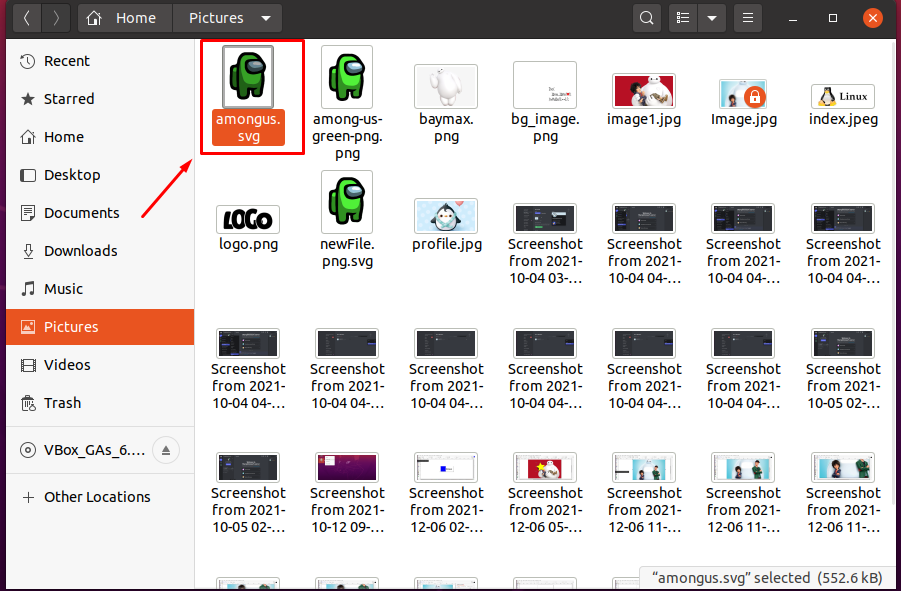
If you have carefully performed the previously given steps, then Congratulations! You have successfully converted your PNG image in SVG format:
To confirm its existence, go to the file location where you have saved the newly created SVG file and view it any photo viewer of your system:

Conclusion
Between the Portable File Format (PNG) and Scalar Vector Graphics (SVG), SVG is the type of graphics that is highly editable and does not lose the image quality when you scale up its points. Whereas, to upgrade the quality of a PNG file, you can convert it to SVG format. With the help of Inkscape software, you can efficiently perform this conversion operation with some simple steps. This write-up guided you about the method of PNG to SVG conversion in Inkscape. We have also explored and used Inkscape “Trace Bitmap” tool for the PNG to SVG conversion.