The LCDs are an important electronic component that is widely used in Arduino projects to display the output. In this write-up, all the functions which can control the directions of the text are discussed.
How to control the direction of text on LCD using Arduino
The direction of the text on LCD can be controlled by using different functions of the Liquid Crystal library, these functions decide whether the text should print on LCD from right to left or left to right.
The functions used for controlling the direction of text on LCD are:
- leftToRight()
- rightToLeft()
- scrollDisplayLeft()
- scrollDisplayRight()
- autoscroll()
- noAutoScroll()
All these functions are explained with a simple example.
leftToRight()
This function is responsible for printing the text on the LCD from the left to right position. Once this function is invoked, the cursor will start printing the text from the left direction to the right of the LCD.
Syntax: lcd.leftToRight()
rightToLeft()
This function is used to print the output on LCD from right to left direction but a question arises in the mind that by default the output is printed on LCD from right to left direction, then what is a need of this function? The answer to this question is if the leftToRight() function is already called in the code and the output is displayed from left to right then to change its direction, we use the rightToLeft() function.
Syntax: lcd.rightToLeft()
Example of using leftToRight() and rightToLeft() functions in Arduino
These functions are used in the Arduino code:
LiquidCrystal lcd(12, 11, 5, 4, 3, 2);
char arr[10]={"LinuxHint"};
void setup(){
lcd.begin(16,2);
}
void loop(){
lcd.setCursor(16,0);
//set the cursor at (16,0) position
lcd.rightToLeft();
for(int i=9; i>=0; i--){
//for loop to display string character by character
lcd.print(arr[i]);
delay(500);
}
lcd.setCursor(12,1);
//set the cursor at (12,1) position
lcd.print("tfeL oT thgiR");
//Reverse the string to print Right to Left
delay(2000);
lcd.clear();
//cleared the LCD
lcd.setCursor(0,0);
//set the cursor at (0,0) position
lcd.leftToRight();
for(int i=0; i<10; i++){
lcd.print(arr[i]);
delay(500);
}
lcd.setCursor(0,1);
//set the cursor at (0,1) position
lcd.print("Left to Right");
delay(2000);
lcd.clear();
}
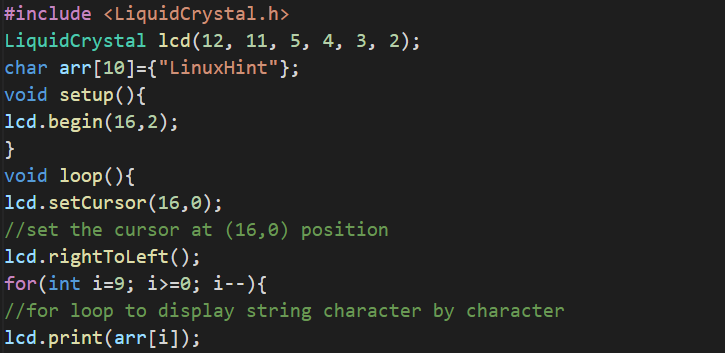
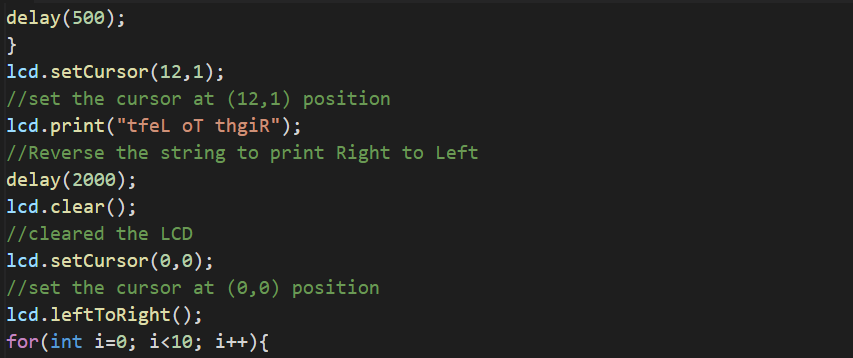
Explanation of code: In the above code, we have initialized the LCD with Arduino by including its library, “LiquidCrystal” and declaring its connections with Arduino pins. Then with the help of the rightToLeft() function, we print the text “LinuxHint” on LCD with a delay of 500 milliseconds and then display it from left to right by using the leftToRight() function.
Before using these functions, set the cursor from where you wanted to start the printing of output on the LCD using the setCursor() function.
Simulation and Hardware
For the simulation of the above circuit, we need components:
- Arduino Uno
- Connecting wires
- Potentiometer of 1k ohms
- Breadboard
- 16×2 LCD
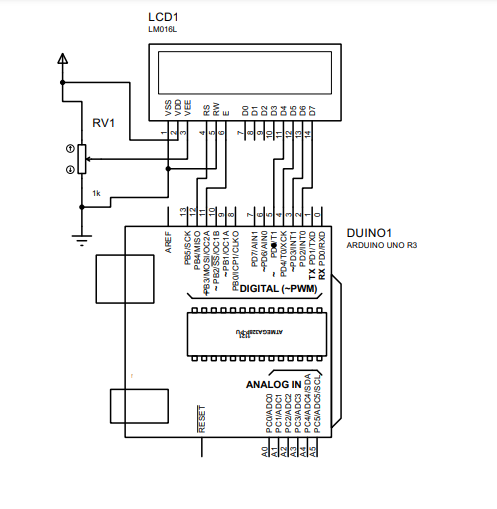
The circuit diagram will be:
In the above circuit diagram, we have connected the LCD pins with Arduino pins in the following way:
| LCD pins | Arduino pins |
|---|---|
| VSS | Ground |
| VDD | 5 volts |
| Vo | Output of potentiometer |
| RS | 12 |
| RW | Ground |
| E | 11 |
| D4 | 5 |
| D5 | 4 |
| D6 | 3 |
| D7 | 2 |
| A | 5 volts |
| K | Ground |
The simulation of the above circuit diagram is:
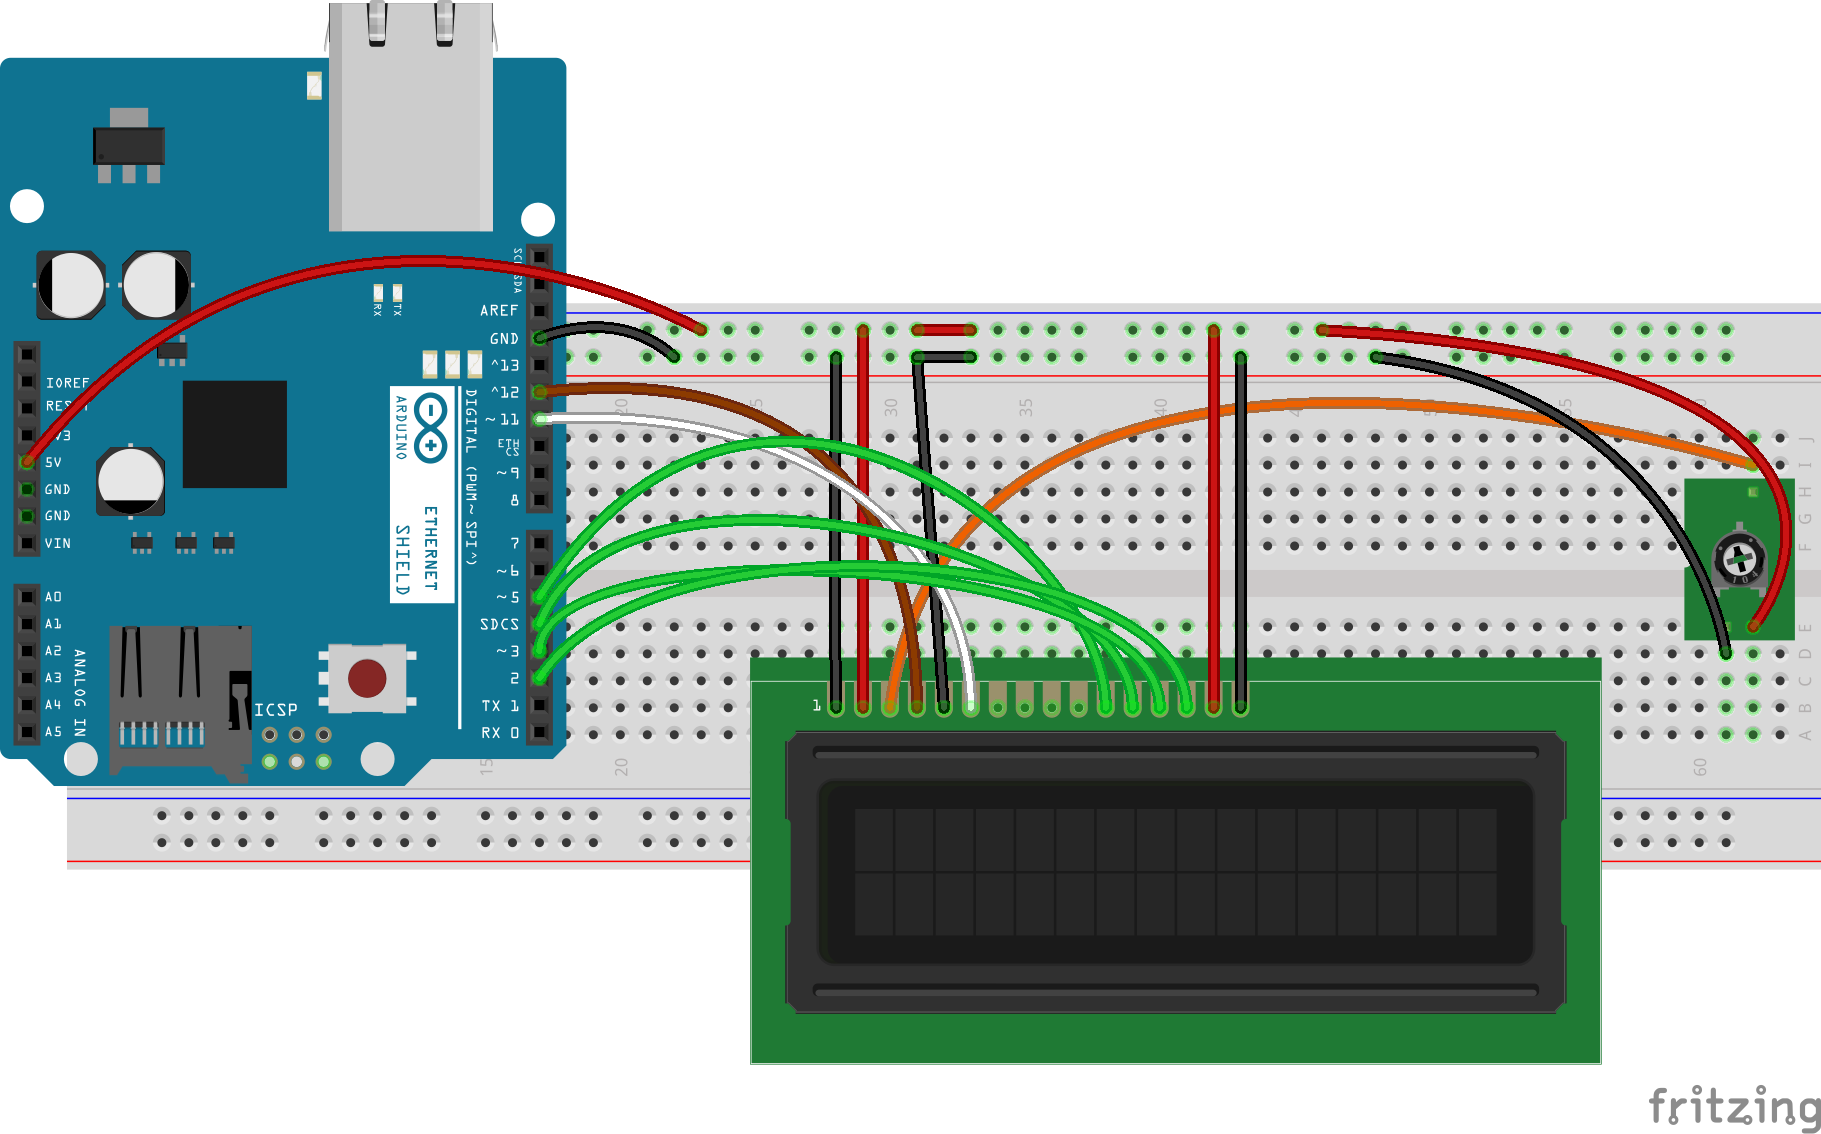
The hardware circuit configuration:
In the above circuit, we used the breadboard and connected the LCD with Arduino, according to the configuration of pins explained in the table above. A potentiometer is also connected which will control the brightness of the circuit and its legs are connected in such a way:
| Resistor legs | Connection |
|---|---|
| 1st leg | With the ground |
| 2nd leg | With the Vo pin of Arduino |
| 3rd leg | With the 5 volts |
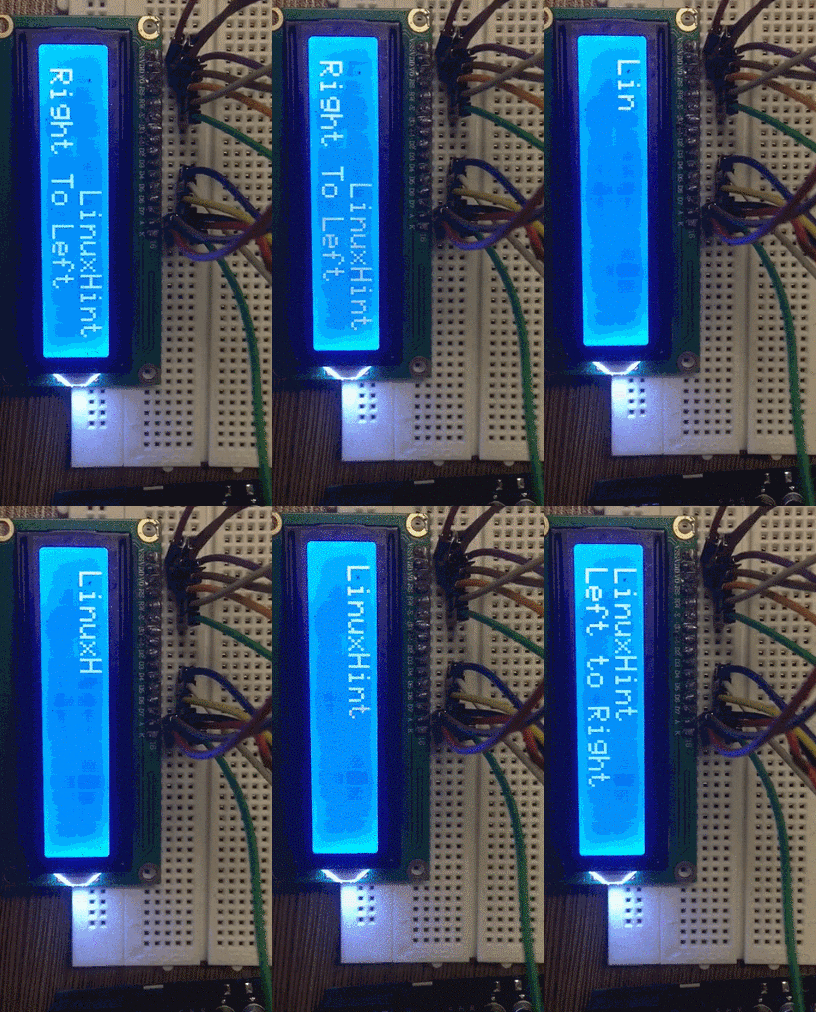
The hardware circuit working is:
scrollDisplayLeft()
Scrolling is the process that is used to move the output either the left position or right position of the LCD. This function is used to scroll the display from the right to the left position.
Syntax: lcd.scrollDisplayLeft()
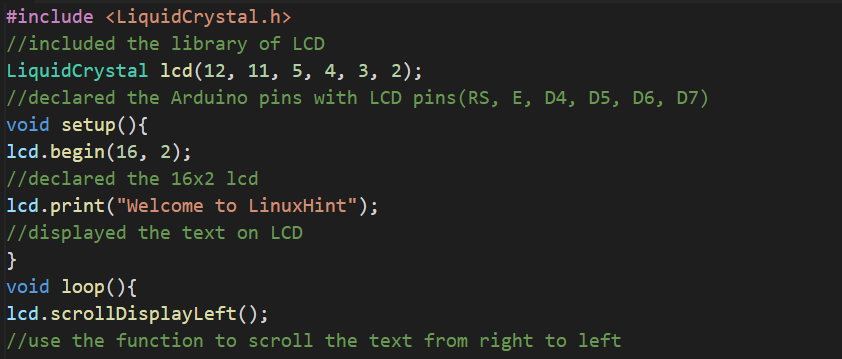
The use of this function in Arduino code will help us to understand in a better way:
//included the library of LCD
LiquidCrystal lcd(12, 11, 5, 4, 3, 2);
//declared the Arduino pins with LCD pins(RS, E, D4, D5, D6, D7)
void setup(){
lcd.begin(16, 2);
//declared the 16x2 lcd
lcd.print("Welcome to LinuxHint");
//displayed the text on LCD
}
void loop(){
lcd.scrollDisplayLeft();
//use the function to scroll the text from right to left
delay(500);
//generated a delay of 500 milli seconds
}
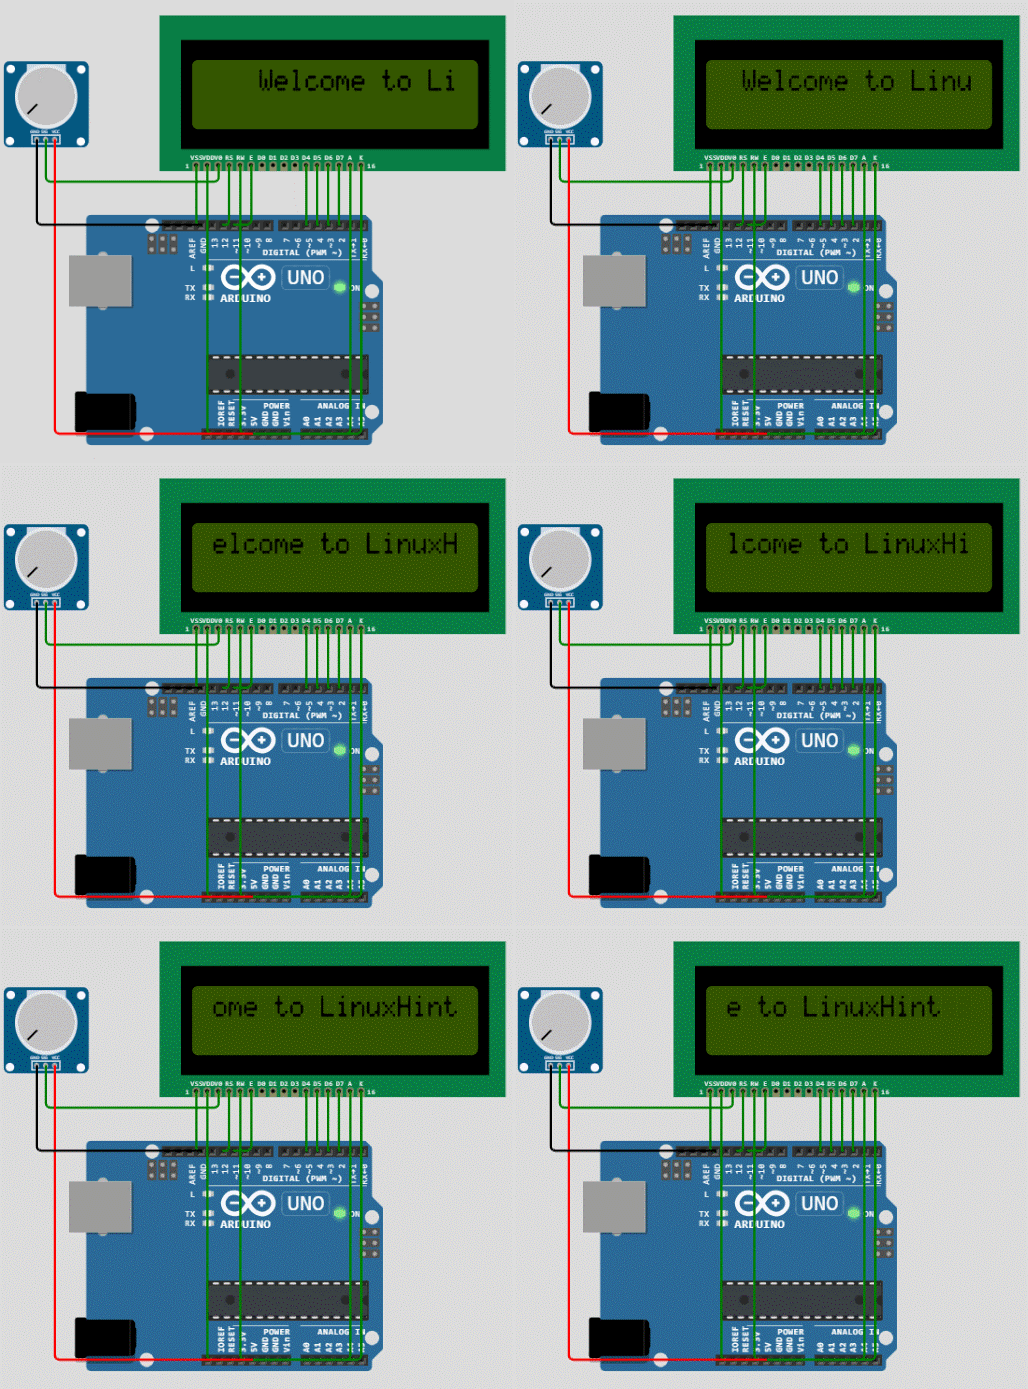
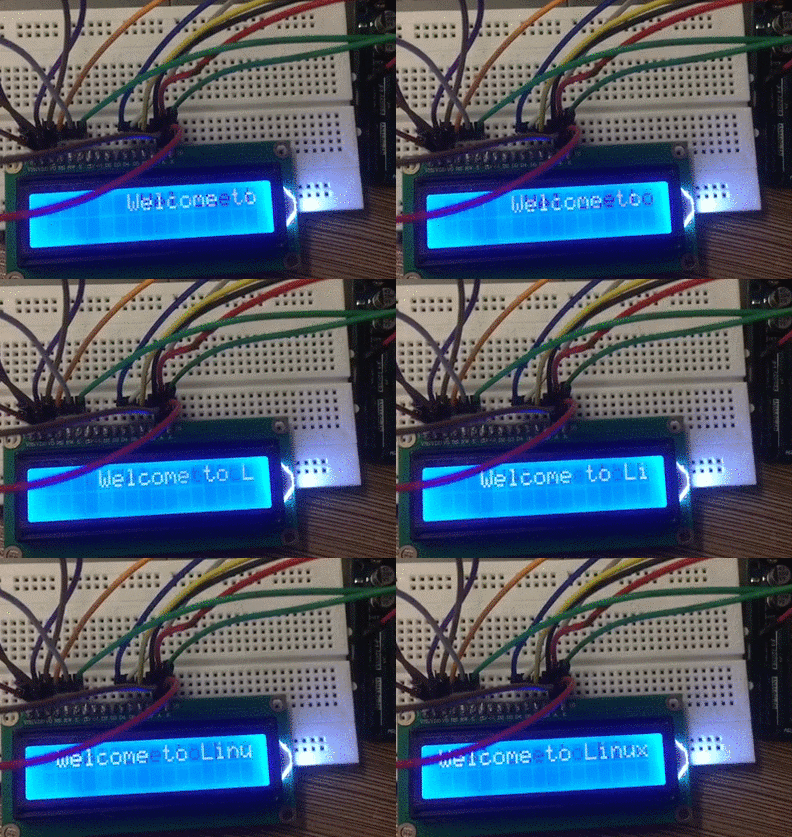
Explanation of code: In the above code, we simply print “Welcome to LinuxHint” on LCD and call the function of the “scrollDisplayLeft()” in Arduino code for scrolling the text from right to left position.
Simulation and Hardware
The circuit diagram and hardware configuration will be the same, we will only change the code of code in simulation to see its output in simulation and hardware. The simulation will be:
The hardware working of the circuit is:
scrollDisplayRight()
This function is used to scroll the display of LCD to the right direction of LCD.
Syntax: lcd.scrollDisplayRight()
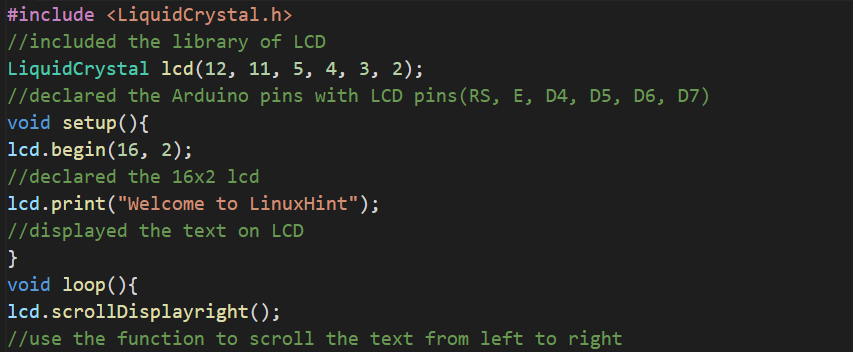
Consider the following Arduino code in which the function of scrollDisplayRight() is used:
//included the library of LCD
LiquidCrystal lcd(12, 11, 5, 4, 3, 2);
//declared the Arduino pins with LCD pins(RS, E, D4, D5, D6, D7)
void setup(){
lcd.begin(16, 2);
//declared the 16x2 lcd
lcd.print("Welcome to LinuxHint");
//displayed the text on LCD
}
void loop(){
lcd.scrollDisplayright();
//use the function to scroll the text from left to right
delay(500);
//generated a delay of 500 milli seconds
}
Explanation of code: The code is similar to the code used in the scrollDisplayLeft() function, the only difference is we have replaced the function with the scrollDisplayRight() function to scroll the display in the right direction.
Simulation and Hardware
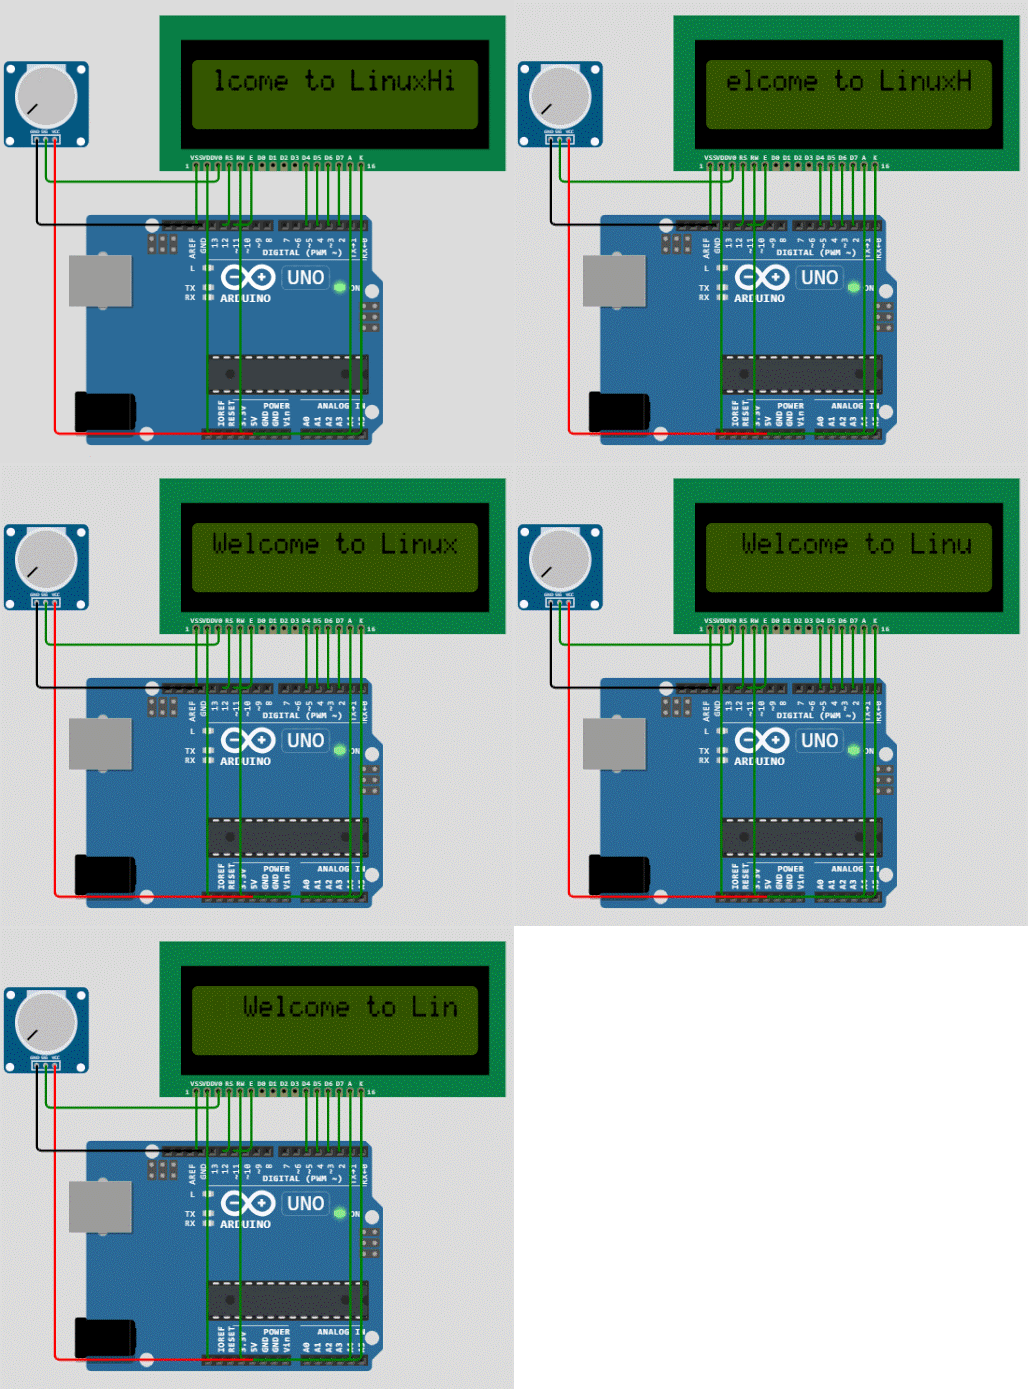
The simulation of the above circuit is:
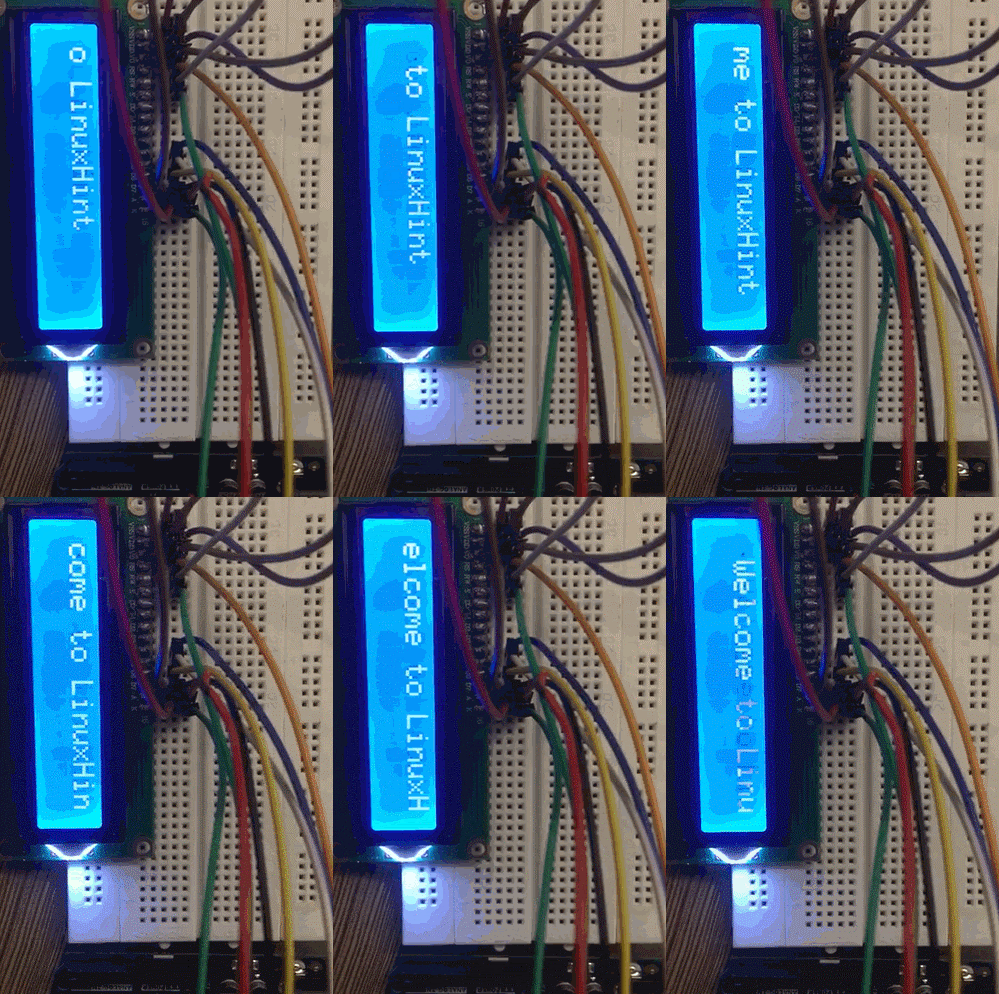
The hardware working is:
autoscroll() and noAutoScroll()
These functions are used in scrolling the text automatically towards the direction which is set. The autoscroll() function is used to turn on the auto-scrolling of the display on LCD and the noAutoScroll() function is used to turn off the auto-scrolling of the display on LCD.
Syntax: lcd.autoscroll()
Syntax: lcd.noAutoScroll()
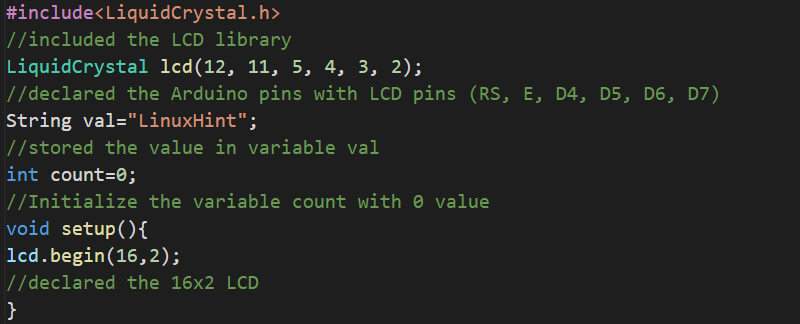
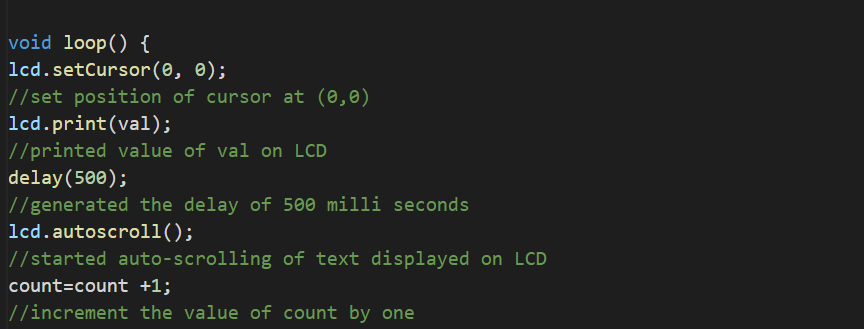
The example of using the autoscroll() and noAutoScroll() functions will give us better understanding:
//included the LCD library
LiquidCrystal lcd(12, 11, 5, 4, 3, 2);
//declared the Arduino pins with LCD pins (RS, E, D4, D5, D6, D7)
String val="LinuxHint";
//stored the value in variable val
int count=0;
//Initialize the variable count with 0 value
void setup(){
lcd.begin(16,2);
//declared the 16x2 LCD
}
void loop() {
lcd.setCursor(0, 0);
//set position of cursor at (0,0)
lcd.print(val);
//printed value of val on LCD
delay(500);
//generated the delay of 500 milli seconds
lcd.autoscroll();
//started auto-scrolling of text displayed on LCD
count=count +1;
//increment the value of count by one
if (count>=20){
//applied if condition on count variable
lcd.noAutoscroll();
//stopped auto-scrolling
delay(3000);
//generated delay of 3 seconds
lcd.clear();
//cleared the LCD display
count=0;
//stored 0 in count variable
}
}
Explanation of Code: In the above code, we have used two character arrays, arr[] and arr1[], and using the autoscroll() function, scrolled the values of arrays on the LCD. To turn off the auto scrolling we used the noAutoScrolling() function and stopped the autoscrolling.
Simulation and Hardware
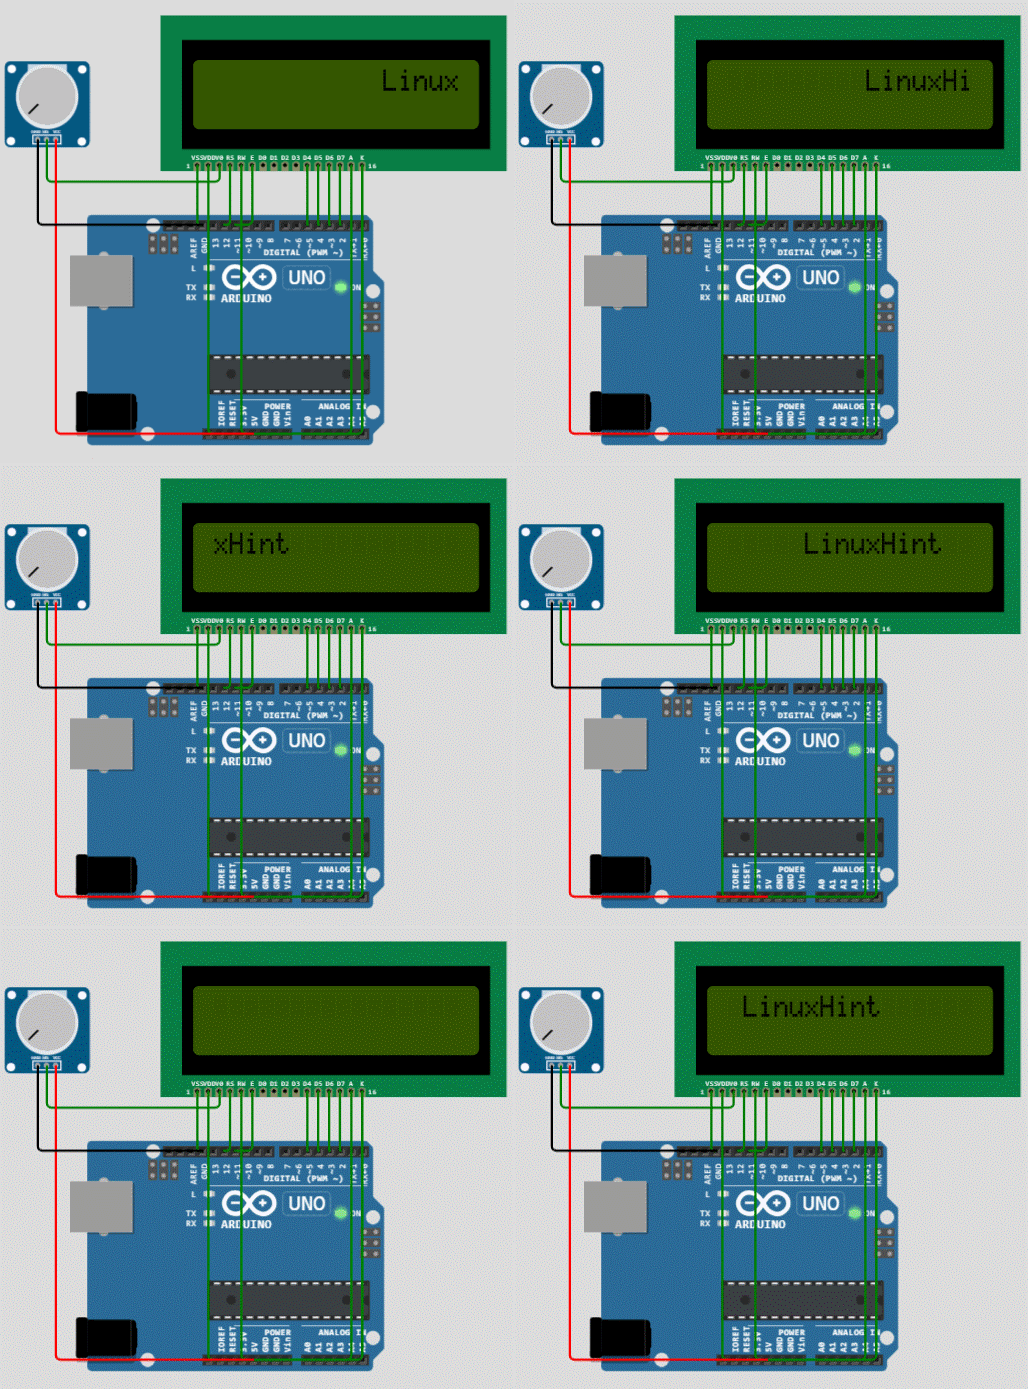
The simulation of the above code on the circuit is:
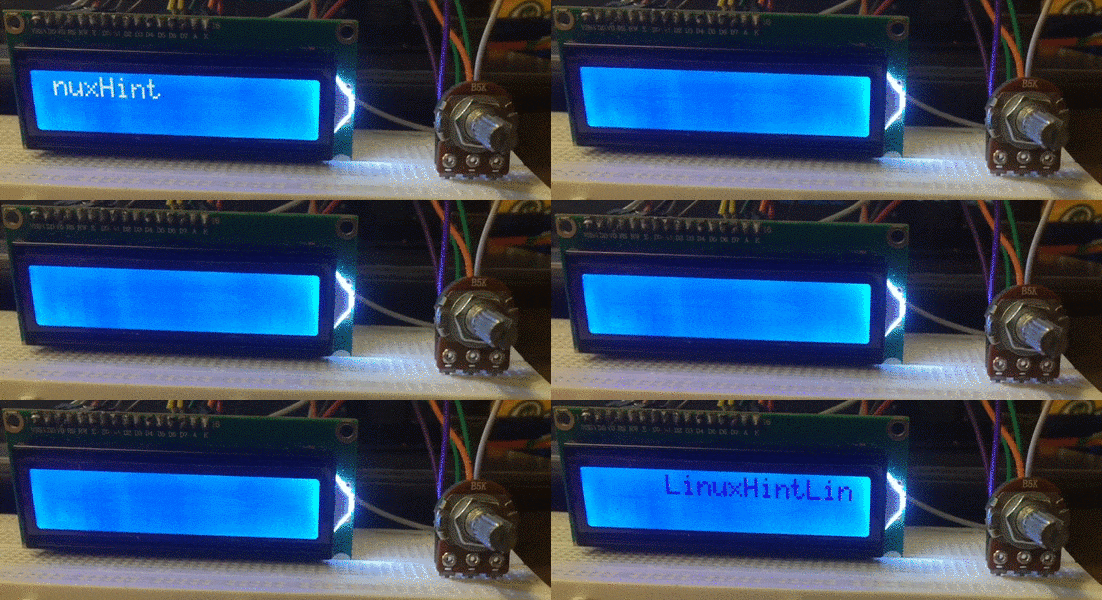
The hardware working of the above code is:
Conclusion
The LCD is one of the key components in the embedded system to display the output and input values on screen in the form of text. The direction in which the text should be displayed on the LCD can be controlled by using the built-in functions of Arduino. In this write-up, all the built-in functions of Arduino are explained with the help of which we can control the direction of the display on the LCD.

