Jpegoptim is an open-source command-line tool that allows users to optimize the JPEG images on the system. It helps users reduce the image file size significantly without affecting their quality. It is extremely important for Raspberry Pi users since it helps improve the performance of their system by storing compressed images and replacing the previous old large-size file images.
This article is a detailed guide to compress image size on Raspberry Pi using Jpegoptim.
Compress Raspberry Pi Images Size Using Jpegoptim
This article comprises of following two parts:
1: Installation of Jpegoptim
In this part, you will see the step-by-step process to install Jpegoptim on Raspberry Pi, which is shown below:
Step 1: Update The Repository
As we are going to install Jpegoptim from the Raspberry Pi repository so it is better to update the repository and for that use the below-mentioned command:
Step 2: Upgrade The Repository
To upgrade the packages in the repository, run the following command:
Step 3: Install Jpegoptim
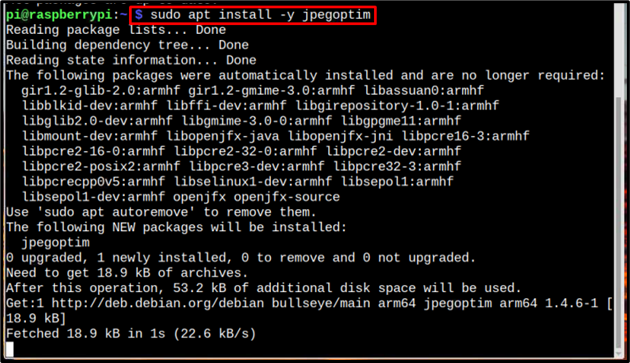
Finally, install Jpegoptim using the below-mentioned command:
Step 4: Verify Installation
To verify the installation, use the below-mentioned version command that displays the installed version of Jpegoptim:
2: Compressing Images
The process to compress images using Jpegoptim is mentioned below:
Step 1: Create Directory
It is recommended to create a separate directory for all of the compressed files and for that use the below-mentioned command to create a new directory with the name compressed:
Step 2: Compress the Image and Save it to Compressed Directory
To compress the image to a particular size and save it to the compressed directory, use the below-mentioned command:
Syntax
Example
Note: The image can be compressed to any desired size by assigning the value to size using the below-mentioned command. Remember that the size is considered in KBs and the new compressed file will overwrite the original image and the dest in the below command is used to assign the required destination.
Now let’s display before and after compression size of the image by using the below-mentioned list command:
In the output you can see the size of the original and compressed image. Remember that the size of the compressed image will be near to the assigned size and might not be exactly equal to it due to optimization so that the quality of the image won’t get affected:
Alternatively, the size of the image can be assigned in terms of percentage too. So, the total output size of the image will decrease to that percentage:
There is another way too, to compress the images and for that assign the max required quality standard for the image. The number could be from 0 to 100 which is assigned in front of max in the below-mentioned command:
Remember that by using this command the overall quality of the image is changing. The number 100 is for the best quality and 0 is for the worst. While the overwrite command will overwrite the previous version of the file.
Remove Jpegoptim from Raspberry Pi
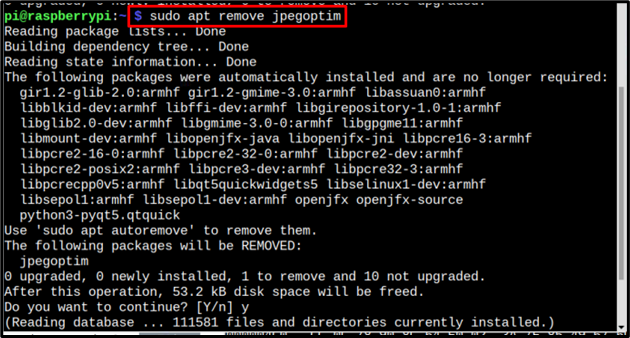
To uninstall or remove Jpegoptim from Raspberry Pi, use the below-written command:
Conclusion
To compress images on Raspberry Pi, you must install the Jpegoptim tool from the Raspberry Pi repository. After that, create a directory for compressed images and start compressing the image size according to yourself using the commands mentioned in the above guidelines.


