Types of Memories in Arduino
An Arduino comes up with three kinds of memory SRAM, Flash & EEPROM. One of them is Volatile and the remaining two are Non-Volatile. Volatile memory erases the data once you remove the input power. On the other hand, non-volatile memory keeps the data saved even if you have removed the input DC power or reset the Arduino.
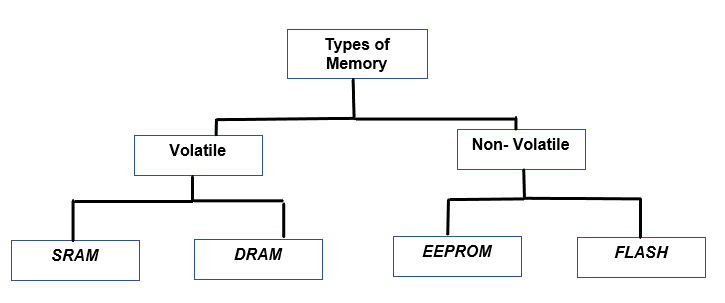
Below I have briefly explained three types of memory and what they stored:
FLASH: It’s the type of memory which stores our Arduino sketch. When you reset the Arduino information remains saved inside it.
SRAM: SRAM (Static Random Access Memory) creates and stores all types of variables and plays with them once called in the program. When you reset the Arduino all the contents got deleted.
EEPROM: (Electrically Erasable Programmable Read Only Memory) stores data which is to be retained for a longer time duration; it keeps information saved even if input power is lost. I would recommend EEPROM as it is more reliable when it comes to memory management. EEPROM is like a hard drive present in a PC. EEPROM remembers the last program you have executed using Arduino.
Number of bytes every memory store depends upon which microcontroller you are using below i have mentioned the memory capacity of two microcontrollers:
| Memory Type | ATmega328P | ATmega2560 |
|---|---|---|
| Flash | 32K bytes | 256K bytes |
| SRAM | 2K bytes | 8K bytes |
| EEPROM | 1K bytes | 4K bytes |
Ways to Clear Arduino Memory
We have a few options available to clear our Arduino memory:
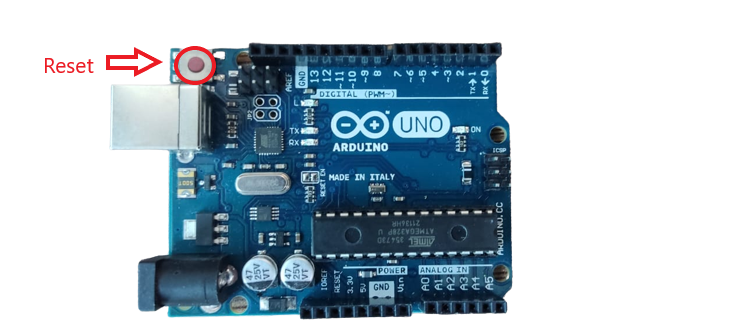
- The easiest of them is just press the Reset button present on the Arduino board.
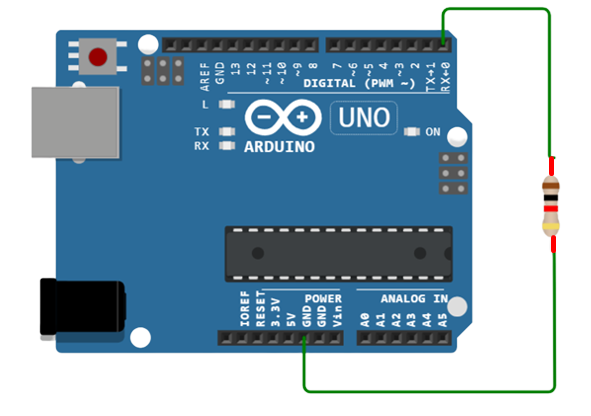
- Joining the RX and GND pins.
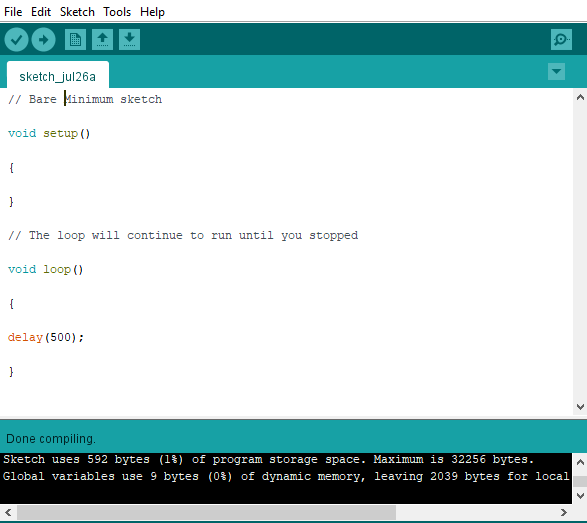
- Uploading the bare minimum sketch.
Now, we will discuss these three methods in detail:
1: Use of Reset Button for Clearing Memory
Simplest way of resetting your Arduino is by pressing the Reset button highlighted in the image above:
Pressing this button will not remove the sketch already stored, it only clears the volatile memory such as RAM. The stored program will restart and data such as variables, instruction pointers and registers that are stored in RAM will get clear.
Follow these steps to clear Arduino Memory (RAM) using the Reset Button:
Step 1: Disconnect Arduino Power.
Step 2: Now press and hold the Reset button while doing this turn on your Arduino by connecting it to a power supply.
2: Clearing Arduino Memory using RX and GND Pins
Second way of clearing Arduino memory is by using RX and GND pins. Follow the below-mentioned steps:
Step 1: Remove the USB serial cable this will turn off your Arduino. On Arduino board serial communication is done by using two pins RX and TX, removing the USB cable will free up these two pins.
Step 2: Now join the Rx and GND pins, in between them use a Resistor (20kOhm) to maintain a safe current limit.
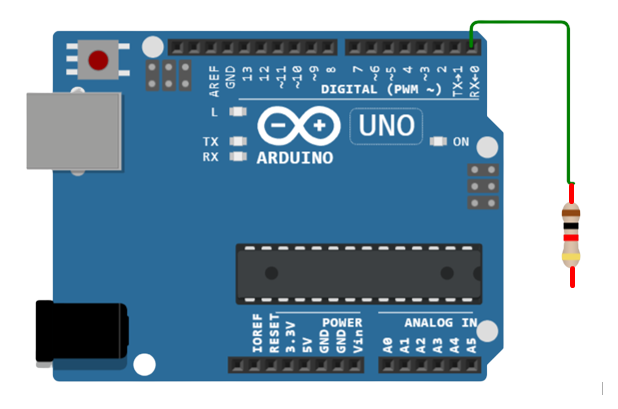
Step 3: Remove the RX pin, power up your Arduino using USB cable but before that disconnects RX pin first.
Step 4: Open your Arduino IDE and upload any simple sketch or “Bare Minimum” sketch from the Arduino library.
Step 5: Again, remove the USB cable your Arduino will be off again, doing this we can ensure current limits between the two terminal ports RX and GND.
Step 6: As we have removed the USB cable now disconnects both RX and GND terminal.
Step 7: Lastly, directly connect your Arduino board with PC using COM Port.
3: Clearing Arduino Memory by Uploading a Blank Sketch
Suppose you do not prefer using wire for clearing Arduino memory so another method of doing it is by uploading a blank sketch also known as “Bare Minimum” sketch to clear your Arduino memory.
Before uploading the “Bare minimum” sketch, first do the steps below:
Step 1: Remove the USB cable to disconnect your Arduino from the power source.
Step 2: Press the Windows key from your keyboard and type Device Manager then click open.
Step 3: It will open a new window, now scroll down to the COM & LPT section.
Step 4: Find and select the COM port at which Arduino is connected.
Step 5: Right click and press Properties from the drop-down menu then select “Port setting” and switch the “Flow Control” to Hardware.
Now you have set up your hardware it’s time to upload the “Bare Minimum” sketch in your Arduino board. Below I have shown a blank sketch which replaces the previous sketch you have uploaded and it tells Arduino to set up nothing and loop nothing.
void setup()
{
}
void loop()
{
delay(500);
}
Conclusion
Suppose you have not used Arduino for a while and now you want to connect it to a new circuit and you don’t remember the last program you have uploaded in it, so previous sketch might damage your new circuit it’s better to always upload a “Blank Sketch” or use the led blink program which comes up with Arduino and it can save your circuit from any kind of damage.

